Add ServiceNow Connection
Connect the ServiceNow integration in Qualytics using the instance URL and service account credentials you set up in ServiceNow.
Prerequisites
Complete the Configure ServiceNow steps first to create the service account and gather the instance URL.
Permissions
Users with the Manager or Admin role can connect the ServiceNow integration. See the Permissions page for details.
Fields
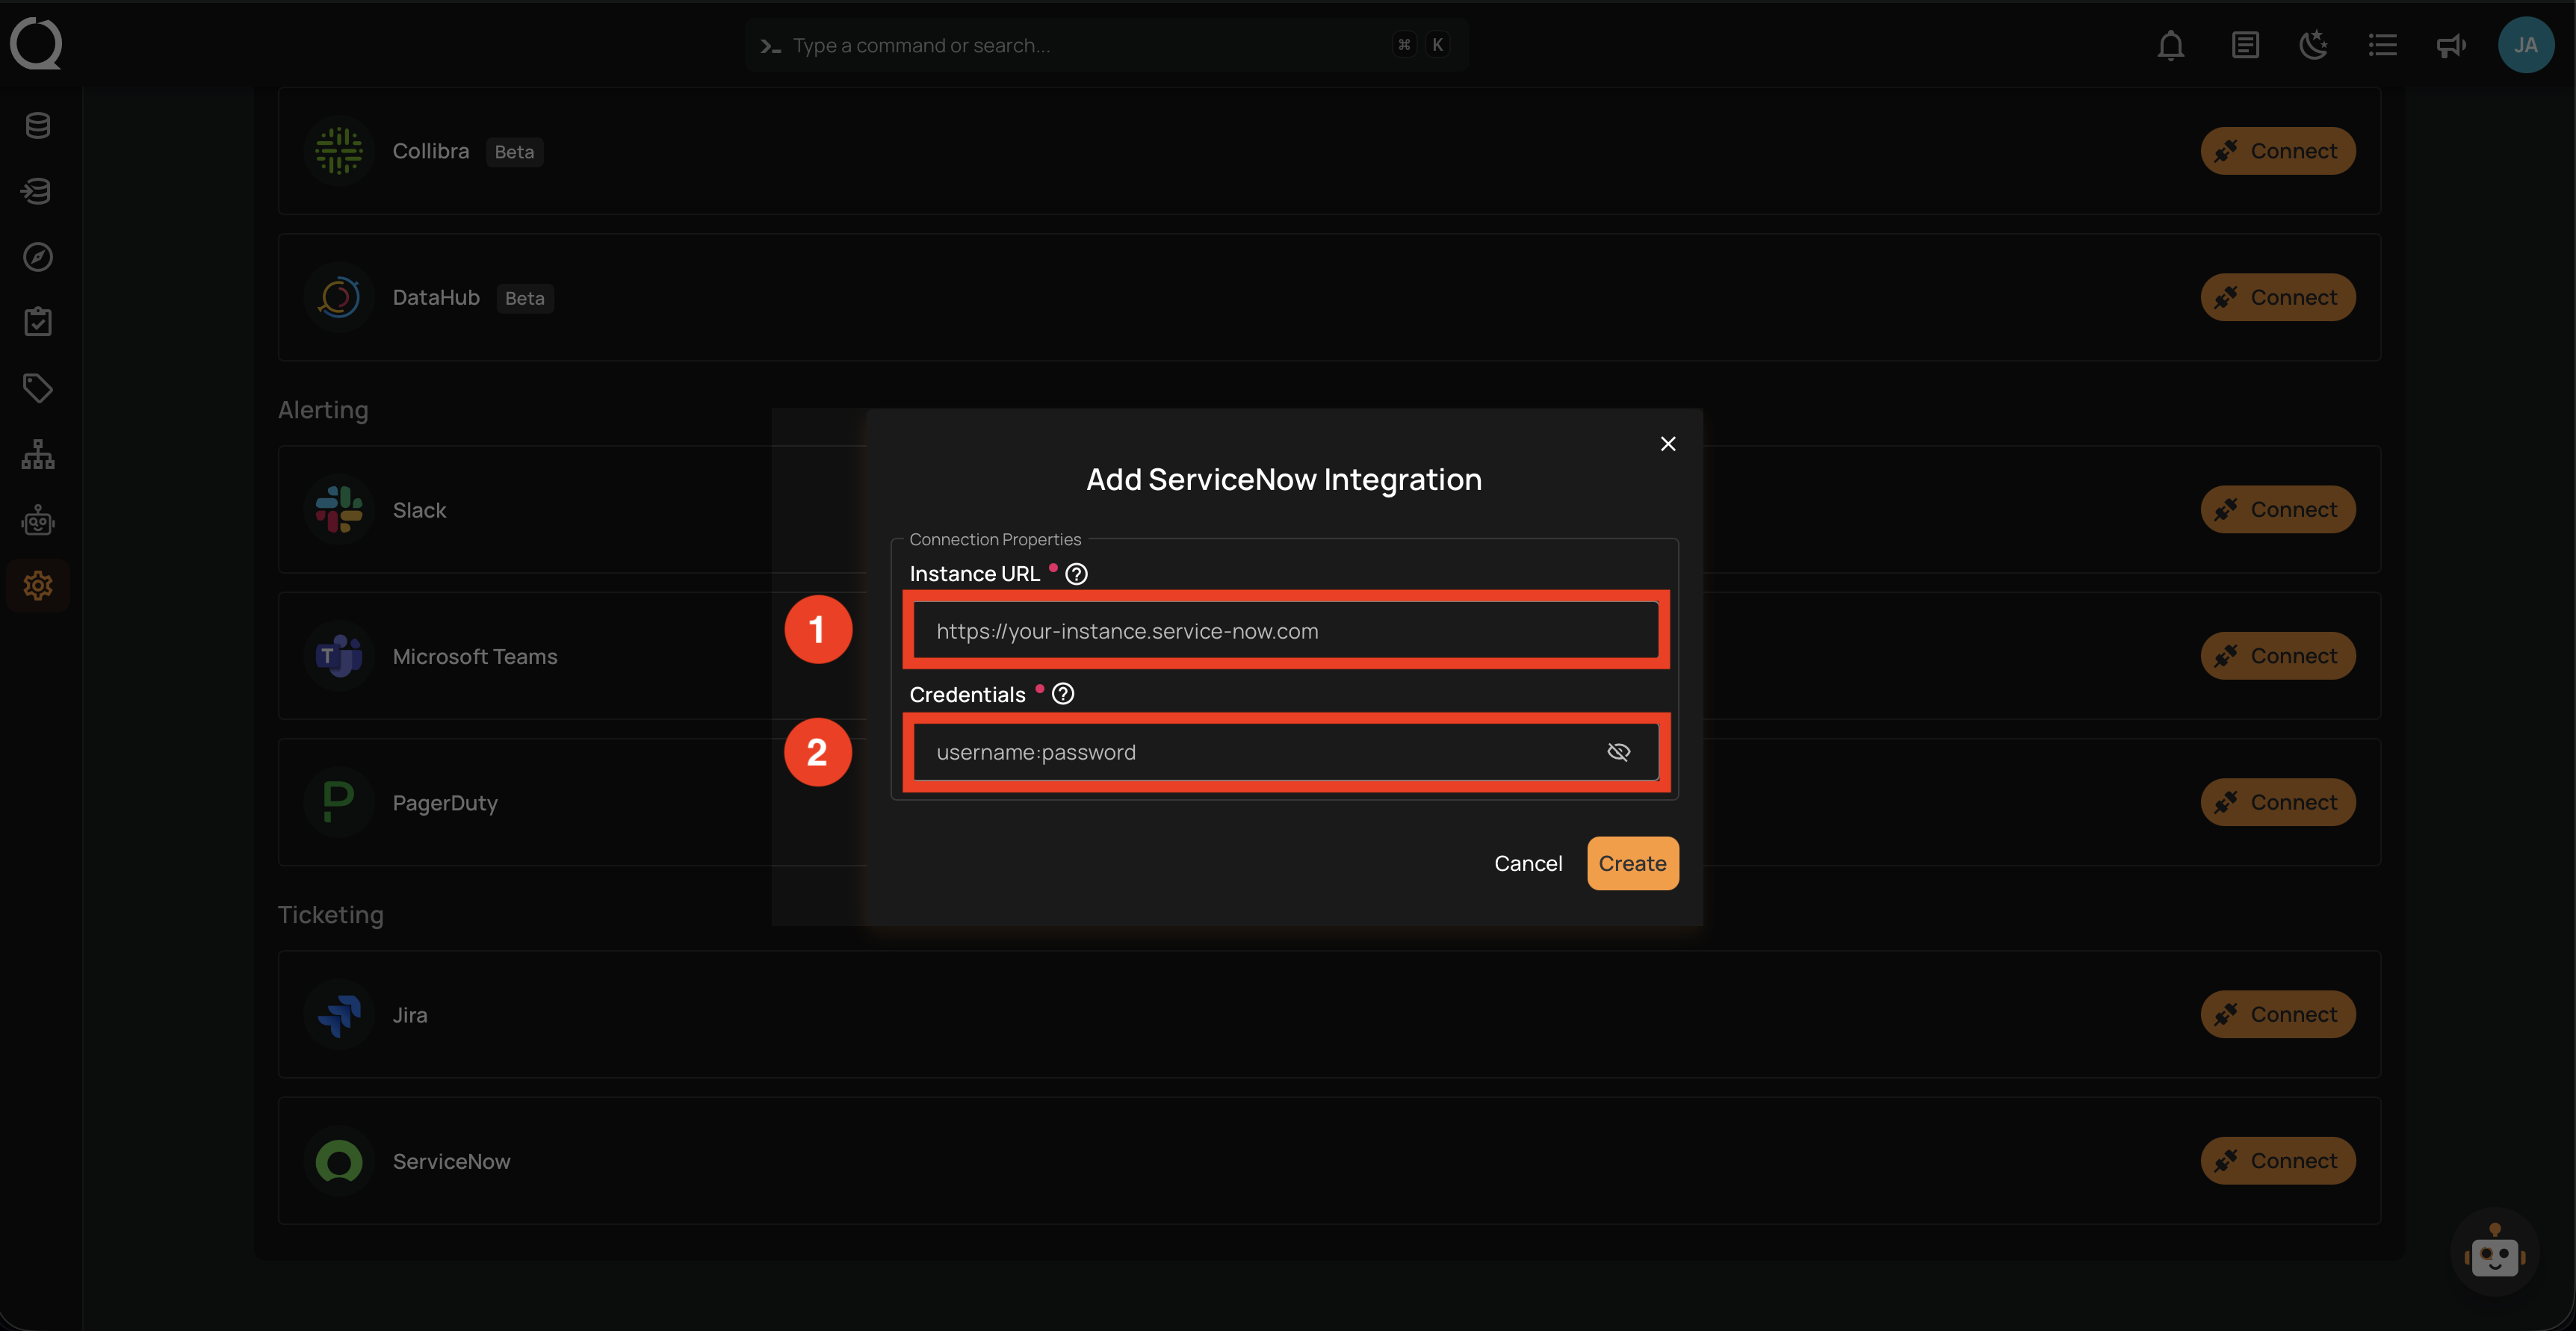
The Add ServiceNow Integration form contains the following fields:
| REF. | FIELD | DESCRIPTION |
|---|---|---|
| 1 | Instance URL (Required) | The complete ServiceNow instance URL (e.g., https://your-instance.service-now.com). Do not include a trailing slash. |
| 2 | Credentials (Required) | Service account credentials in the format username:password (username and password separated by a colon). For example: qualytics_integration:YourSecurePassword123. |
Credentials Format
The credentials must be entered as username:password with a colon separator. This format is used for Basic Authentication. OAuth 2.0 and HashiCorp Vault credential storage are planned for future releases.
Steps
Step 1: Find the ServiceNow integration in the integrations list and click the Connect button.

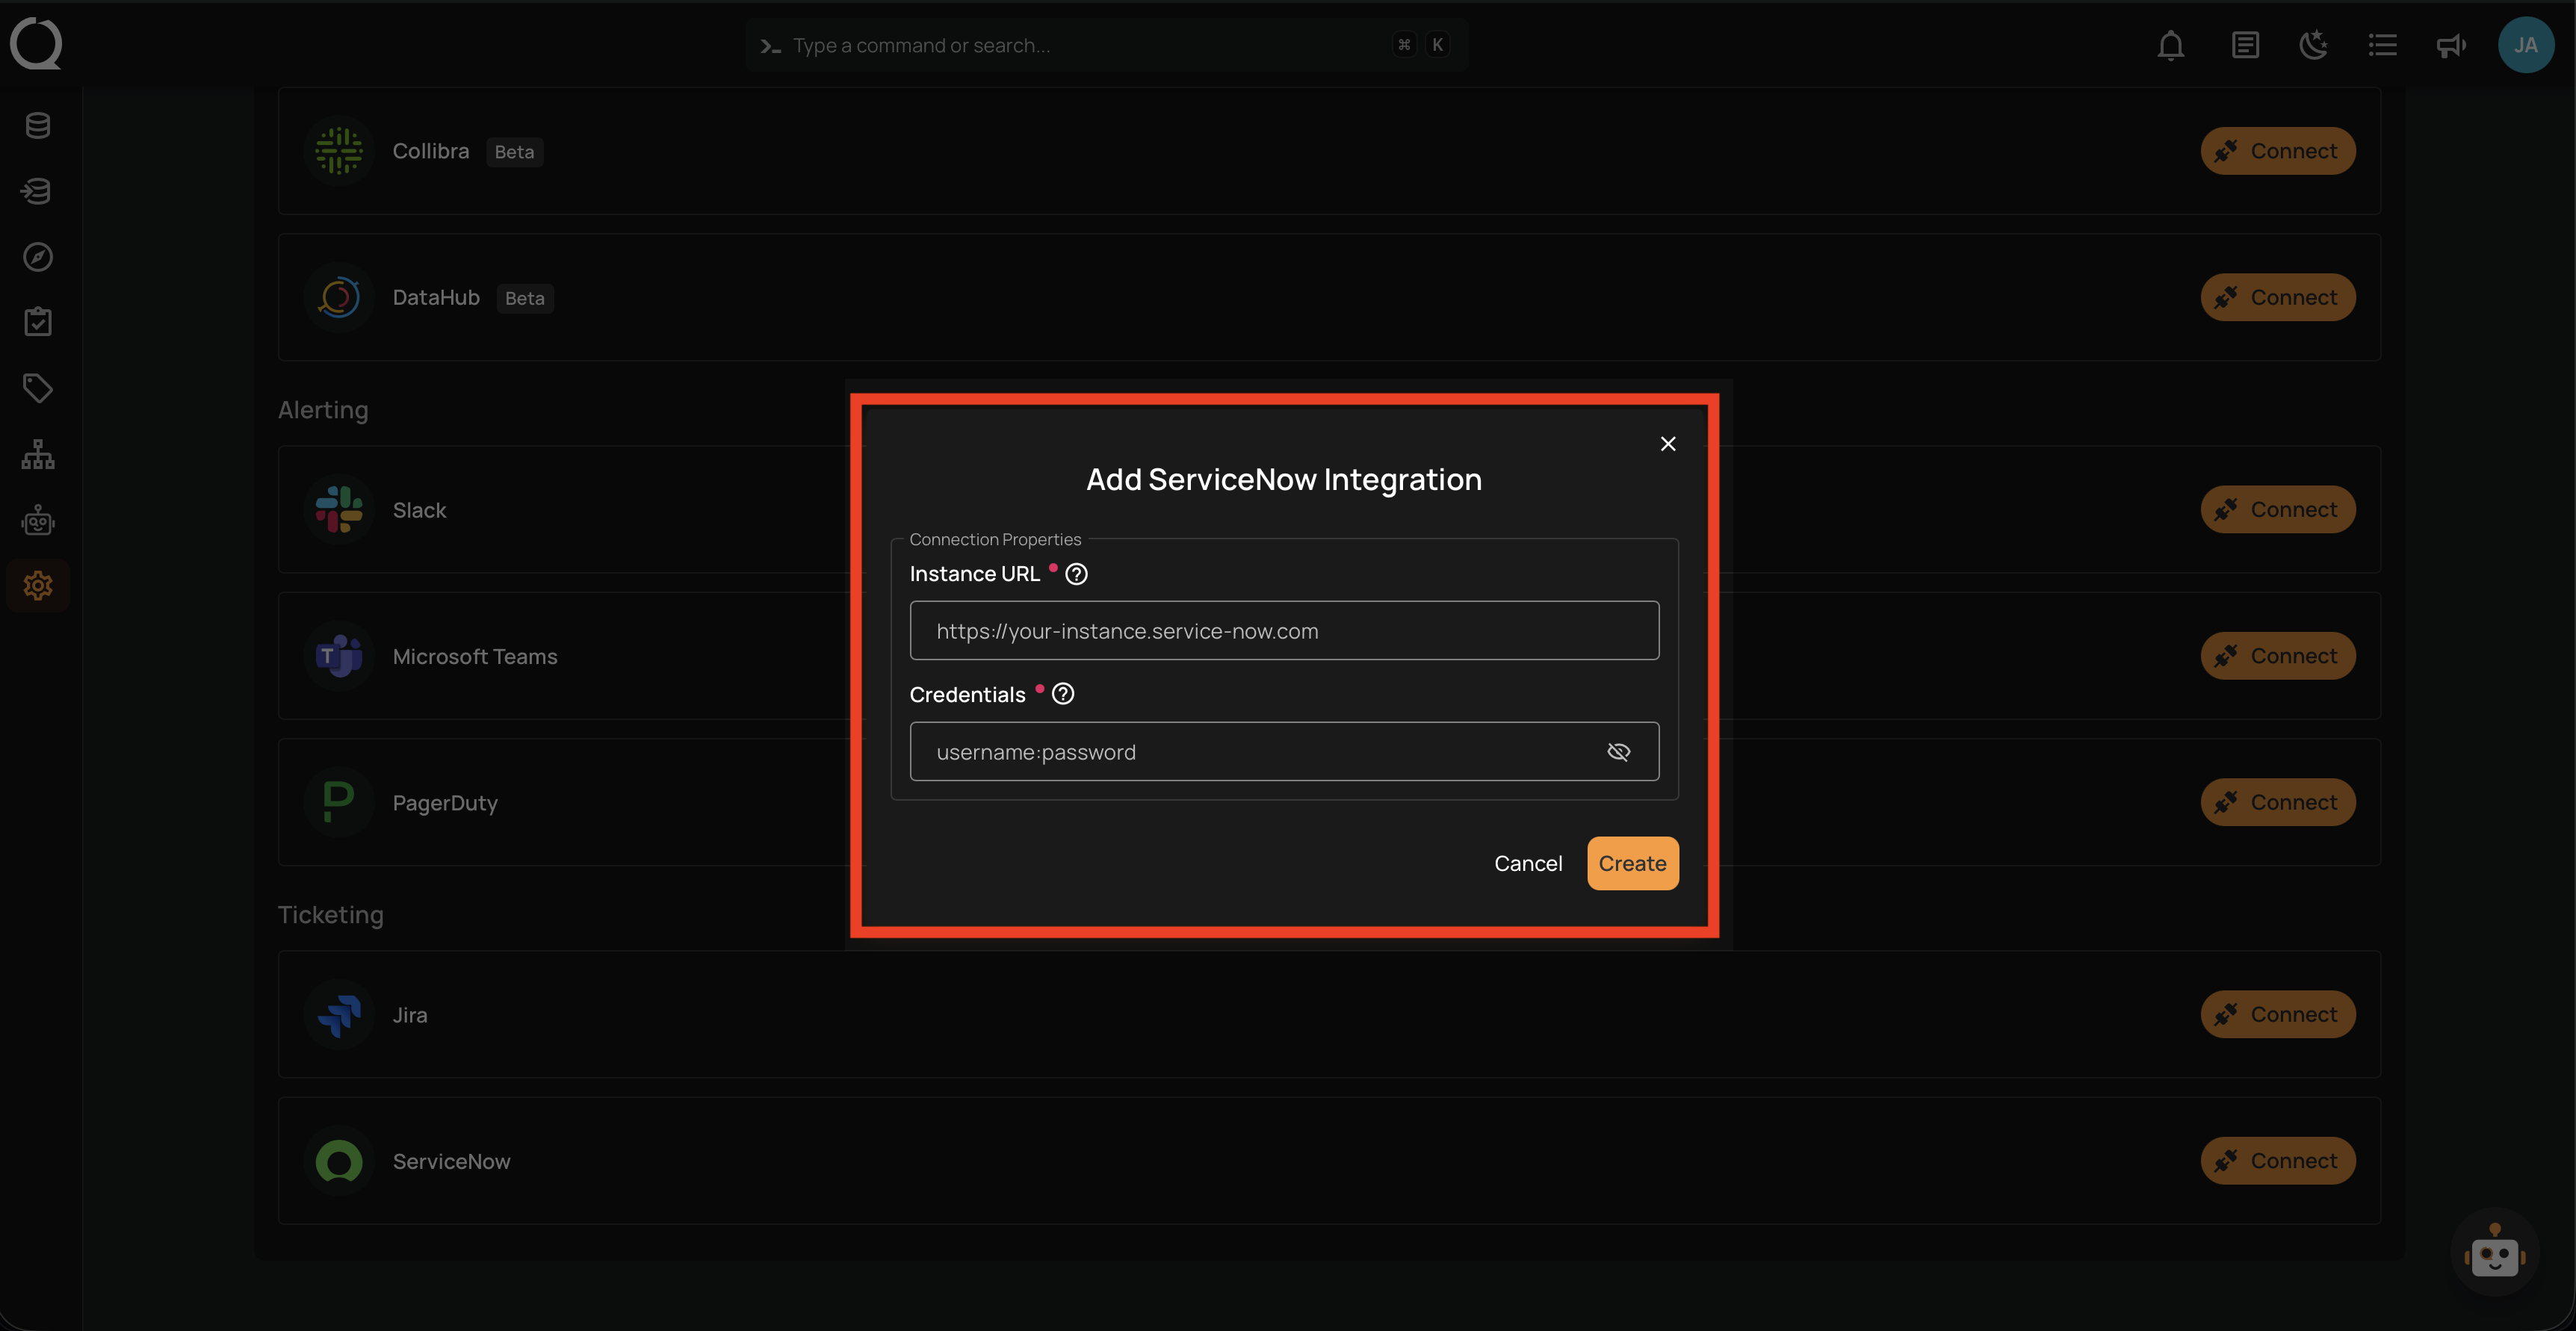
Step 2: The Add ServiceNow Integration modal opens. Fill in the two required fields described in the Fields section above.
Step 3: Click the Create button to validate and store the credentials.
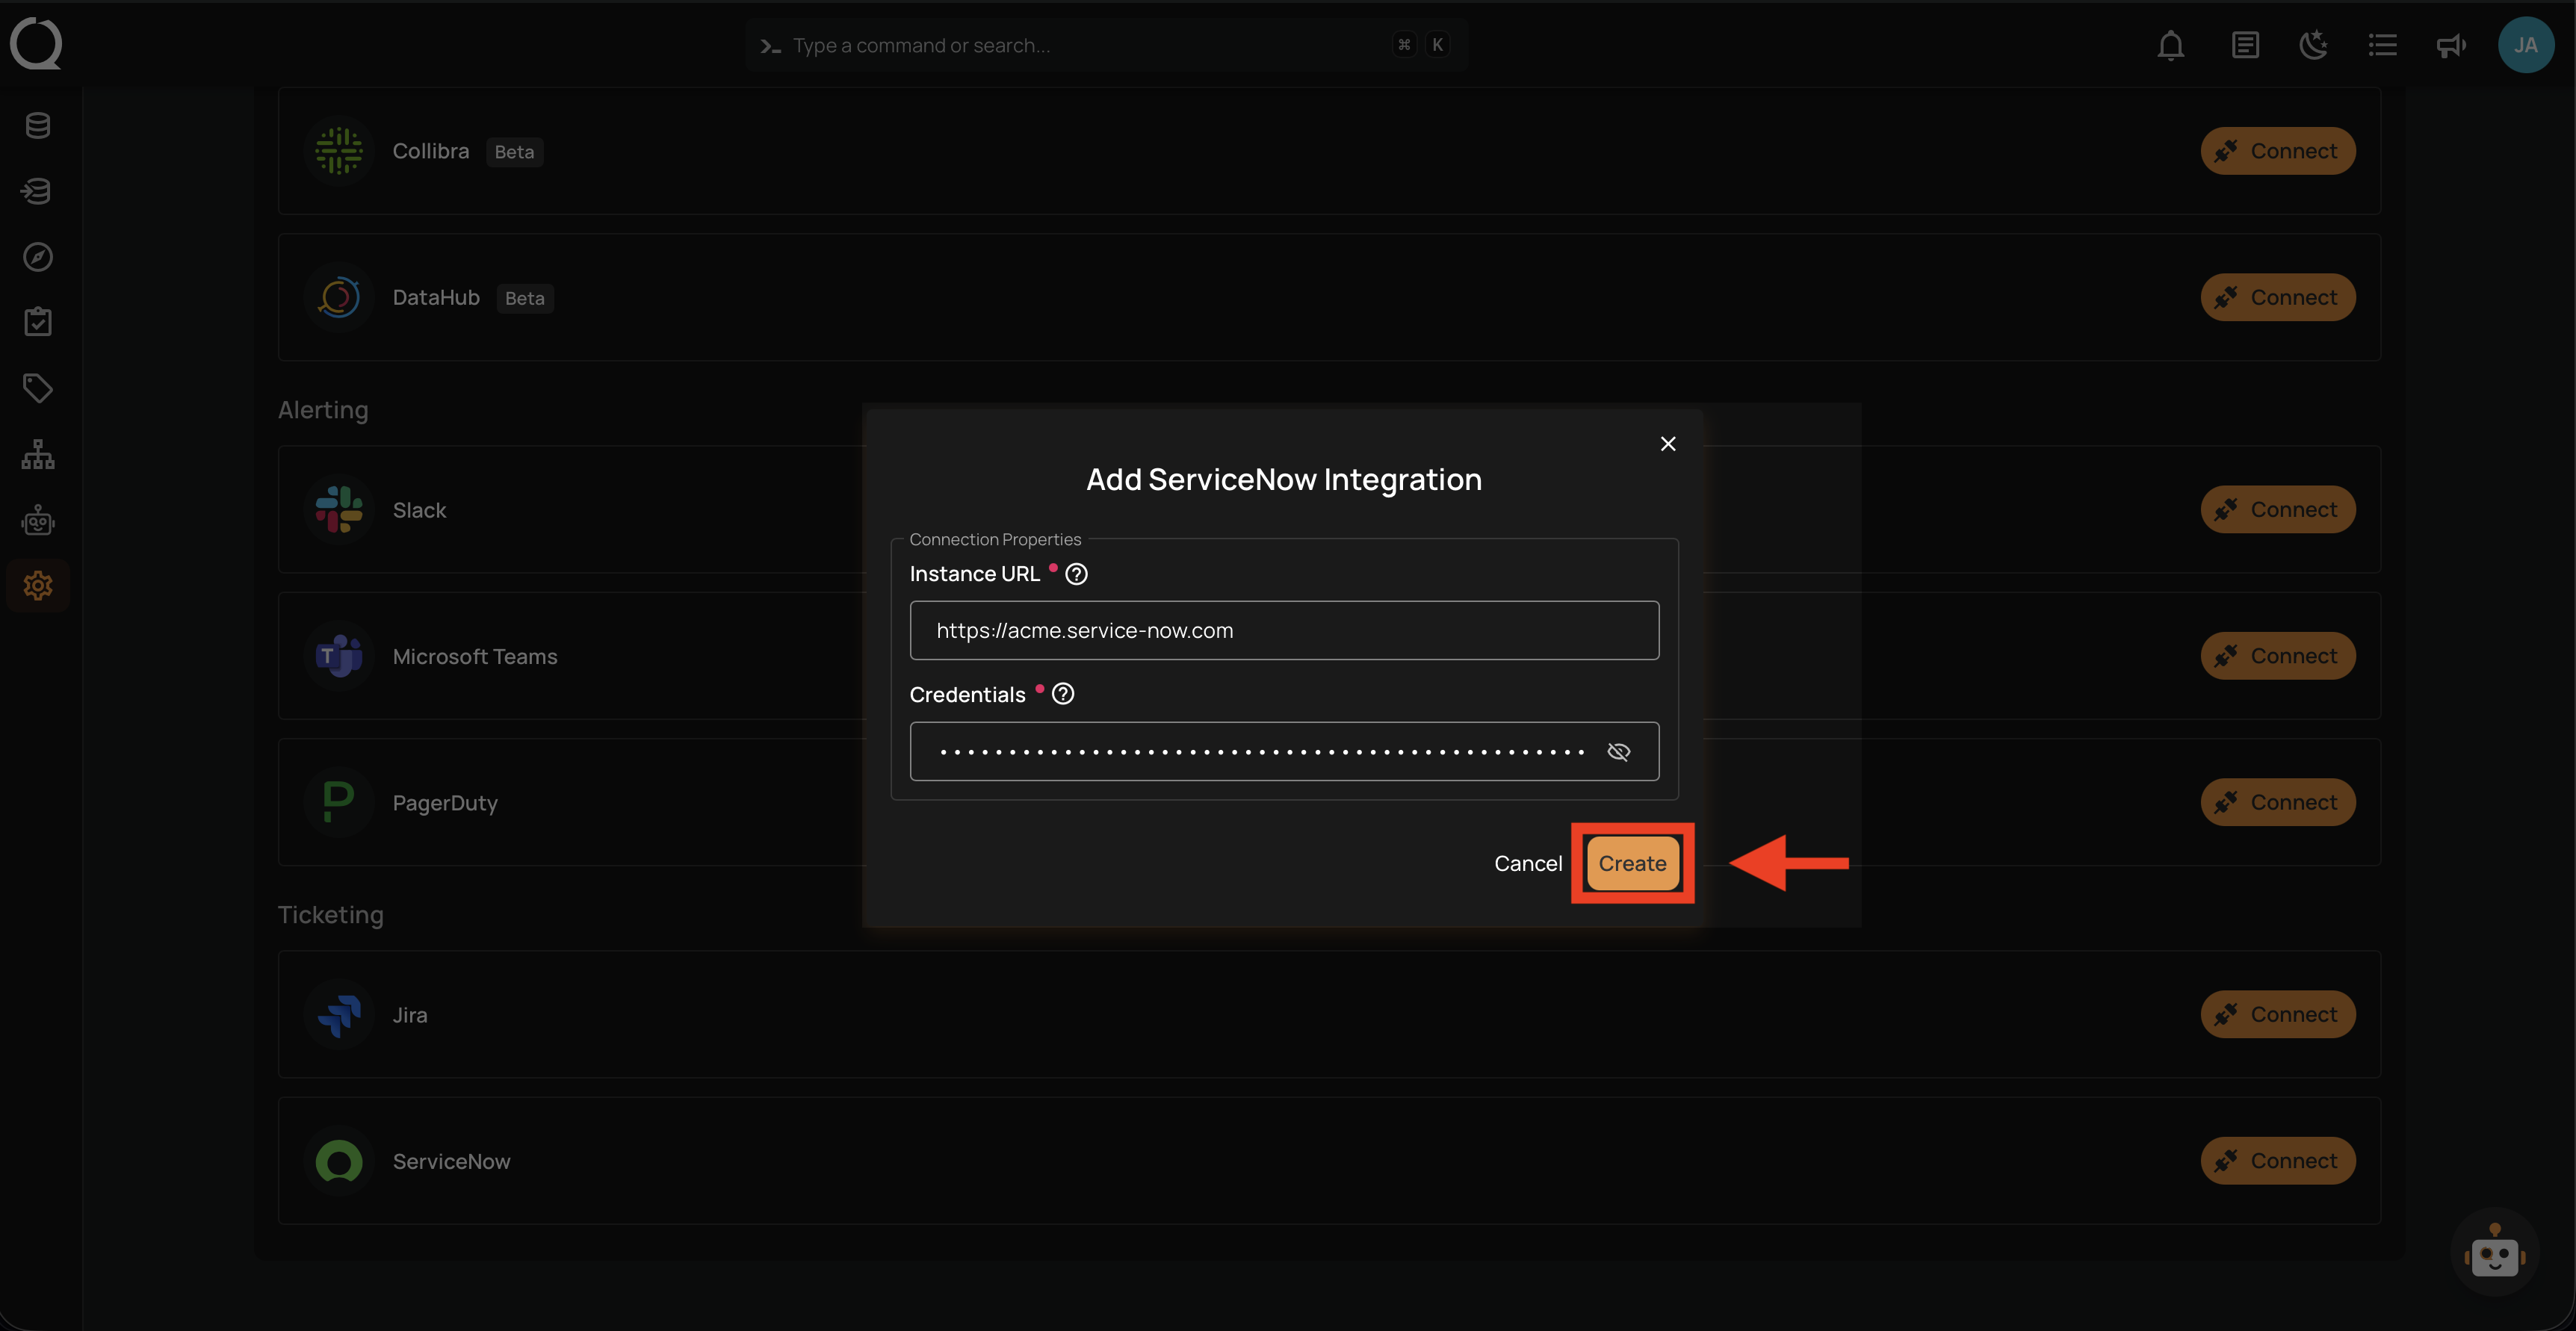
Step 4: A success message appears and the ServiceNow entry shows as Connected with your instance URL.

Test the Connection
After saving, the connection status should show as Connected. If you encounter errors, verify:
- Instance URL is correct and includes
https://(no trailing slash) - Credentials are in the correct format (
username:password) - Service account has required roles
- Network connectivity allows Qualytics to reach ServiceNow
When the integration is created, Qualytics validates the connection by making a test request to the ServiceNow API (GET /api/now/table/incident?sysparm_limit=1).