Unassign a Datastore from a Group
This guide walks you through the steps to unassign a datastore from its current group. The datastore is not deleted - it simply moves to the ungrouped list at the bottom of the tree view.
Note
You need the Member user role and Editor team permission on the datastore to unassign it from a group. See the Permissions page for details.
Shared Button
Assigning and unassigning use the same Assign to group button and dropdown in the UI. To assign, you select a group; to unassign, you click the Close button on the currently selected group.
Steps
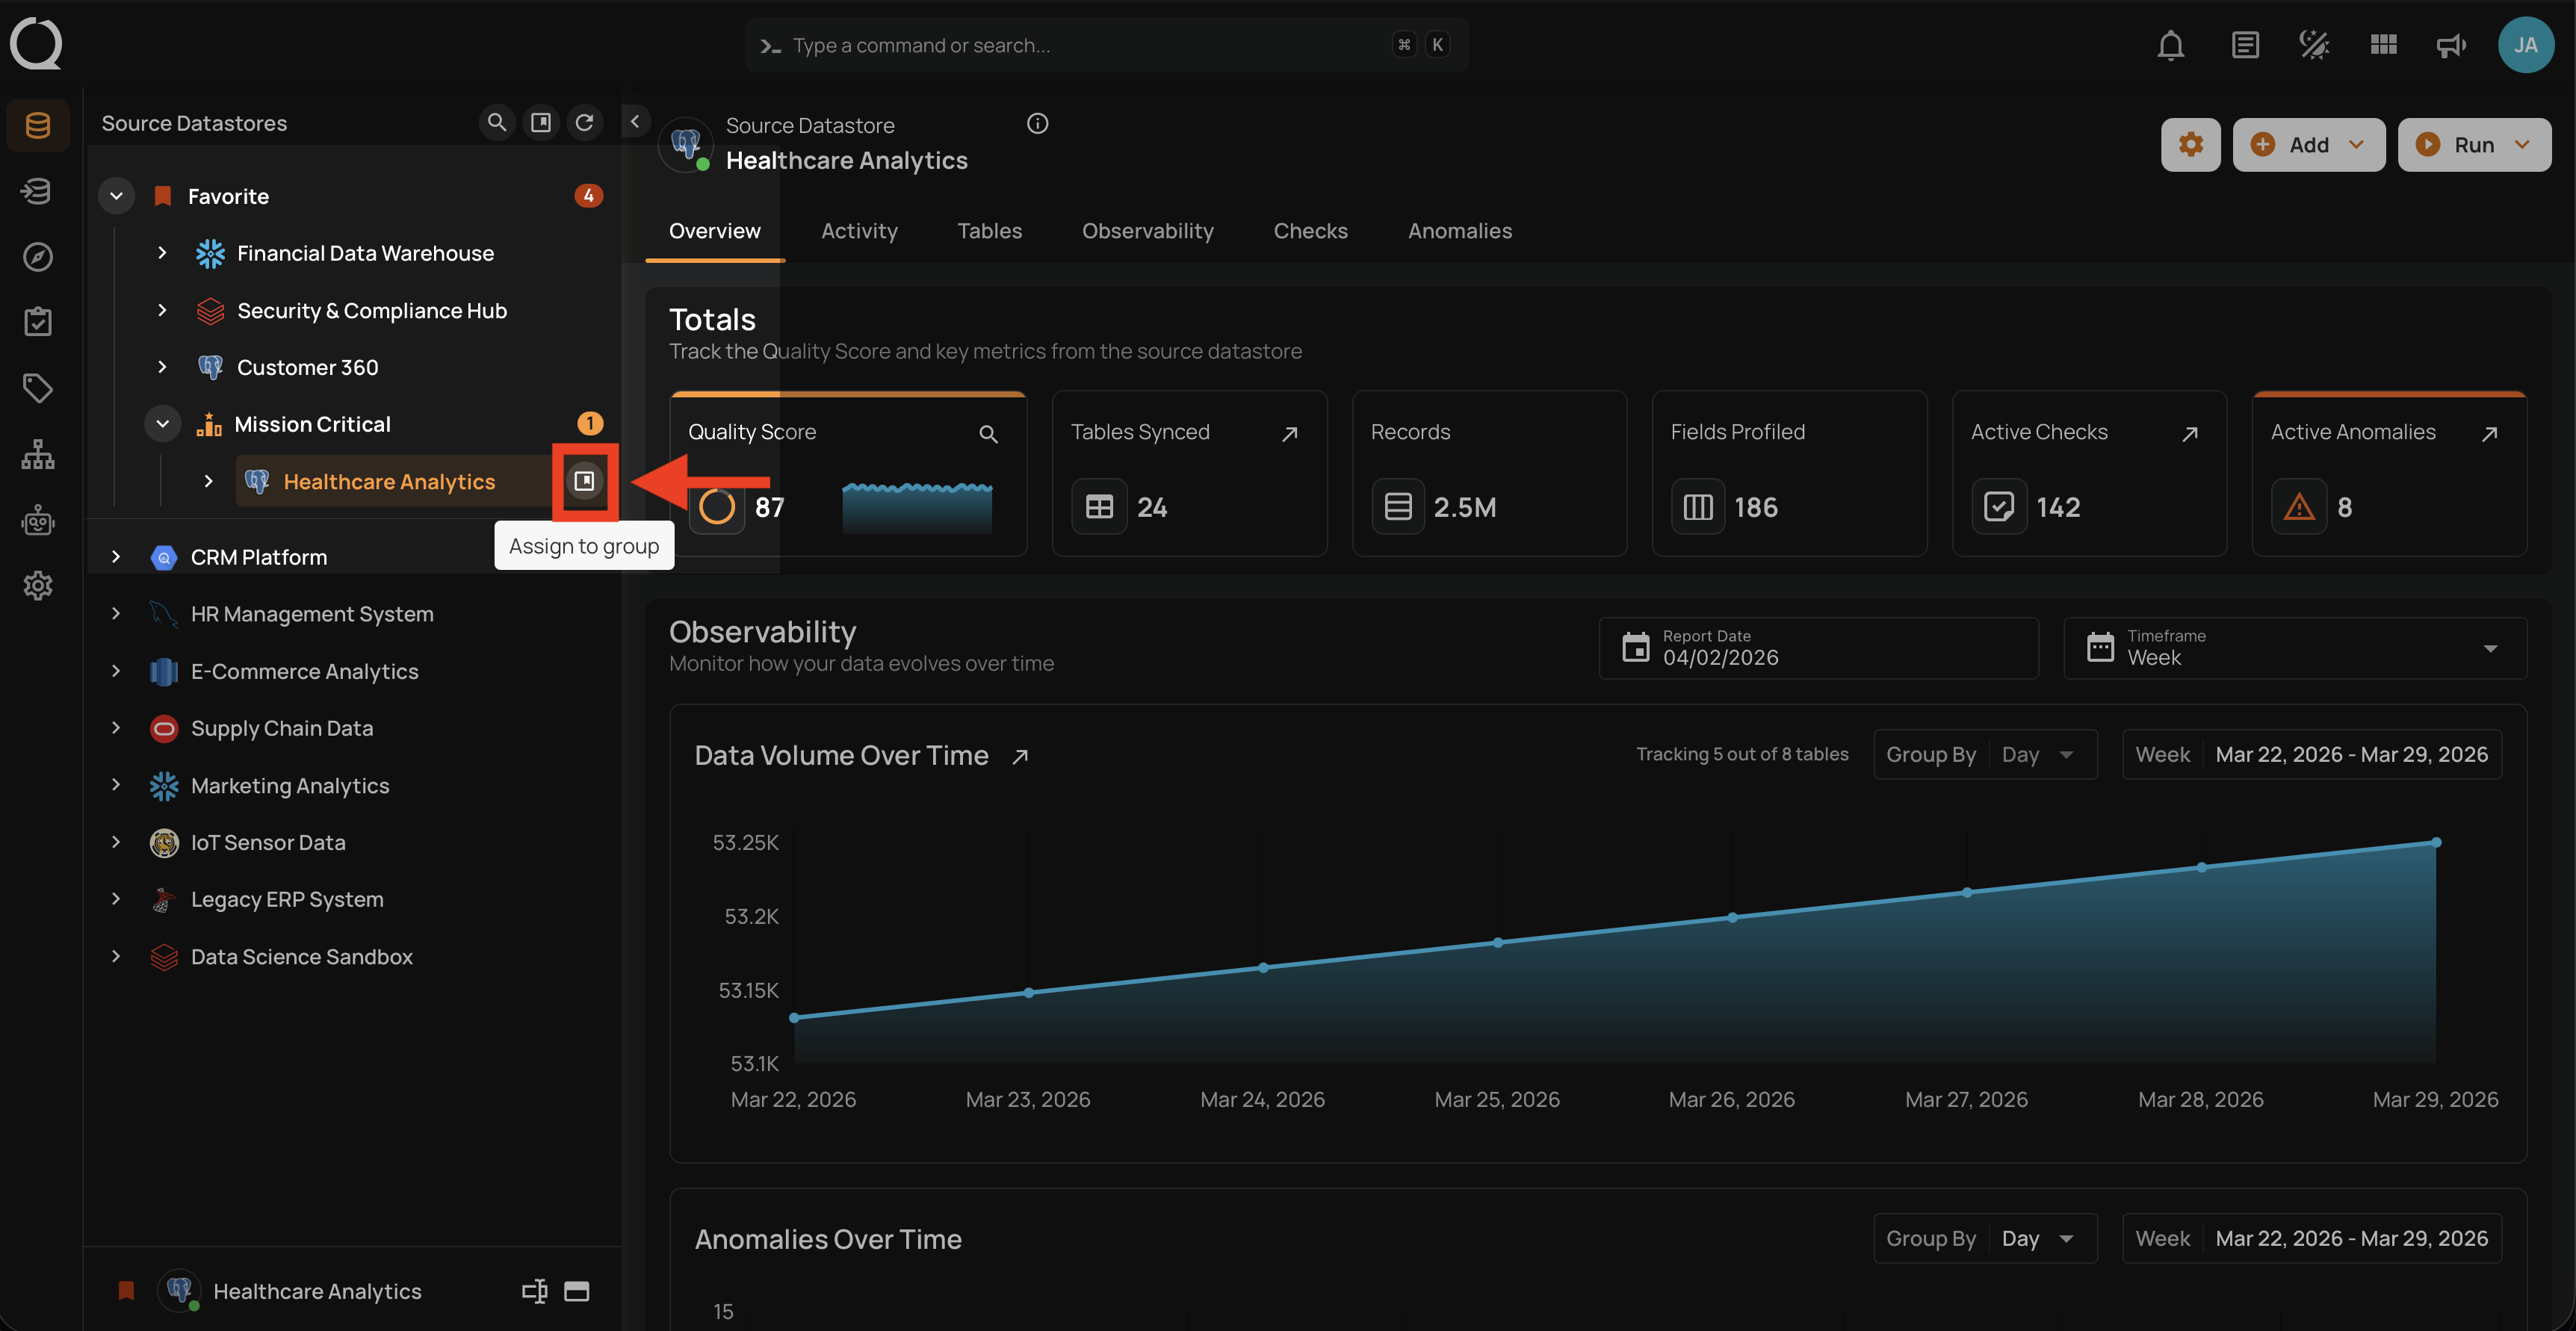
Step 1: In the tree view, hover over the datastore you want to unassign from its group. The Assign to group button will appear on the right side of the datastore row.
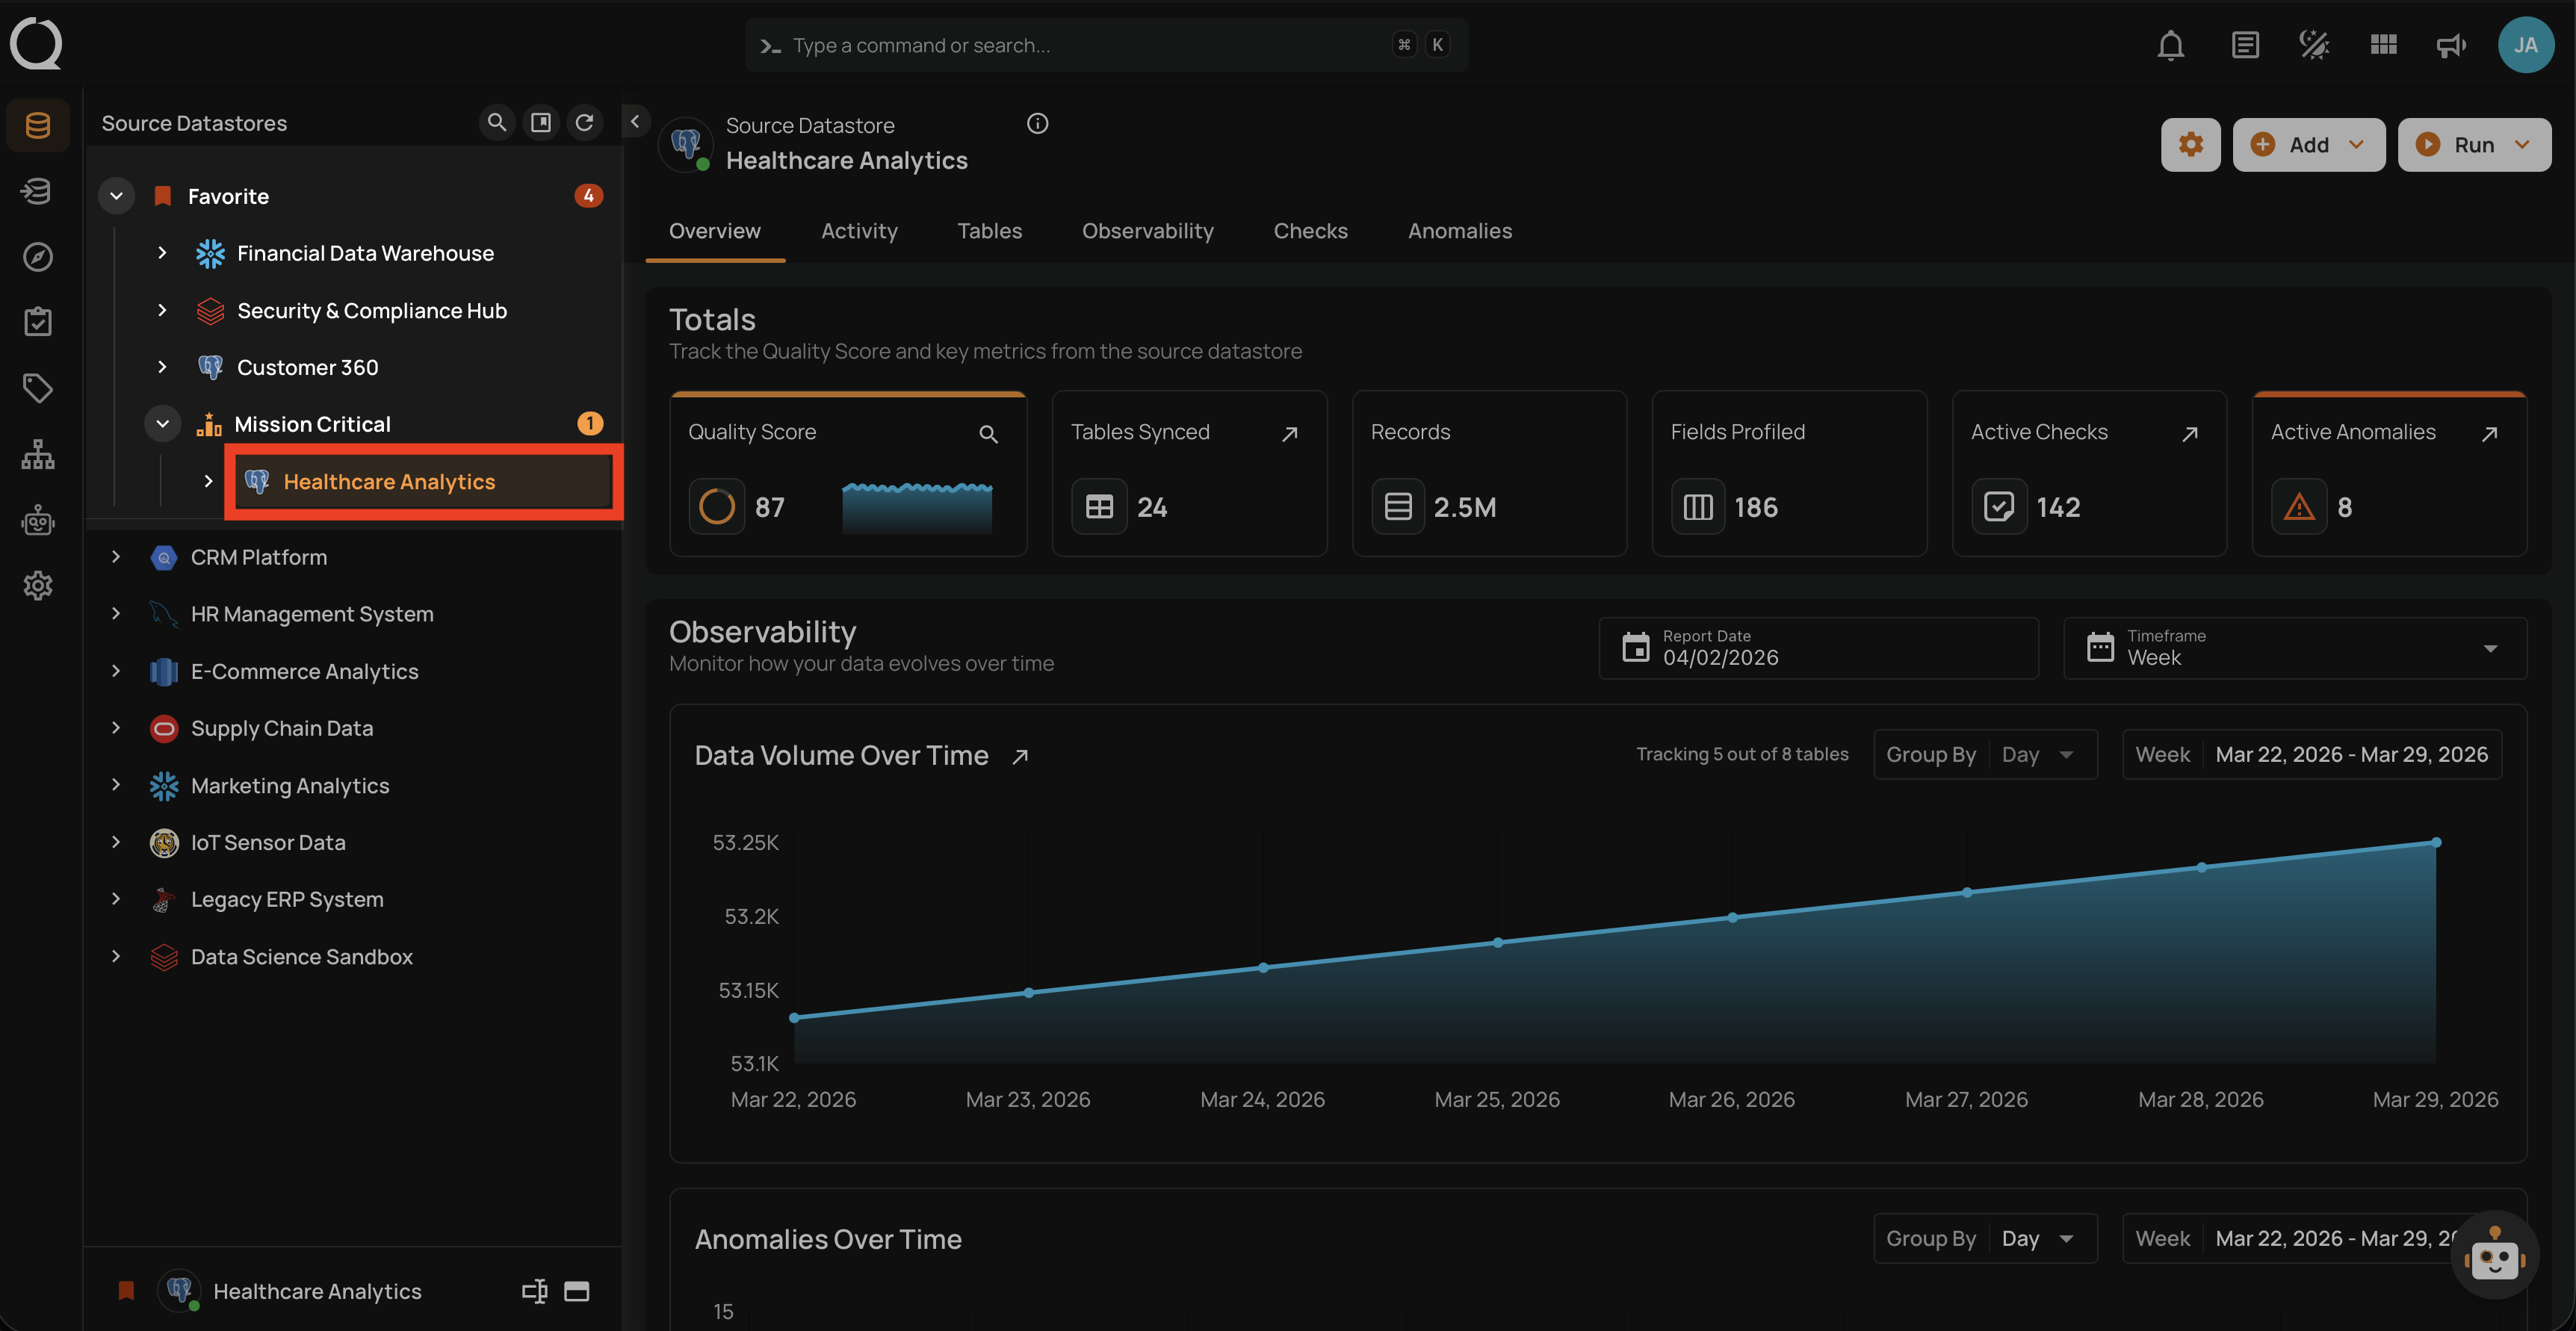
Step 2: Click the Assign to group button.
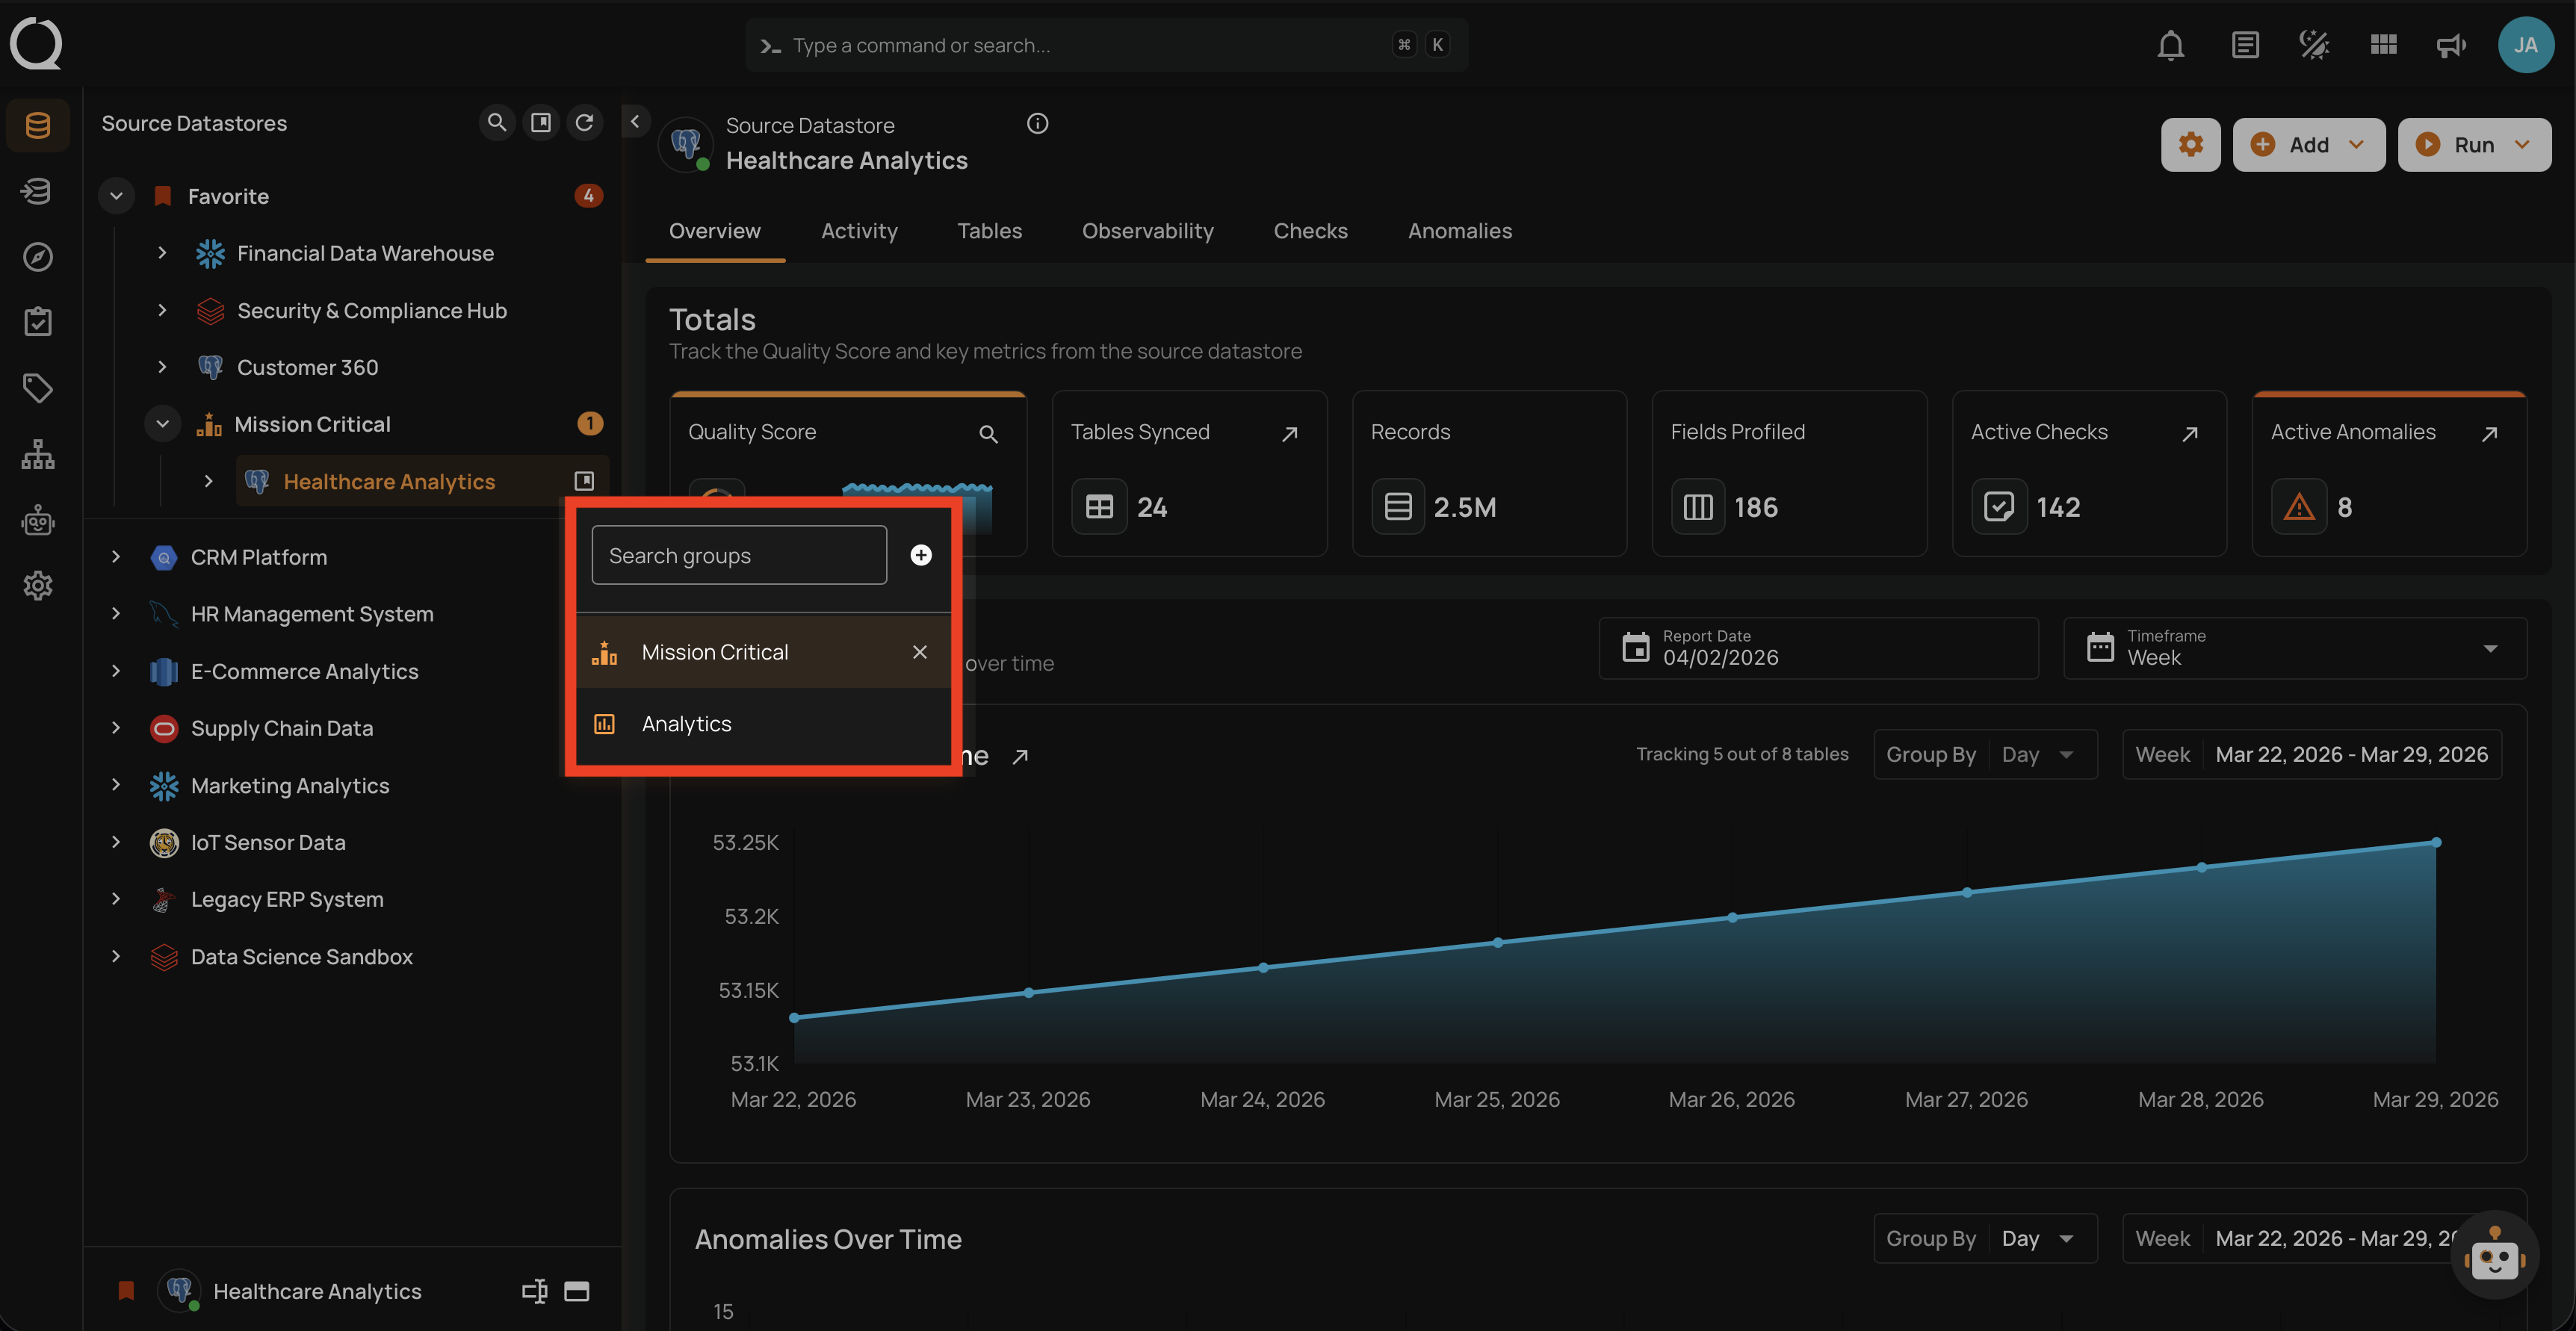
Step 3: A dropdown will appear showing the available groups. The currently assigned group is highlighted. Use the search field to find groups by name.
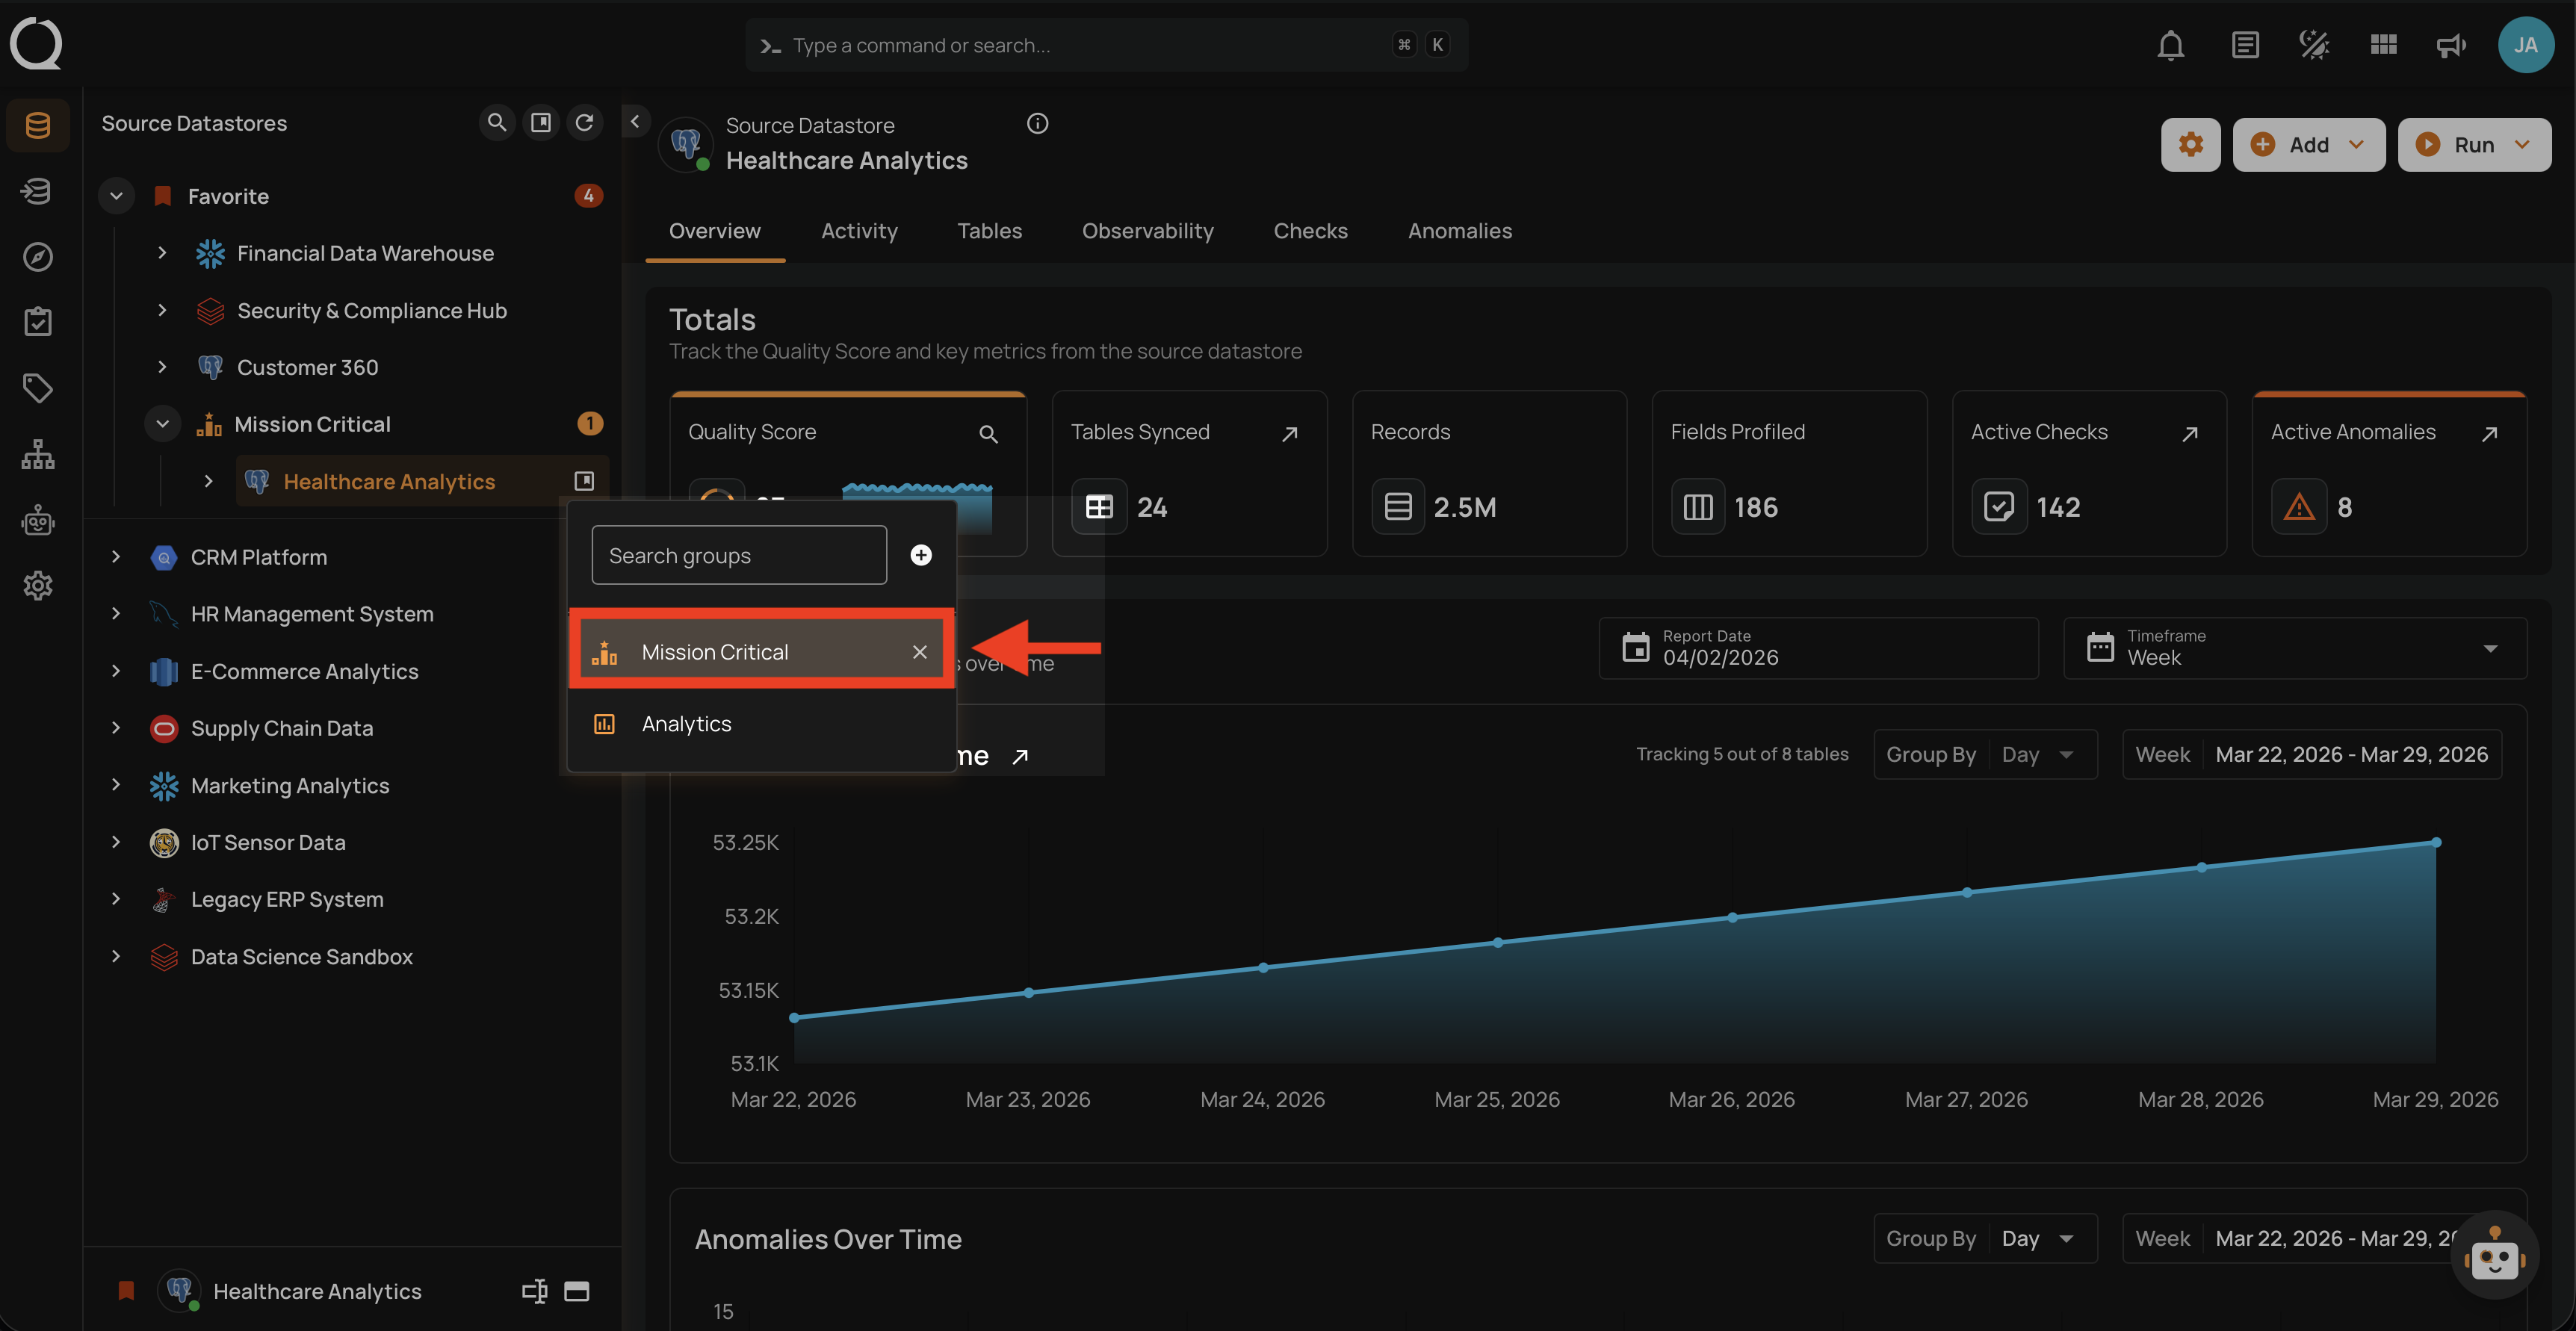
Step 4: Click the Close button on the right side of the currently assigned group to unassign the datastore from it. The removal is immediate - no confirmation is required.
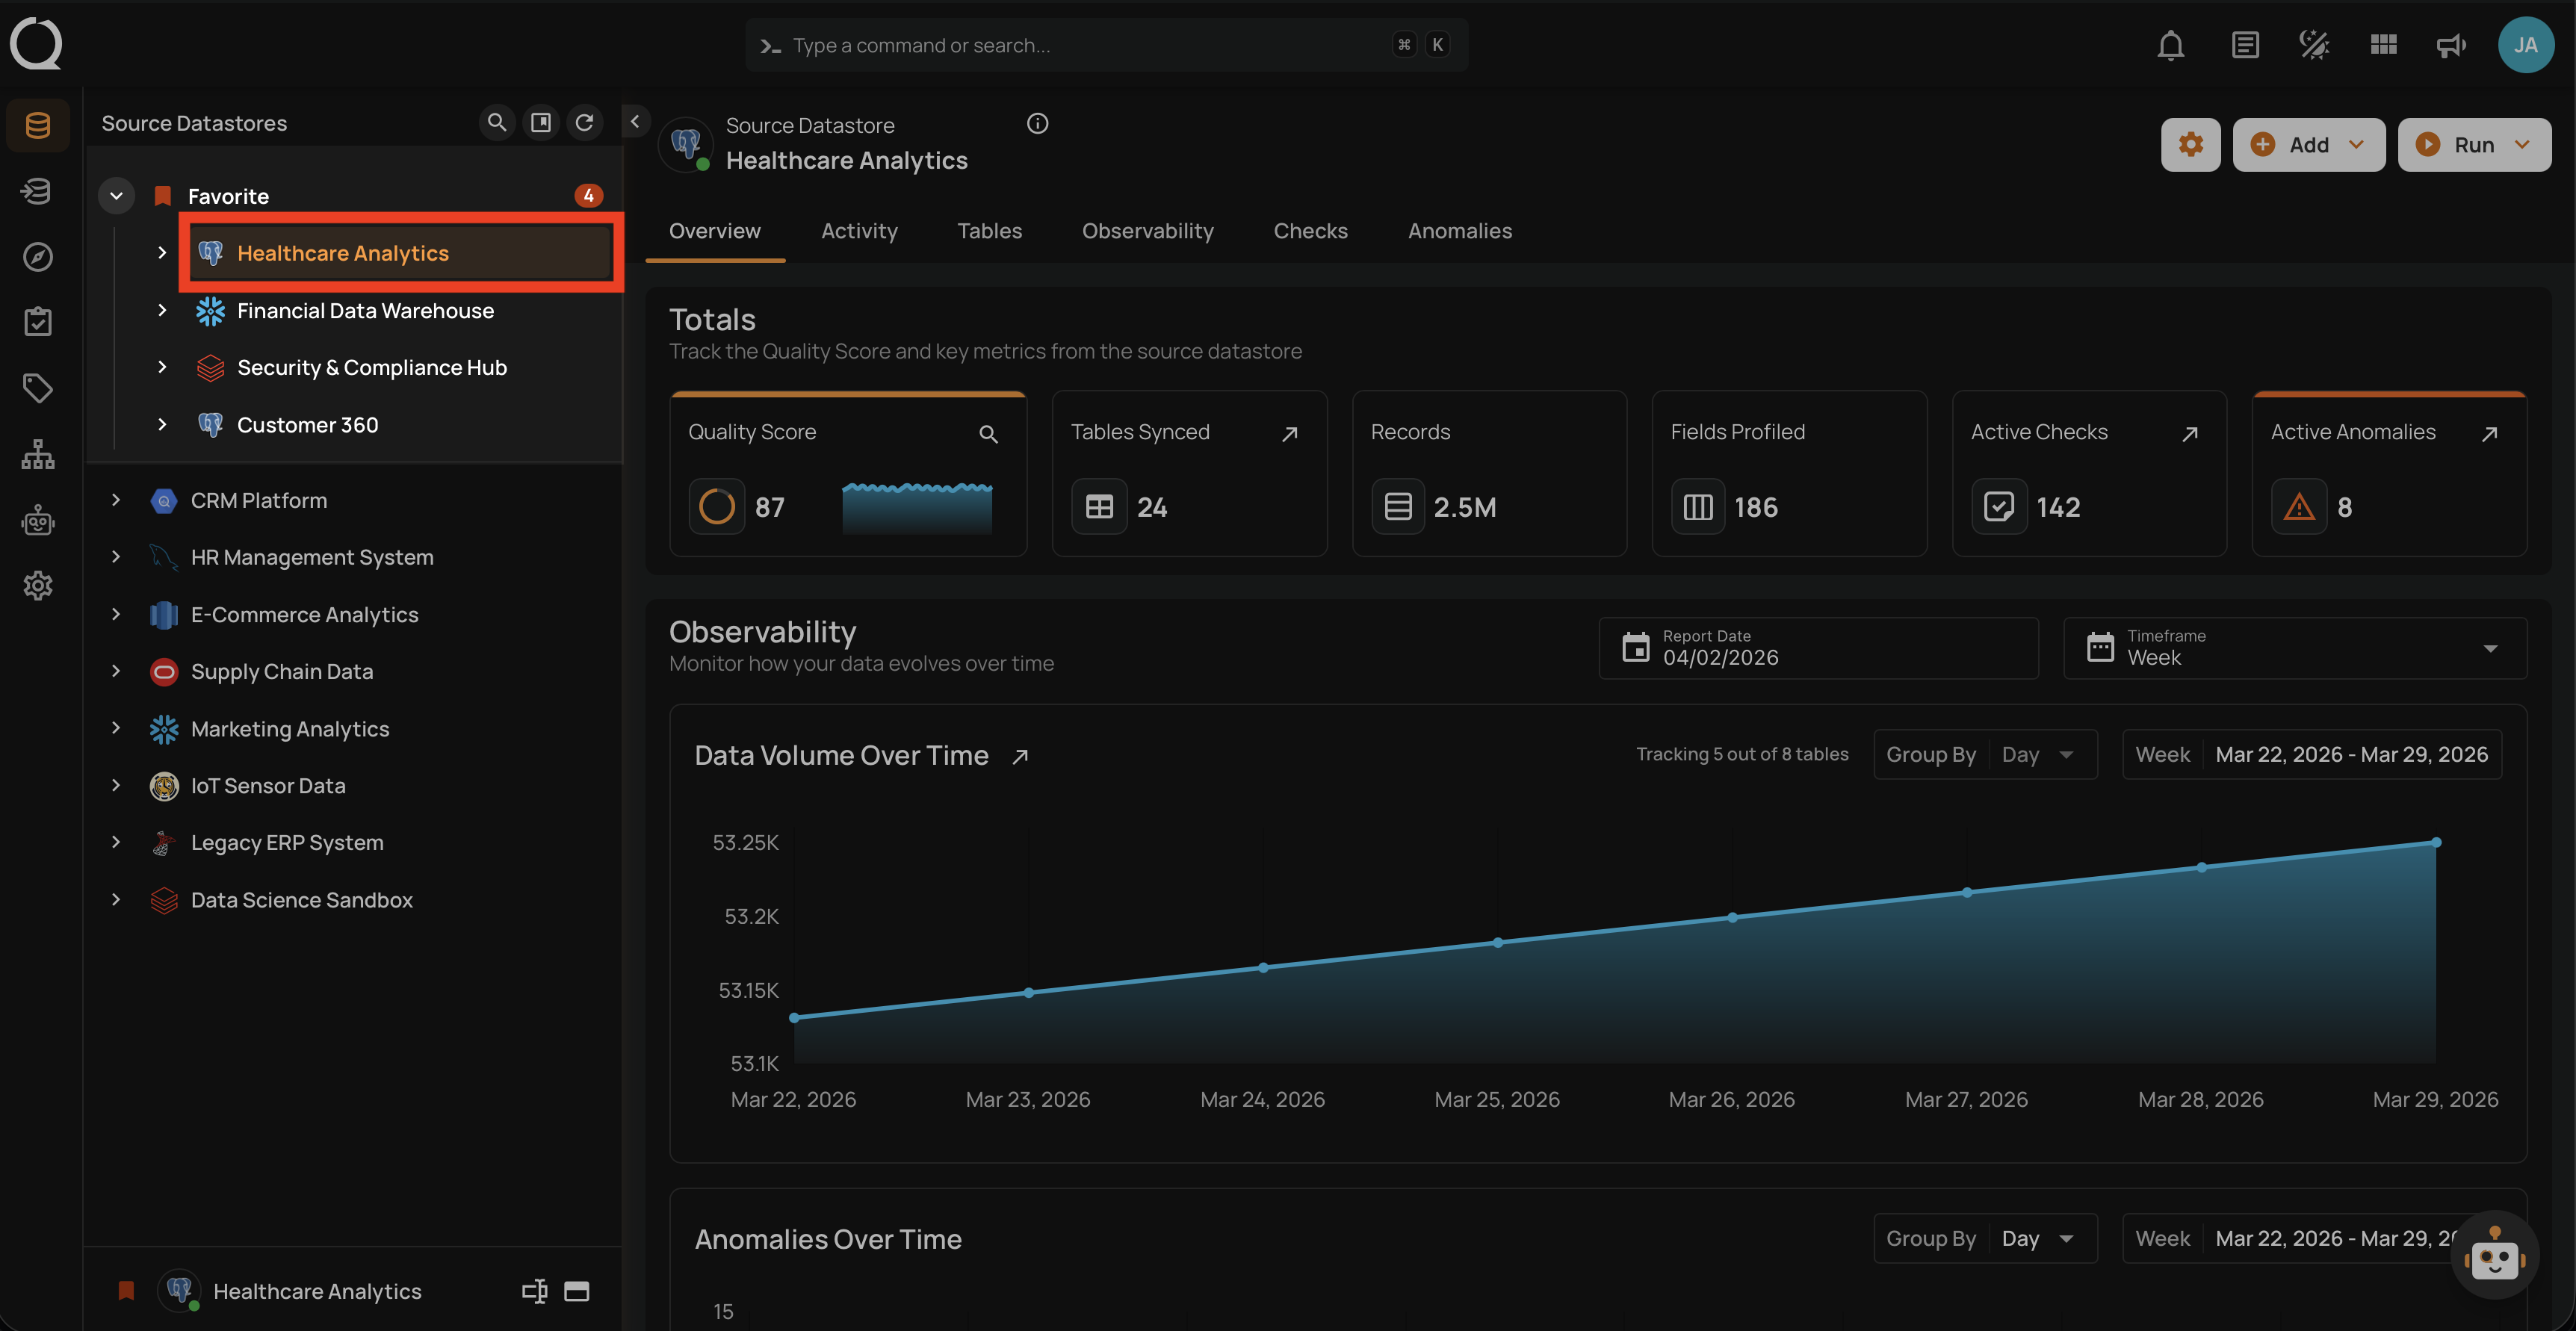
Step 5: The datastore moves to the ungrouped list at the bottom of the tree view (or to the Favorites section if it is favorited).
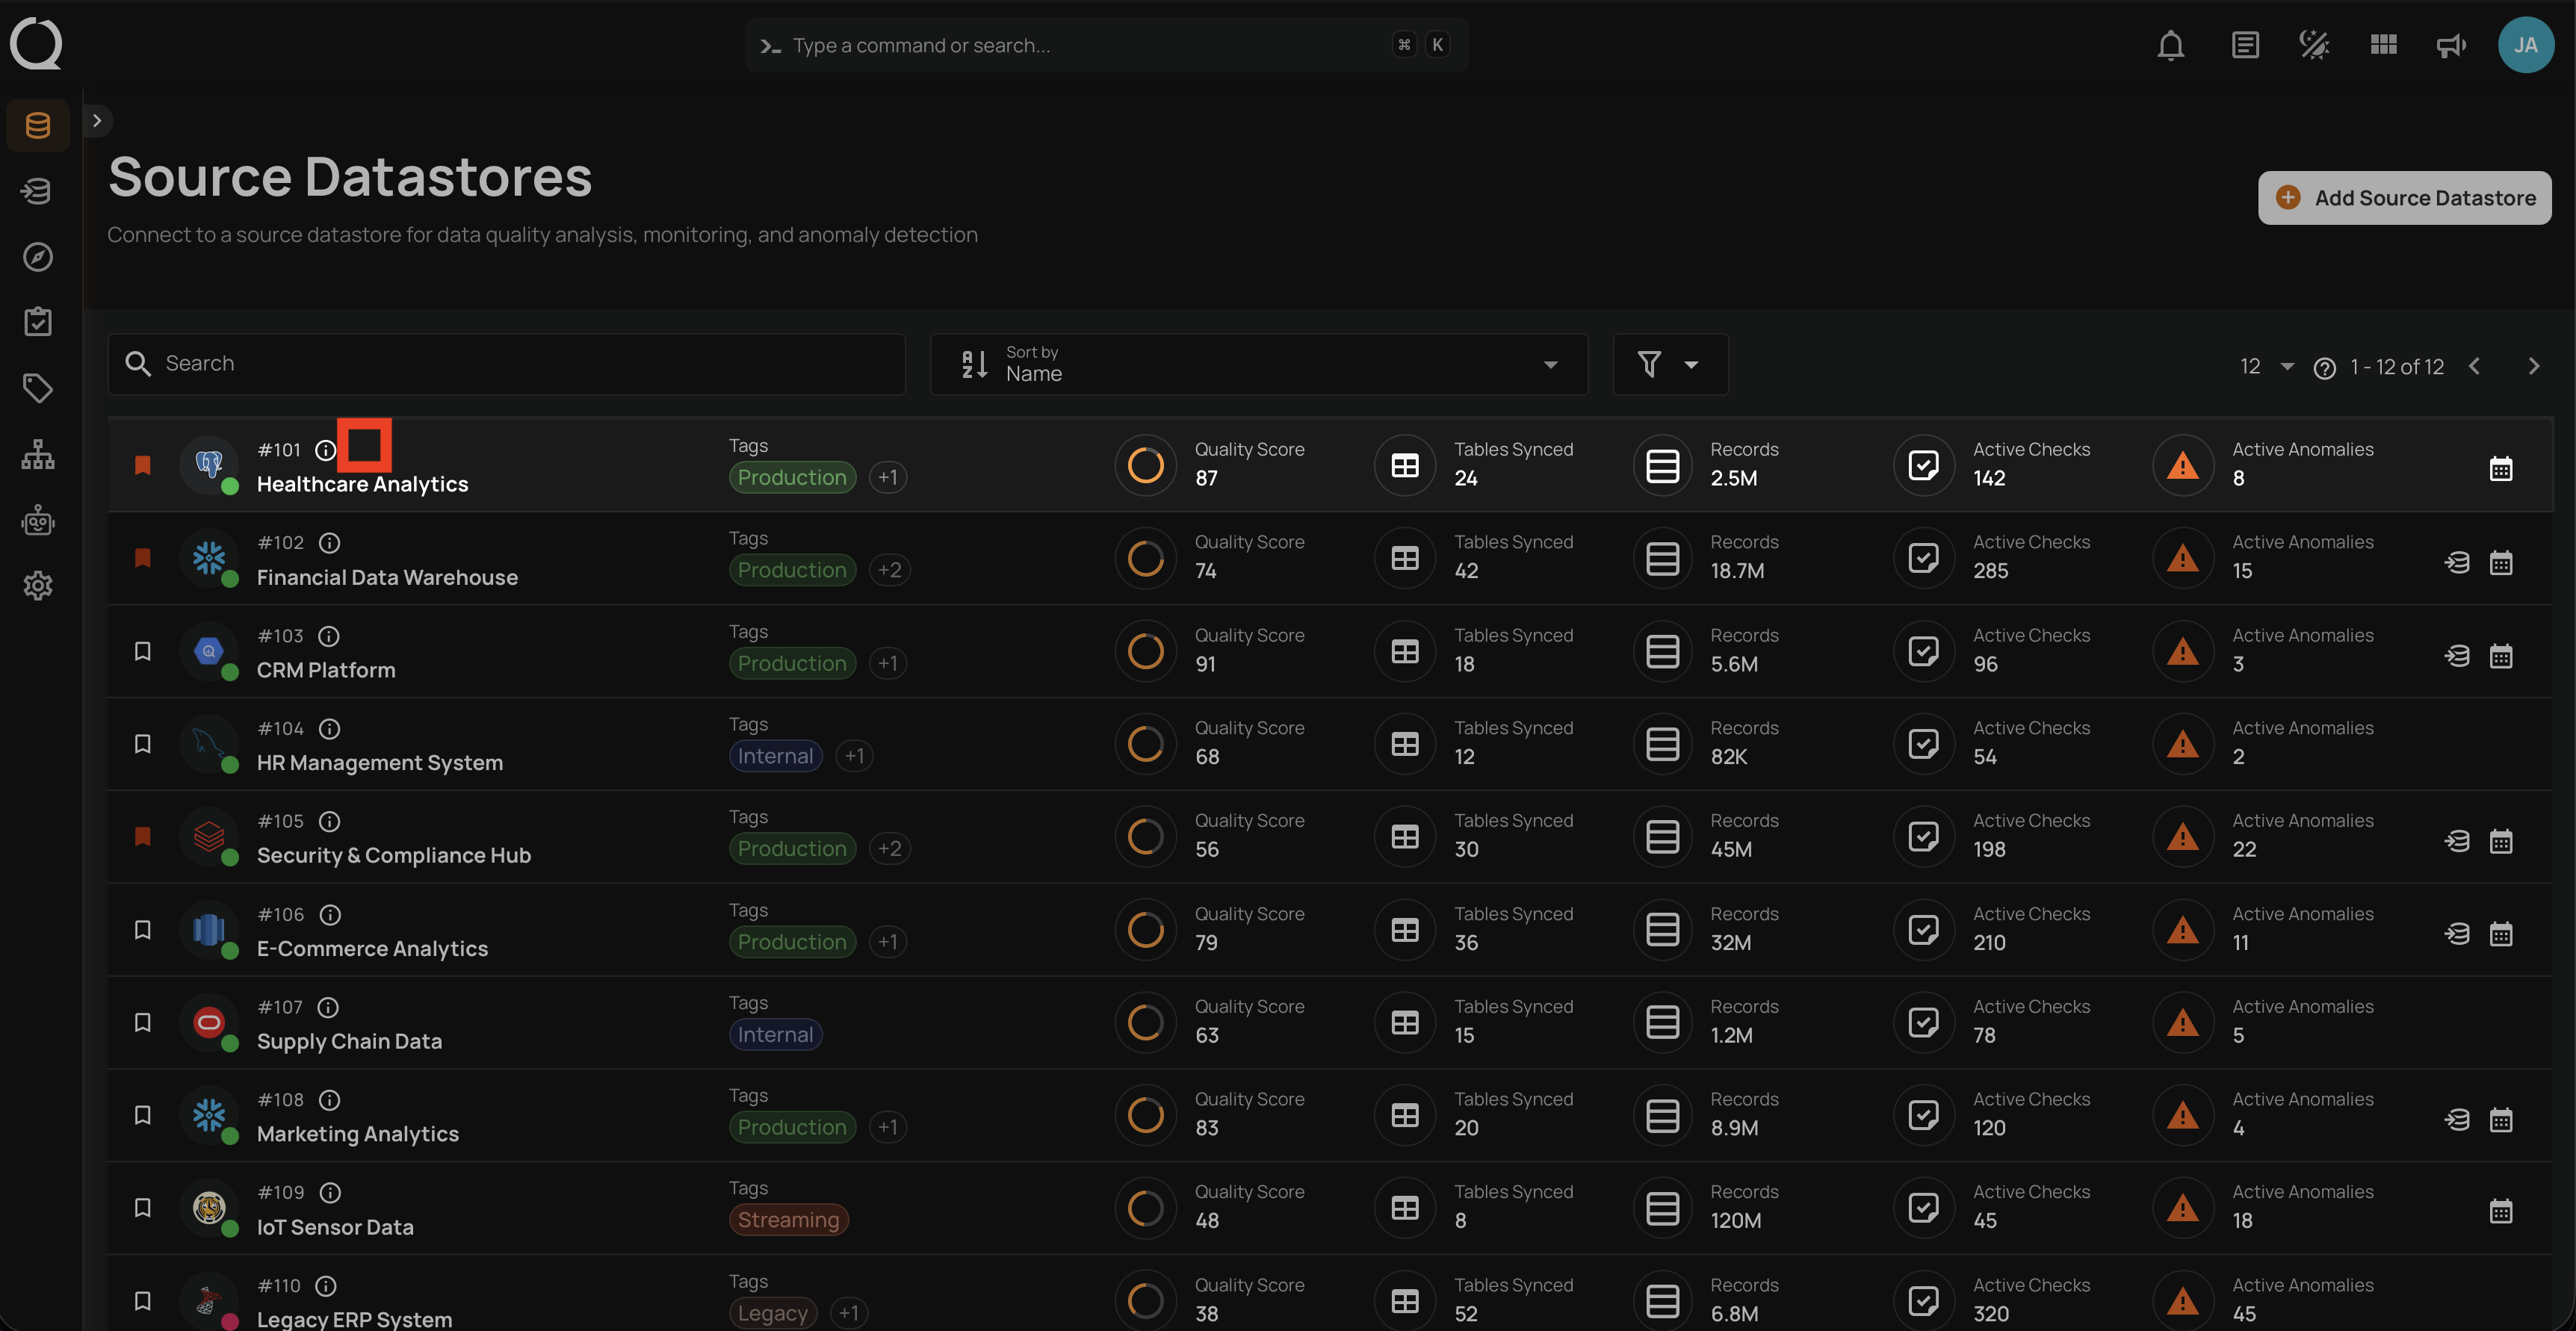
Step 6: The group icon is no longer displayed next to the datastore in the Datastores listing page.
Tip
To move a datastore to a different group instead of ungrouping it, simply select the new group from the dropdown - no need to unassign from the current group first.
Assign a Datastore to a Group
To assign a datastore to a group, see the Assign a Datastore to a Group documentation.