Email
The Email integration lets Qualytics send email through your own email (SMTP) server, with your own sender address, instead of the email service your deployment provides. Connect it when every message the platform sends, from Flow notifications to user invitations, should come from your organization's mail service.
Let's get started 🚀
Permissions
Settings > Integrations is available only to users with the Manager or Admin role, and both can connect, configure, and disconnect integrations. There is no view-only access: a user with the Member role does not see the Integrations tab.
How Email Delivery Works
Qualytics resolves the delivery settings every time it sends an email, in this order:
- Email integration: when an Email integration is saved, every email is sent through your server with your sender address.
- Deployment email service: without an Email integration, email is sent through the email service configured for your deployment, when it has one. Self-hosted deployments configure one at installation time. See SMTP Configuration.
- Not configured: if neither is available, no email is sent. Nothing is queued and nothing is retried.
The two sources never mix. Whichever one applies supplies the server, port, sender address, credentials, and certificate behavior together, so you cannot keep your deployment's sender address while overriding only the server. Your own server has to carry its own complete settings.
Settings you save on the integration apply to the next email that goes out, with no restart.
What Email Covers
Qualytics sends email in six situations. Five of them use the settings resolved above. The Validate button is the exception: it tests the values currently in the form, which is what lets it work before anything is saved.
| Sent to | |
|---|---|
| A Flow Email notification action firing on a real event | The addresses configured on the action |
| The Test Notification button on a Flow Email action | The same addresses, with sample data, on demand |
| The Validate button on this integration | The email address on your own account, and no one else |
| An email AgentQ sends when a Manager or Admin asks it to notify someone | The addresses given in the request |
| A user invitation | The invited person |
| A password reset link | The address the reset was requested for |
Connecting an Email integration changes the server and the sender address for all six, not only Flow notifications, so invitations and password reset links start coming from your server too. The display name stays Qualytics Platform and only the address changes, so recipients see Qualytics Platform <your sender address>. Flow notifications, invitations, and password reset links arrive formatted in the Qualytics layout, each with a plain-text copy for clients that do not render HTML; the validation email and the email AgentQ sends stay plain text. None of them carry attachments. Nothing else in the platform sends email.
Reading the Email Row
The Email row under Alerting in Settings > Integrations has four states, and its controls tell you which one you are in:
| What the row shows | What it means | Available actions |
|---|---|---|
| Connected indicator, nothing below Email | Email is delivered through your deployment's email service | Configure |
| Connected indicator, Custom badge beside Email, your server name below it | Your own server is overriding your deployment's email service | Configure |
| Connected indicator, your server name below Email, no Custom badge | Your own server handles all email, and your deployment has none of its own | Edit, Disconnect |
| Connect button and no options menu | No email service is configured, so no email is sent | Connect |
Three things the row does not tell you:
- It never shows the sender address. Your own server's address is in the Sender Email field inside the dialog, and your deployment's is named in the note that appears there while Use a custom SMTP server is off.
- The Connected indicator looks the same whether your deployment's email service or your own server is delivering. The Custom badge and the server name are what separate them.
- The Connect button appears both when no email service is configured and when the status of your deployment's email service could not be read. If you expect your deployment to provide one, reload the page before concluding that it does not.
Note
The Custom badge marks an override of a deployment email service, not the use of your own server in general. On a deployment with no email service of its own, a saved server handles every email and no badge appears.
Navigation to Integration
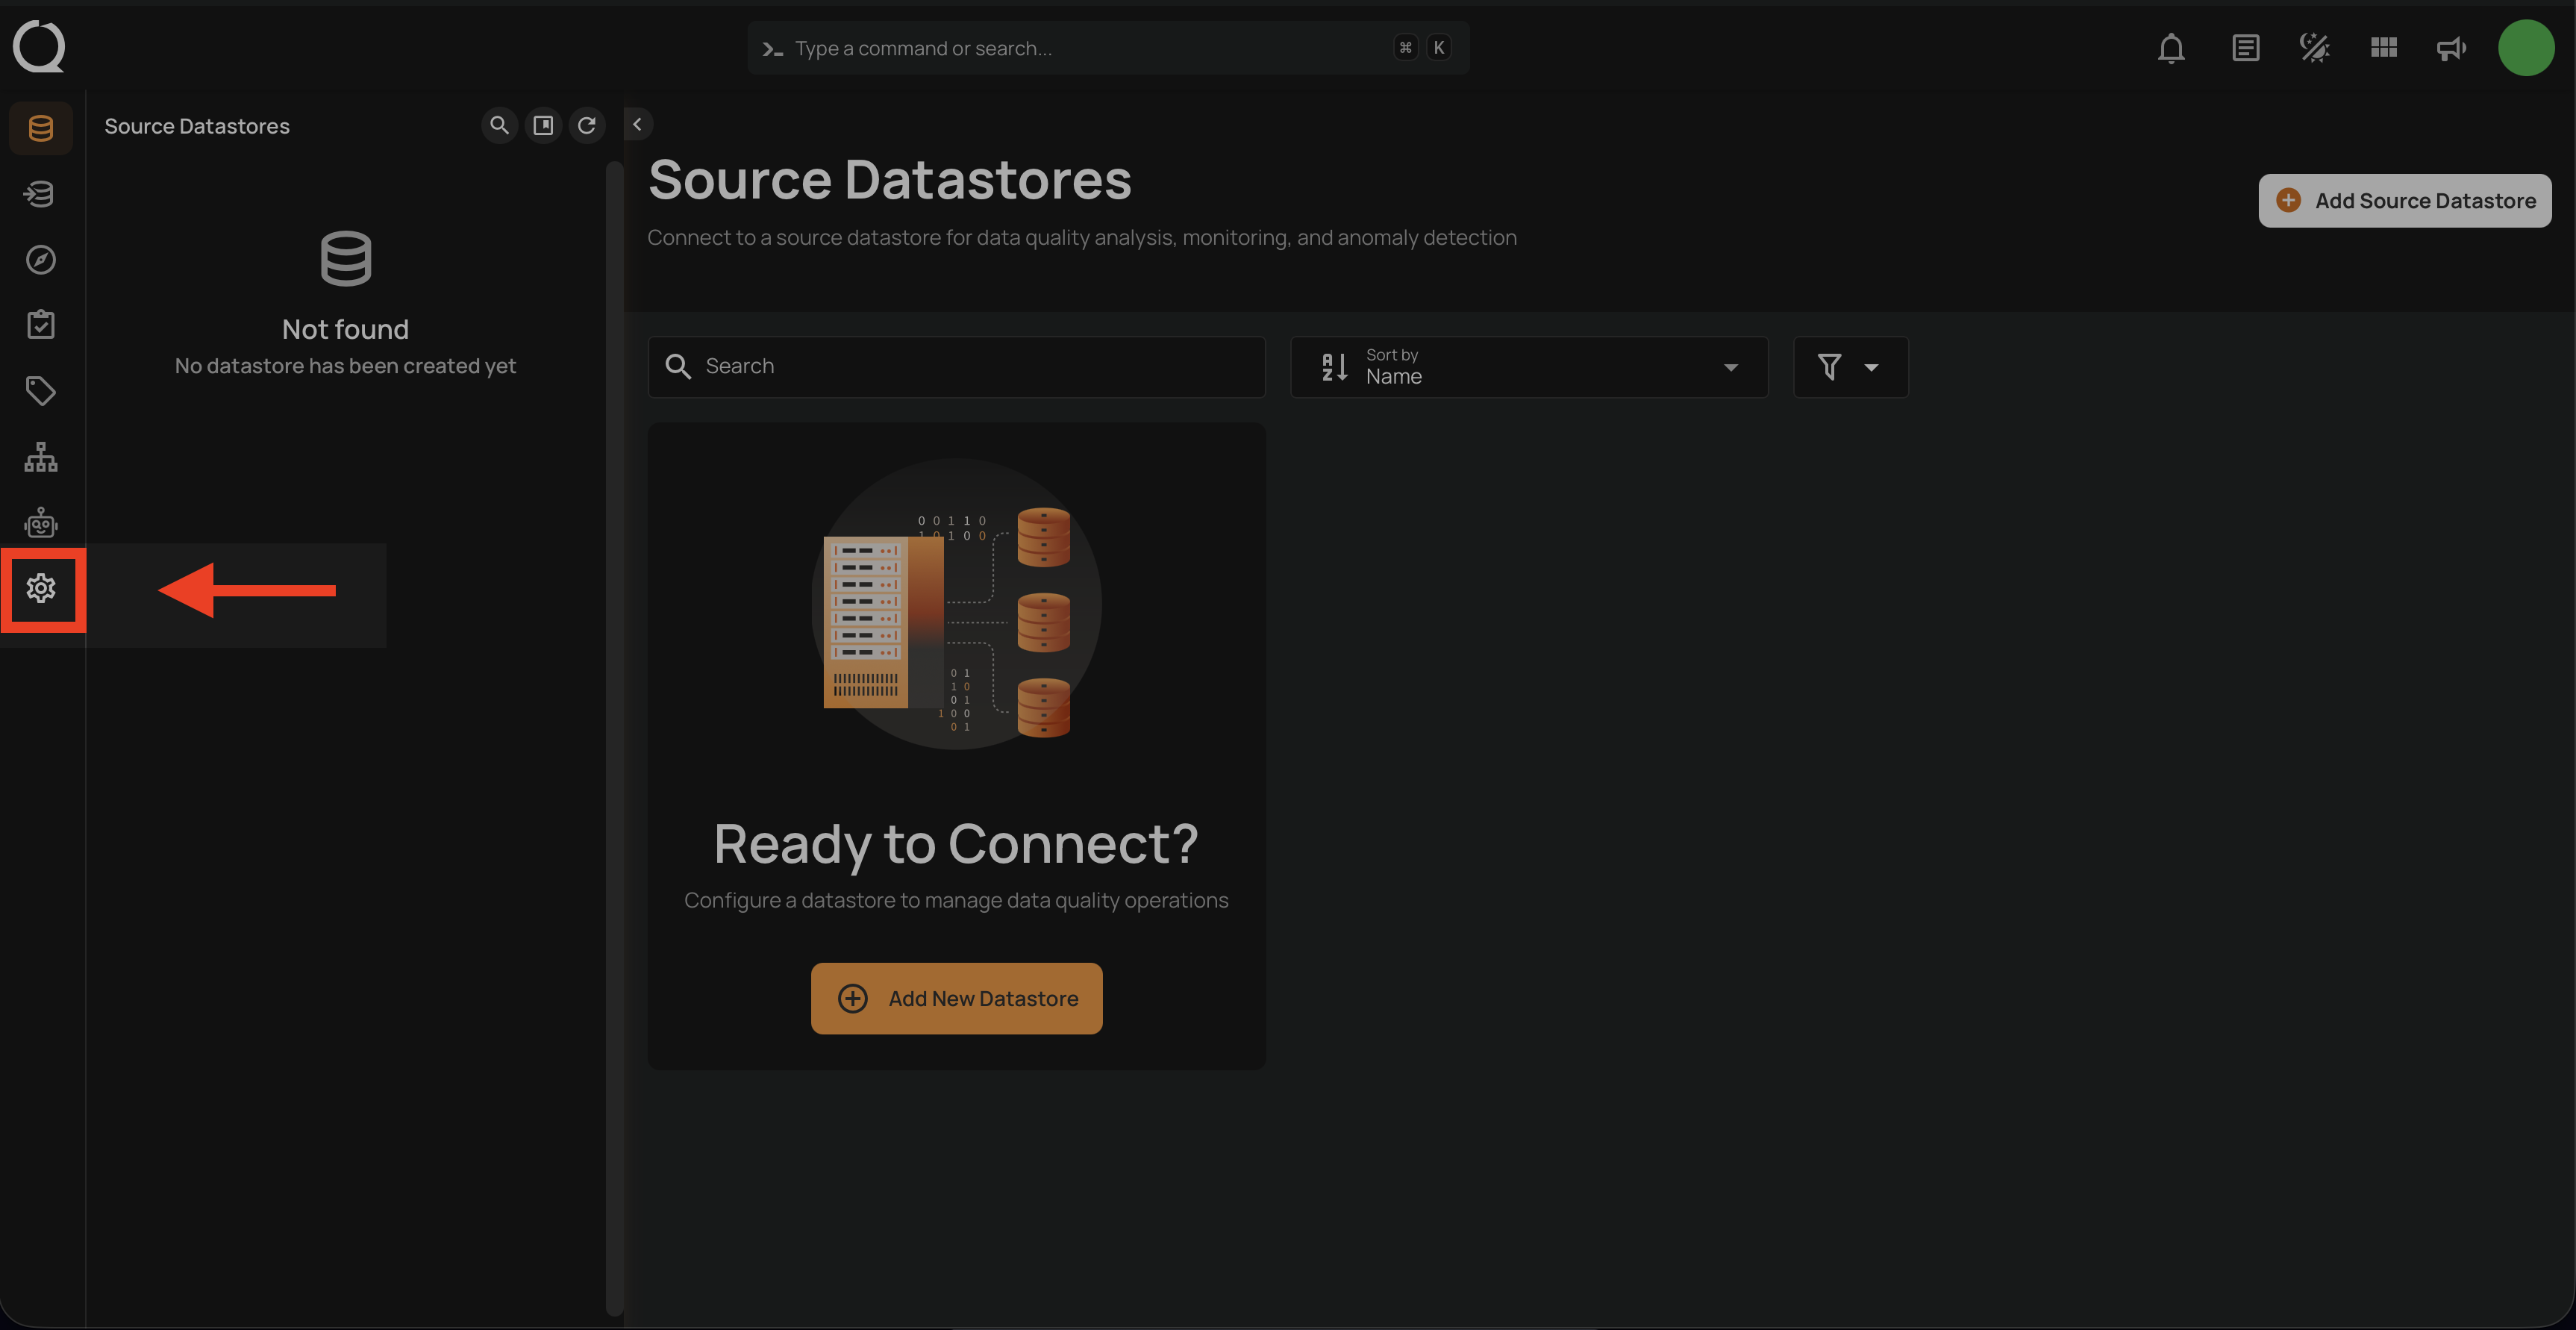
Step 1: Log in to your Qualytics account and click the "Settings" button on the left side panel of the interface.
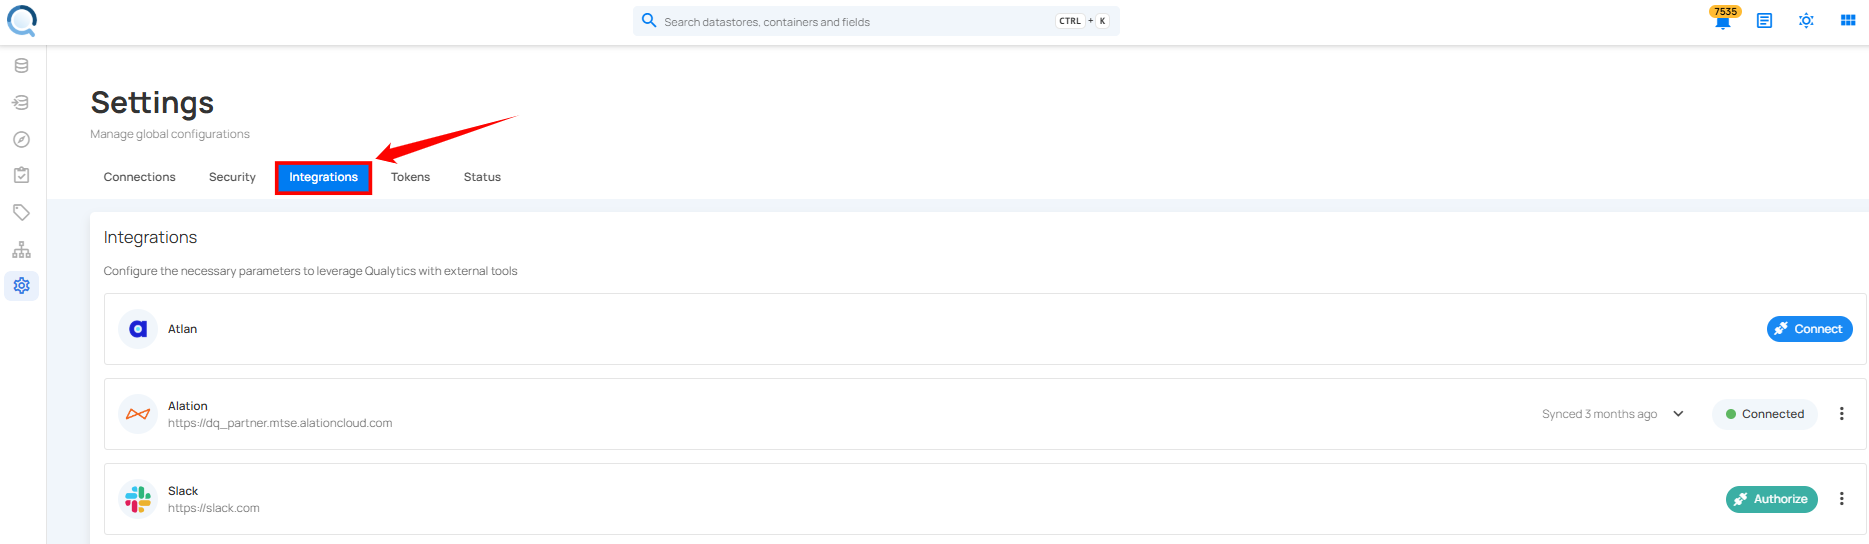
Step 2: By default, Connections tab will open. Click on the Integrations tab.
Connect Email Integration
How you open the dialog depends on whether your deployment already provides an email service. The Email row tells you which case applies.
Step 1: Open the Configure Email Integration dialog.
The Email row already shows the Connected indicator, so there is no Connect button.
Click More options on the Email row and select Configure .
The dialog opens with a note stating that email is sent through the email service configured for this deployment. The note also names the address it sends from, when the deployment has one set.
Turn on Use a custom SMTP server. The connection properties appear below the switch.
Click the Connect button next to Email under the Alerting section.
The dialog opens with the connection properties already visible, inside a Connection Properties group, and with no switch.
The dialog is titled Configure Email Integration in both cases, whether you are setting a server up for the first time or changing one you saved earlier.
Step 2: Fill out the connection properties:
| No. | Field Name | Description |
|---|---|---|
| 1. | SMTP Server | The hostname of your email server (e.g., smtp.example.com). Enter the bare hostname, without http:// or https://. |
| 2. | Port | The connection port, selected from a list. 465 uses implicit TLS and is selected by default, 587 uses STARTTLS, and 25 is plain SMTP. Port 25 is unencrypted and sends credentials in cleartext, so it is not recommended. No other port is accepted, and the port you select is what decides how the connection is secured. |
| 3. | Sender Email | The From address for email sent by Qualytics (e.g., no-reply@yourcompany.com). |
| 4. | Username | The username used to sign in to your email server. |
| 5. | Password | The password for that username, used to sign in to your email server. |
| 6. | Verify TLS Certificates | Enabled by default, and the only optional field. Turn it off only when your email server uses a self-signed or private certificate. This setting applies to the Email integration only and does not affect any other connection. When email goes through your deployment's email service instead, that deployment's own certificate setting applies. |
Step 3: Click the Validate button to confirm the settings work before saving. Qualytics connects to your server, signs in, and sends a test email to the address on your own account, not to the Sender Email. It tests the values currently in the form, so it works before anything is saved.
The result appears inside the dialog, below the fields:
- On success, a green block names the address the test email was sent to.
- On failure, a red block headed Test email failed gives the reason the test failed.
Note
If a required field is empty, Validate highlights it in the form instead of contacting your server. A failed save appears in a separate block headed Failed to save integration, so the two are easy to tell apart. Your password is never included in any of these messages.
Step 4: Click the Create button to save the integration. Qualytics checks the settings against your server again as part of saving, so an unreachable server, a rejected sign-in, a URL in the SMTP Server field, or an unsupported port is refused and nothing is stored until the settings are valid.
A success message appears once the integration is created. From this point on, every email listed in What Email Covers is sent through your server. Only one Email integration can exist per deployment.
Manage Email Integration
Edit Integration
Step 1: Click More options on the Email row and select Configure when your deployment provides an email service, or Edit when it does not.
Step 2: The Configure Email Integration dialog opens with your saved settings, allowing you to change the connection properties. When your deployment provides an email service, Use a custom SMTP server is already on, so the connection properties are visible without switching anything. Port shows the port you saved, which is not necessarily the default.
Password shows a masked value you cannot type into, with an edit button beside it. Those characters are a placeholder, never your stored password, which is not sent back to your browser. Leave the field alone to keep the saved password. To set a new one, click the edit button: the box then tells you that leaving it empty keeps the saved password. Clearing the box after typing also counts as leaving it alone.
Step 3: Click the Update button to apply the changes.
Any change to the connection properties is checked against your server before it is accepted, including a change to the port, the username, the sender address, or the certificate setting on its own. Those checks use the saved password, so you do not have to retype it, and the Validate button works the same way.
A success message appears once the integration is updated.
Return to Your Deployment's Email Service
This applies when your deployment provides an email service of its own. In that case the Email row offers no Disconnect action, because removing your server never turns email off: delivery goes back to your deployment's email service.
Step 1: Click More options on the Email row and select Configure .
Step 2: Turn off Use a custom SMTP server. The connection properties and the Validate button disappear, and the note about your deployment's email service takes their place.
Step 3: Click the Update button.
The change applies immediately, with no confirmation step, and the success message reports it as an update to the integration. On the Email row, the Custom badge and your server name disappear, and the row still shows Connected, now delivering through your deployment's email service.
Warning
Your saved server, port, sender address, username, and password are deleted, not set aside. Going back to your own server later means entering every field again, including the password.
Disconnect Integration
This applies when your deployment has no email service of its own, which is the only case where the Email row offers Disconnect.
Warning
With no email service left, email delivery stops until email is configured again. Flow email notifications, AgentQ emails, user invitations, and password reset links all stop being delivered. Email already sent through your server stays in the recipients' inboxes. Disconnecting is permanent: the saved settings are deleted, not archived.
Step 1: Click More options on the Email row and select Disconnect .
Step 2: A modal window Disconnect Integration appears. It names the integration and the server being removed, asks you to confirm, and lists what happens to email delivery and to email already sent.
Step 3: Click the Disconnect button to proceed.
A success message appears once the integration is disconnected.
Using Email in Flows
Once email delivery is available, through either the Email integration or your deployment's email service, you can add Email notification actions to your Flows with recipient addresses, a subject, and a message template. Separate multiple addresses with commas or semicolons. Recipients see the message formatted in the Qualytics layout, with a plain-text copy for clients that do not render HTML, sent from Qualytics Platform <your sender address>. For details, see the Email Notification documentation.