Checks
The Checks tab lists the quality checks applied to tables, files, and fields across the source datastores you can access. Checks express expected formats, values, relationships, and business rules. Filter and sort the list to review Active, Draft, or Archived checks and confirm that the right expectations cover the data you are responsible for.
Navigation
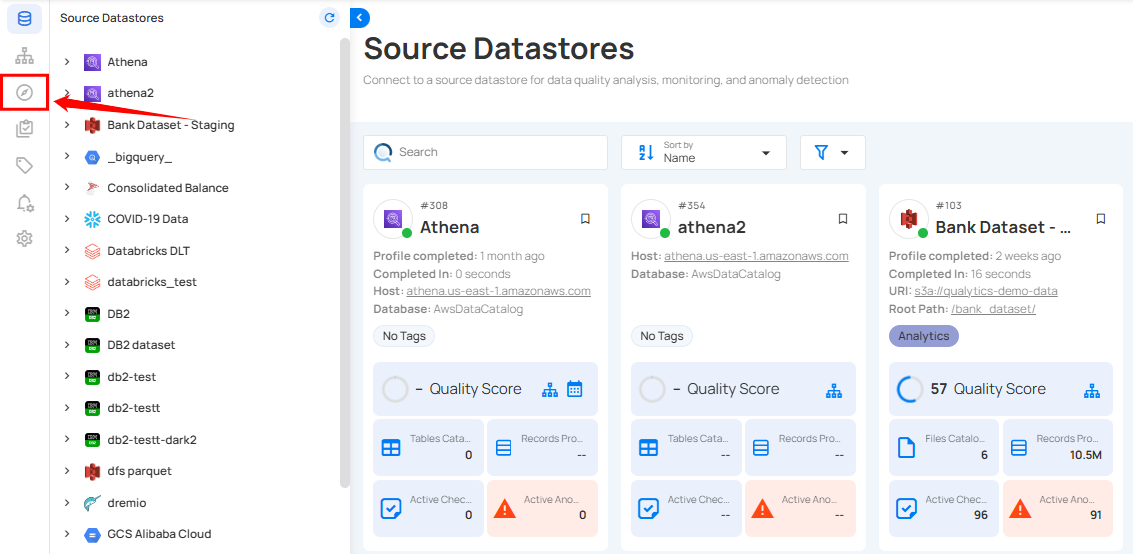
Step 1: Log in to your Qualytics account and click the Explore button on the left side panel of the interface.
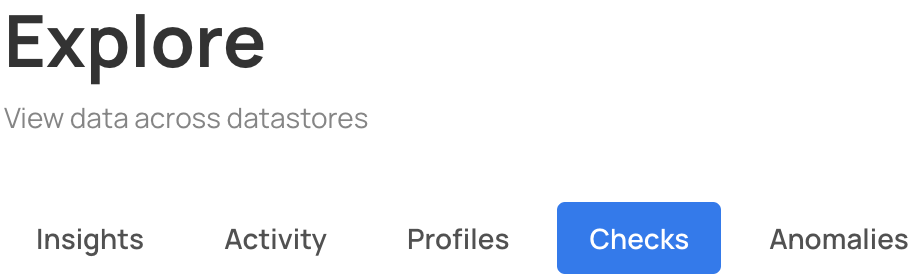
Step 2: Click on the "Checks" from the Navigation Tab.
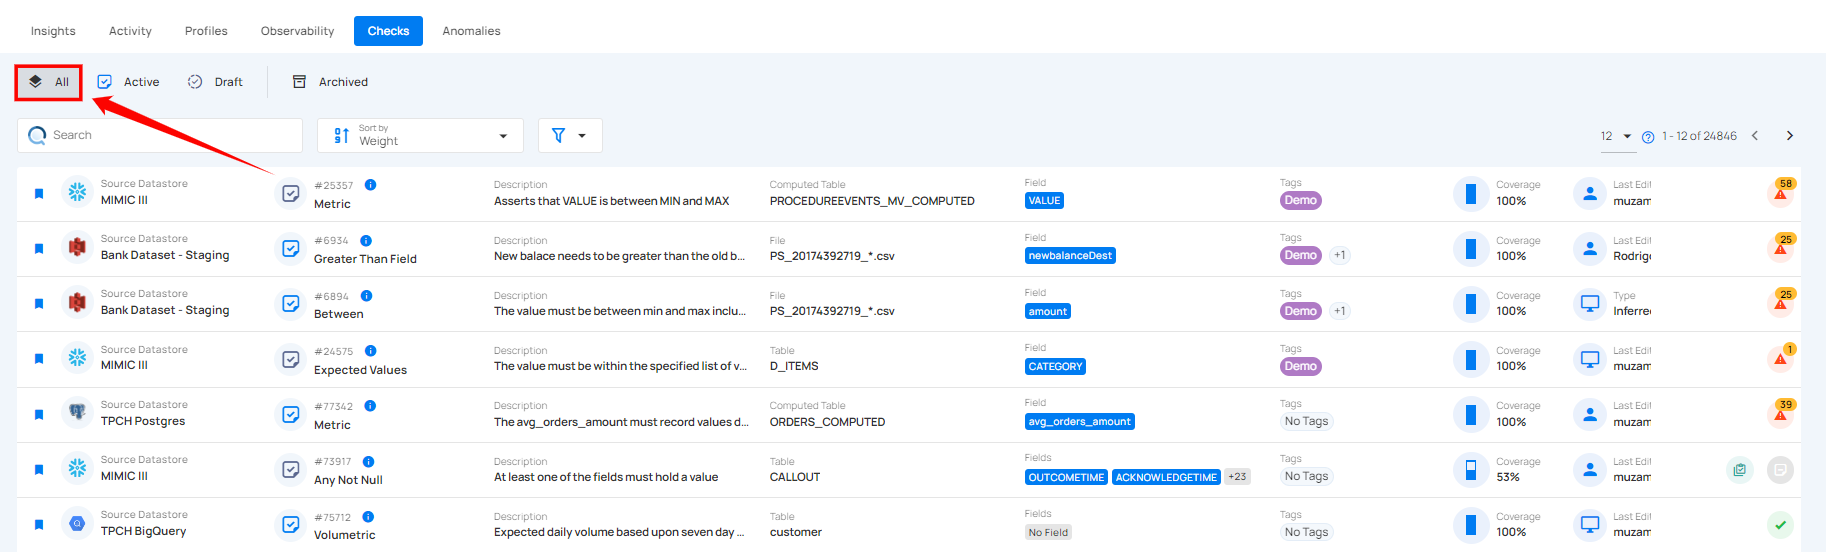
You will be navigated to the Checks tabs here and you'll see a list of all the checks that have been applied to various tables and fields across different source datastores.
Check Categories
Use All, Active, Draft, or Archived to review checks by lifecycle status. Archived checks can carry an Invalid or Discarded resolution. Each check also shows its status as a label, a colored dot followed by the status name, in the Status column of List View and the Status row of Card View. See Checks in Datastore.
All
Select All to view Active and Draft checks together. Archived checks are not included in this view.
Active
Select Active to view checks that are available for evaluation during their applicable operation or measurement cycle. A check's latest result reflects the most recent applicable result, not a continuous evaluation of source data.
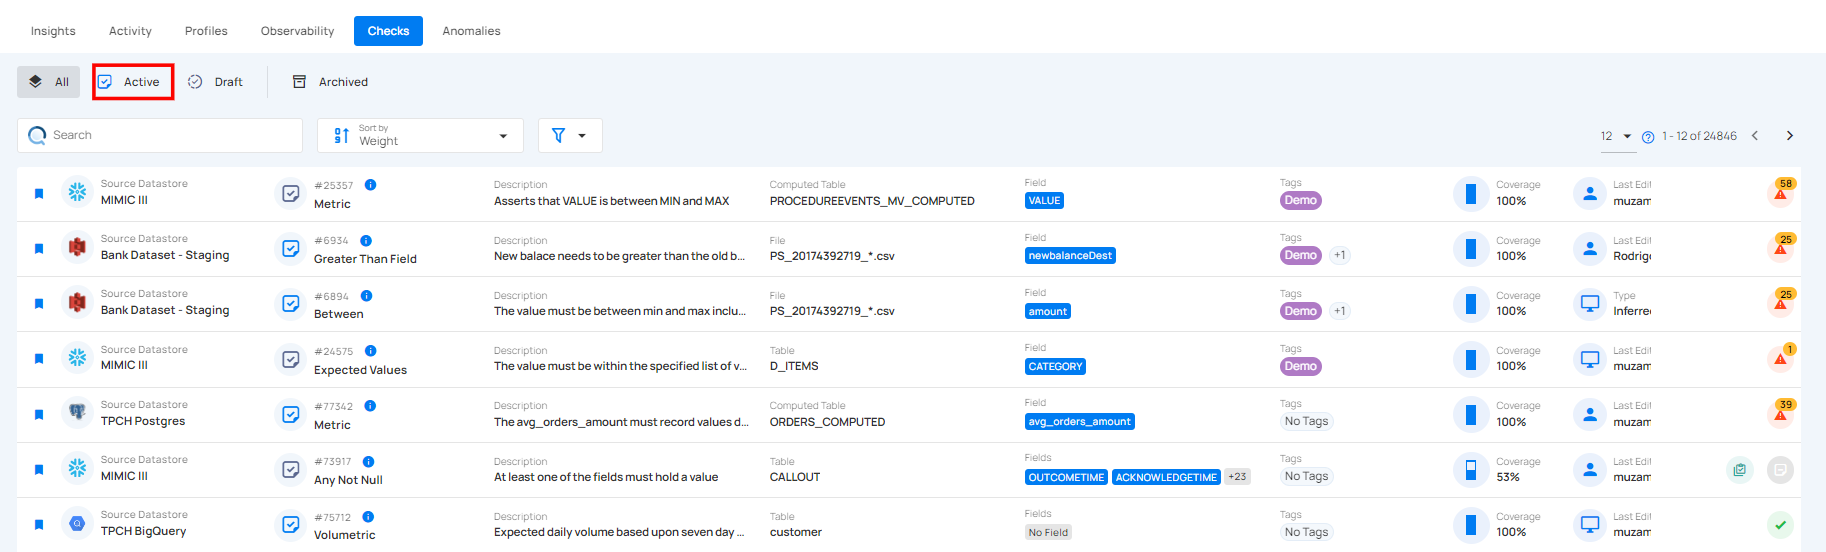
Narrow Active checks with Important, Owned, Favorite, or All.
1. Important: Shows only checks that are marked as important. These checks are prioritized based on their significance, typically assigned an Importance value of 7 or higher.
Note
Important checks are prioritized based on an Importance value of 7 or higher.
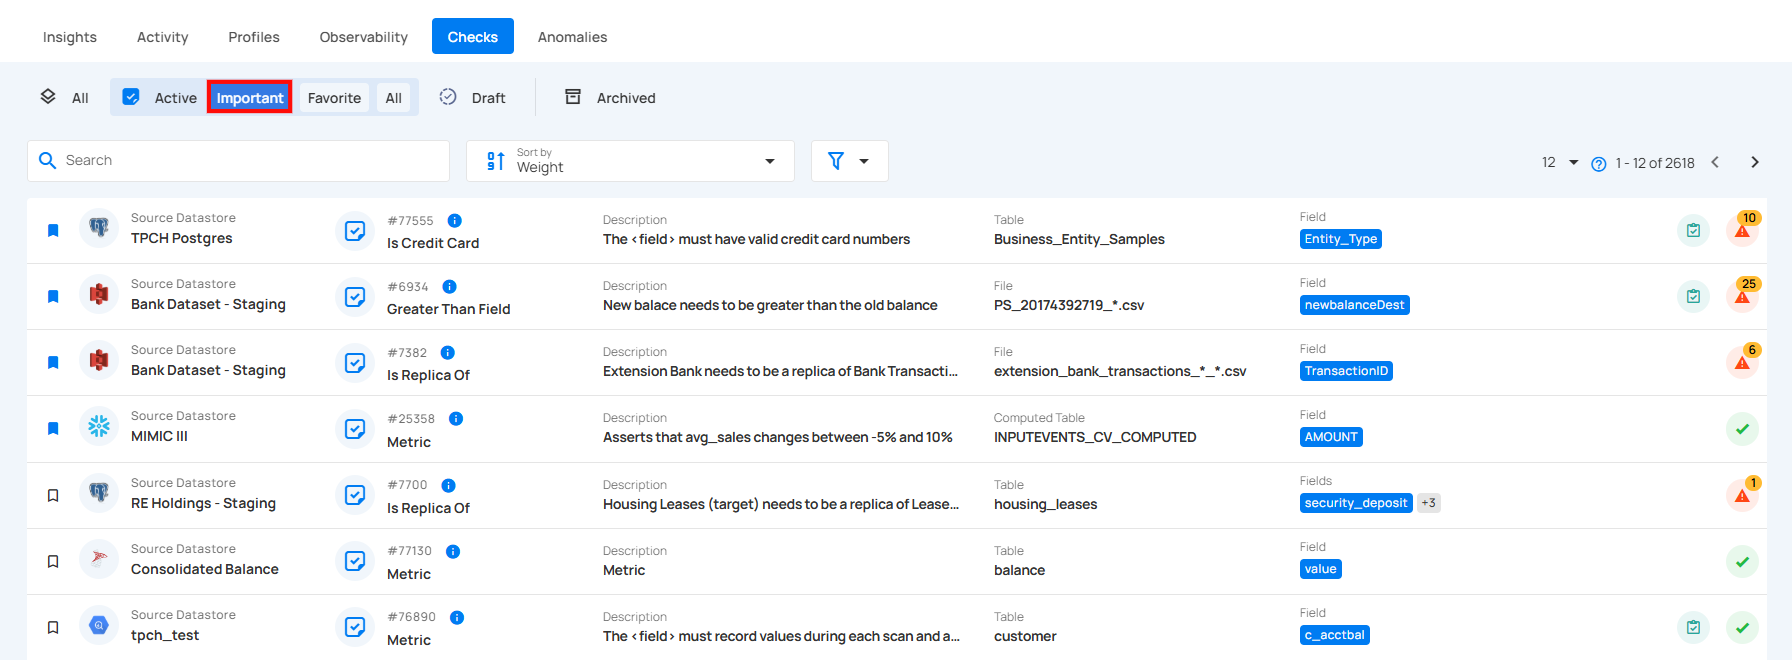
2. Owned: Displays checks owned by you.
3. Favorite: Displays checks that have been marked as favorites. This allows you to quickly access checks that you use or monitor frequently.
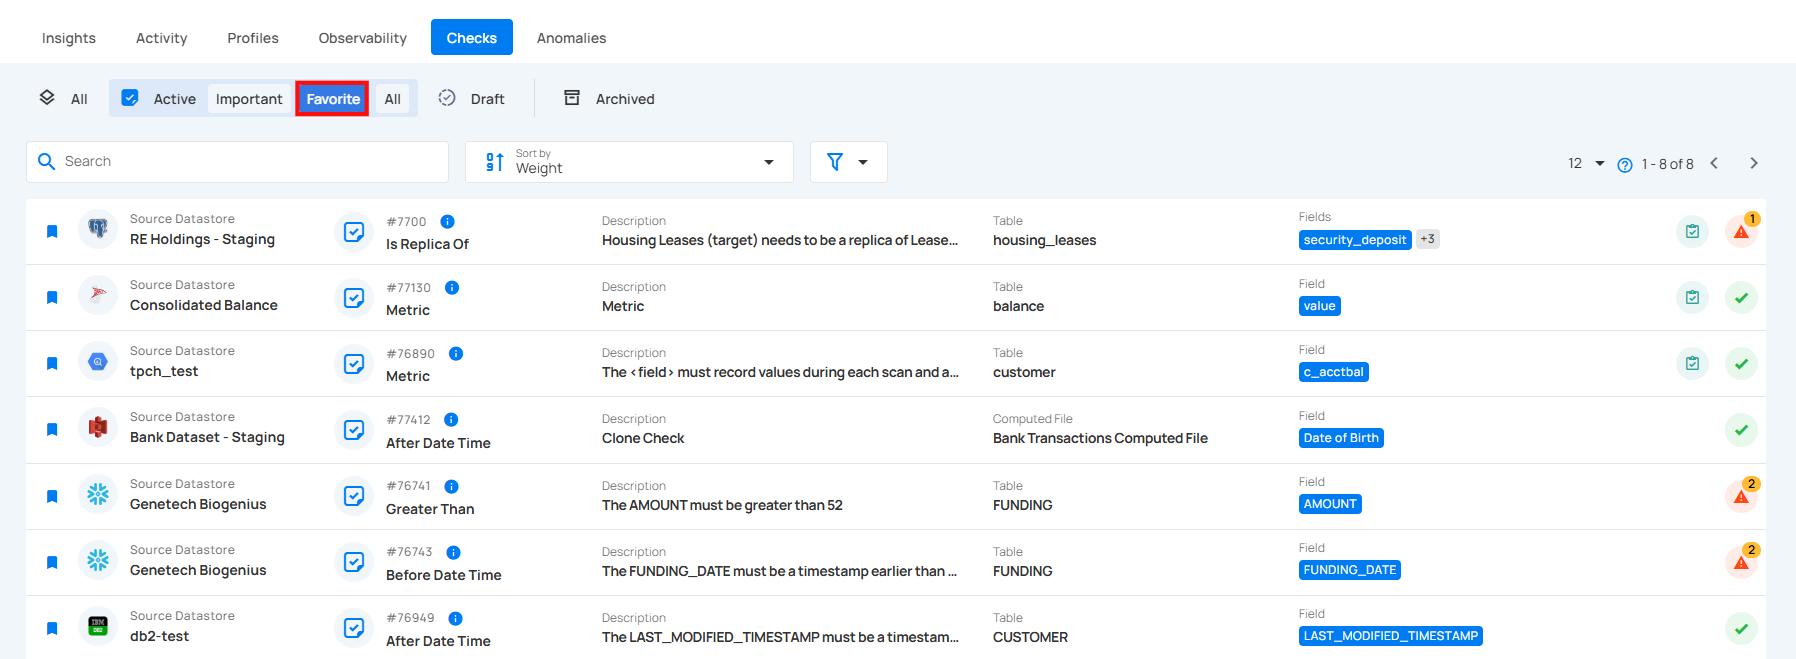
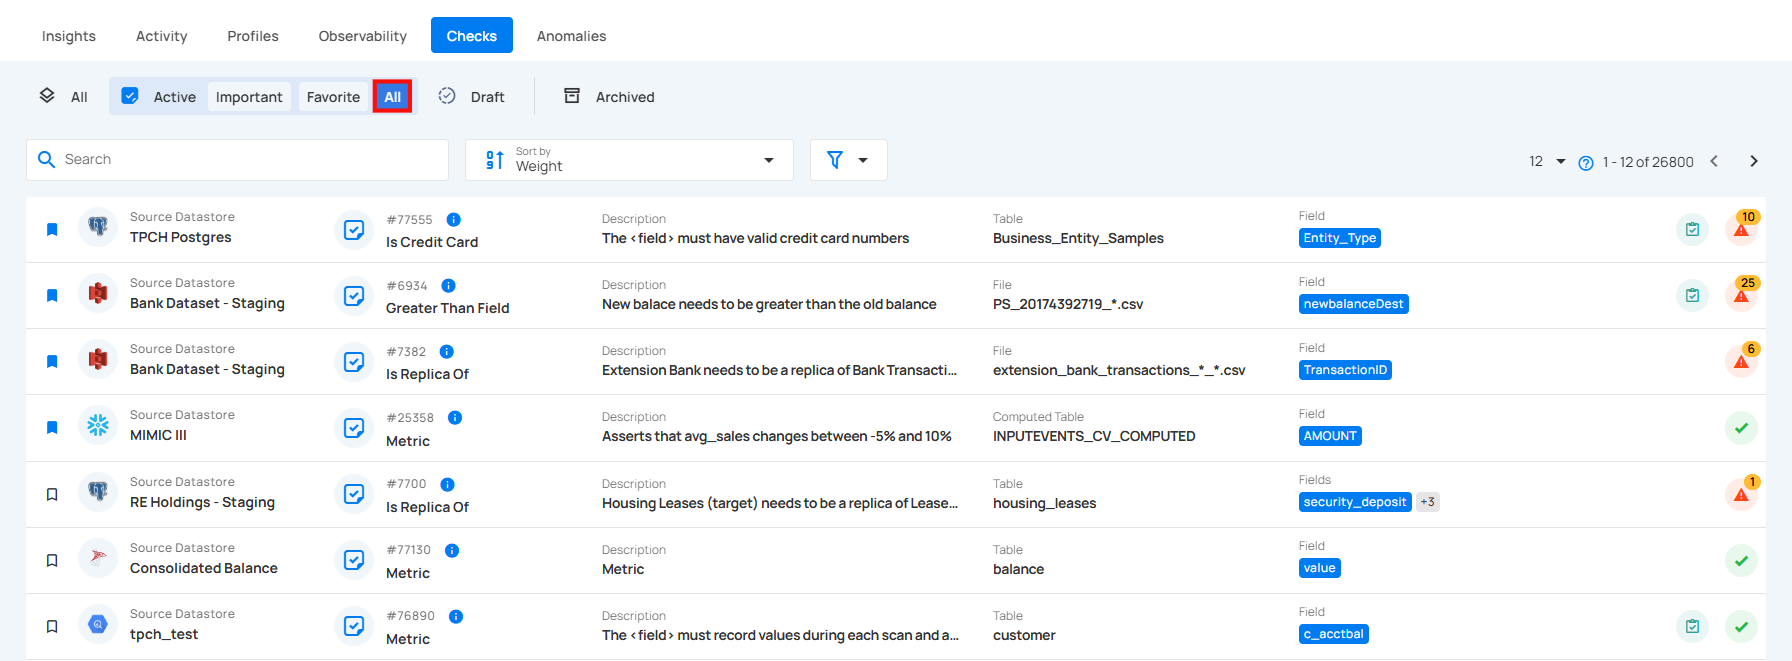
4. All: Displays all active checks, including owned, important, and favorite checks.
Draft Checks
By selecting Draft, you can view checks that have been created but have not yet been applied to the data. These checks are in the drafting stage, allowing for adjustments and reviews before activation. Draft checks provide flexibility to experiment with different validation rules without affecting the actual data.
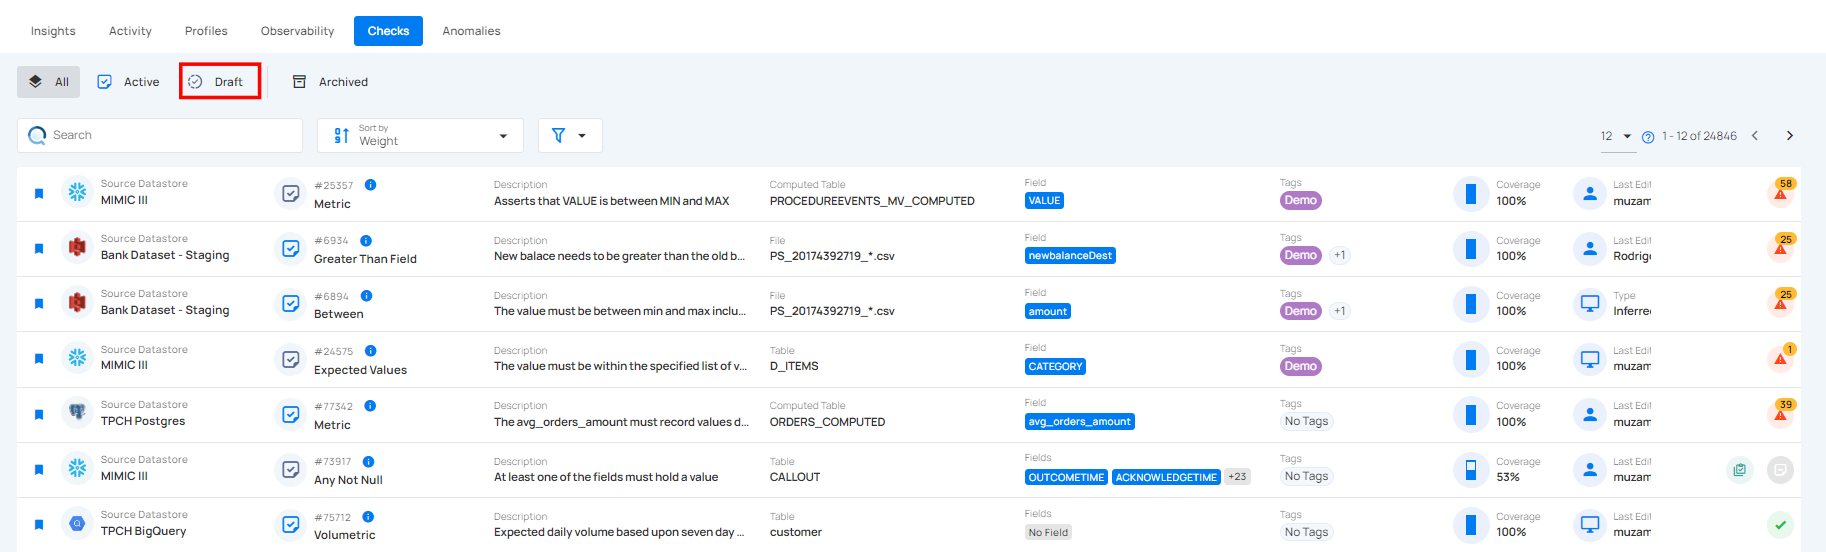
Narrow Draft checks with Important, Owned, Favorite, or All.
1. Important: Shows only checks that are marked as important. These checks are prioritized based on their significance, typically assigned an Importance value of 7 or higher.
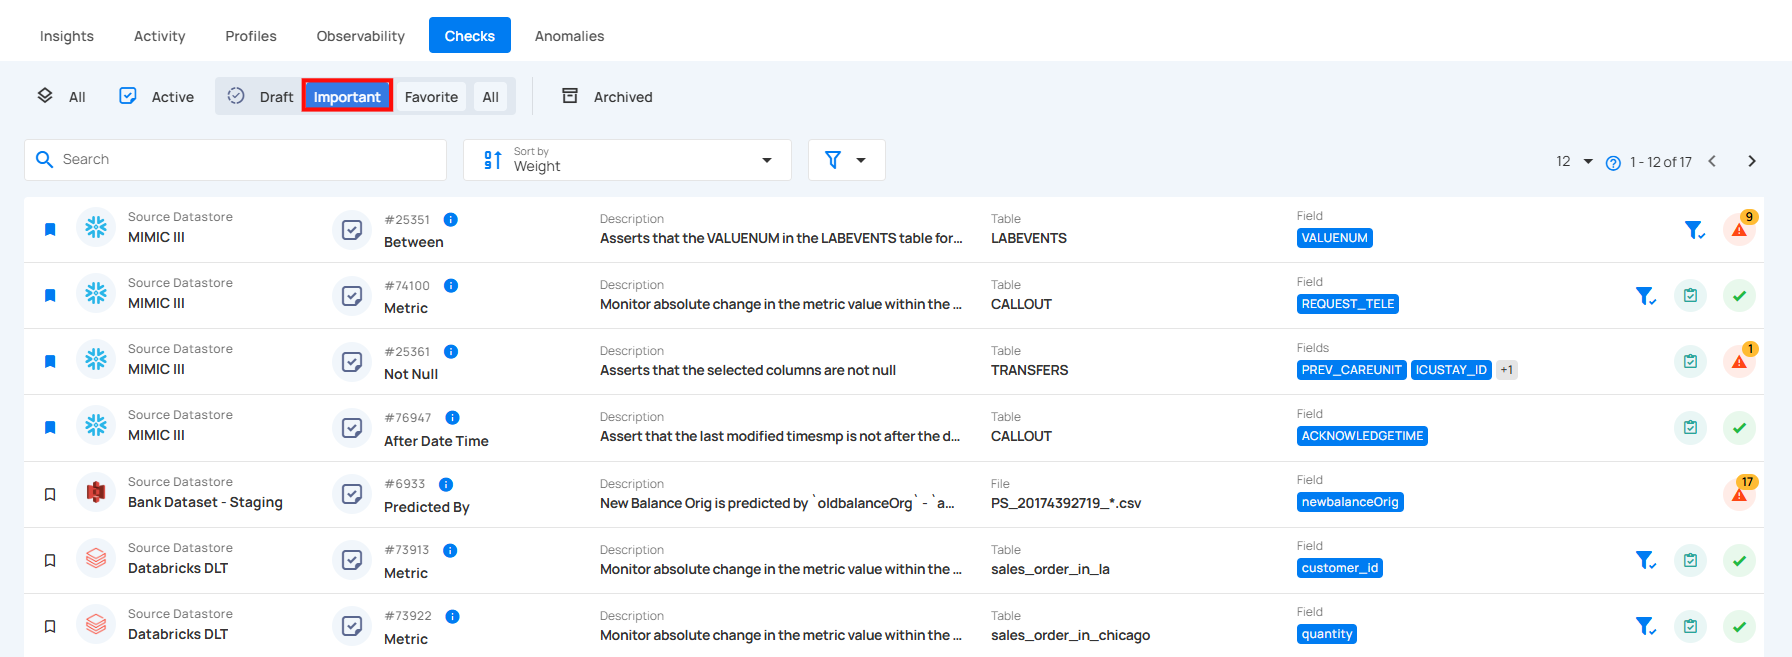
2. Owned: Displays draft checks owned by you.
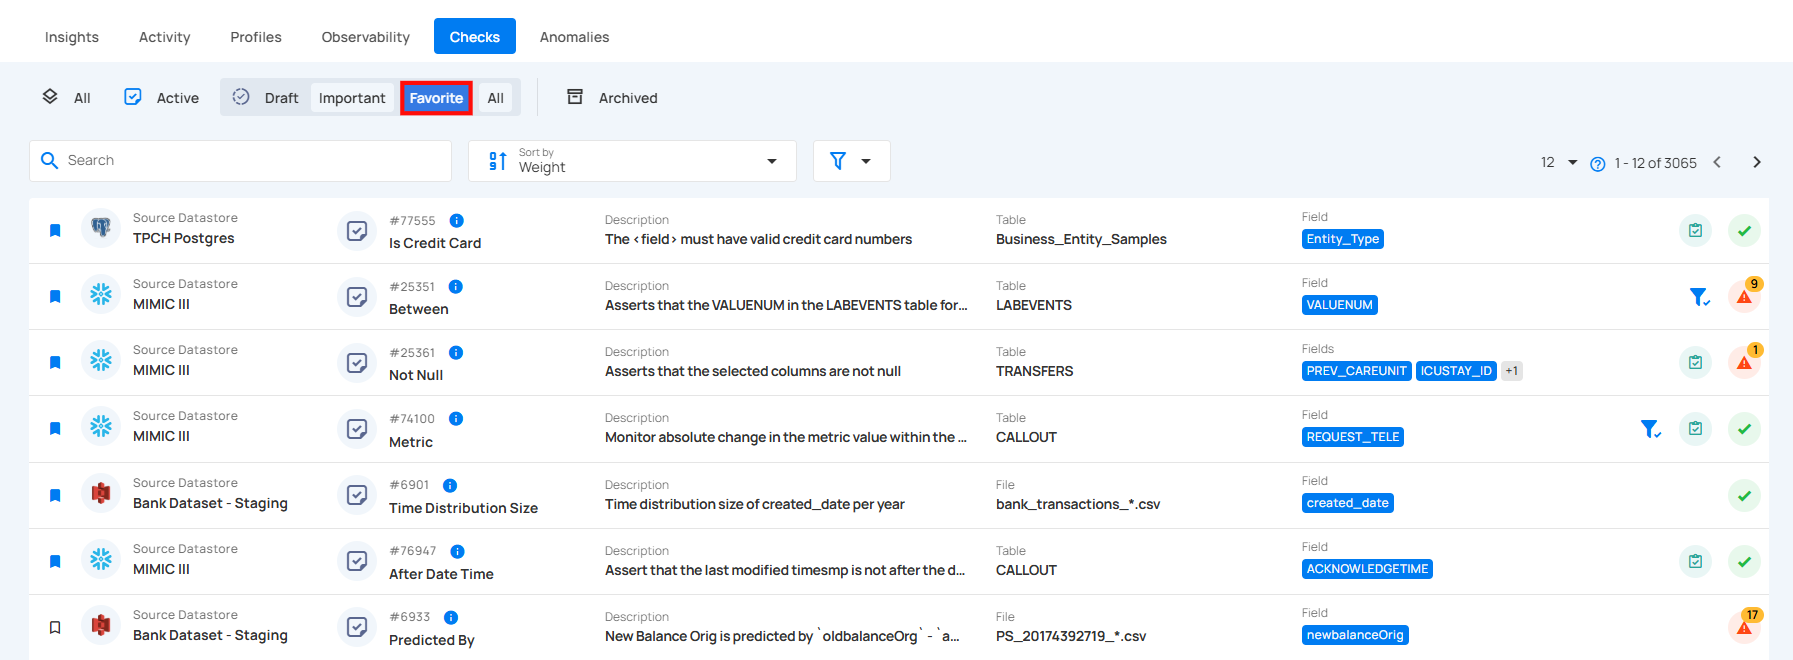
3. Favorite: Displays checks that have been marked as favorites. This allows you to quickly access checks that you use or monitor frequently.
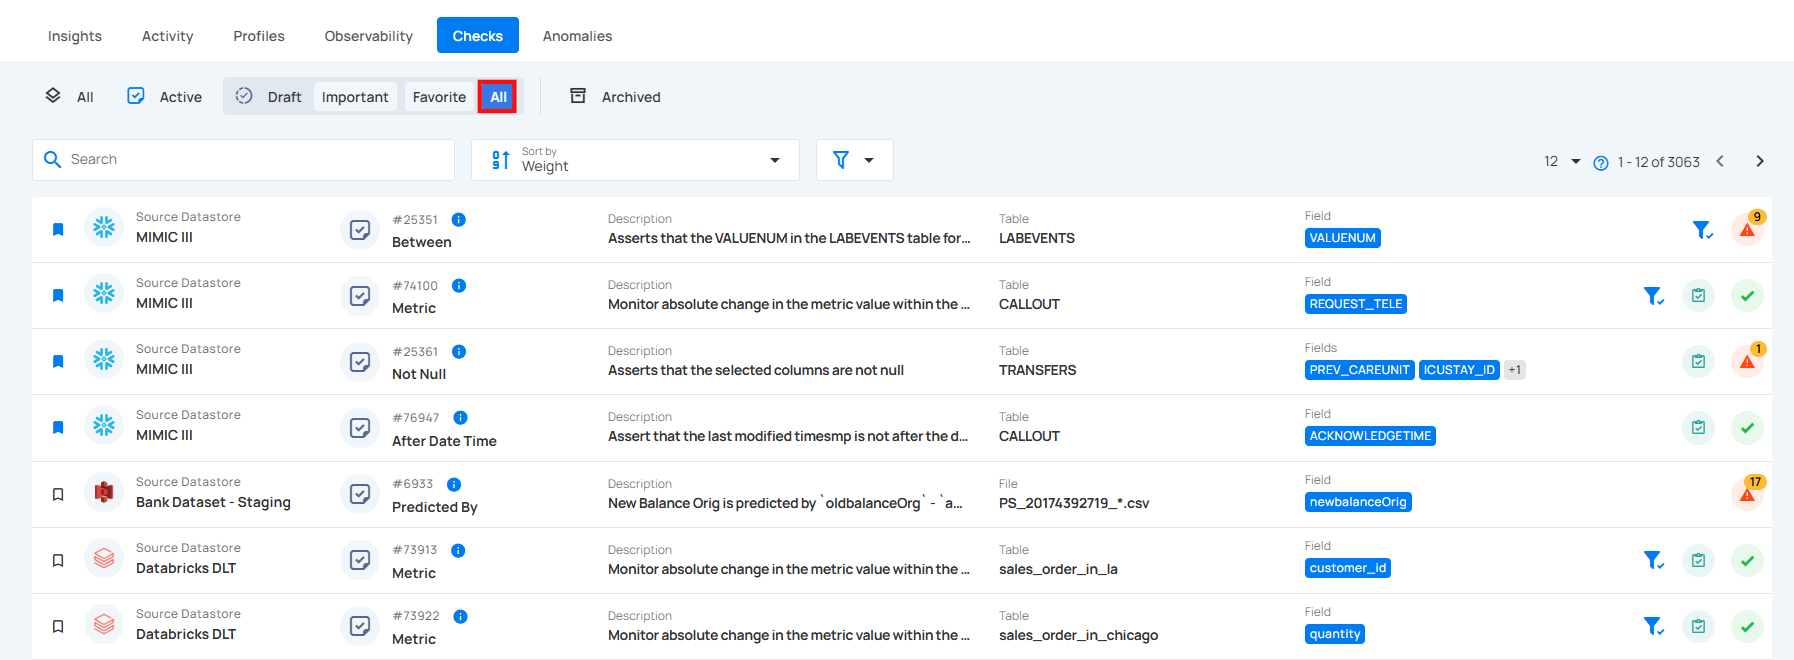
4. All: Displays all draft checks, including owned, important, and favorite checks.
Archived Checks
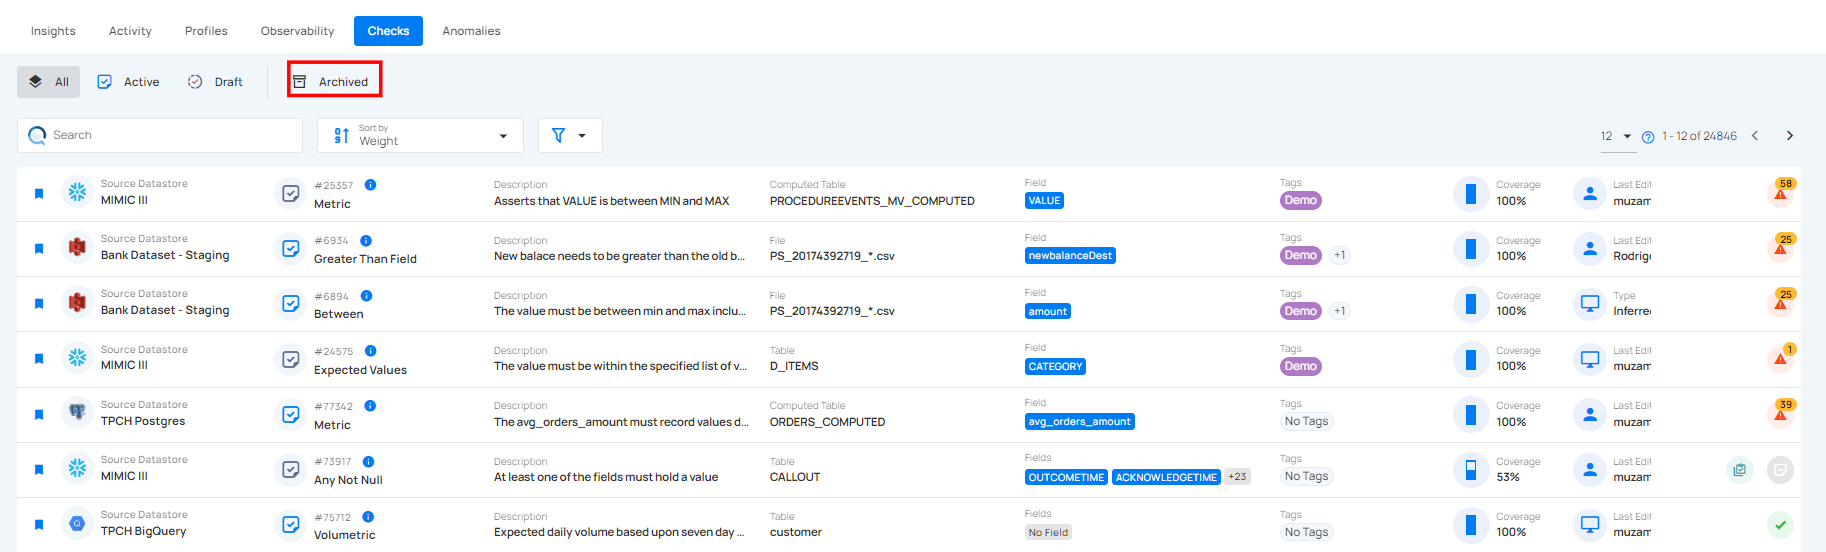
By selecting Archived, you can view checks that have been marked as discarded or invalid from use but are still stored for future reference or restoration. Although these checks are no longer active, they can be restored if needed.
You can also categorize the archived checks based on their status as Discarded, Invalid, or view All archived checks to manage and review them effectively.
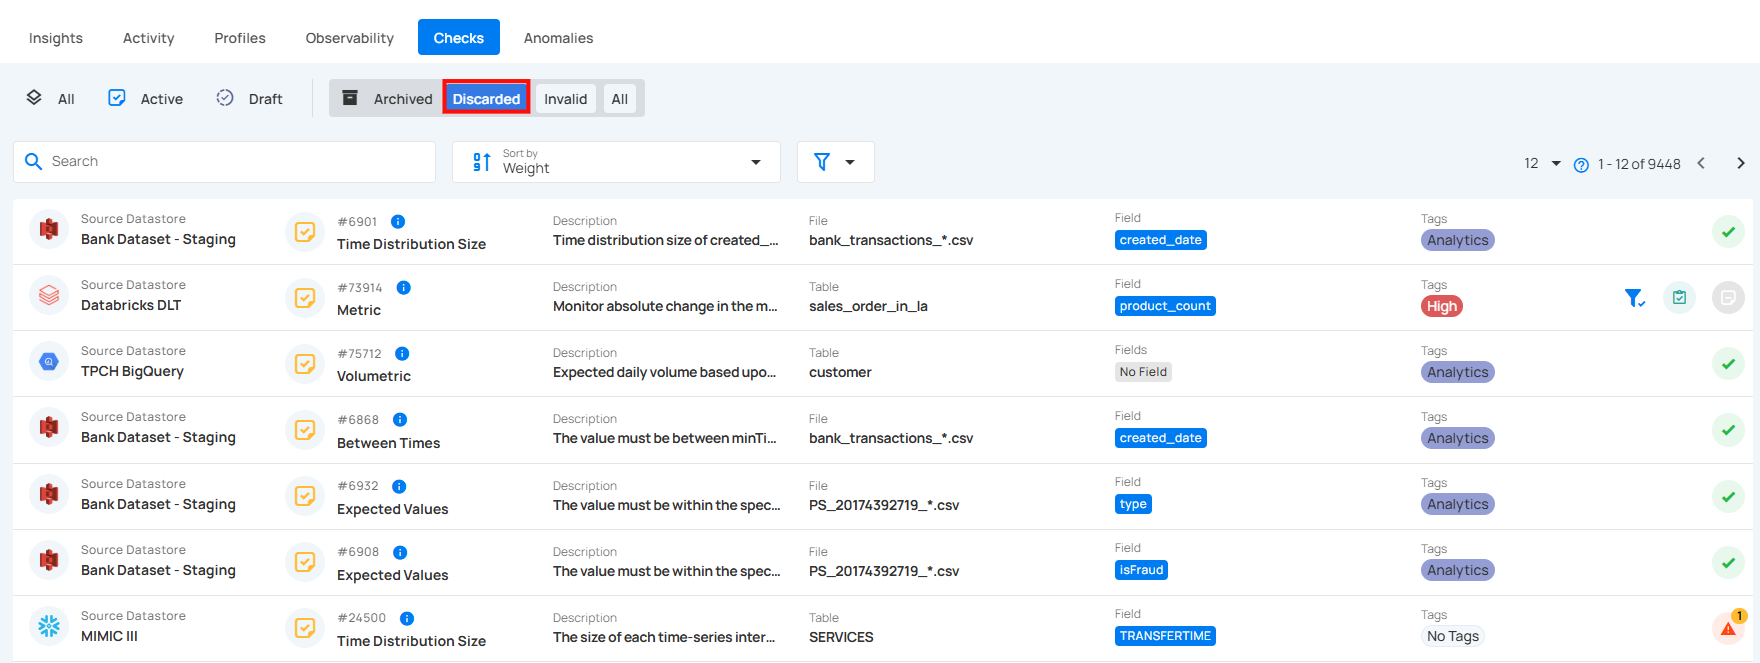
1. Discarded: Shows checks that have been marked as no longer useful or relevant and have been discarded from use.
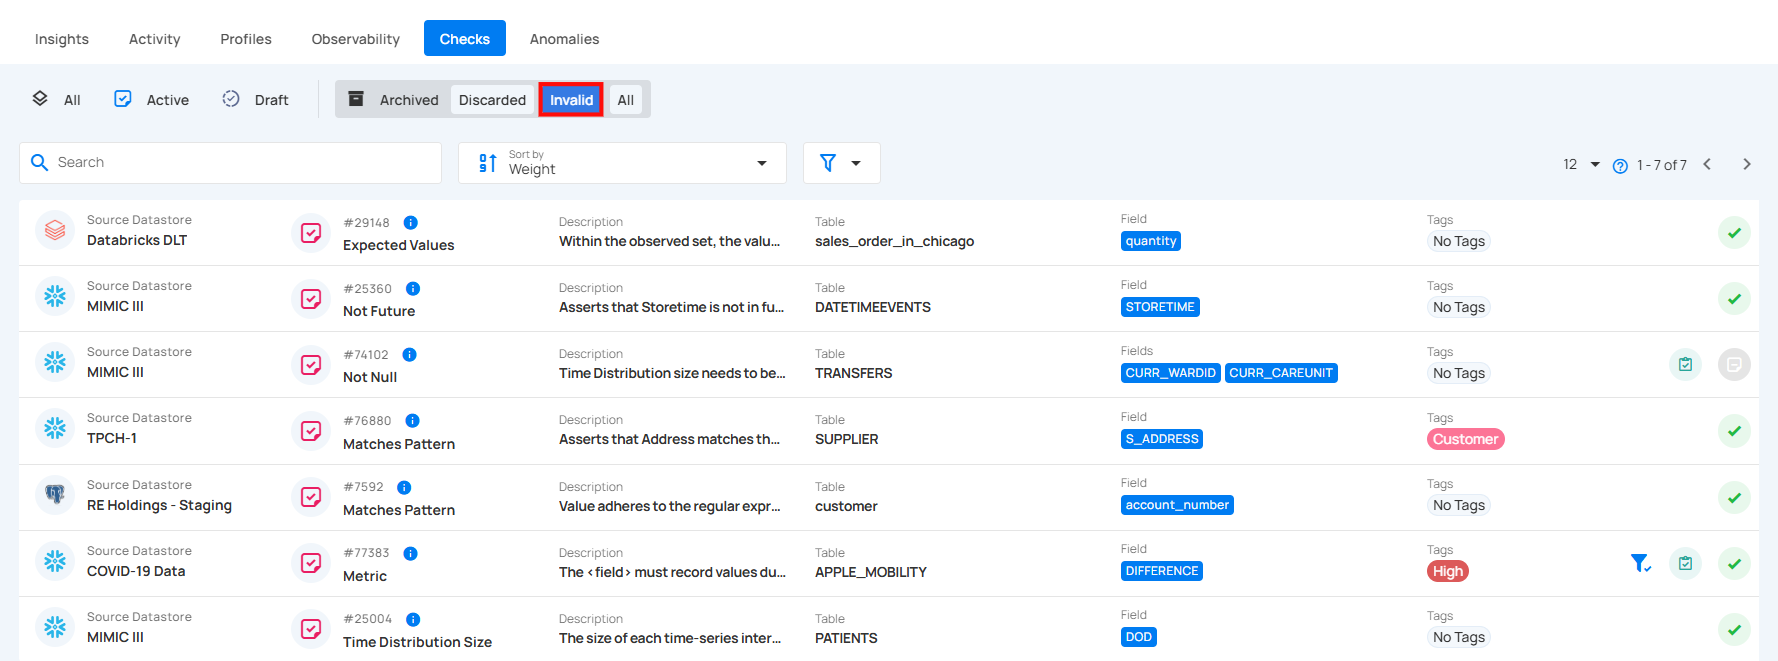
2. Invalid: Displays checks that are deemed invalid due to errors or misconfigurations, requiring review or deletion.
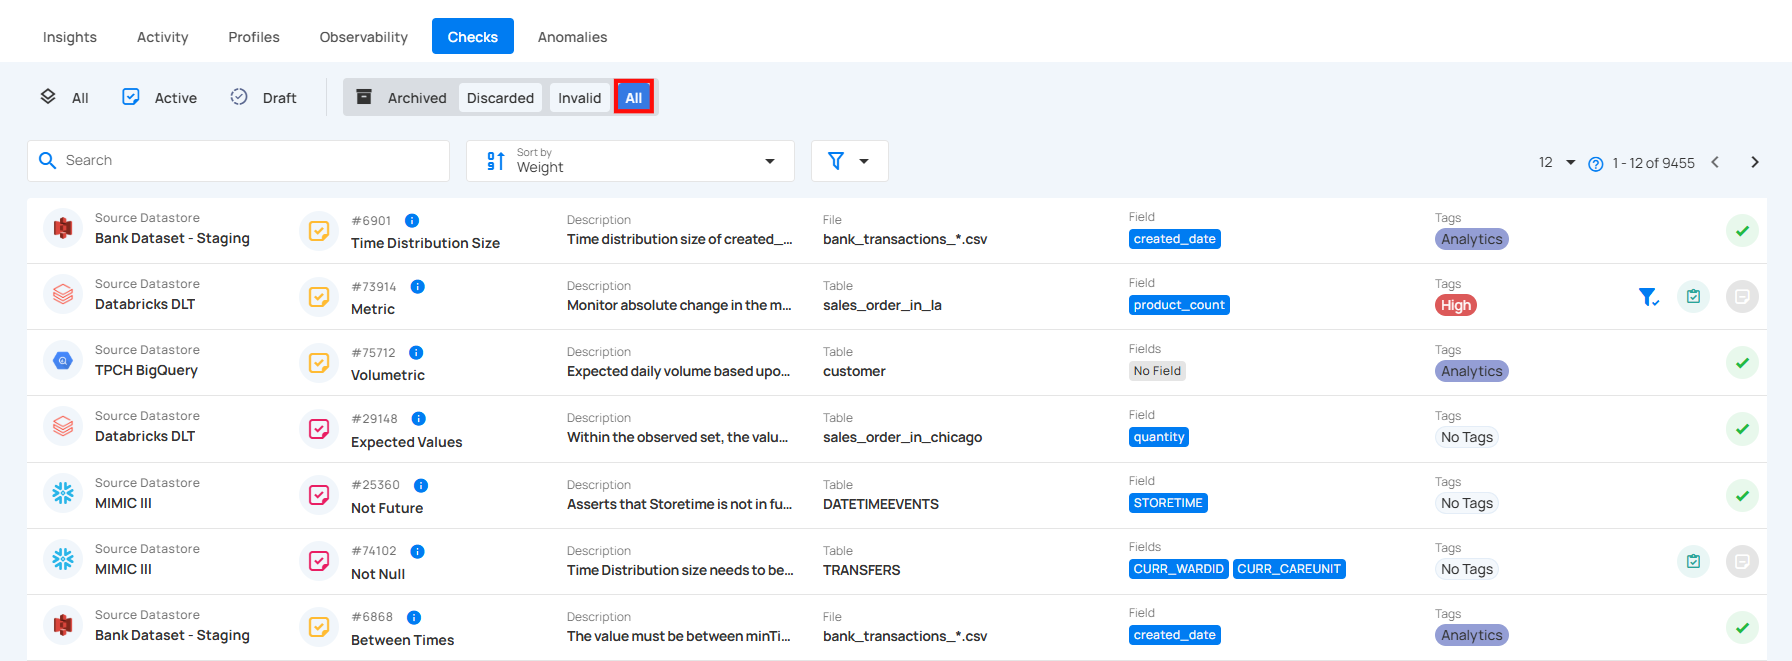
3. All: Provides a view of all archive checks within this category including discarded and invalid checks.
Details
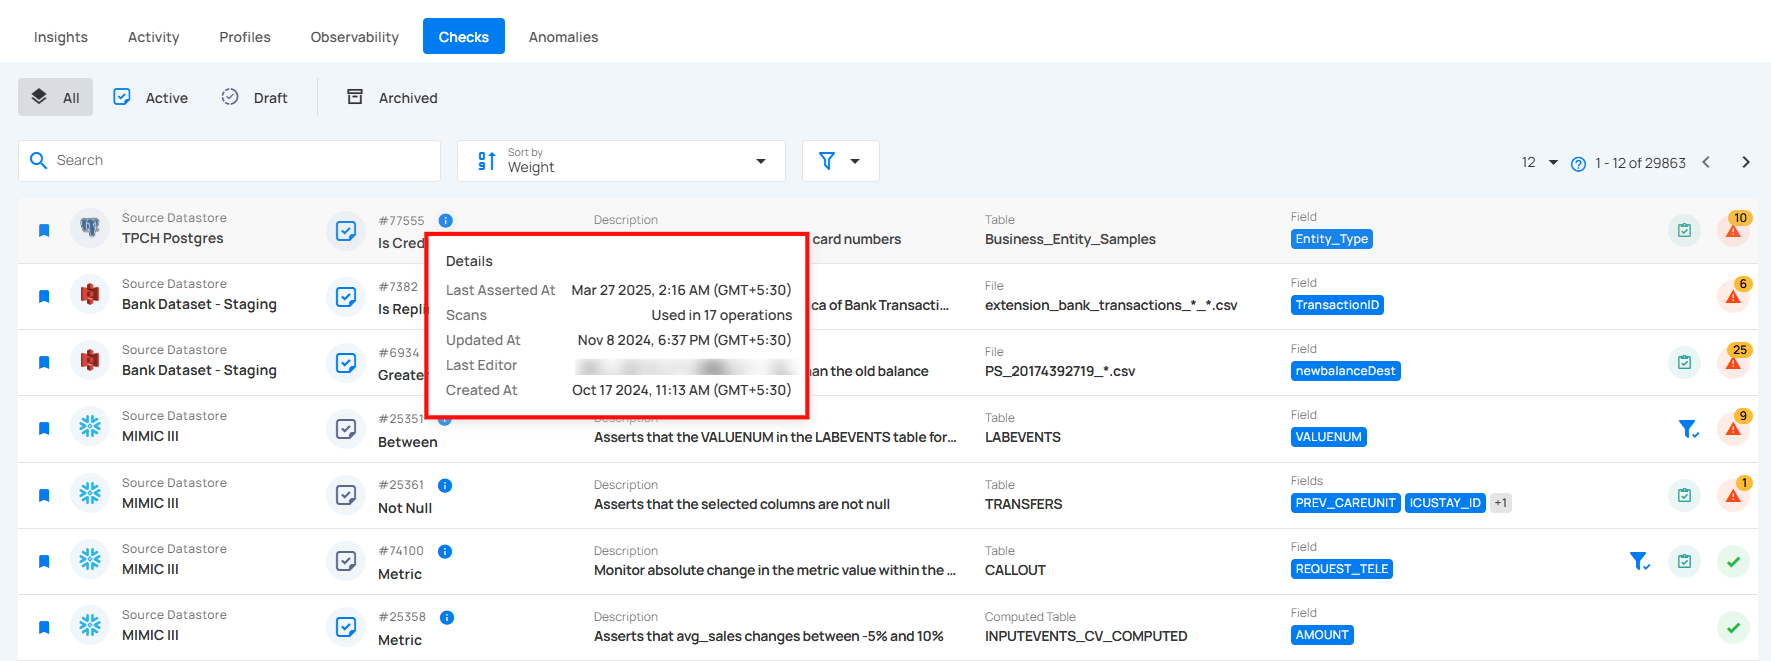
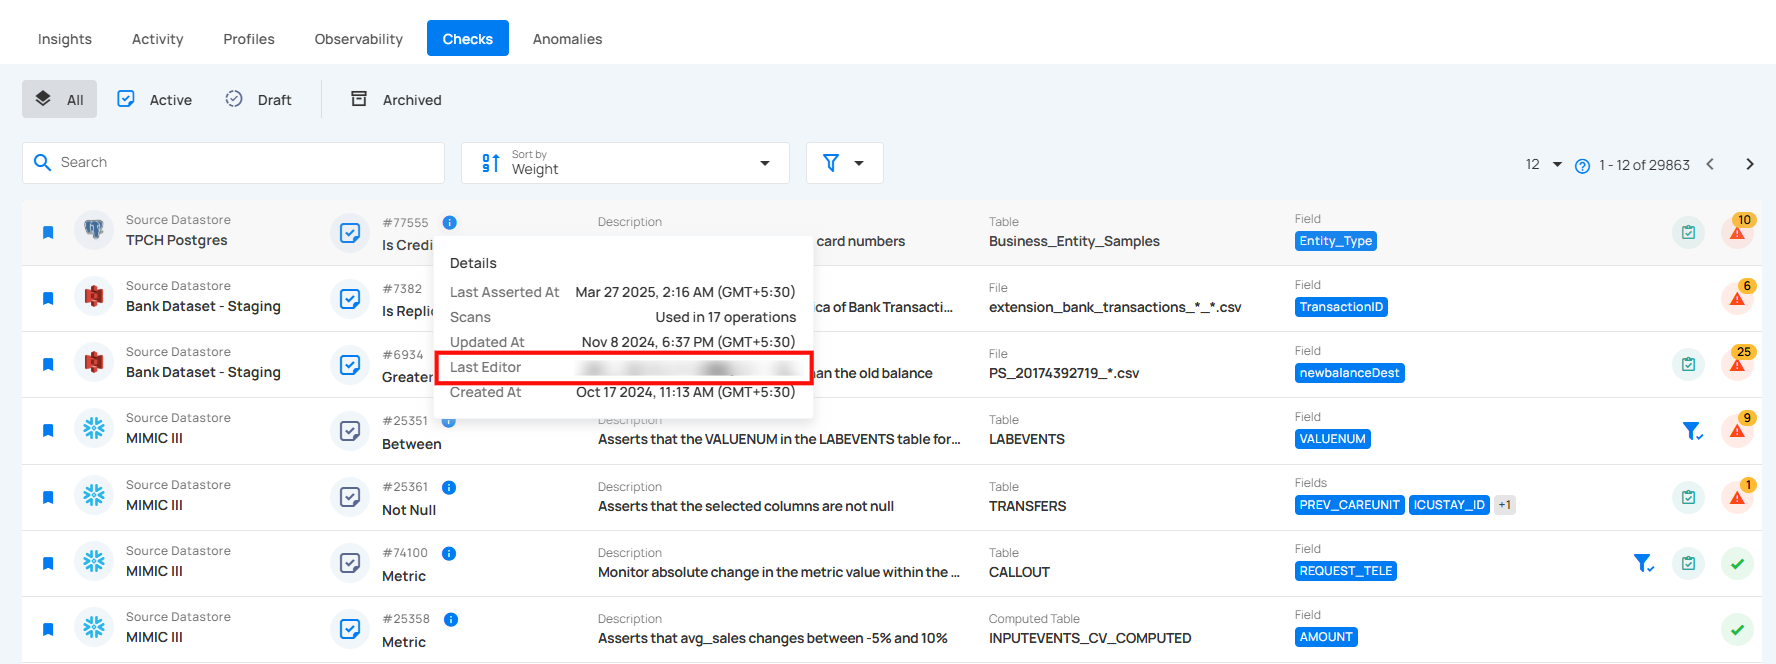
Check Details provides important information about each check in the system. It shows when a check was last run, how often it has been used, when it was last updated, who made changes to it, and when it was created. This section helps users understand the status and history of the check, making it easier to manage and track its use over time.
Step 1: Locate the check you want to review, then hover over the info icon to view the Check Details.
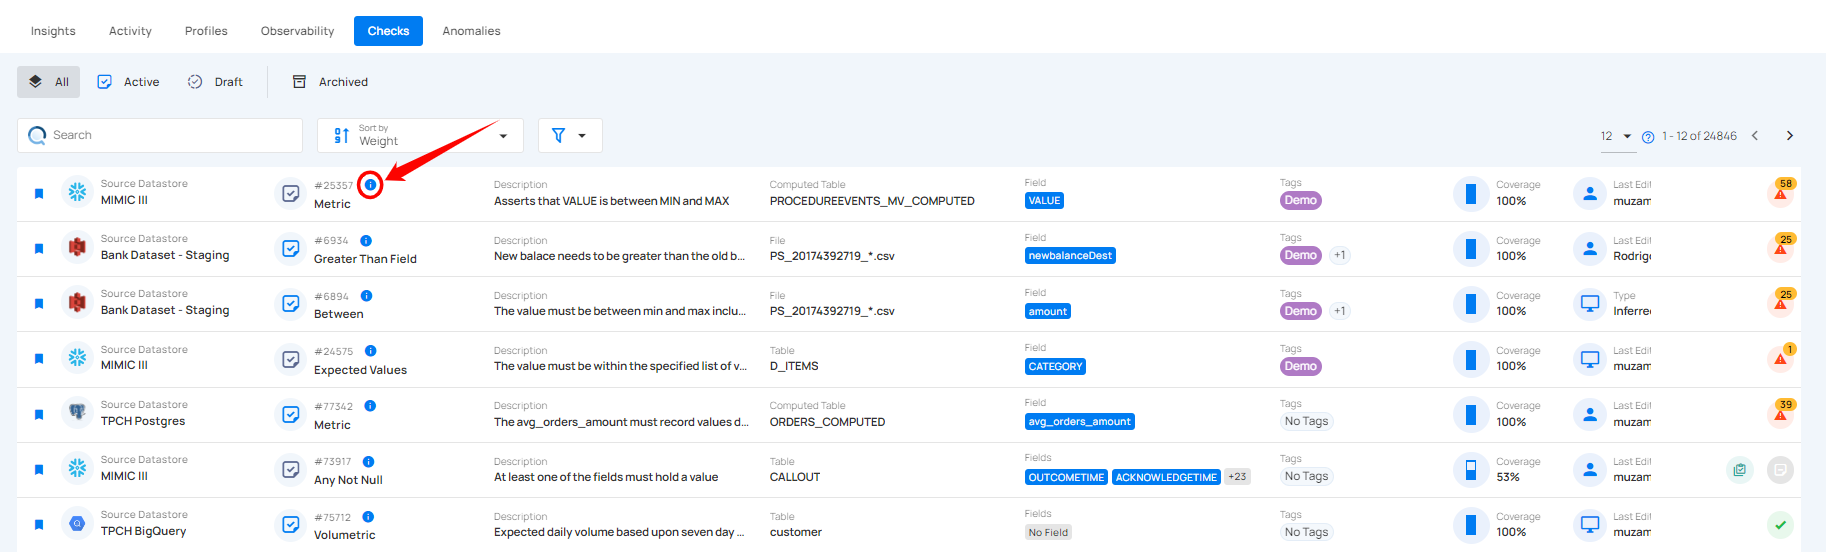
A popup will appear with additional details about the check.
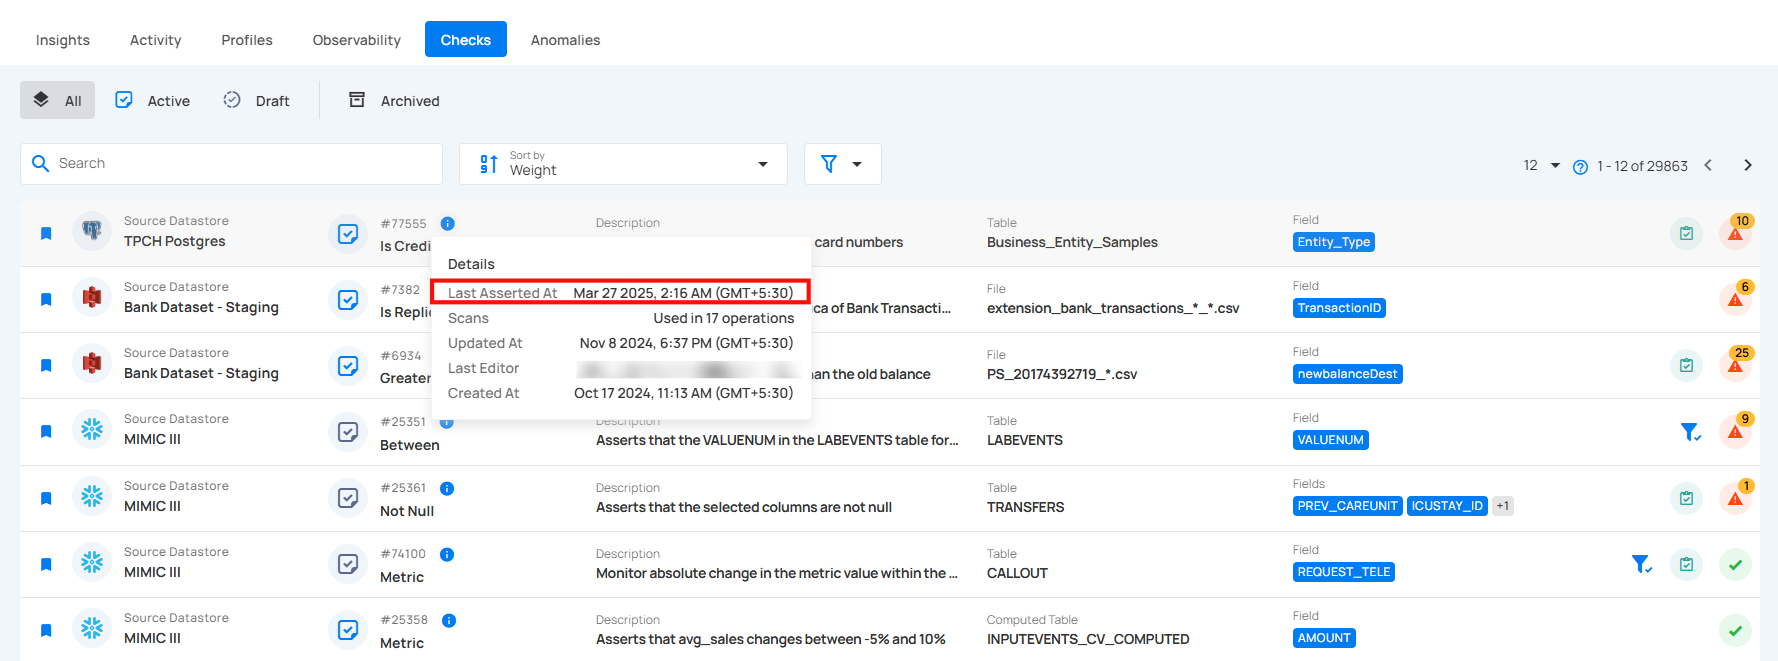
Last Asserted
Last Asserted At shows the most recent time the check was run, indicating when the last validation occurred. For example, the check was last asserted on Mar 27, 2025, at 2:16 AM (GMT+5:30).
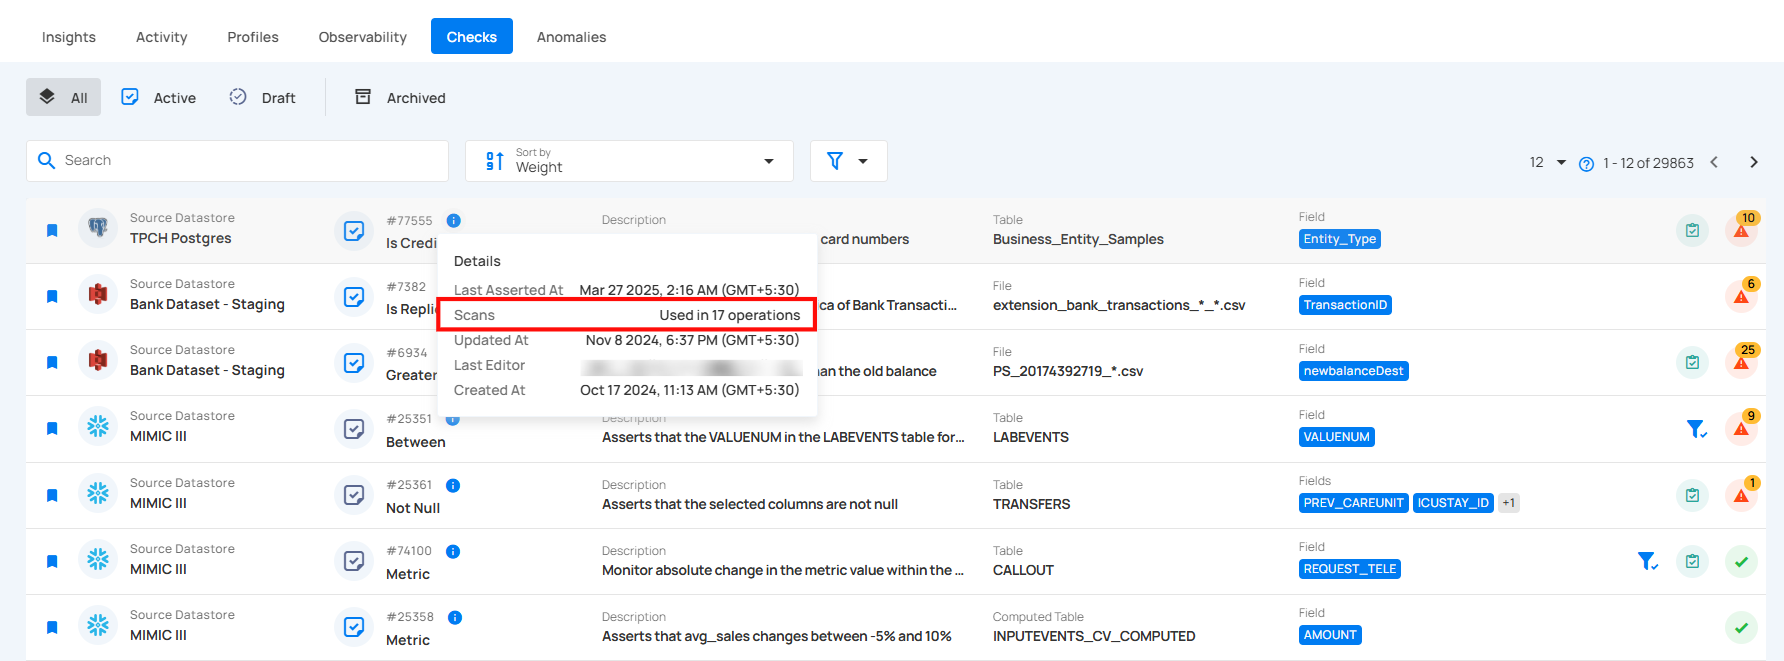
Scans
Scans show how many times the check has been used in different operations. It helps you track how often the check has been applied. For example, the check was used in 17 operations.
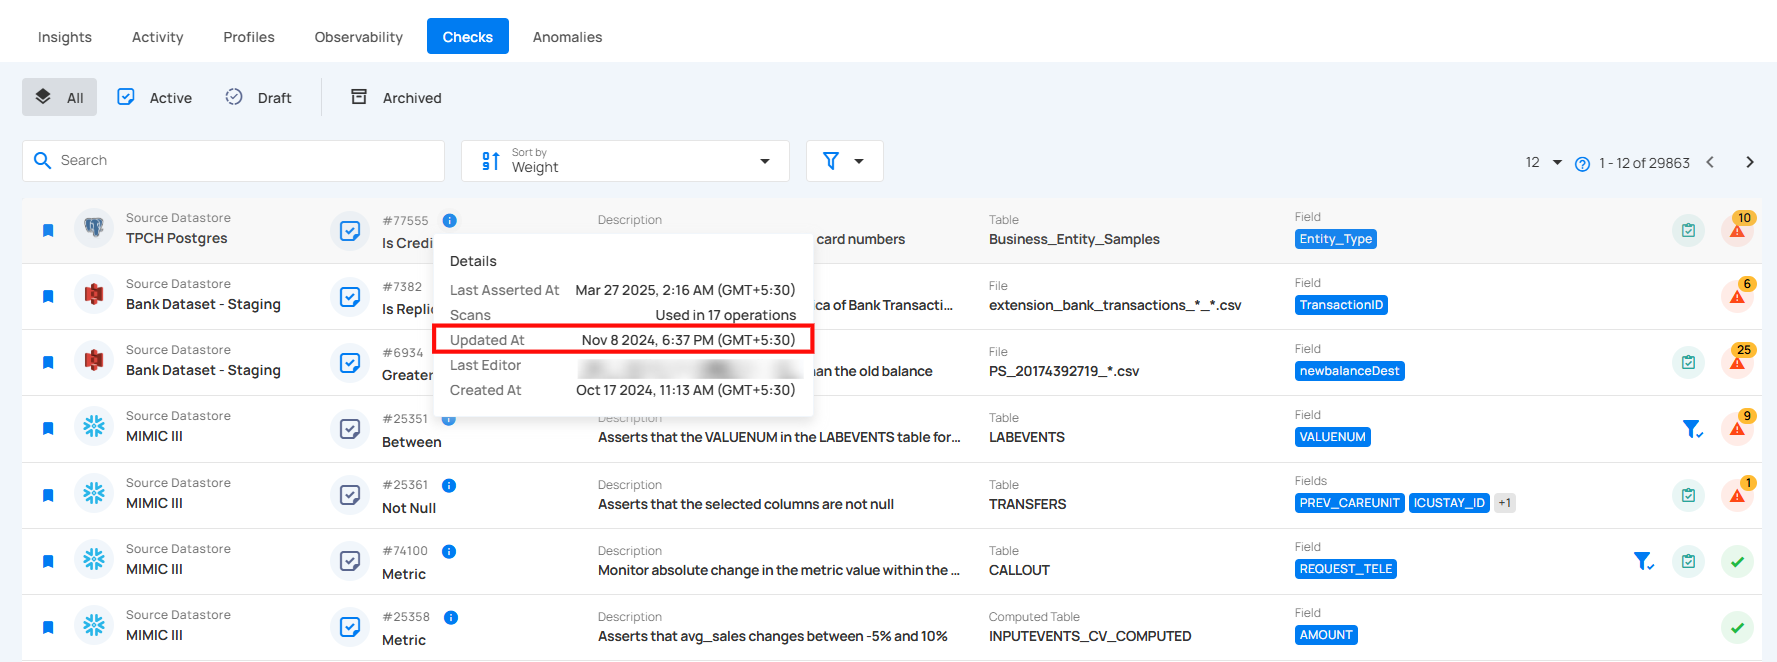
Updated At
Updated At shows the most recent time the check was modified or updated. It helps you see when any changes were made to the check’s configuration or settings. For example, the check was last updated on Nov 8, 2024, at 6:37 PM (GMT+5:30).
Last Editor
Last Editor indicates who most recently made changes to the check. It helps track who is responsible for the latest updates or modifications. This is useful for accountability and collaboration within teams.
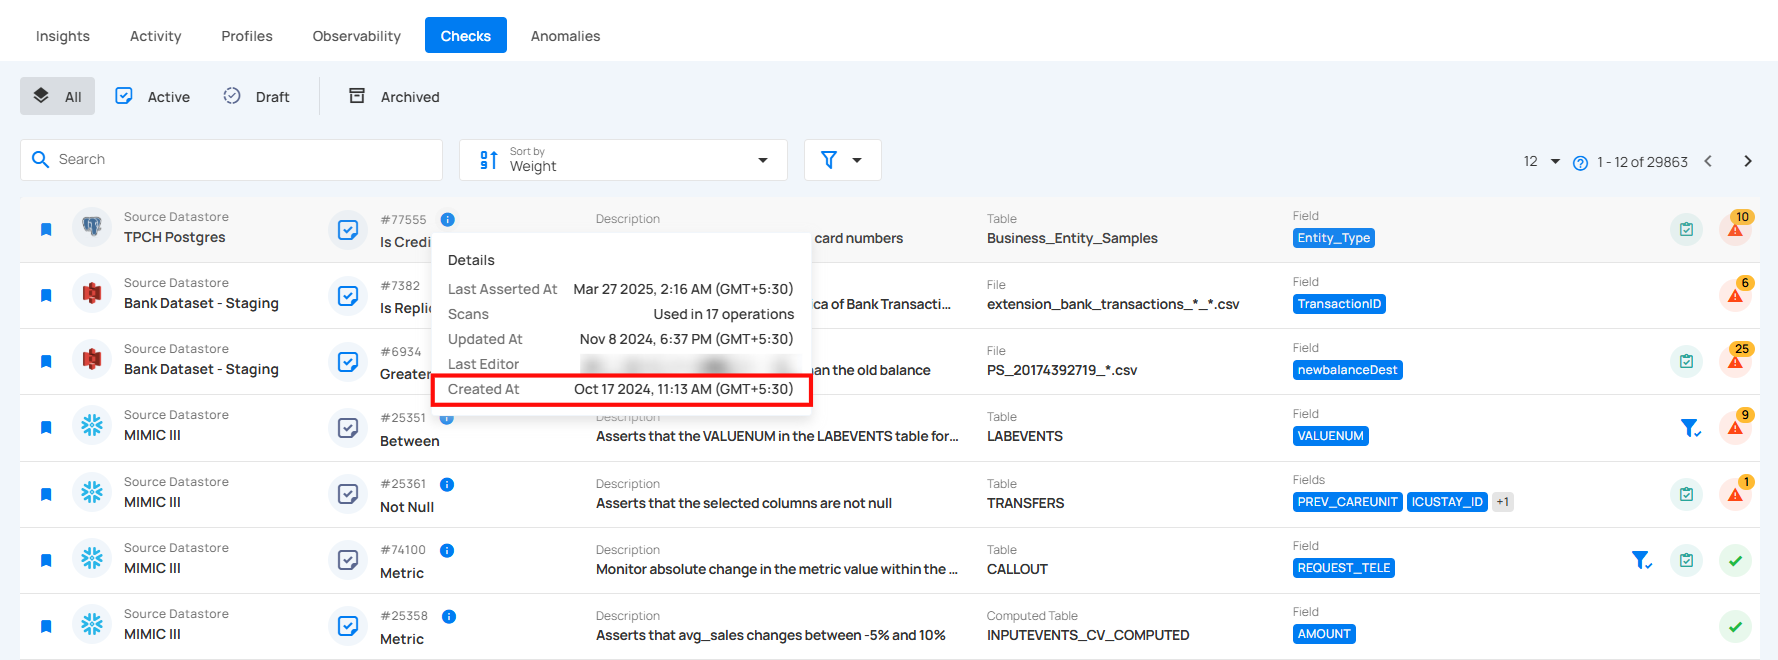
Created At
Created At shows when the check was first made. It helps you know how long the check has been in use. This is useful for tracking its history. For example, the check was created on Oct 17, 2024, at 11:13 AM (GMT+5:30).
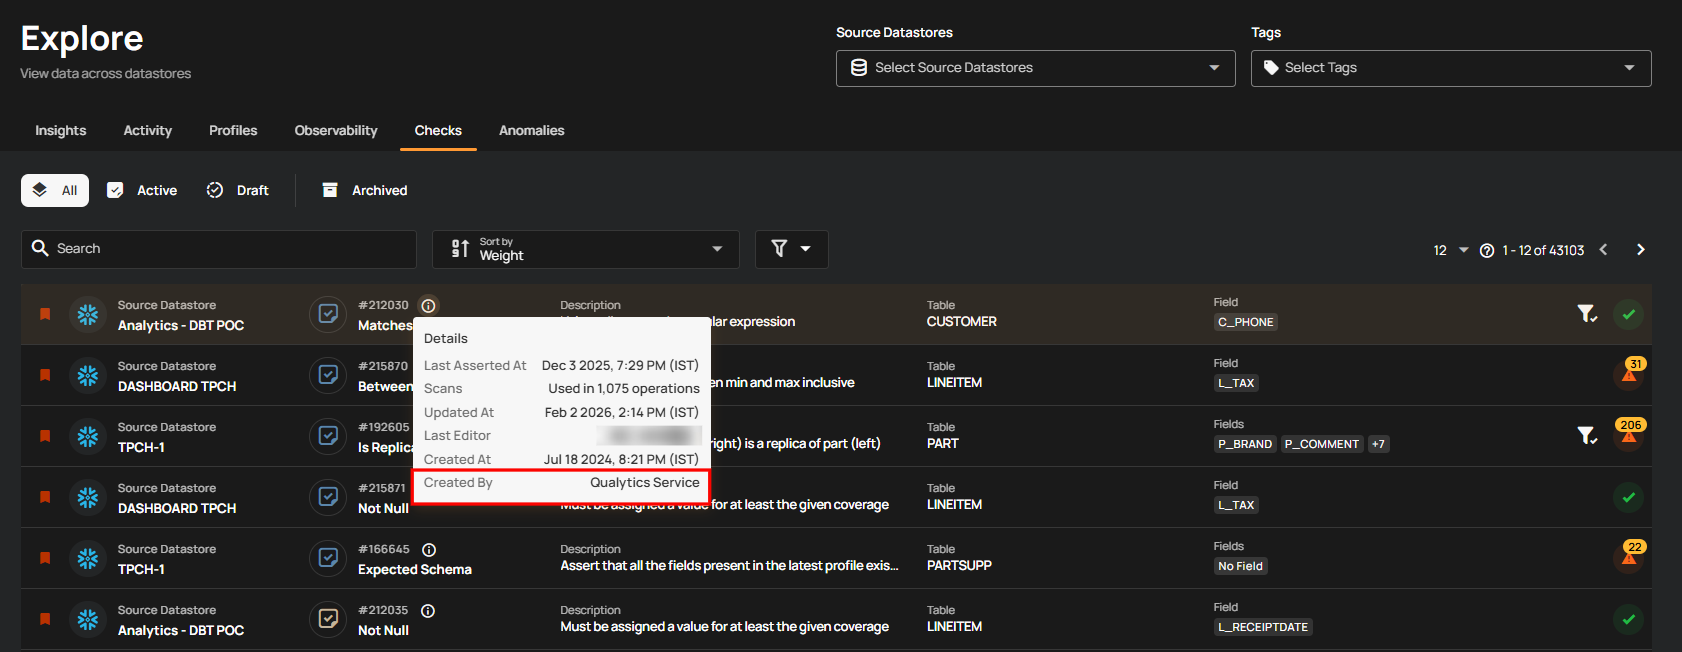
Created By
Created By shows the user or system that originally created the check. This helps identify ownership and understand whether the check was created manually by a user or automatically by a service. For example, the check was created by Qualytics Service.
Status Management of Checks
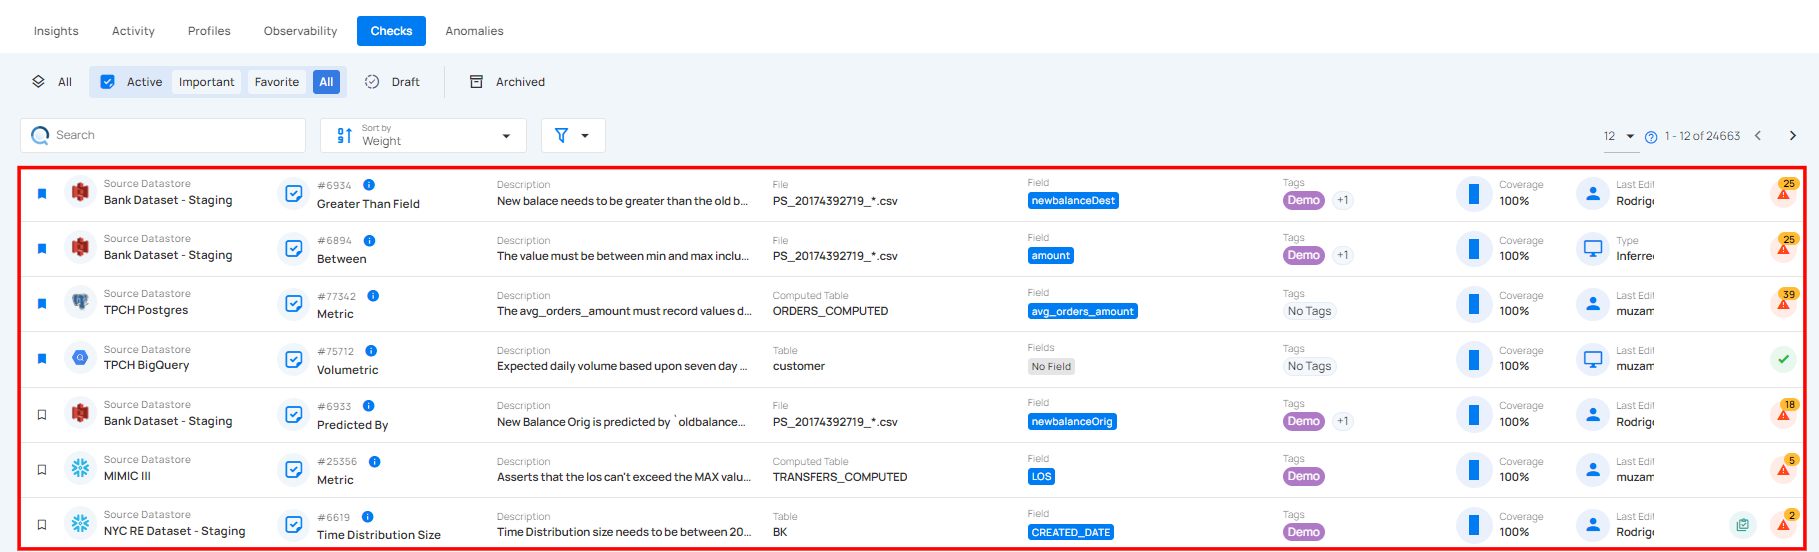
Set Check as Draft
You can move an active check into a draft state, allowing you to work on the check, make adjustments, and refine the validation rules without affecting live data. This is useful when you need to temporarily deactivate a check for review and updates.
Step 1: Click on the active check that you want to move to the draft state.
Step 2: In the check details, select More options , then select Draft.
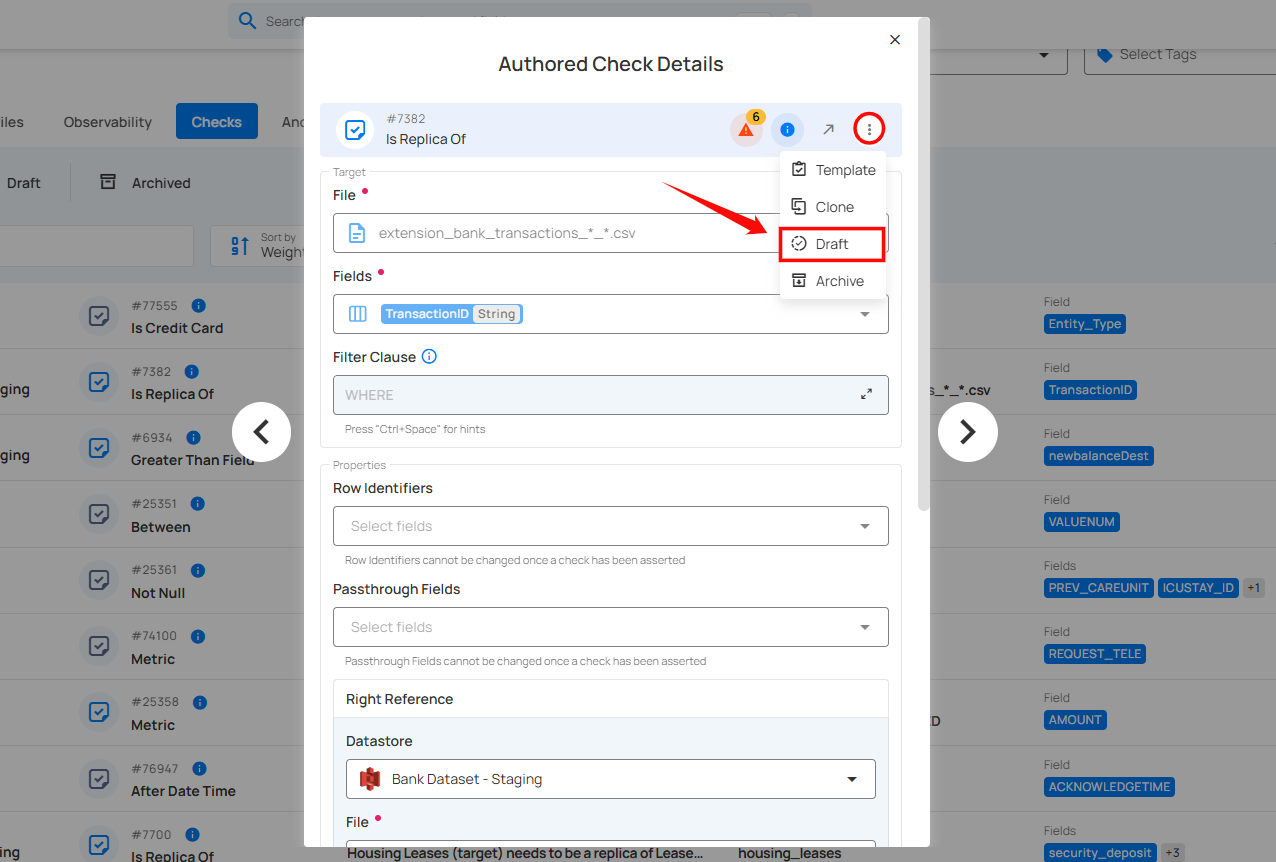
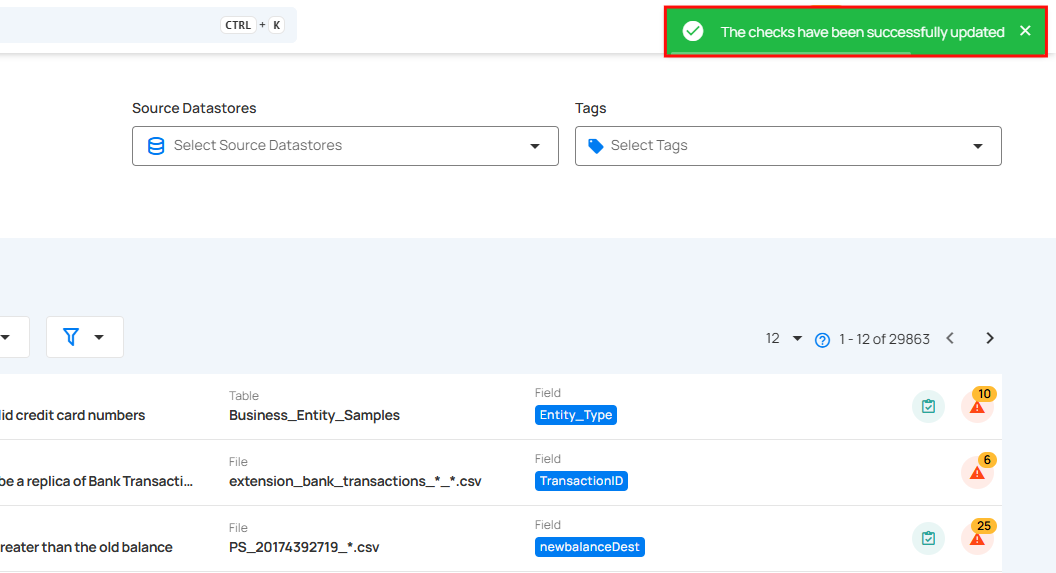
Step 3: Confirm that the check moves to Draft. A success message confirms the update.
Activate Draft Check
You can activate the draft checks after when you have worked on the check, make adjustments, and refine the validation rules. By activating the draft check and making it live, ensures that the defined criteria are enforced on the data.
Step 1: Navigate to the Draft check section, and click on the drafted check that you want to activate, whether you have made changes or wish to activate it as is.
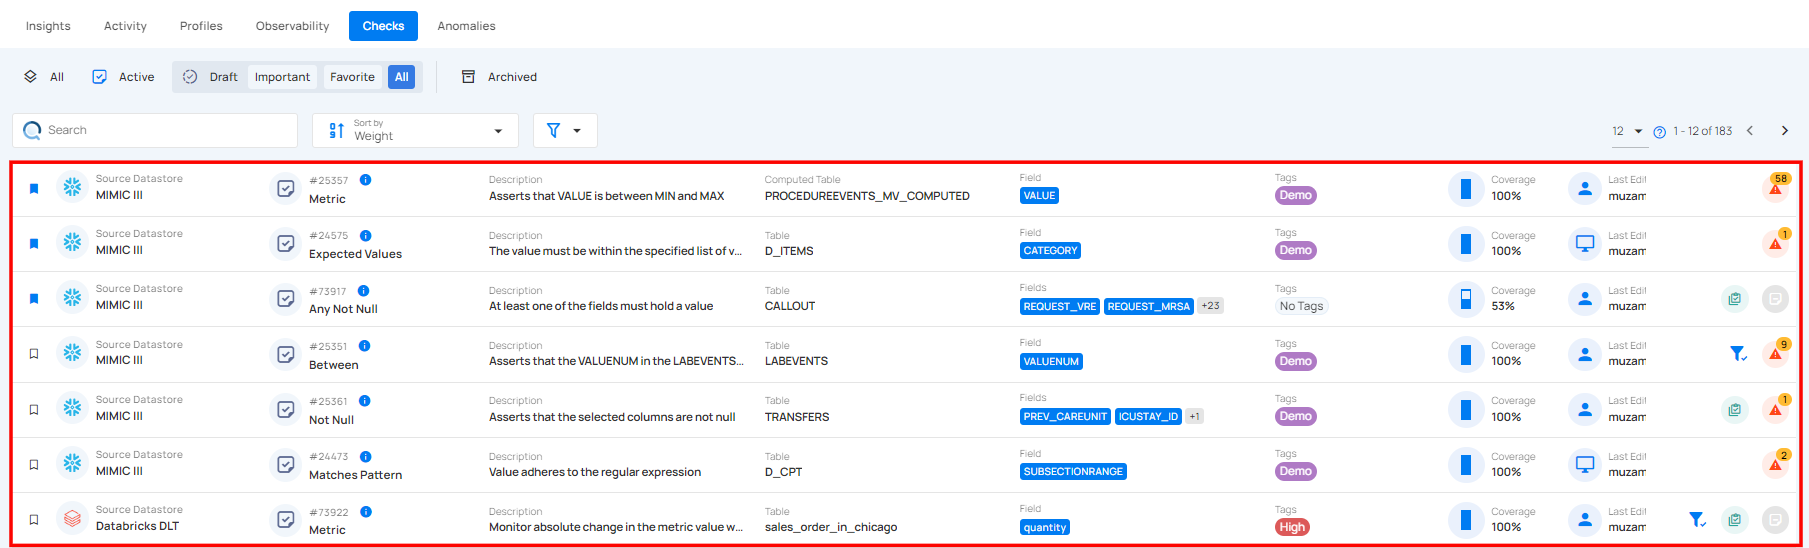
A modal window will appear with the check details. If you want to make any changes to the check details, you can edit them.
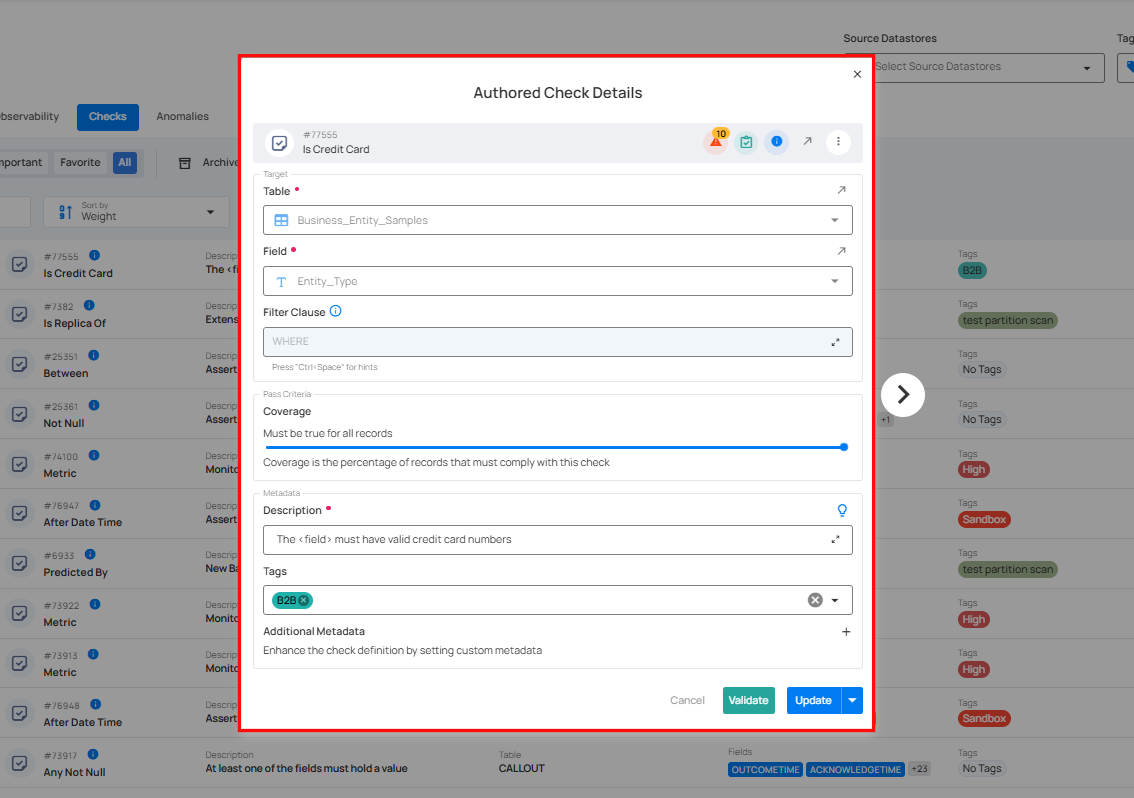
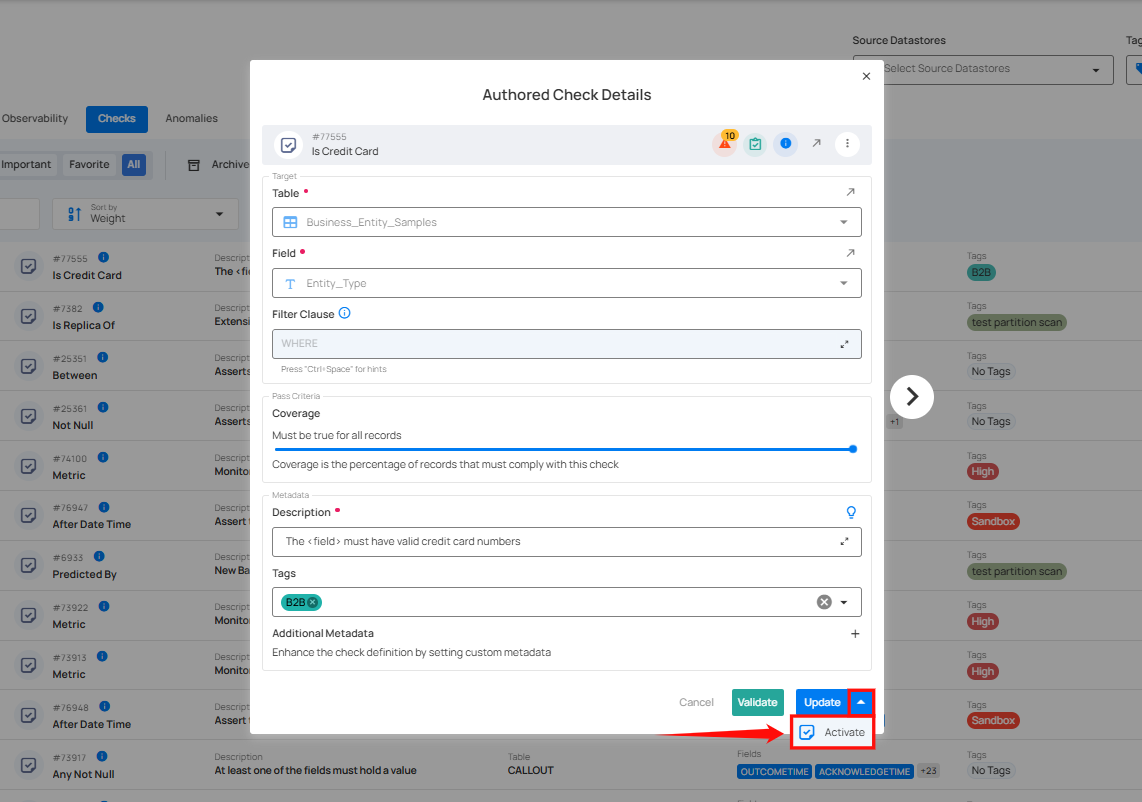
Step 2: Click on the down arrow icon with the Update button. A dropdown menu will appear, click on the Activate button.
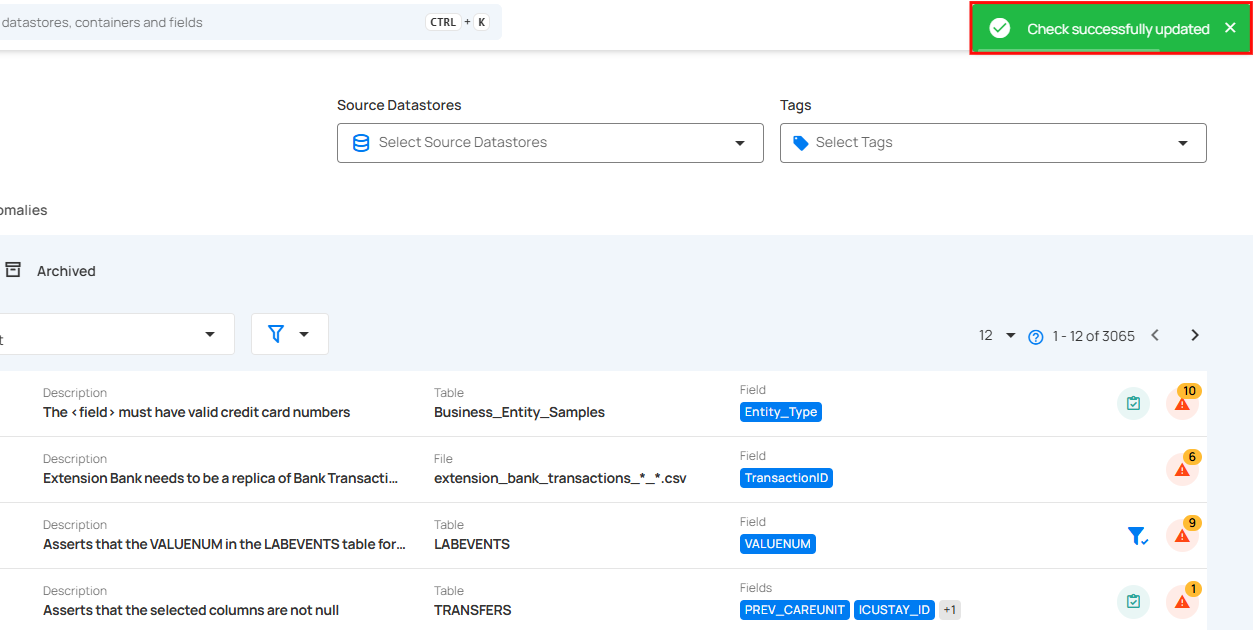
Step 3: Confirm that the check moves to Active. A success message confirms the update.
Set Check as Archived
You can move an active or draft check into the archive when it is no longer relevant but may still be needed for historical purposes or future use. Archiving helps keep your checks organized without permanently deleting them.
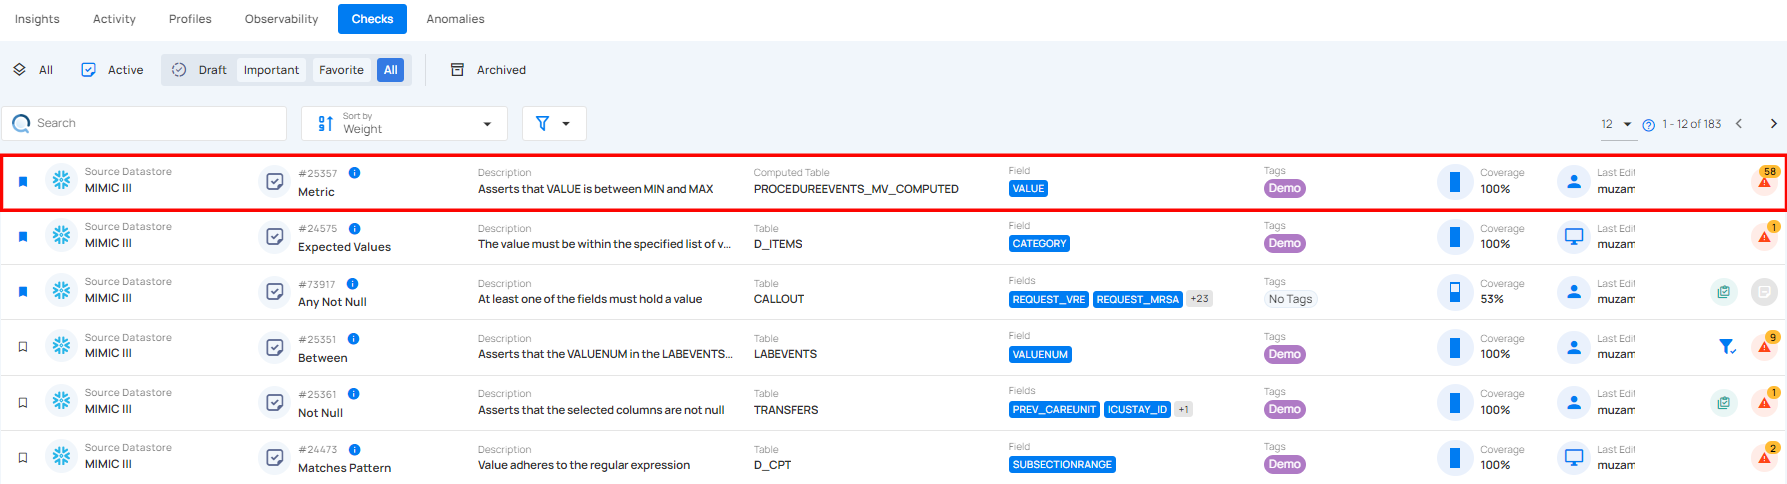
Step 1: Click on the check from the list of available (whether Active or Draft) checks that you want to archive.
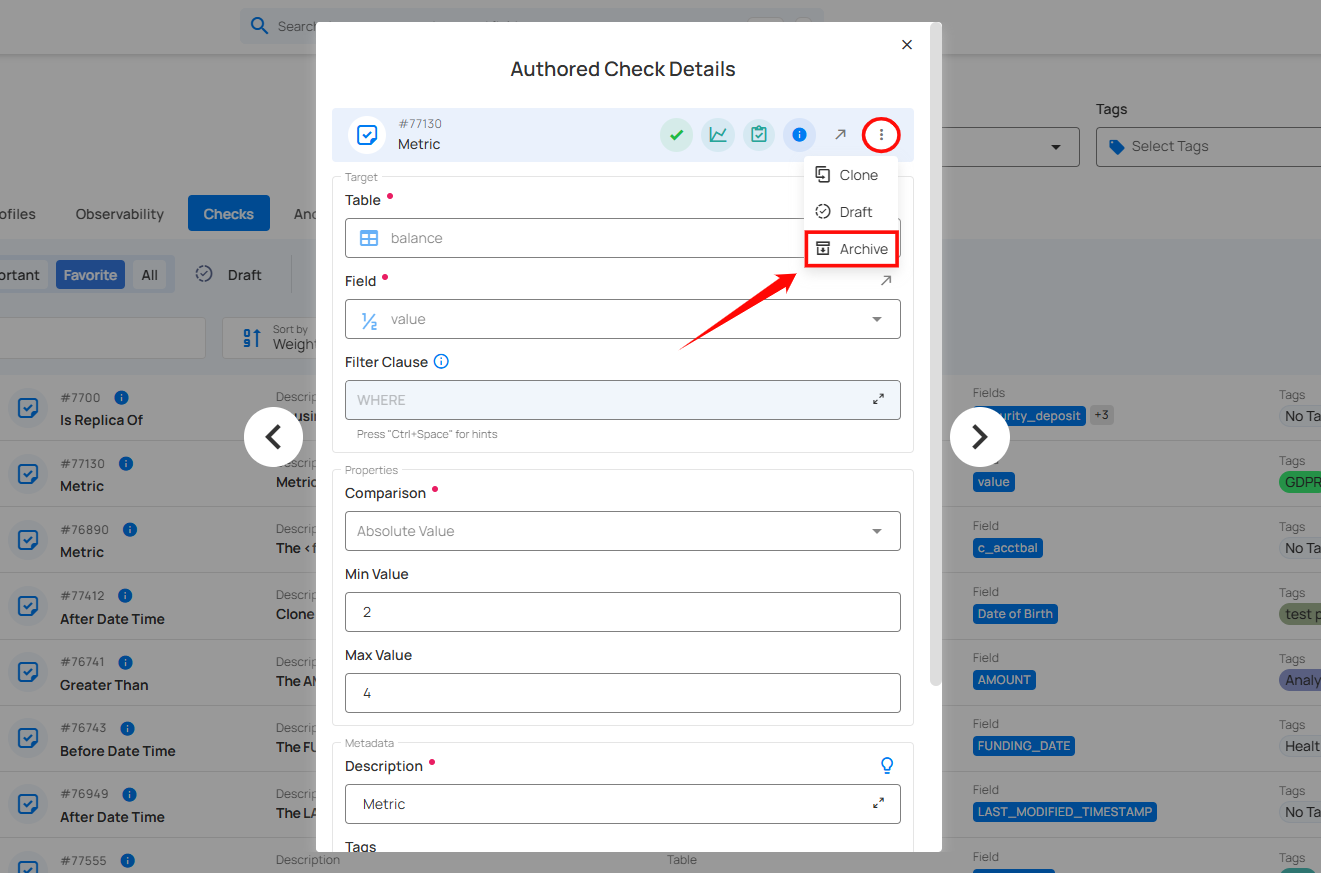
Step 2: In the check details, select More options , then select Archive.
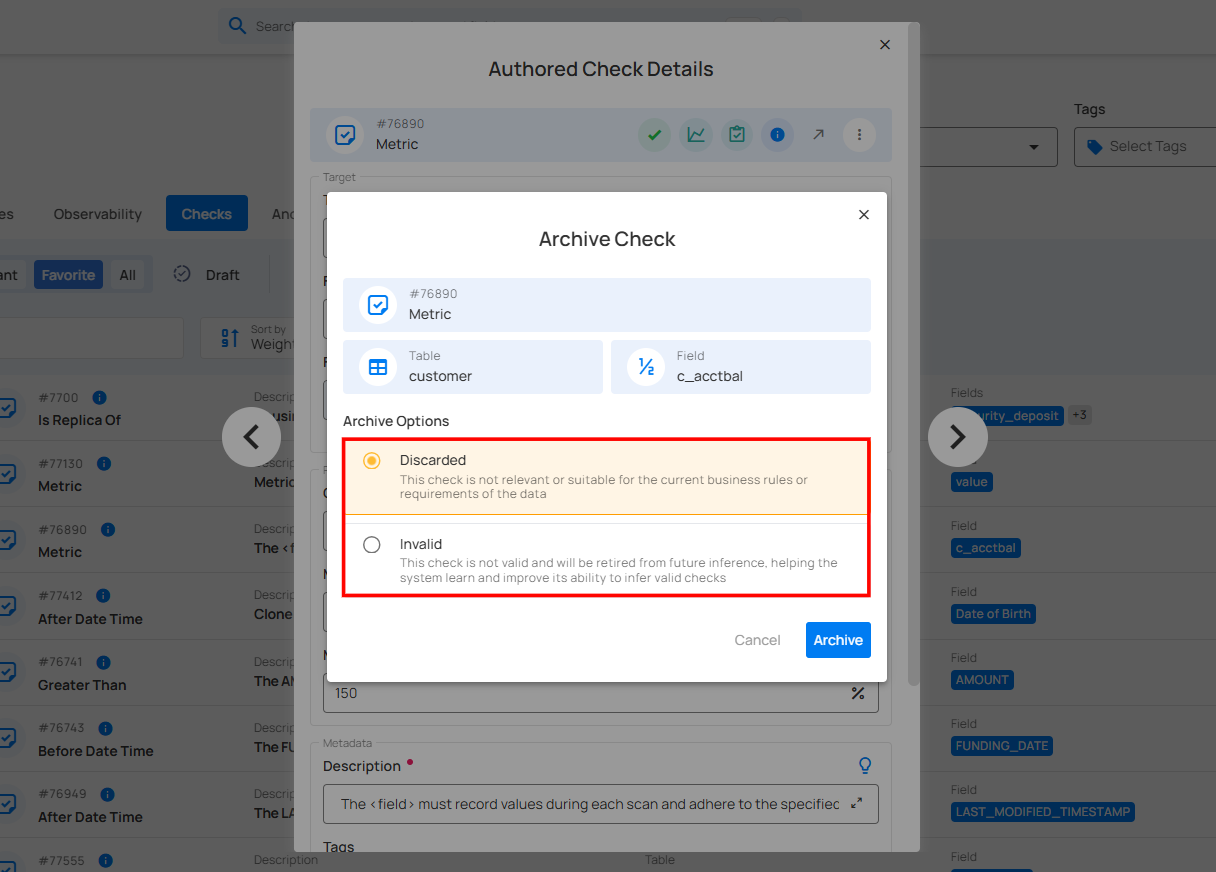
Step 3: In Archive Check, choose an archive reason:
-
Discarded: Select this option if the check is no longer relevant or suitable for the current business rules or data requirements. This helps in archiving checks that are obsolete but still exist for historical reference.
-
Invalid: Choose this option when the check itself does not fit the data or its intended use. This records the reason and removes the check from active evaluation.
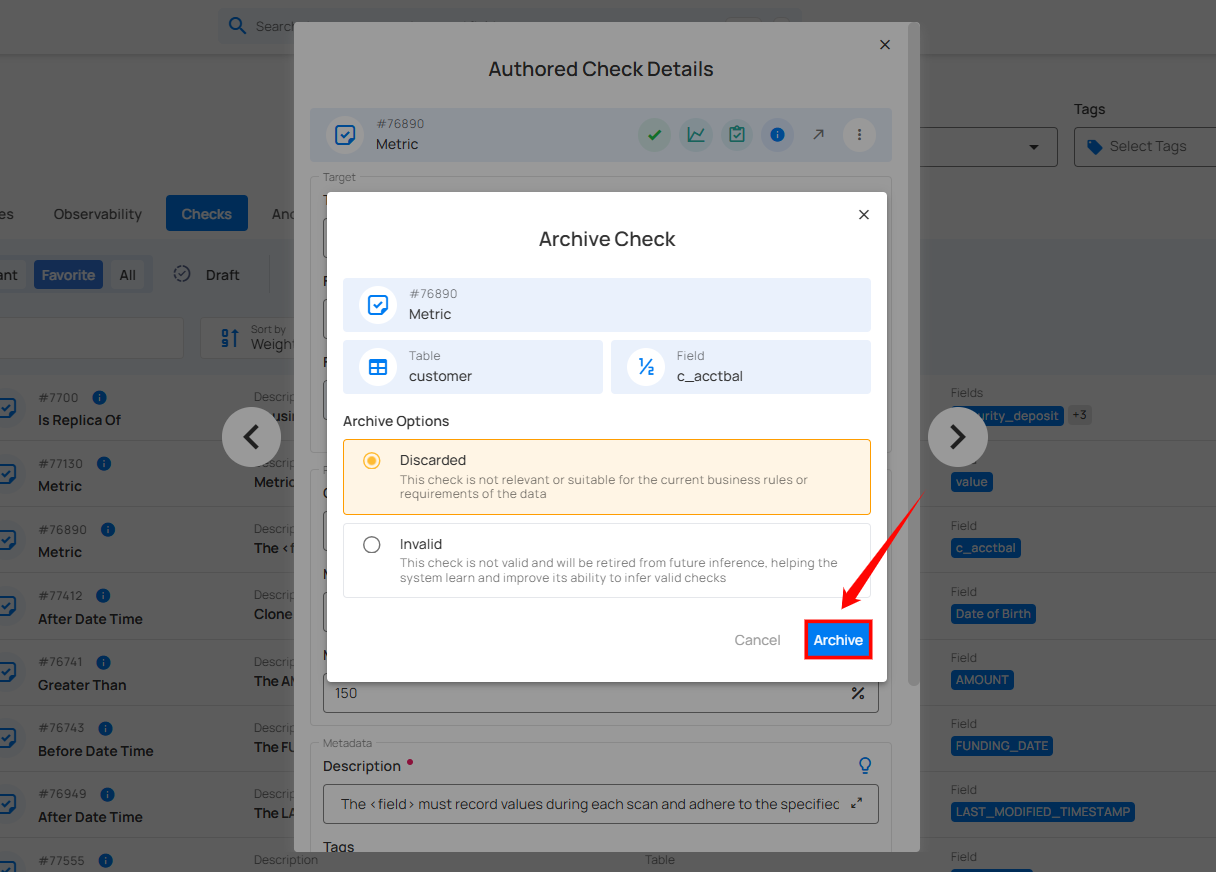
Step 4: Once you've made your selection, click the Archive button to proceed.
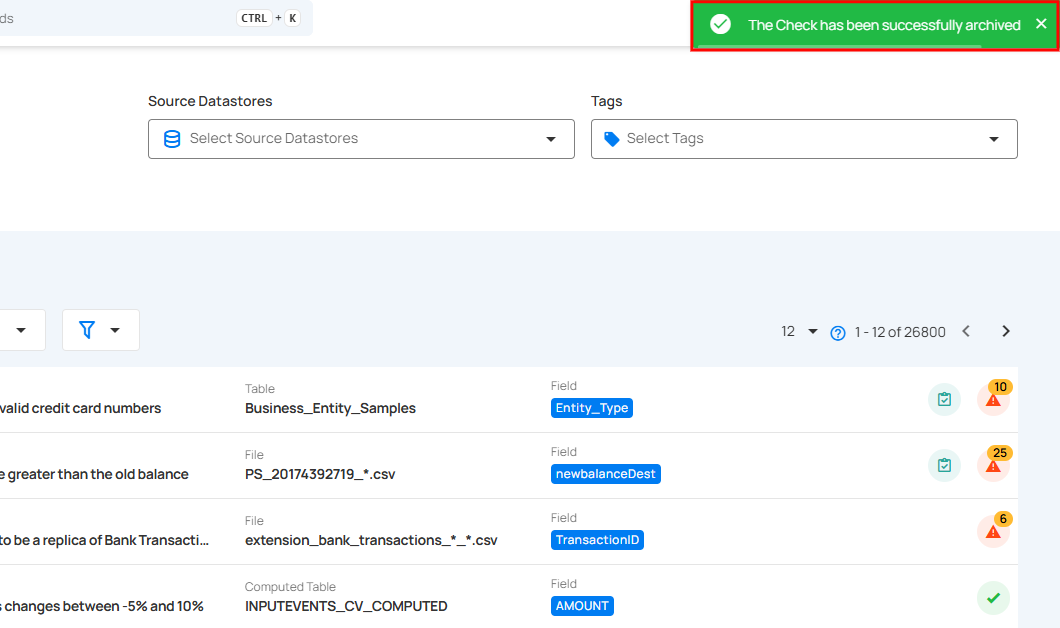
Step 5: Confirm that the check moves to Archived. A success message confirms the update.
Restore Archived Checks
If a check has been archived, then you can restore it back to an active state or in a draft state. This allows you to reuse your checks that were previously archived without having to recreate them from scratch.
You can also activate an archived check directly from the checks list by clicking the vertical ellipsis (⋮) next to it and selecting Activate, which restores the check and makes it active again in a single step. For more information, refer to the Activate Archived Checks documentation.
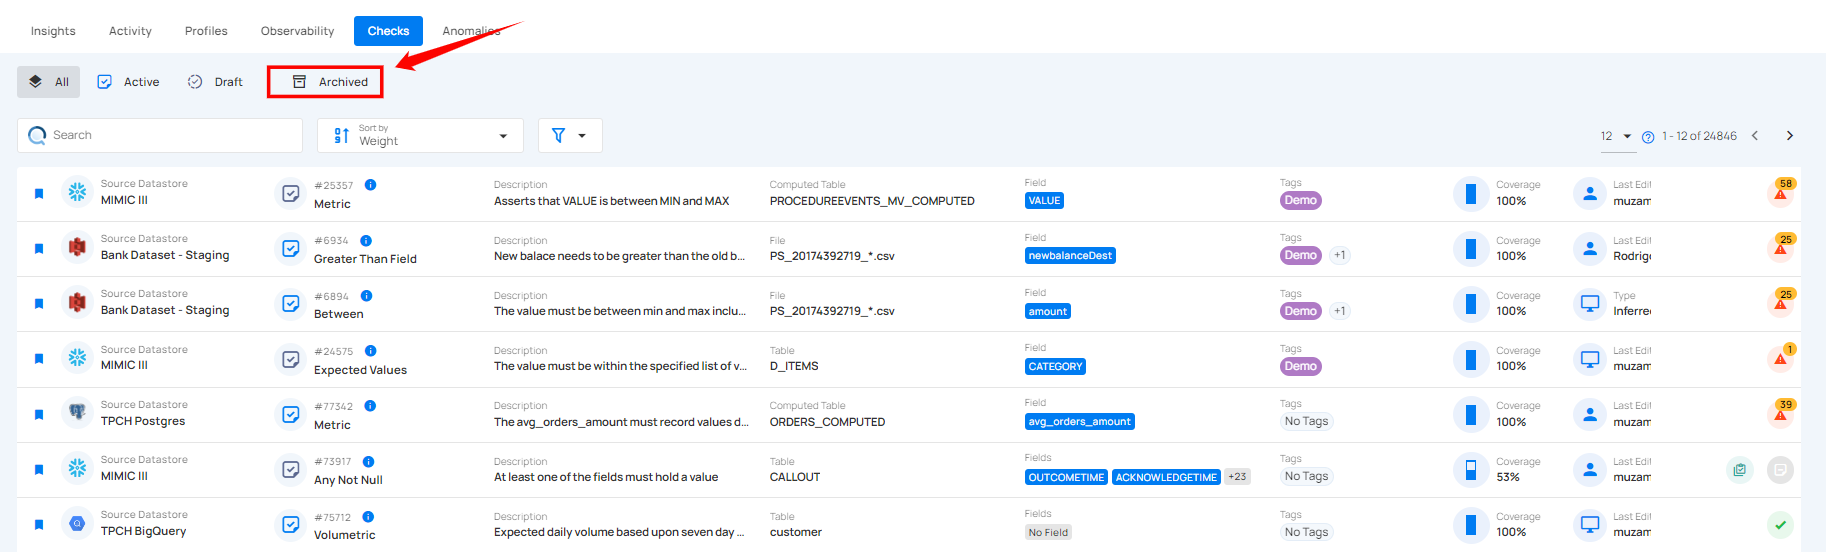
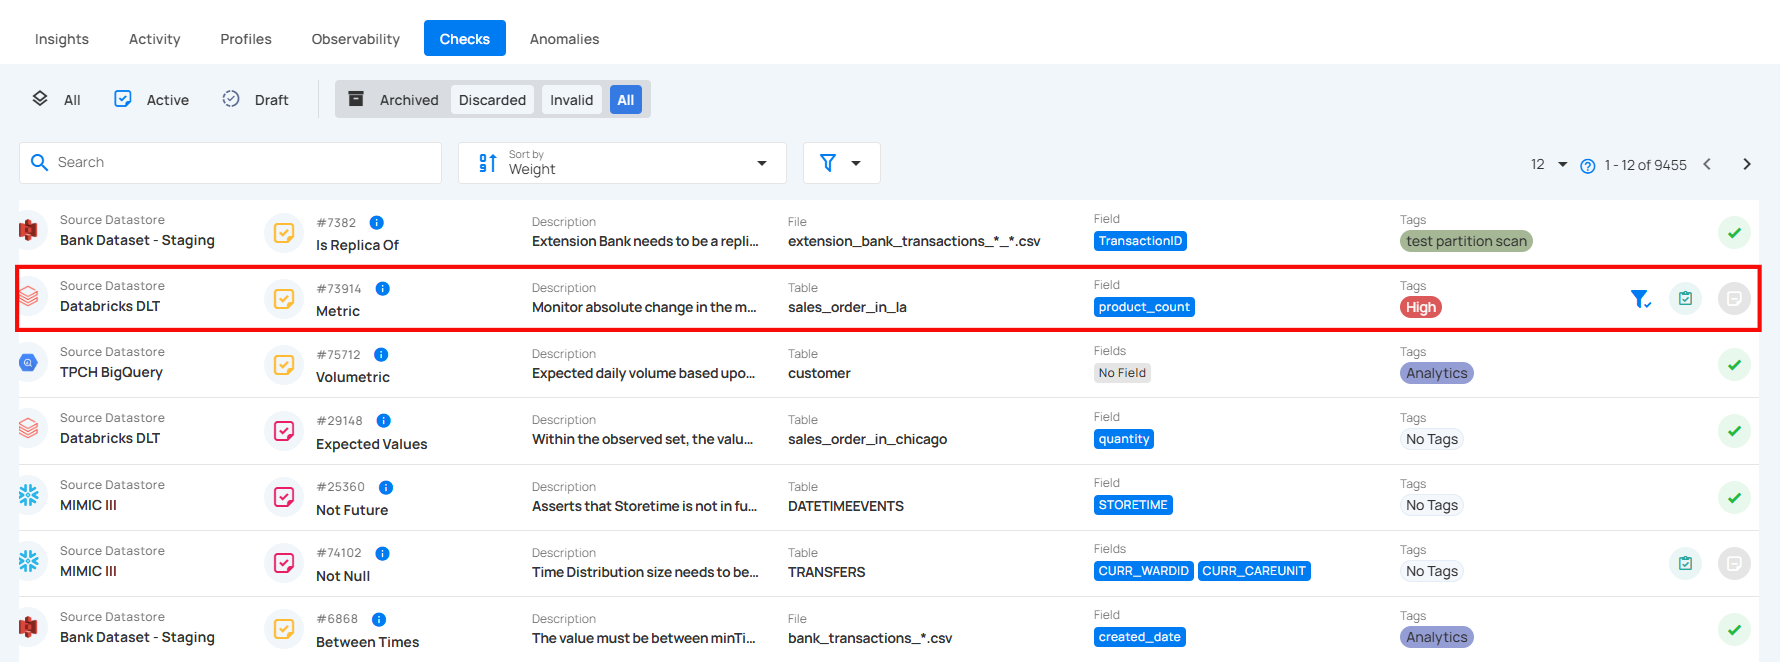
Step 1: Click on Archived from the navigation bar in the Checks section to view all archived checks.
Step 2: Click on the archived check which you want to restore as an active or draft check.
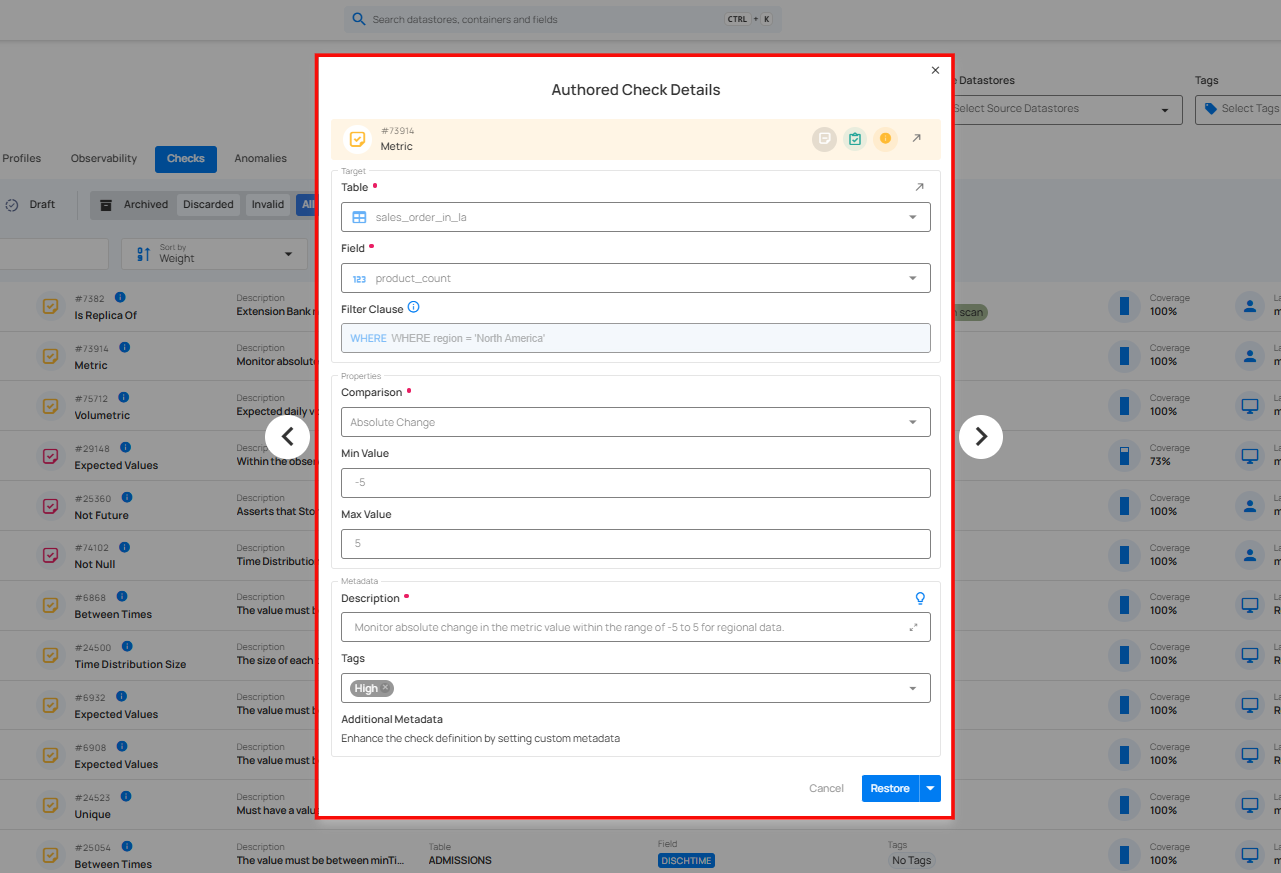
This example uses a Metric check.
A modal window will appear with the check details.
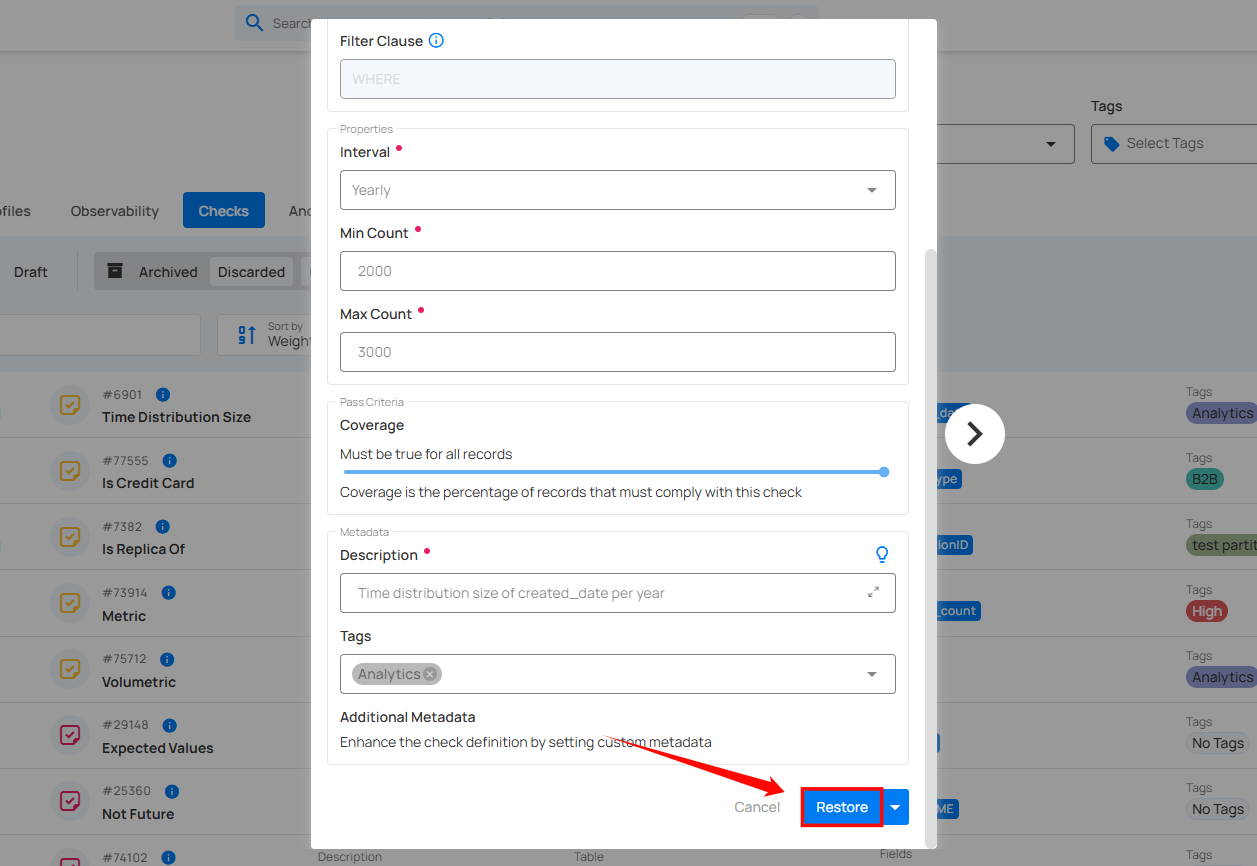
Step 3: If you want to make any changes to the check, you can edit it. Otherwise, click on the Restore button to restore it as an active check.
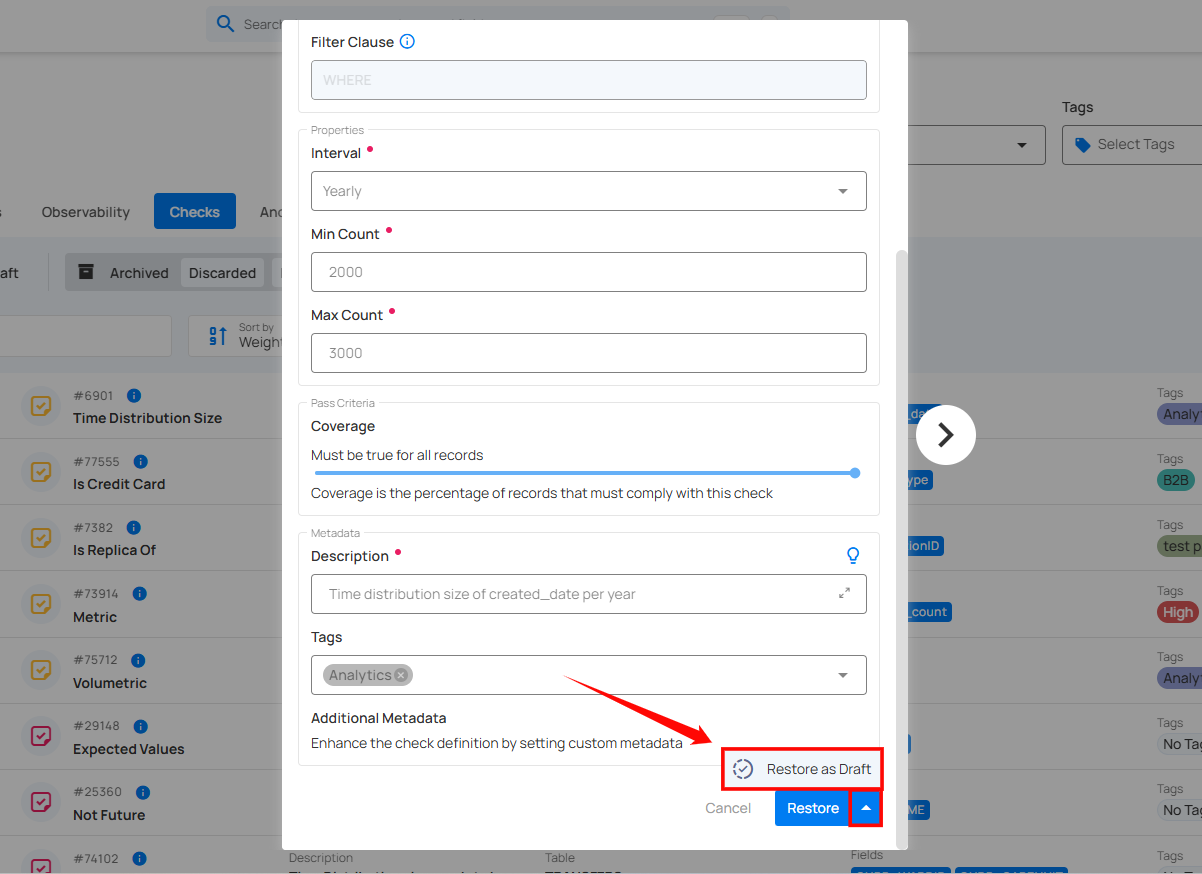
To restore the check as a draft, click the arrow next to Restore. A dropdown menu appears. Select Restore as Draft.
After you select Restore or Restore as Draft, a success message confirms that the check has moved to the selected state.
Edit Check
You can edit an existing check to modify its properties, such as the rule type, coverage, filter clause, or description. Updating a check ensures that it stays aligned with evolving data requirements and maintains data quality as conditions change.
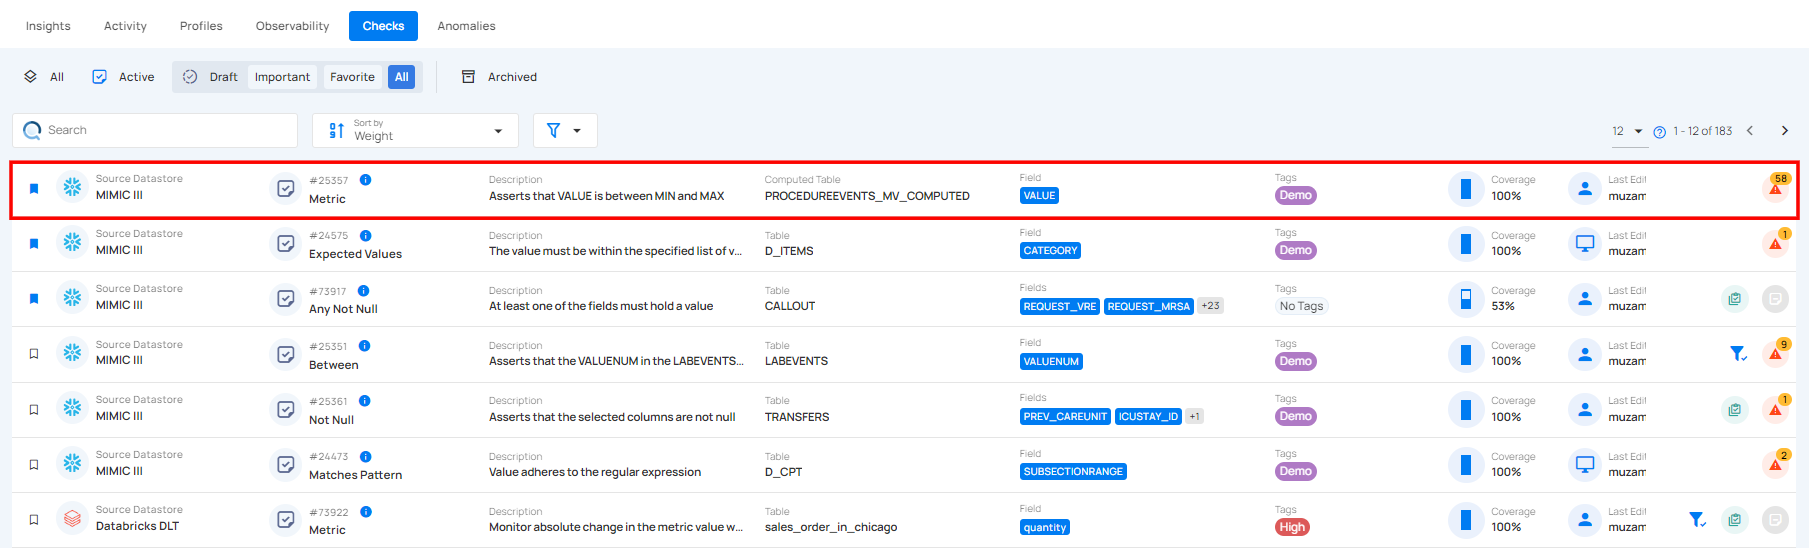
Step 1: Click on the check you want to edit, whether it is an active or draft check.
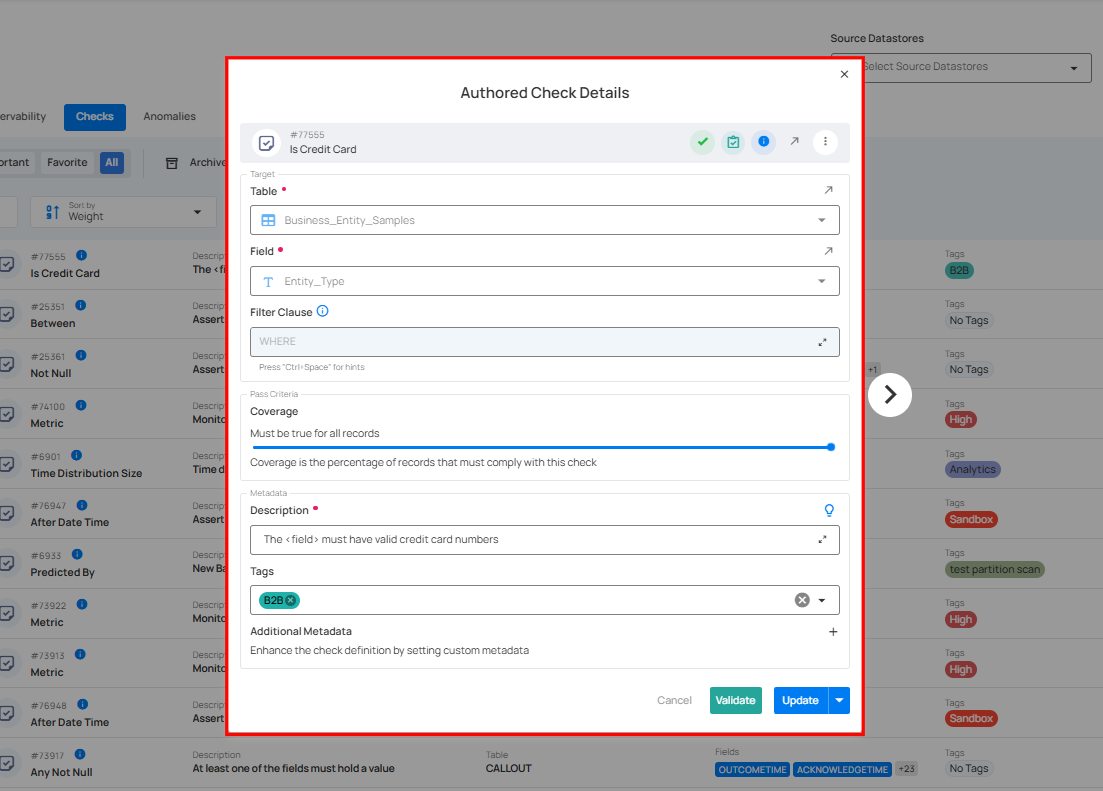
A modal window will appear with the check details.
Step 2: Modify the check details as needed based on your preferences.
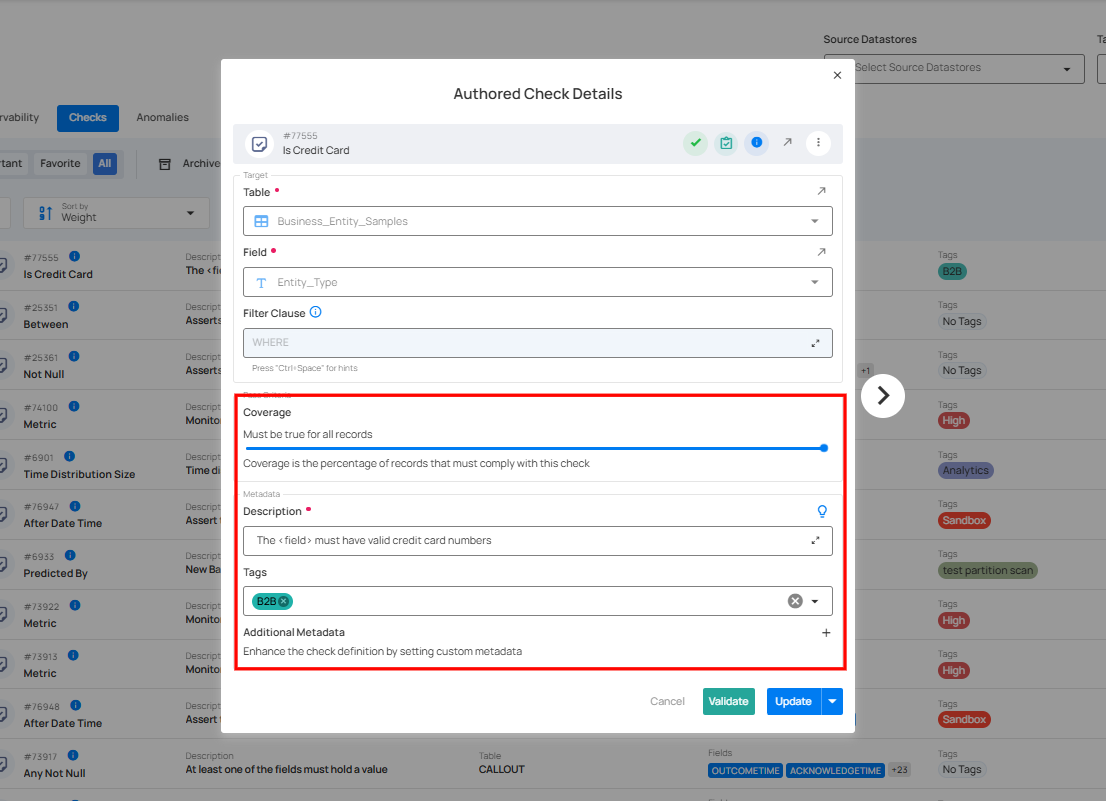
Step 3: Once you have edited the check details, then click on the Validate button. This will perform a validation operation on the check without saving it. The validation allows you to verify that the logic and parameters defined for the check are correct.
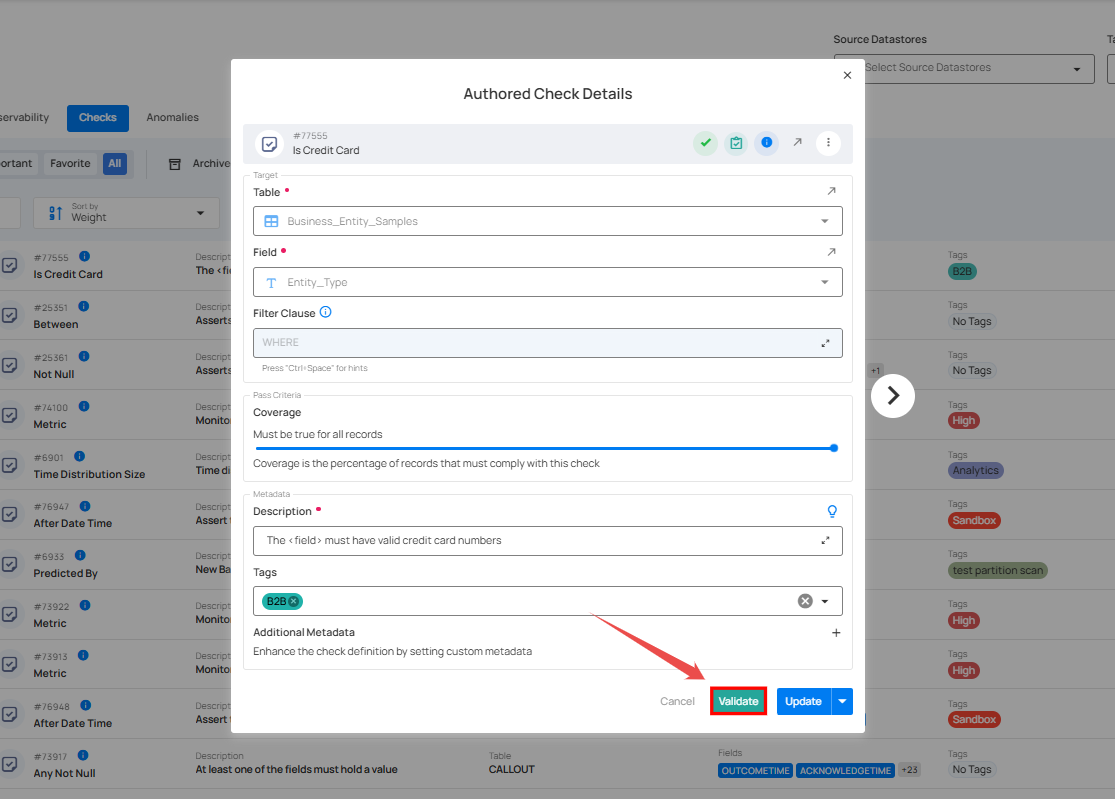
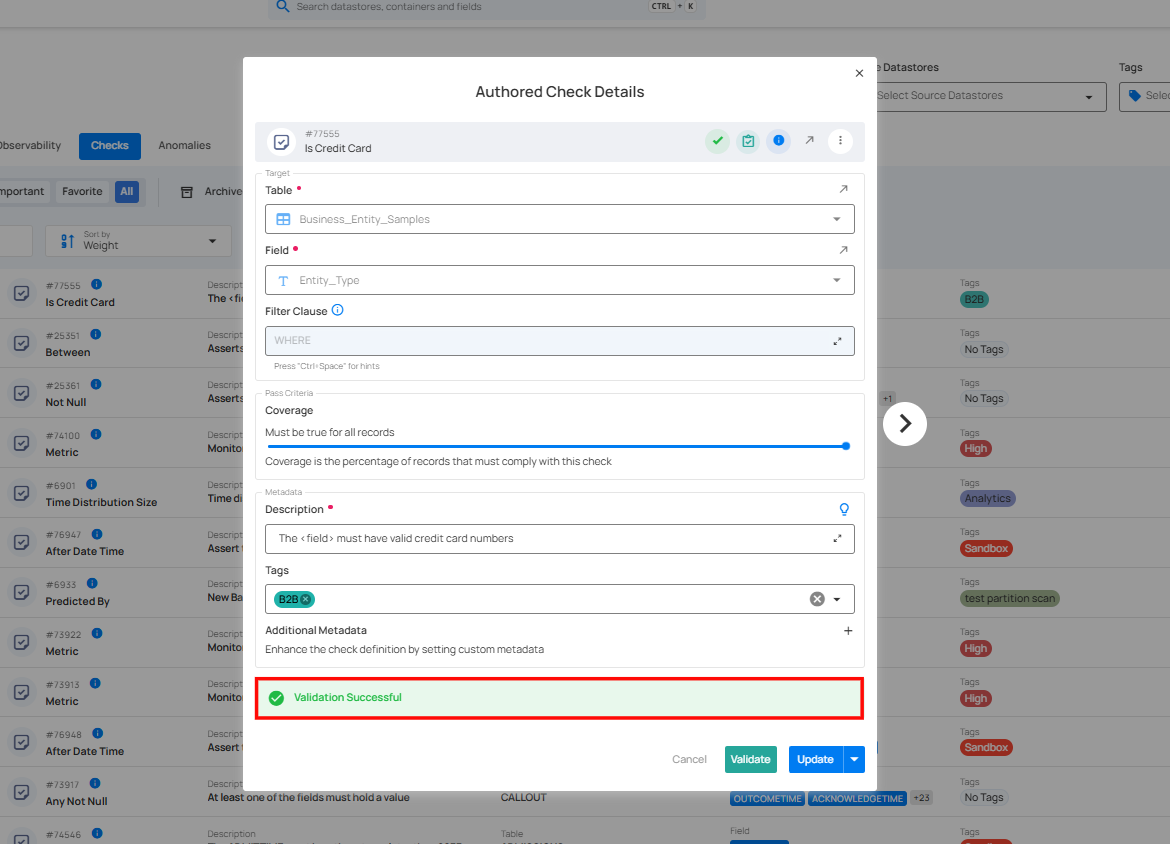
If validation succeeds, a green message confirms that the current configuration can be evaluated against the selected data.
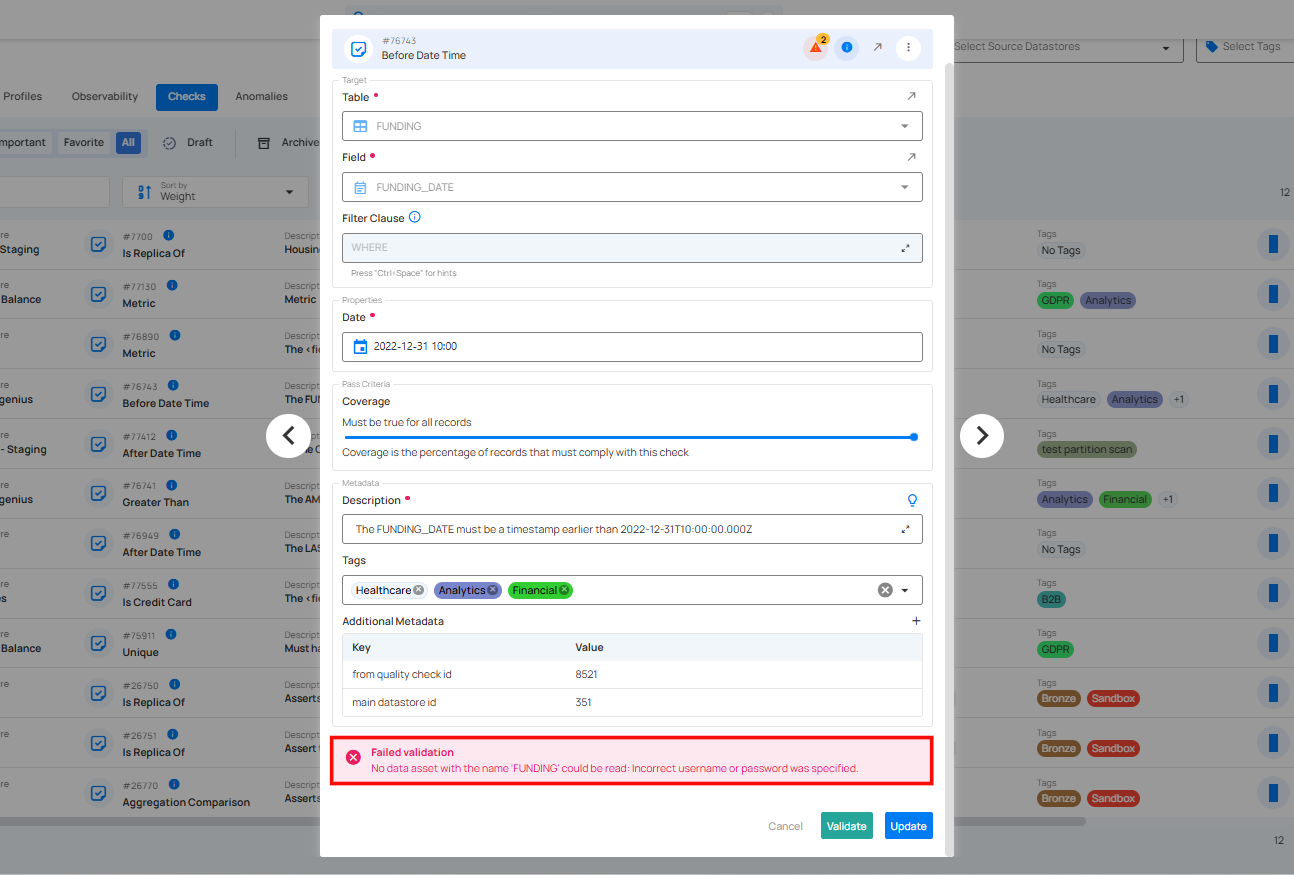
If validation fails, review the message and correct the configuration before continuing. Validation does not determine whether the check represents the right business expectation.
Step 4: After validation succeeds, select Update to save the changes to the check.
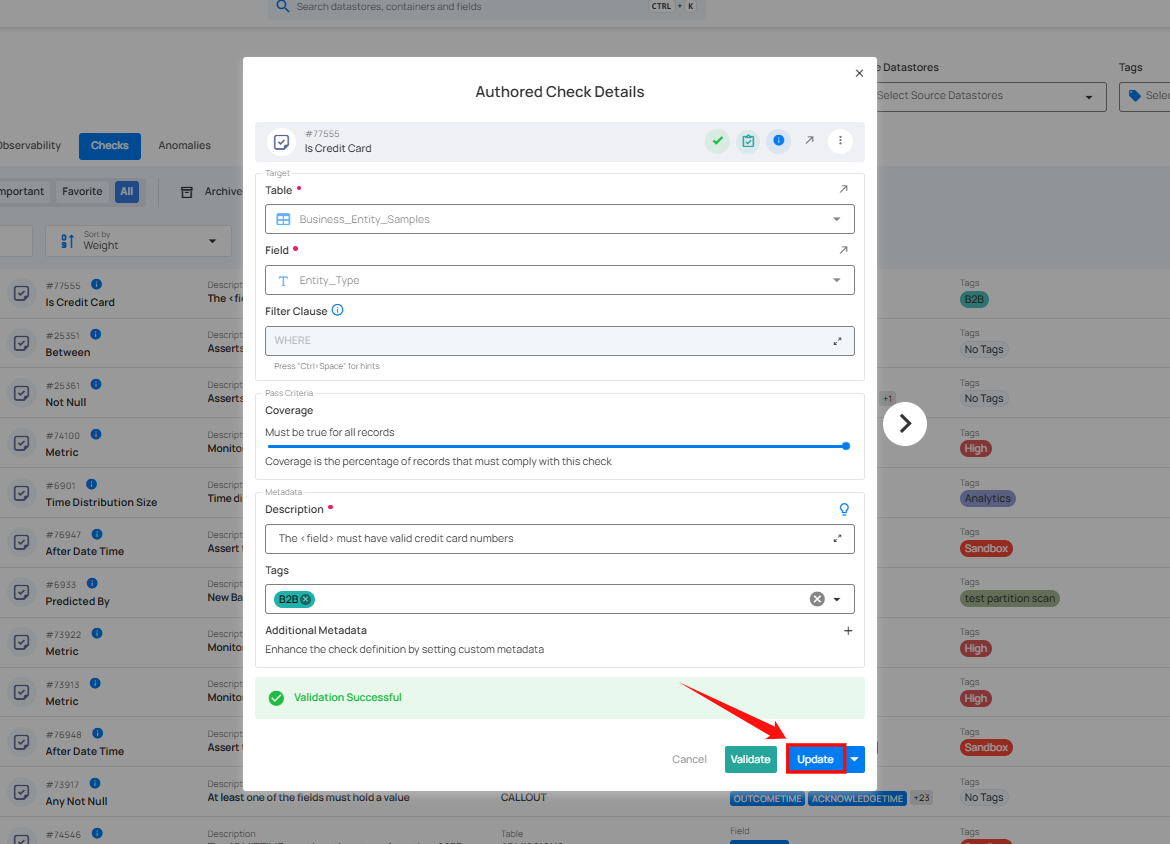
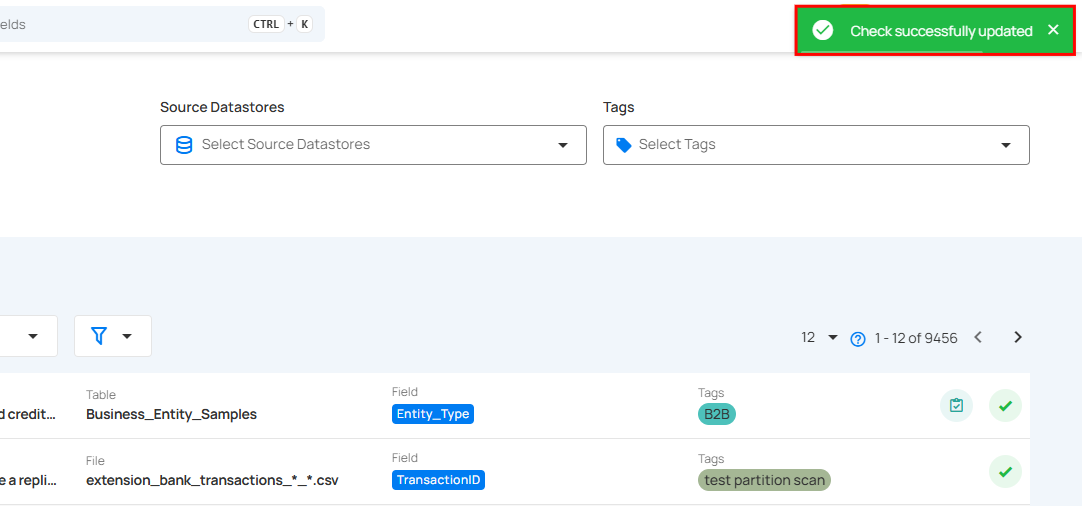
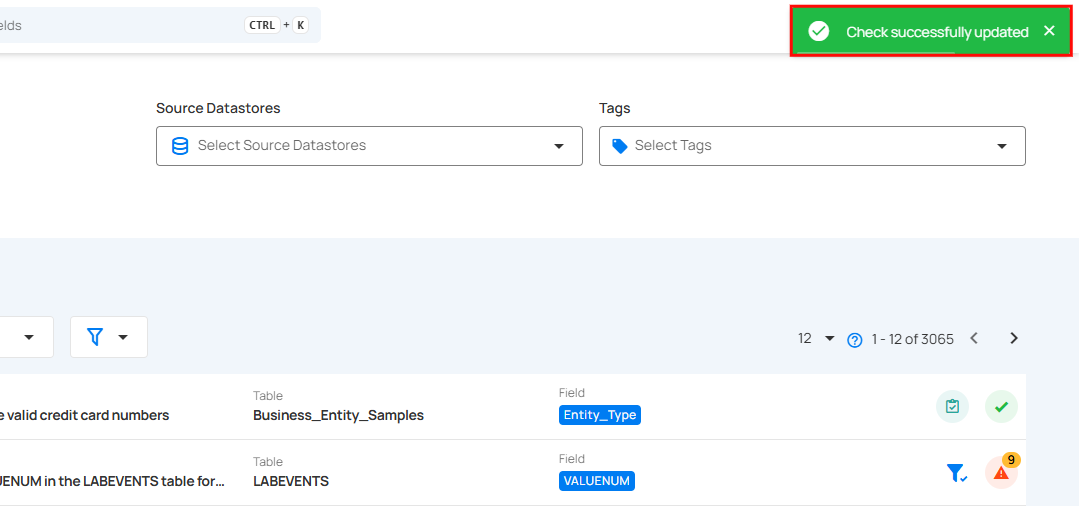
A success message confirms the update.
Mark Check as Favorite
Marking a check as a favorite allows you to quickly access and prioritize the checks that are most important to your data validation process. This helps streamline workflows by keeping frequently used or critical checks easily accessible, ensuring you can monitor and manage them efficiently. By marking a check as a favorite, it will appear in the "Favorite" category for faster retrieval and management.
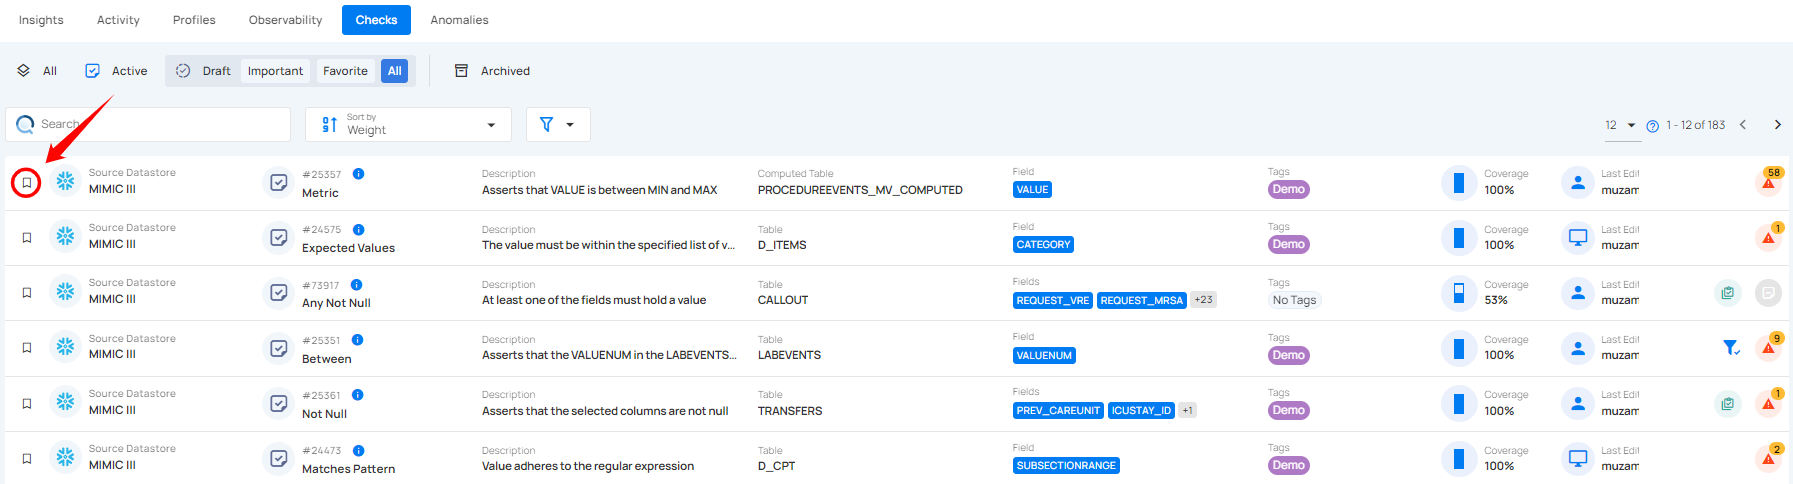
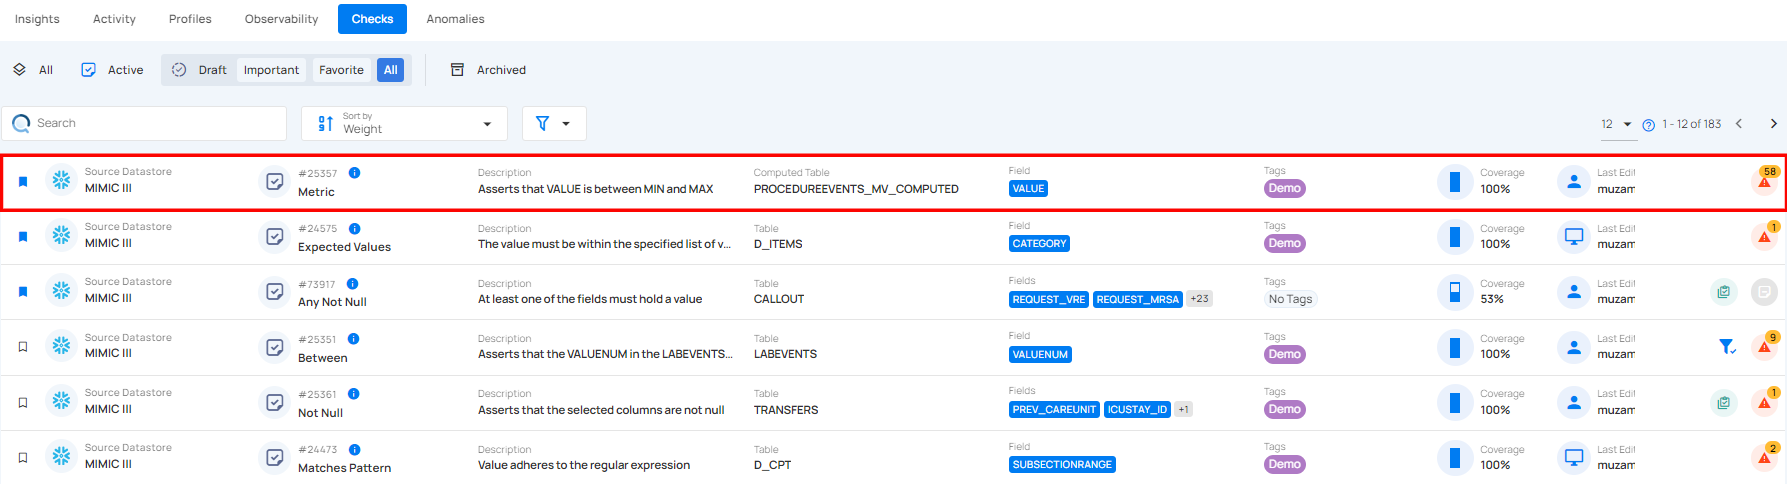
Step 1: Locate the check which you want to mark as a favorite and click on the bookmark icon located on the right side of the check.
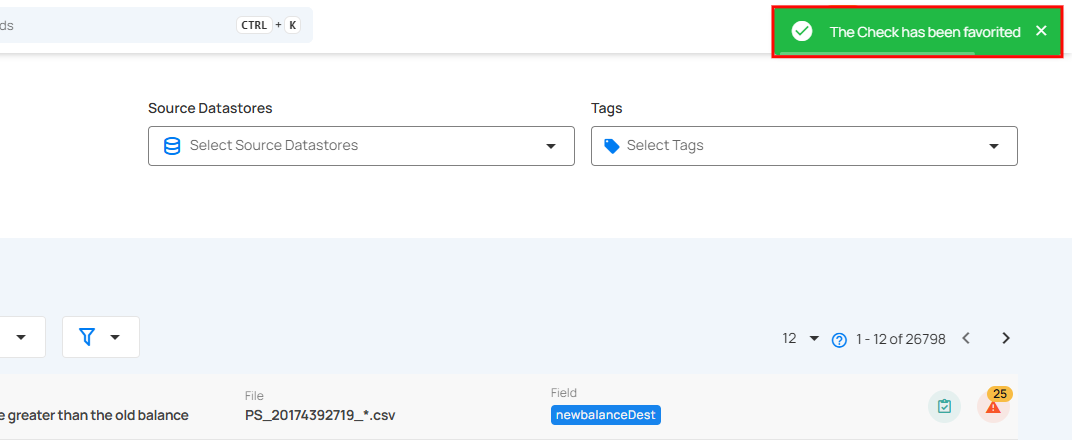
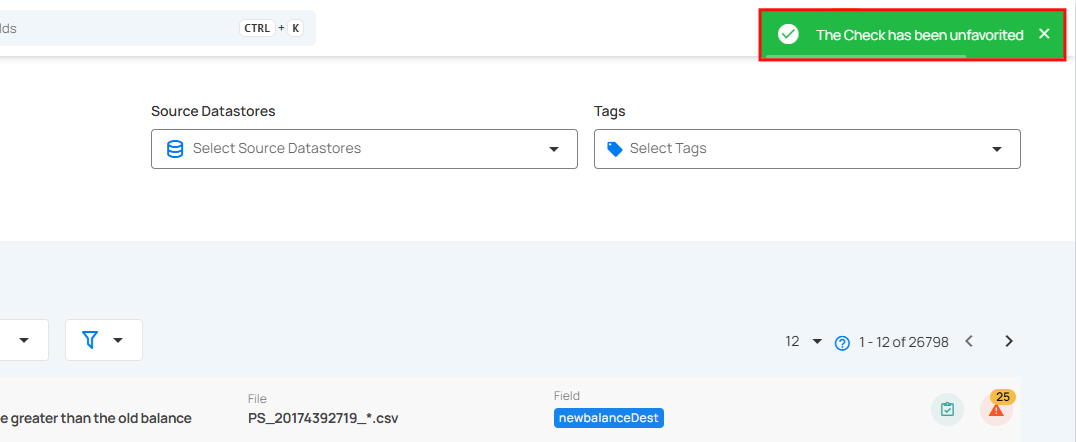
After you select the bookmark icon, a success message confirms that the check is a favorite.
To unmark a check, simply click on the bookmark icon of the marked check.
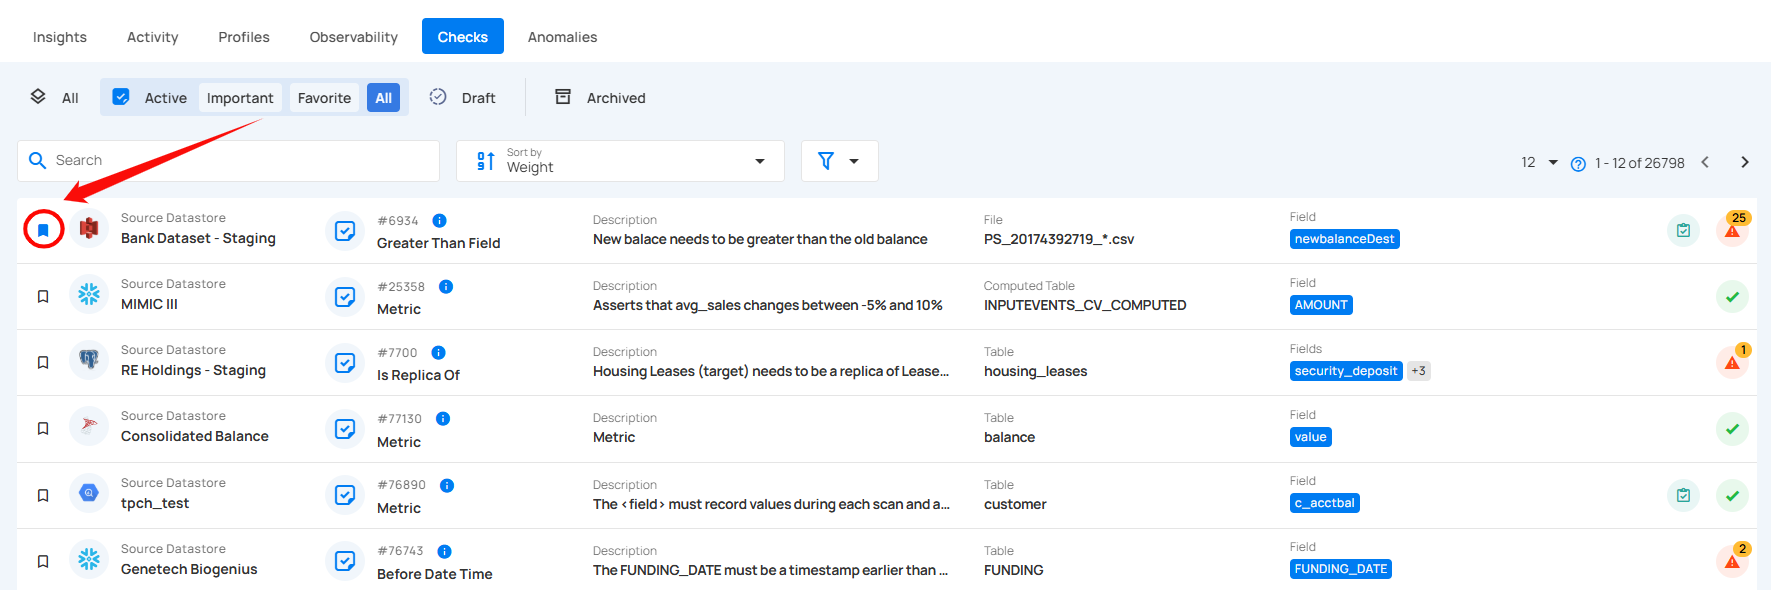
This removes it from your favorites. A success message confirms the update.
Clone Check
You can clone both active and draft checks to create a duplicate copy of an existing check. This is useful when you want to create a new check based on the structure of an existing one, allowing you to make adjustments without affecting the original check.
Step 1: Click on the check (whether Active or Draft) that you want to clone.
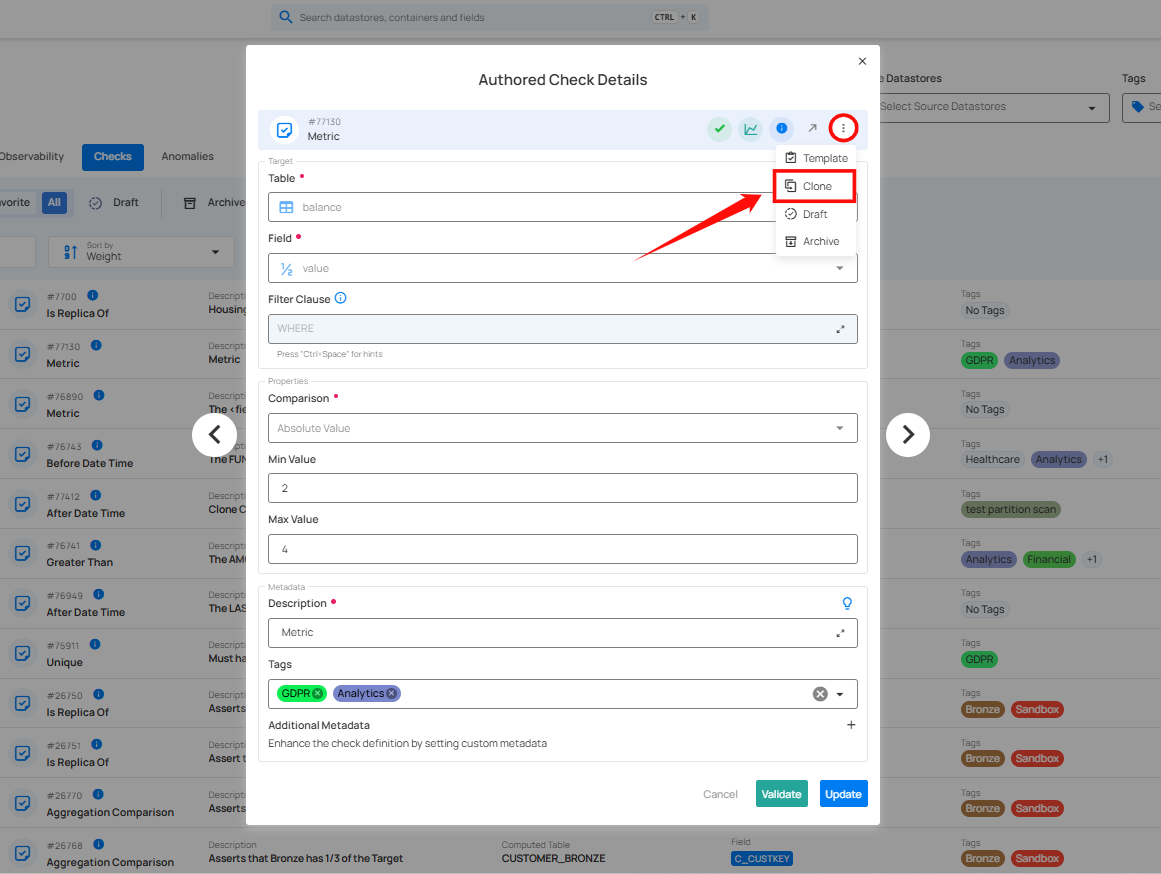
Step 2: In the check details, select More options , then select Clone.
Step 3: After clicking the Clone button, a modal window will appear. This window allows you to adjust the cloned check's details.
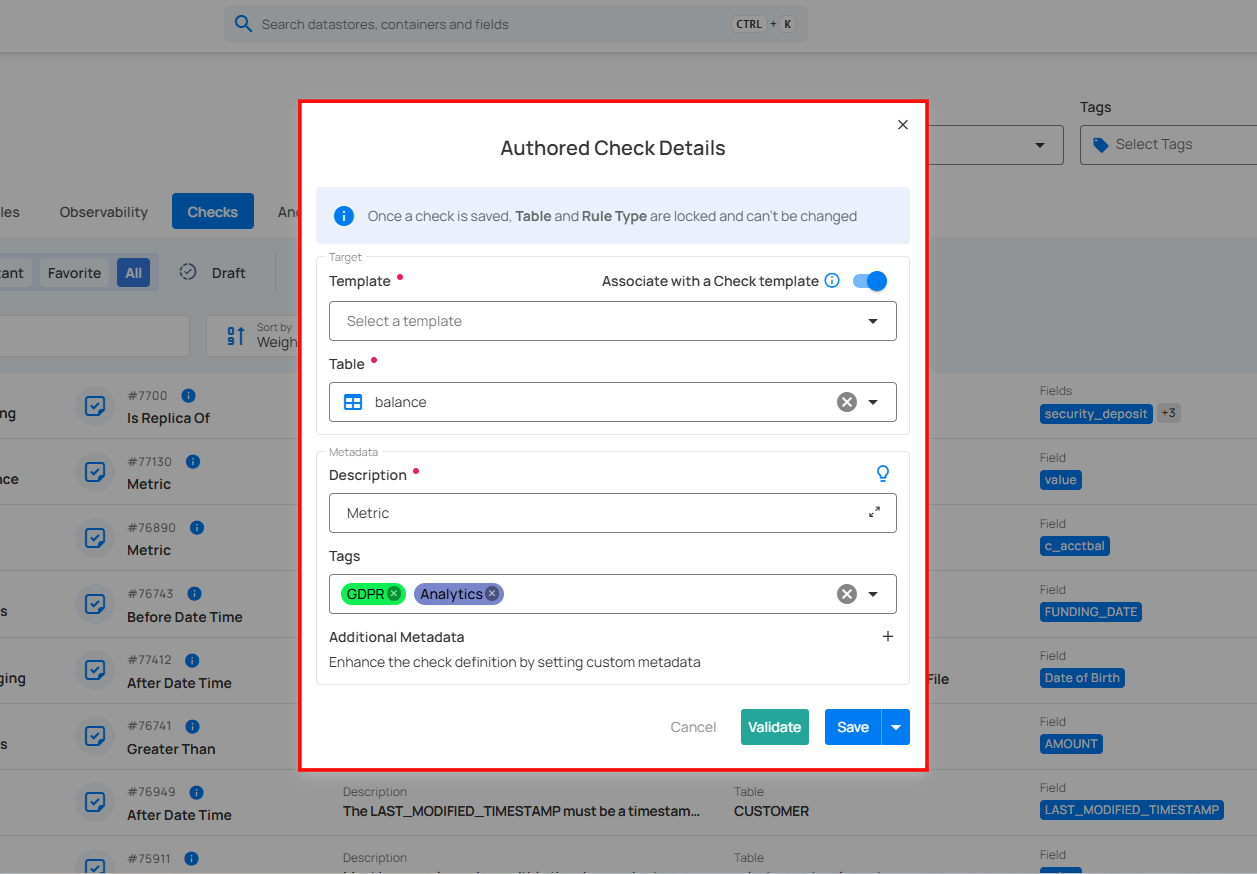
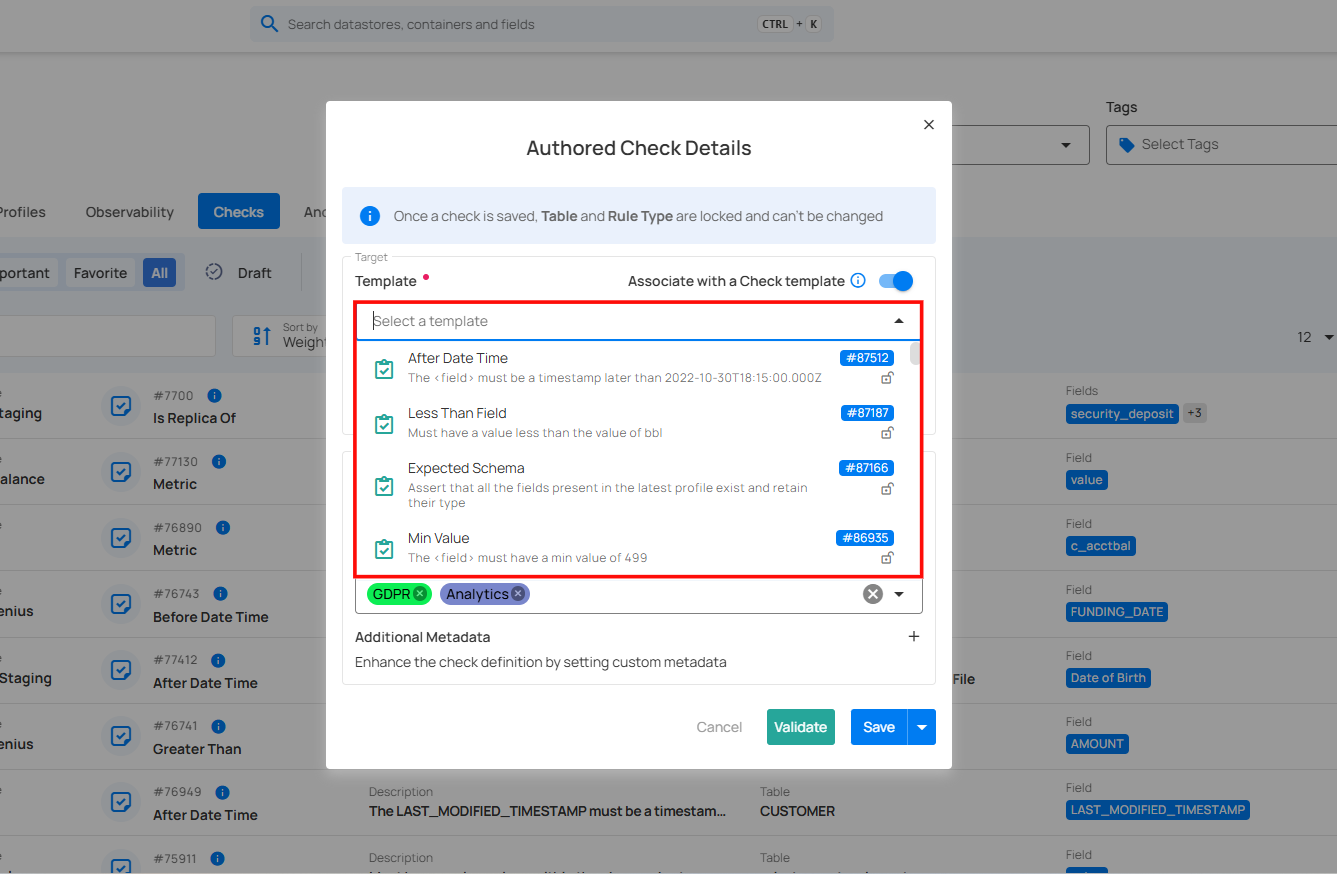
1. If you turn on Associate with a Check Template, the cloned check will be linked to a specific template.
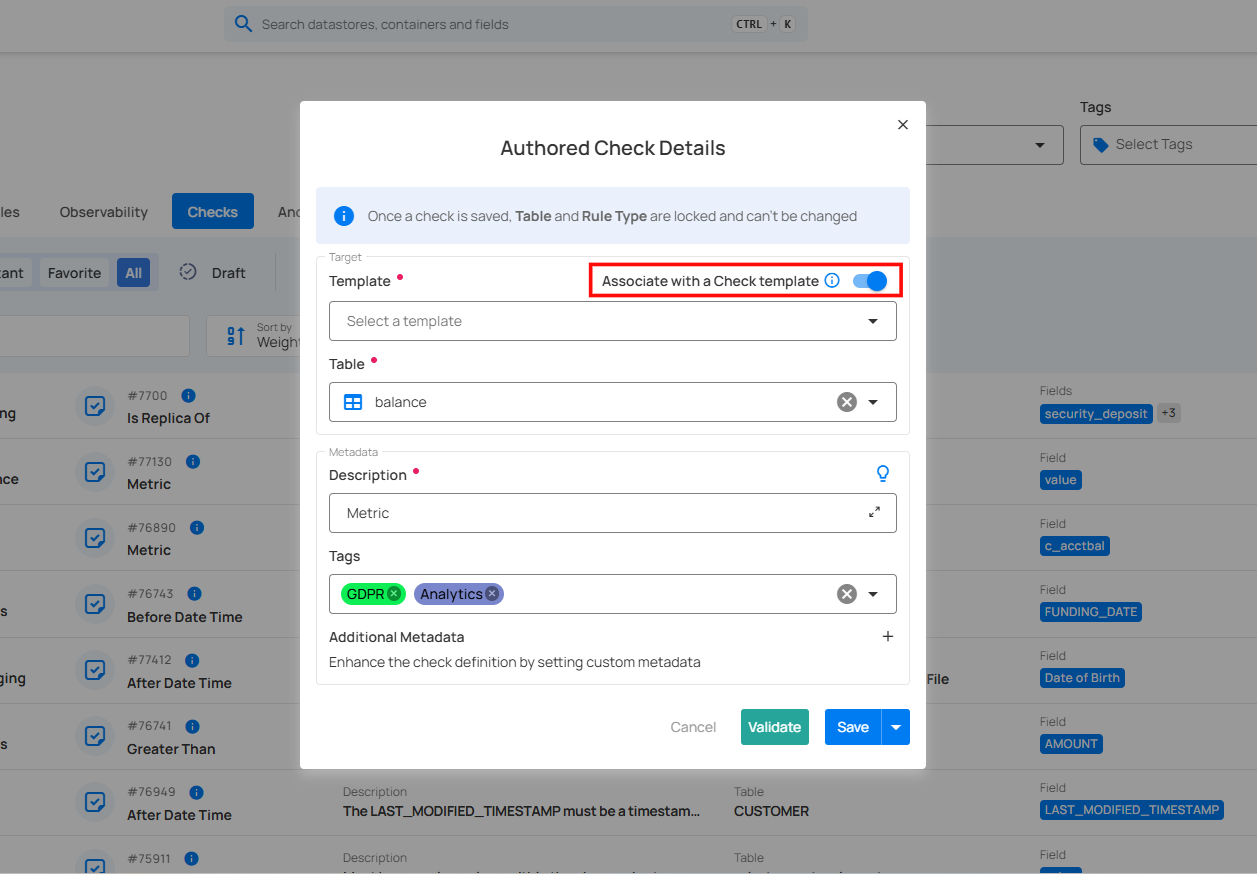
Choose a Template from the dropdown menu that you want to associate with the cloned check. The check will inherit properties from the selected template.
-
Locked: The check will automatically sync with any future updates made to the template, but you won't be able to modify the check's properties directly.
-
Unlocked: You can modify the check, but future updates to the template will no longer affect this check.
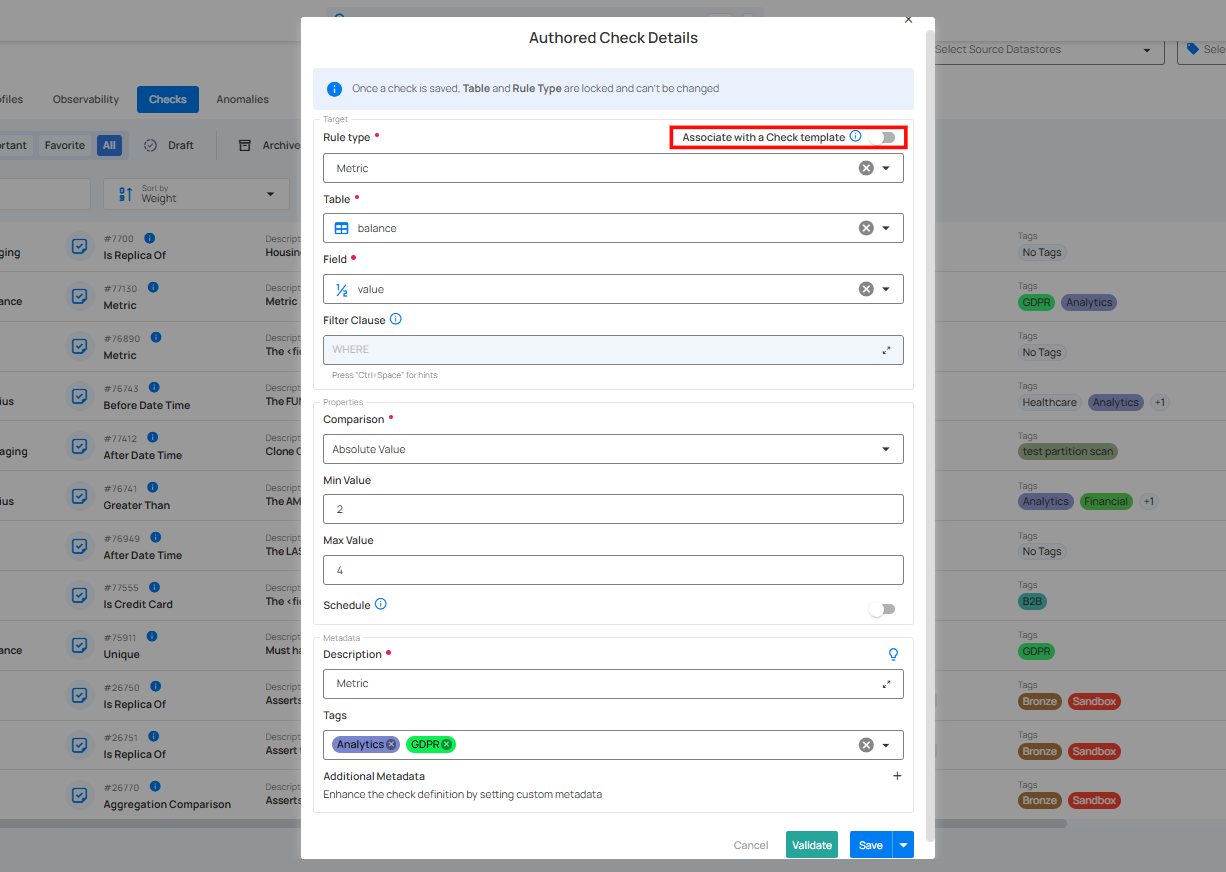
2. If you turn off Associate with a Check Template, the cloned check will not be linked to a template, so you can modify its properties independently.
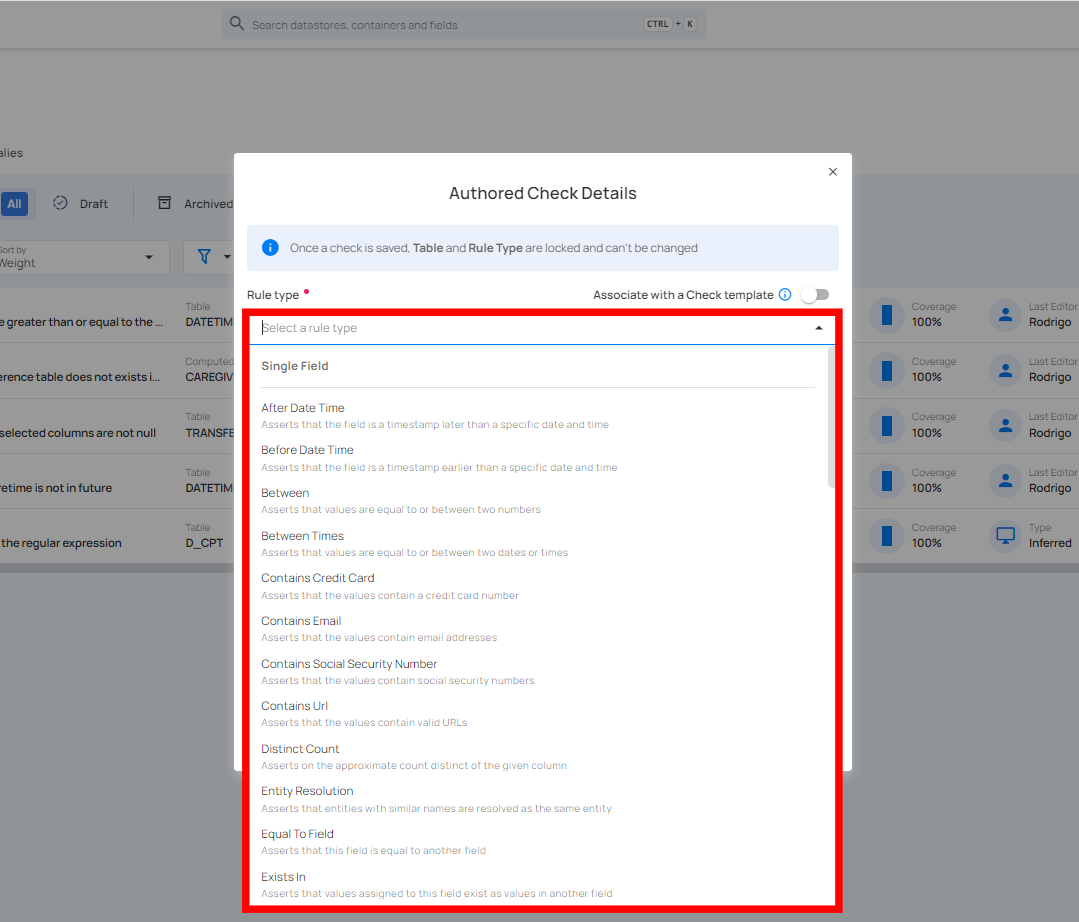
Select the appropriate Rule type for the check from the dropdown menu.
Step 4: Once you have selected the template or rule type, fill up the remaining check details as required.
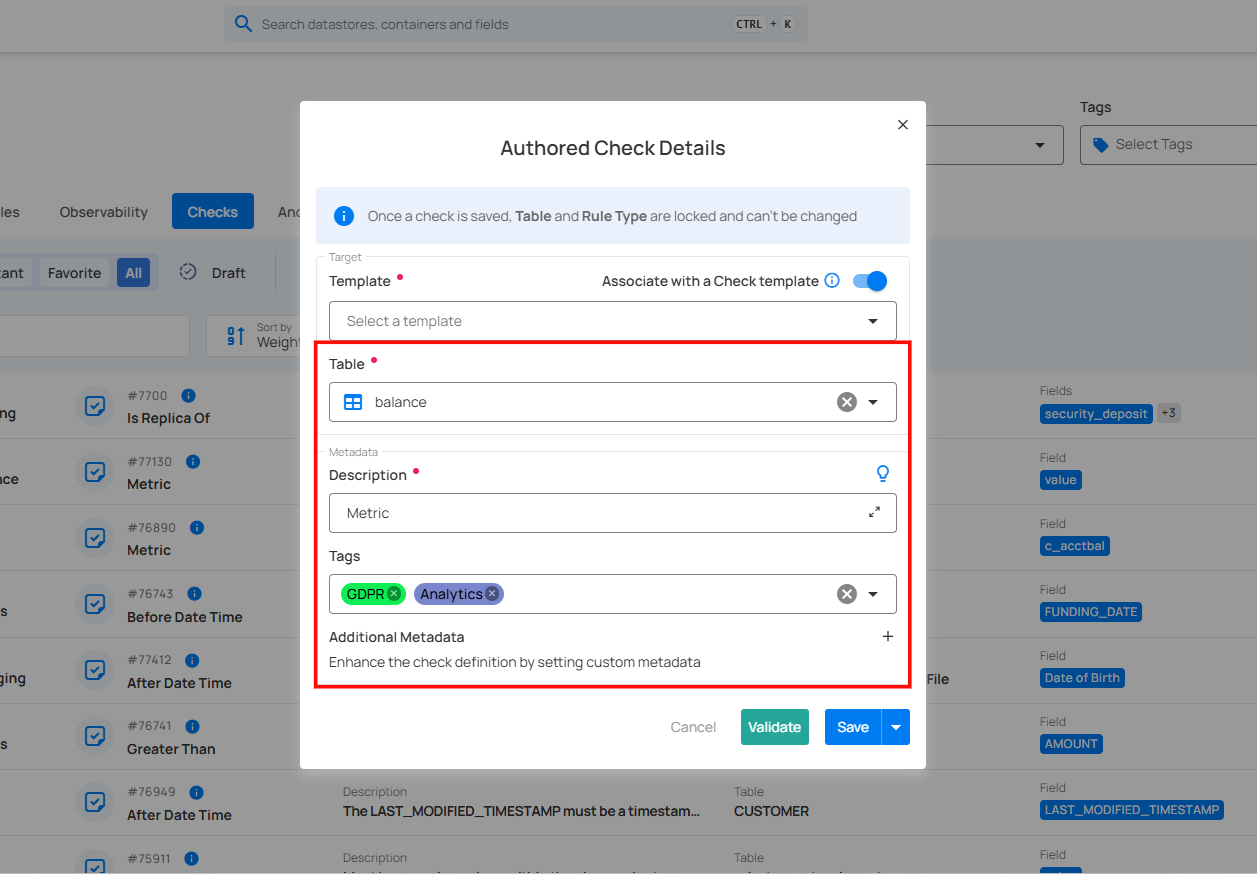
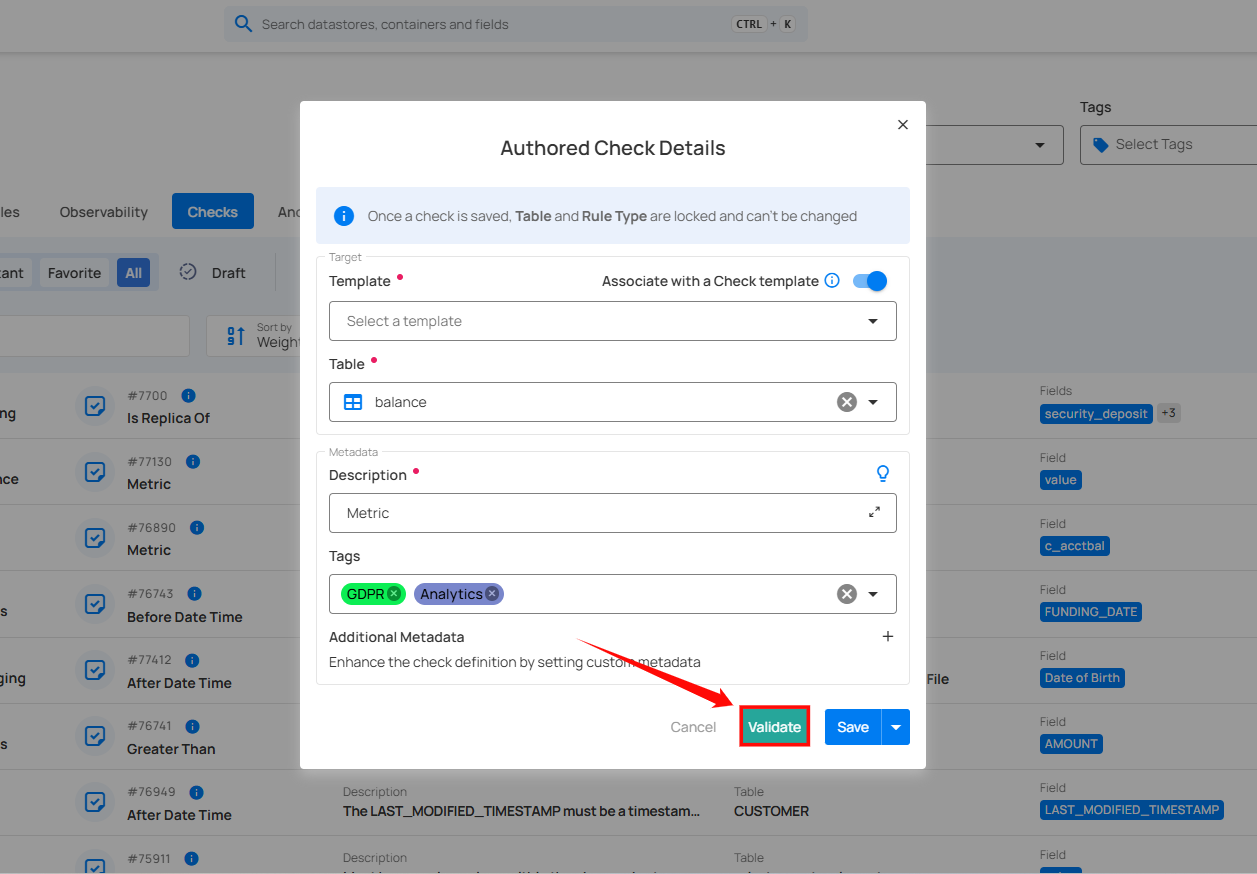
Step 5: After completing the check details, select Validate. This evaluates the configuration against the selected data without saving the clone. It does not determine whether the check represents the right business expectation.
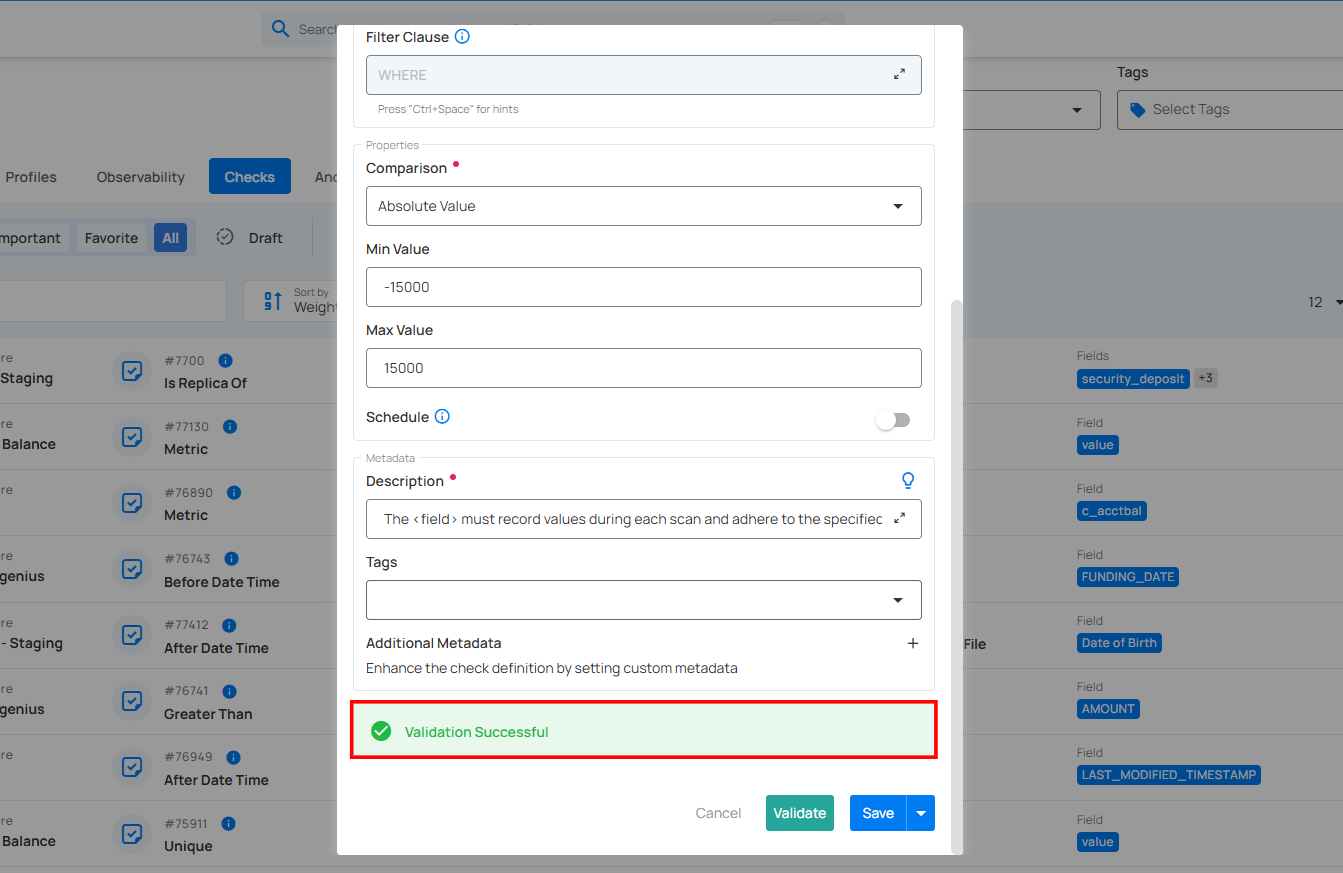
If validation succeeds, a green message confirms that the configuration can be evaluated against the selected data.
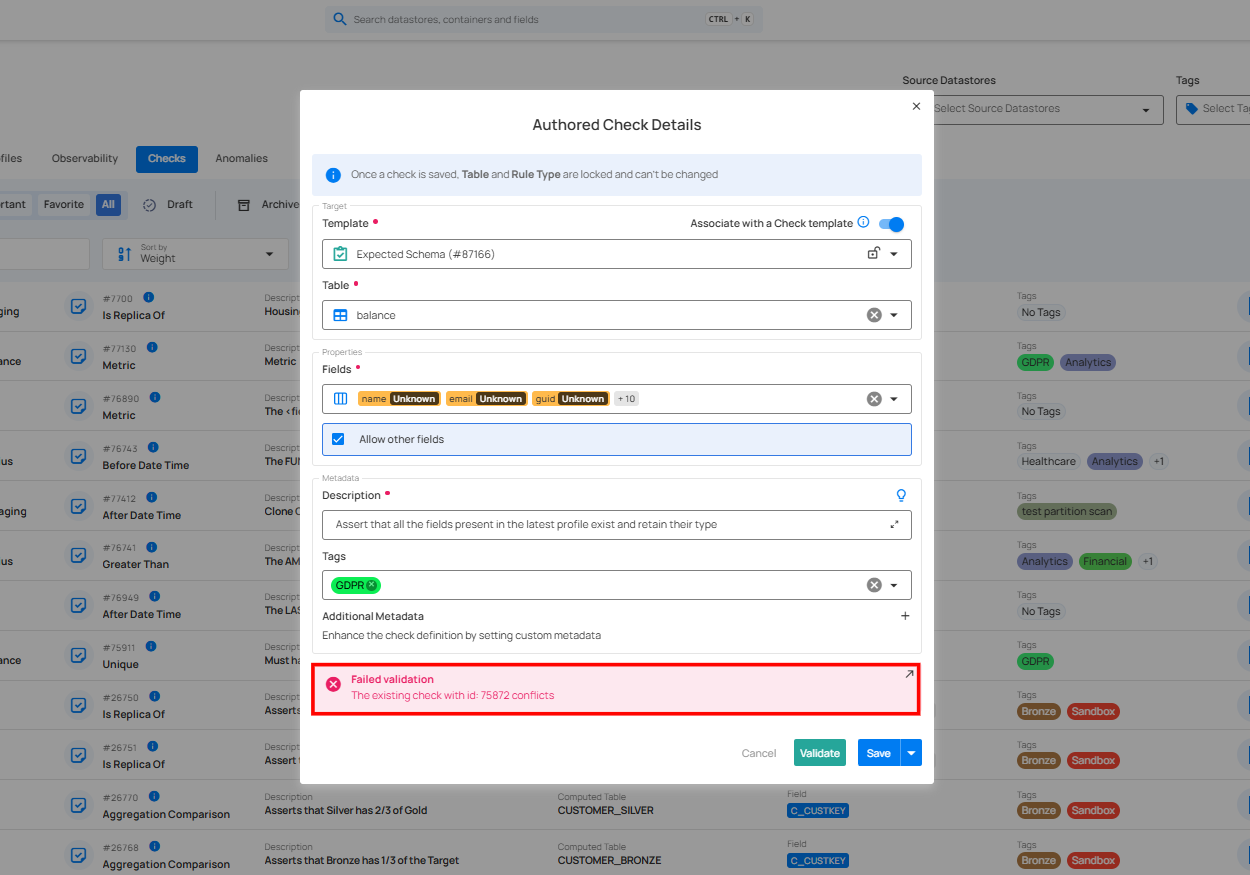
If validation fails, review the message and correct the configuration before continuing.
Step 6: After validation succeeds, select Save to create the cloned check with your changes.
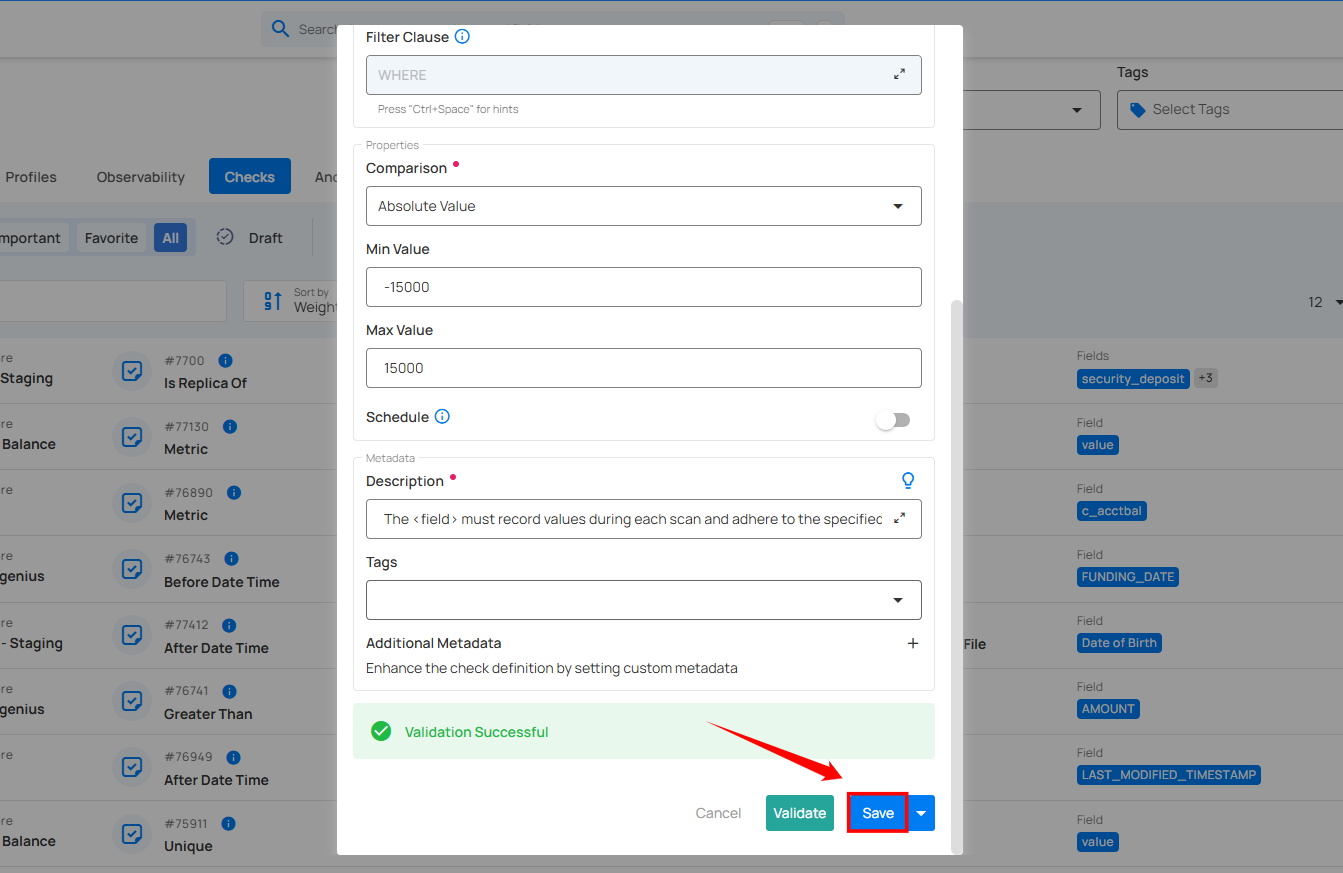
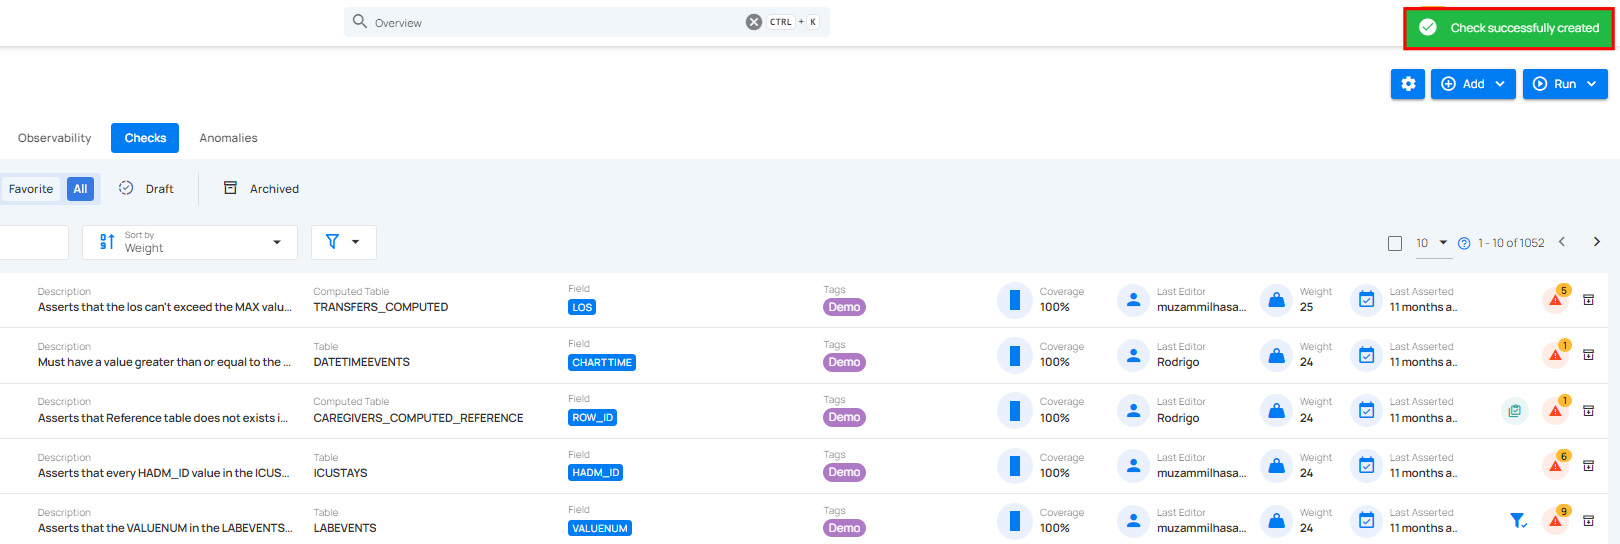
A success message confirms that the cloned check was created.
Create a Quality Check template
You can add checks as a Template, which allows you to create a reusable framework for quality checks. By using templates, you standardize the validation process, enabling the creation of multiple checks with similar rules and criteria across different datastores. This ensures consistency and efficiency in managing data quality checks.
Step 1: Locate the check (whether Active or Draft) you want to archive and click on that check.
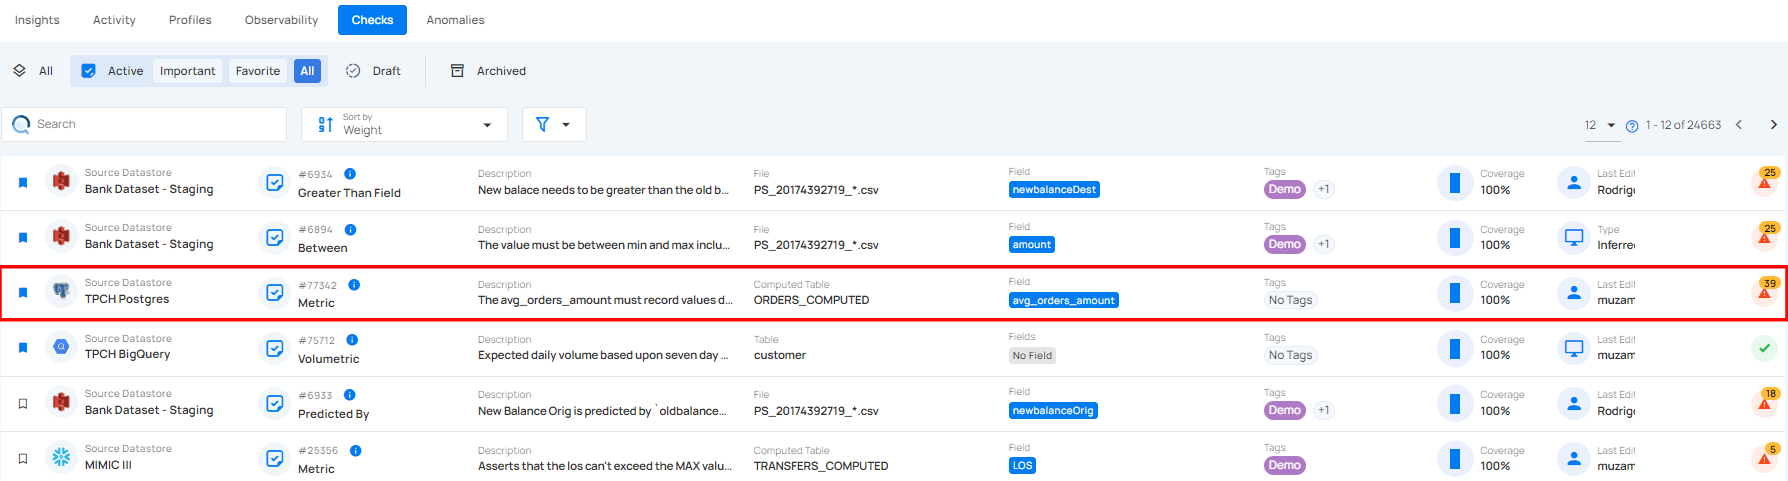
Step 2: In the check details, select More options , then select Template.
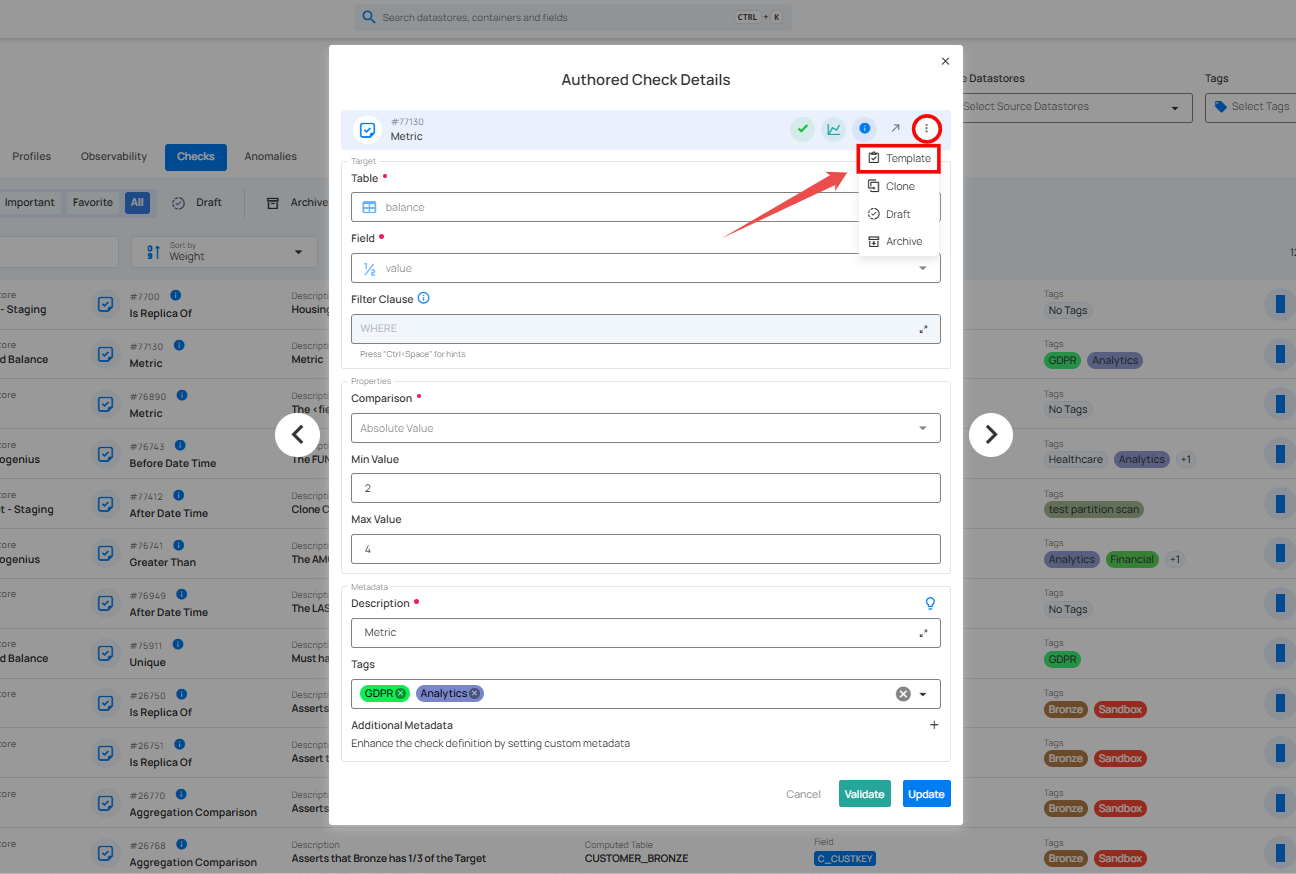
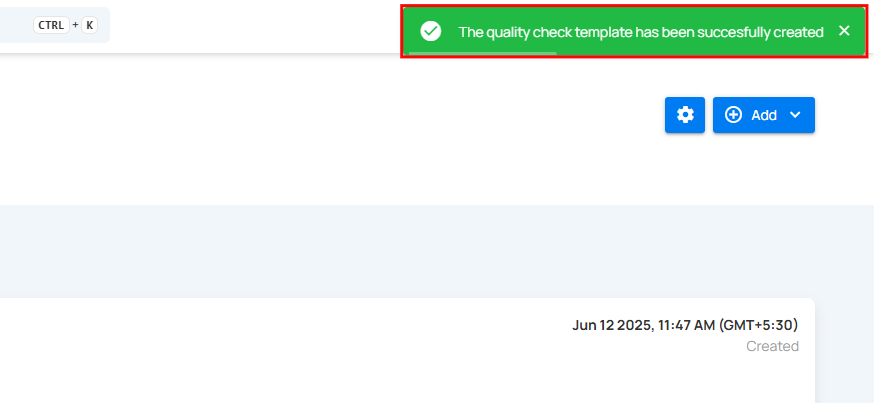
After you select Template, a success message confirms that the reusable check template was created in the library.
Filter and Sort
To search, filter, and sort the checks list, see Filter and Sort Checks.