Edit a Computed File
Change the Select Expression, filter clause, grouping, lateral views, description, owner, or metadata of an existing Computed File.
Related
- Add a Computed File to create a new one.
- Delete a Computed File to remove one.
- How It Works for validation and referencing rules.
What You Can Change
| Field | Editable after creation? |
|---|---|
| Select Expression | |
| Filter Clause | |
| Group By Clause | |
| Lateral Views | |
| Description | |
| Owner (Editors only) | |
| Additional Metadata | |
| Name | |
| Source File Pattern | |
| Source datastore |
Name, source file pattern, and source datastore are set at creation and cannot be changed. If you need a Computed File built on a different source pattern or datastore, create a new one and delete the old one.
Who Can Edit
| Team permission | Can edit? |
|---|---|
| Editor | |
| Author (owner) | |
| Any other team permission |
Only users with the Editor team permission can reassign ownership. Users with the Author team permission can edit the Computed Files they own but cannot change the owner.
Steps
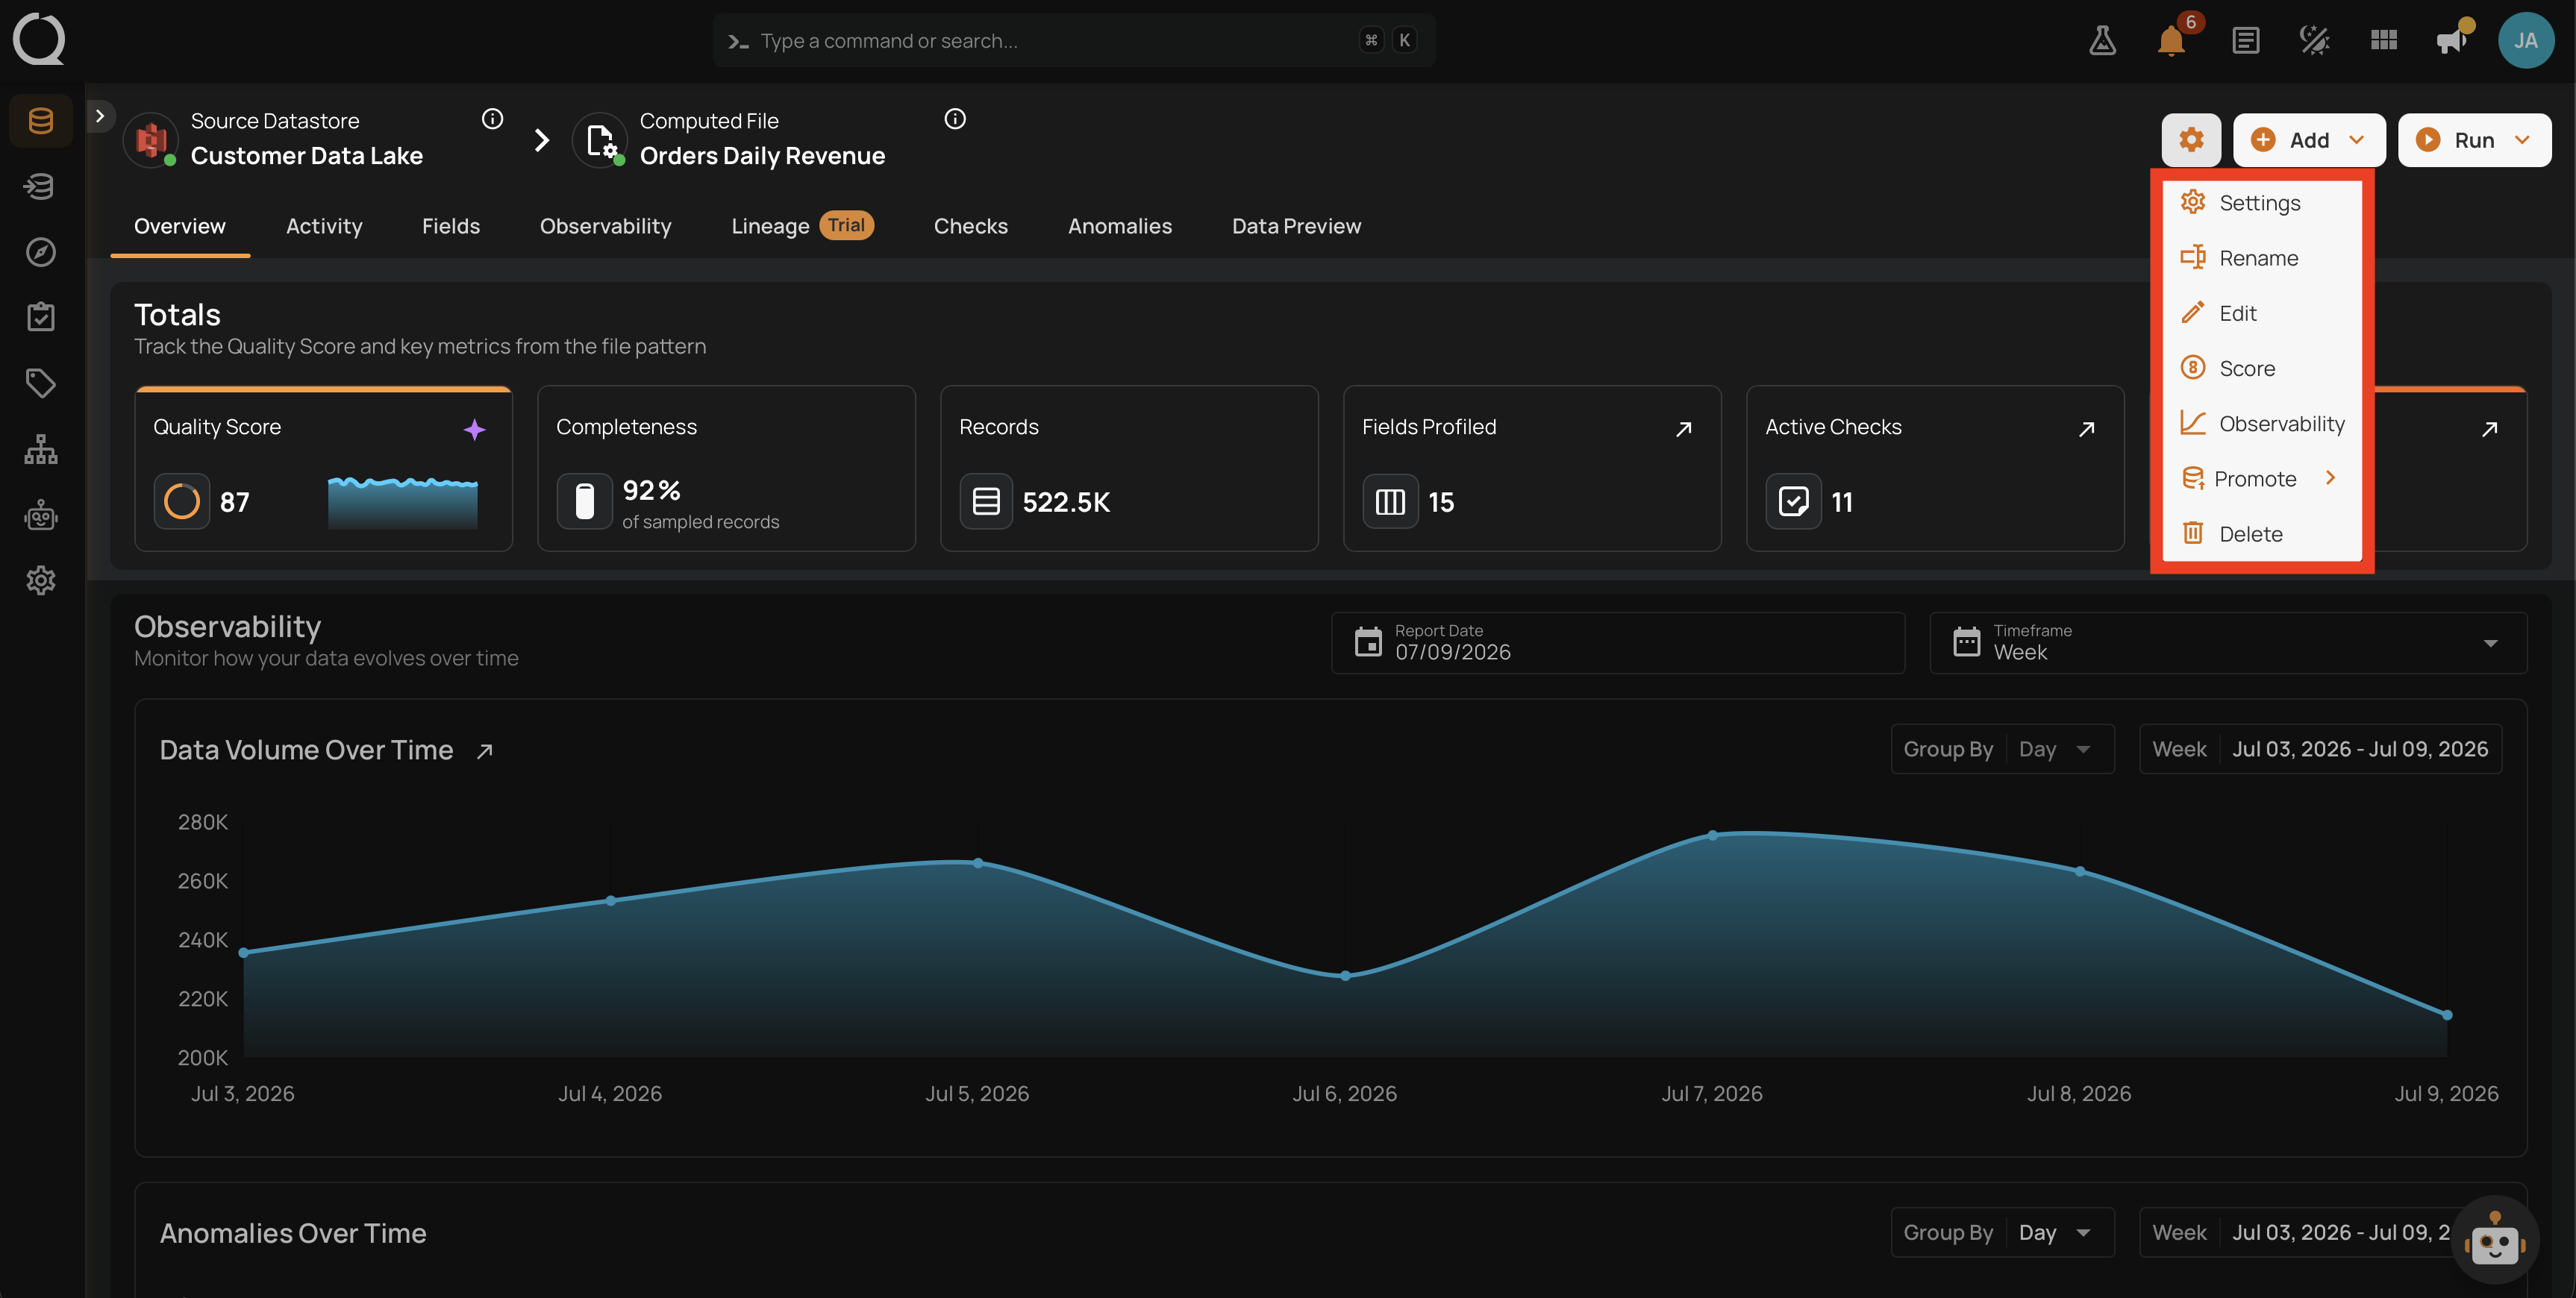
Step 1: Locate the Computed File in the datastore's containers list and open its Bulk menu .
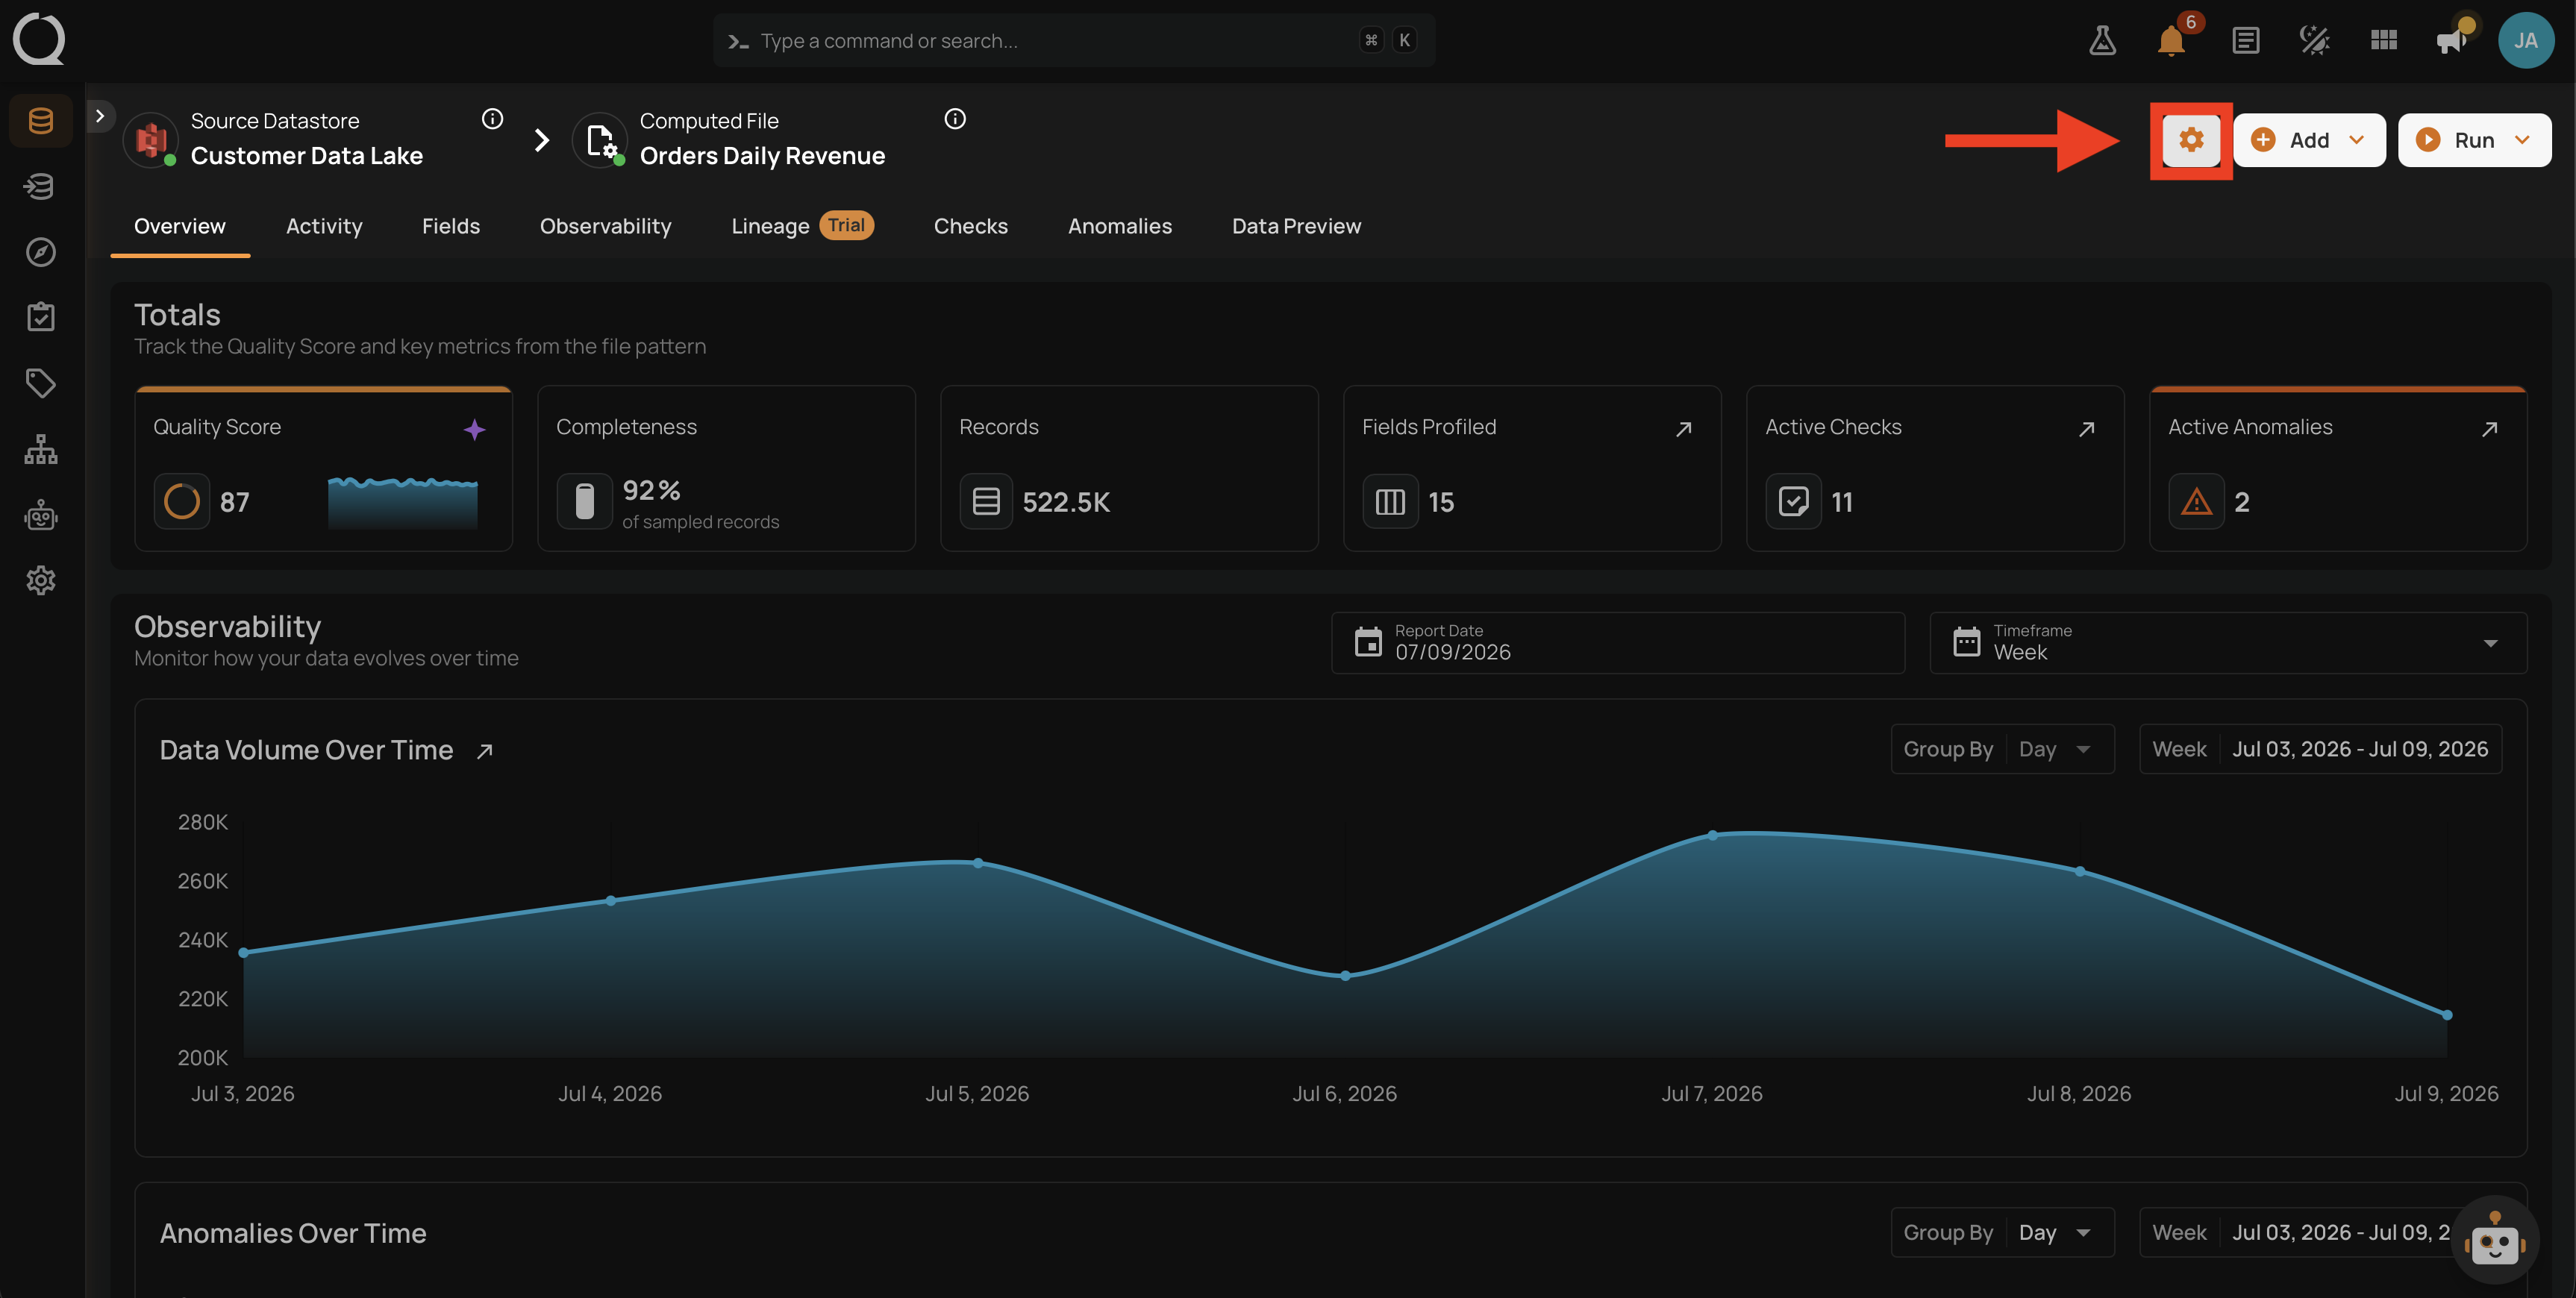
Step 2: A dropdown appears with the actions available for that Computed File.
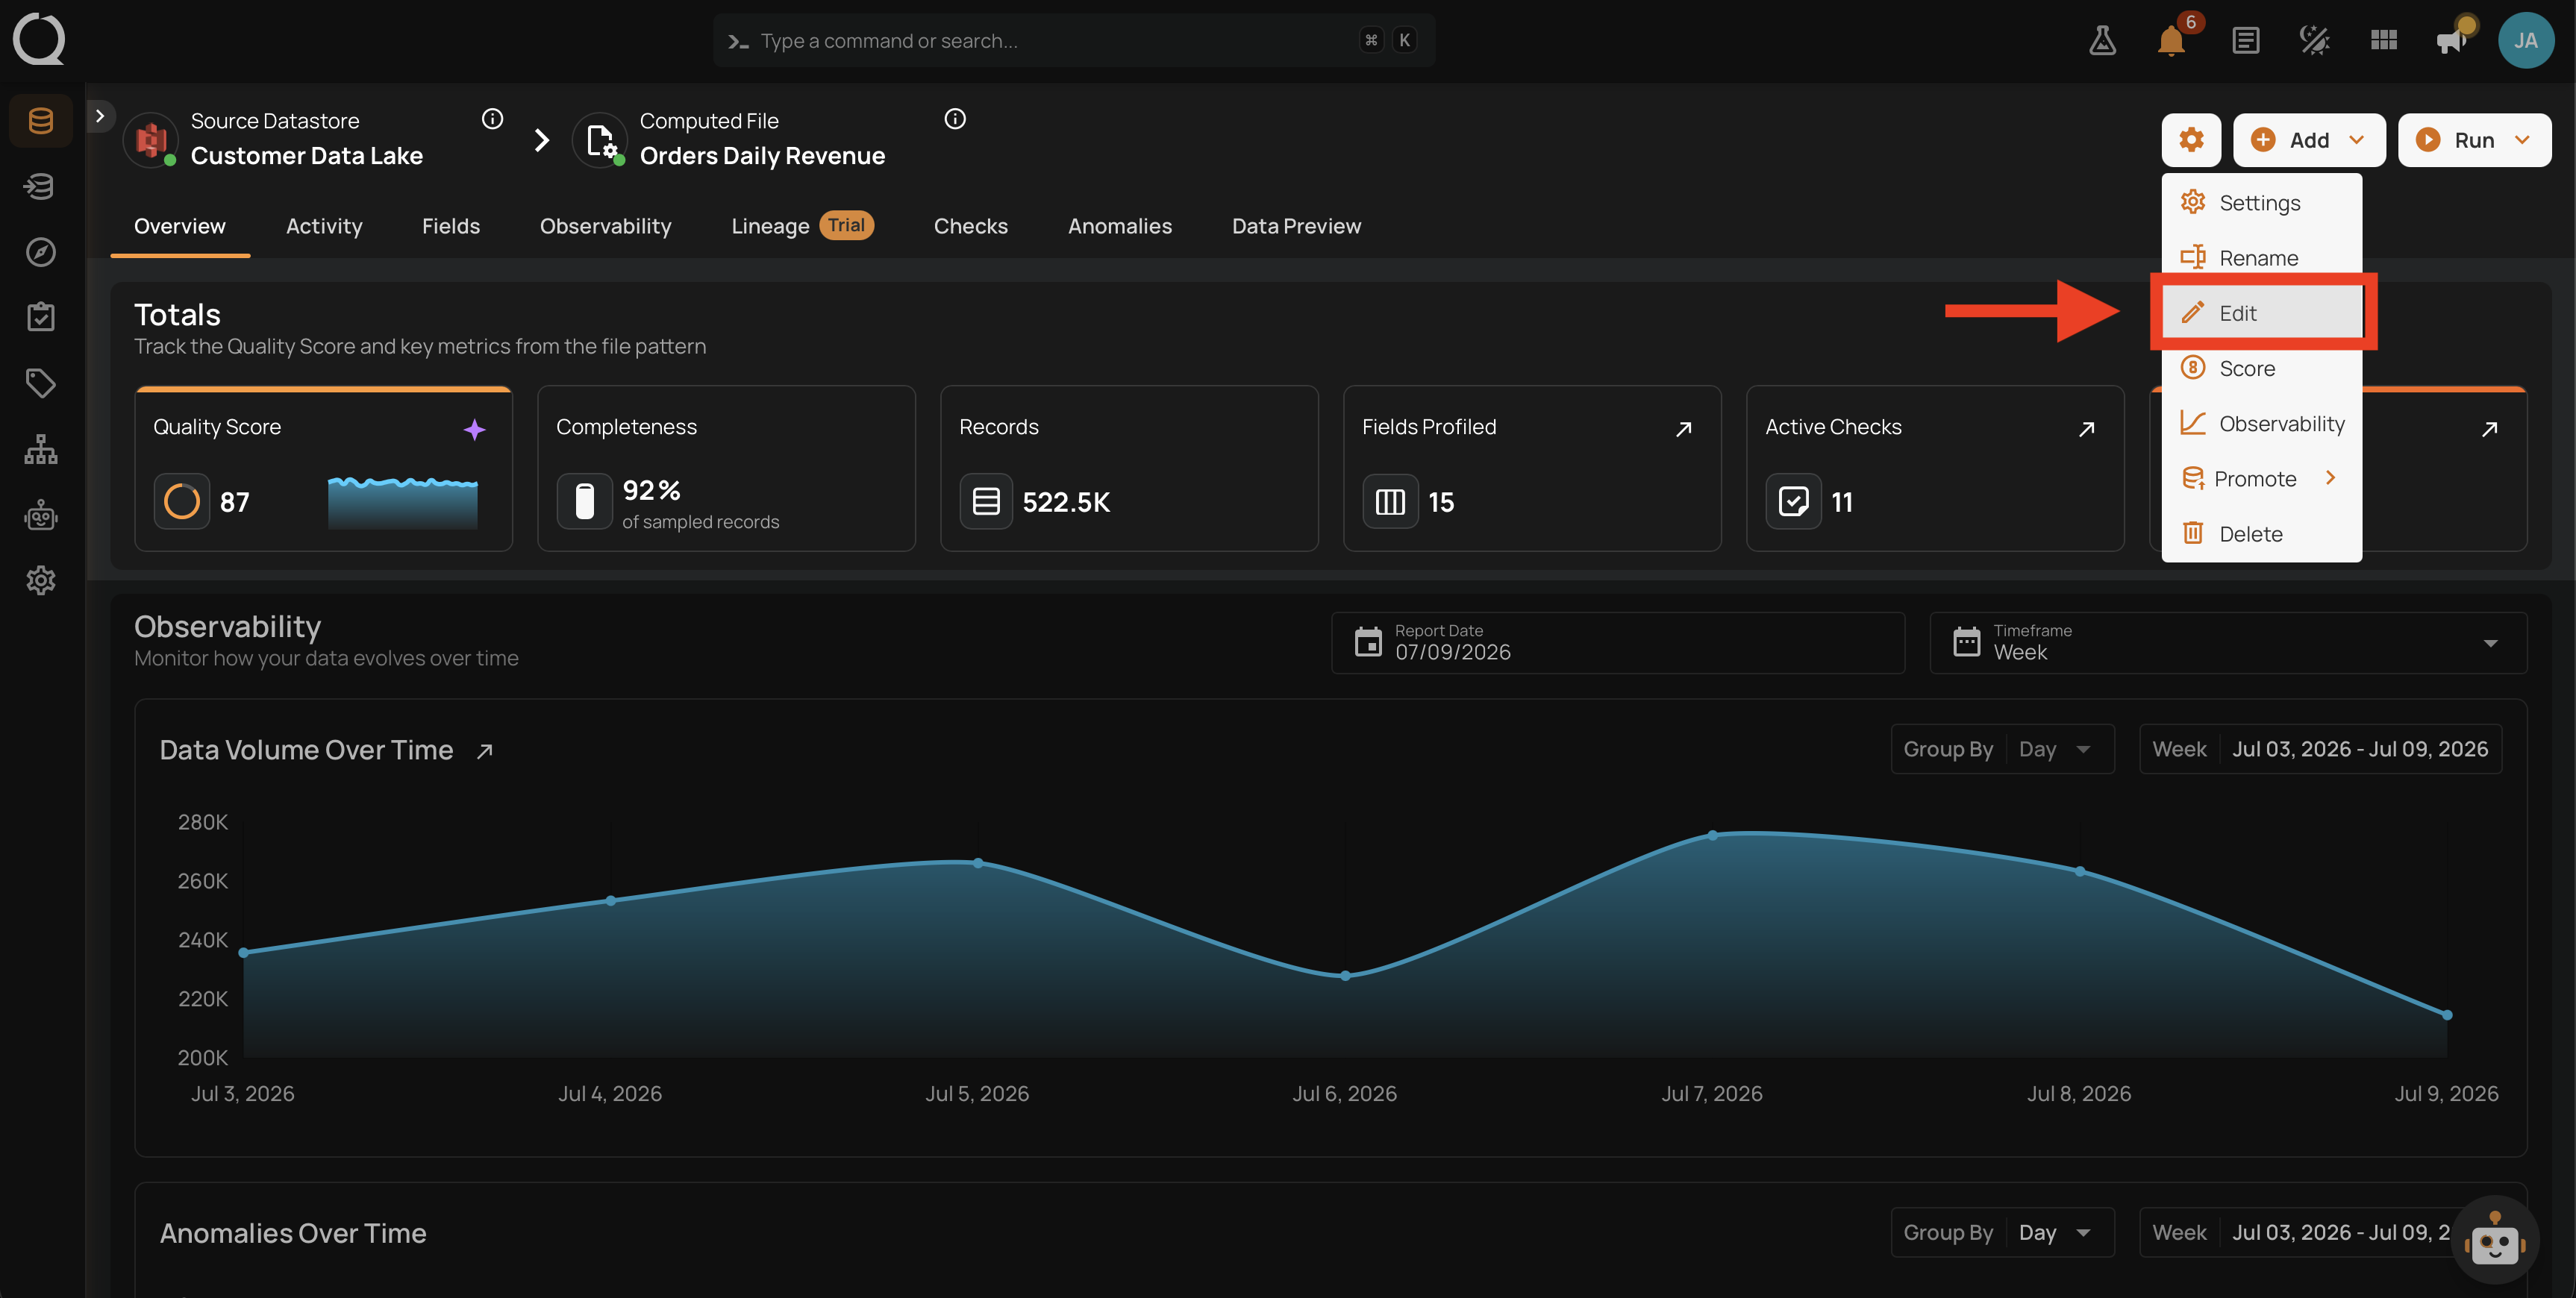
Step 3: Select Edit .
Step 4: The Edit Computed File modal opens with the current values already filled in. Name and source file pattern are shown as read-only.
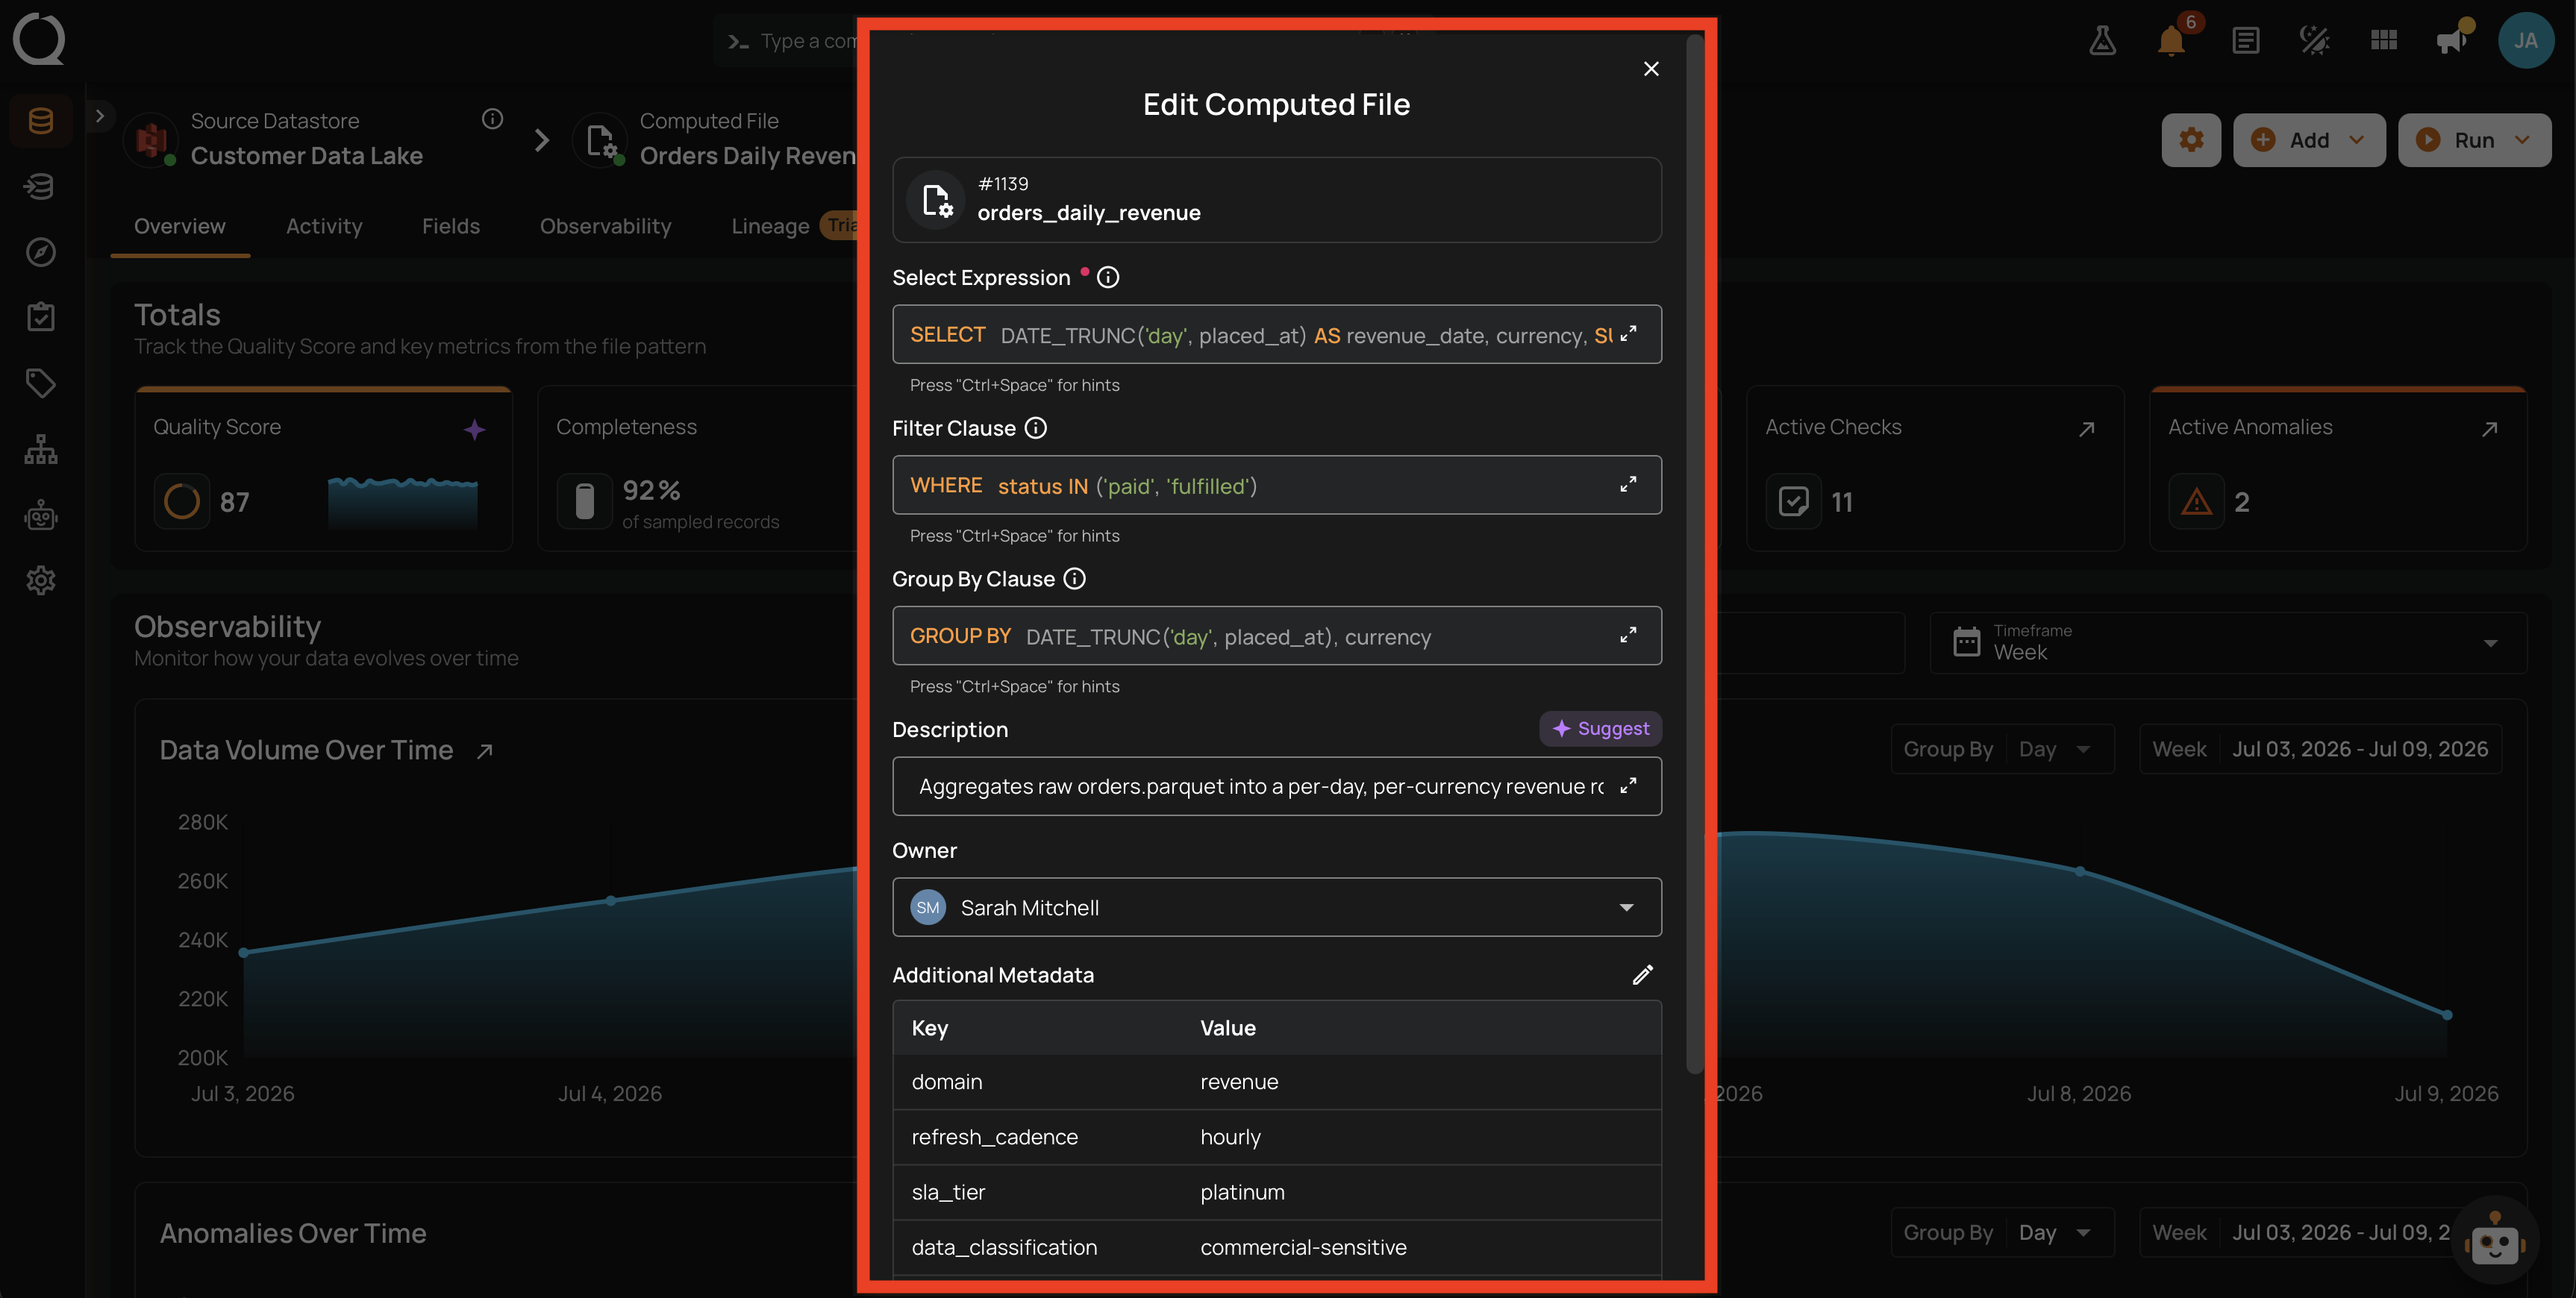
Step 5: Change any of the editable fields (Select Expression, Filter Clause, Group By Clause, Lateral Views, Description, Owner, Additional Metadata).
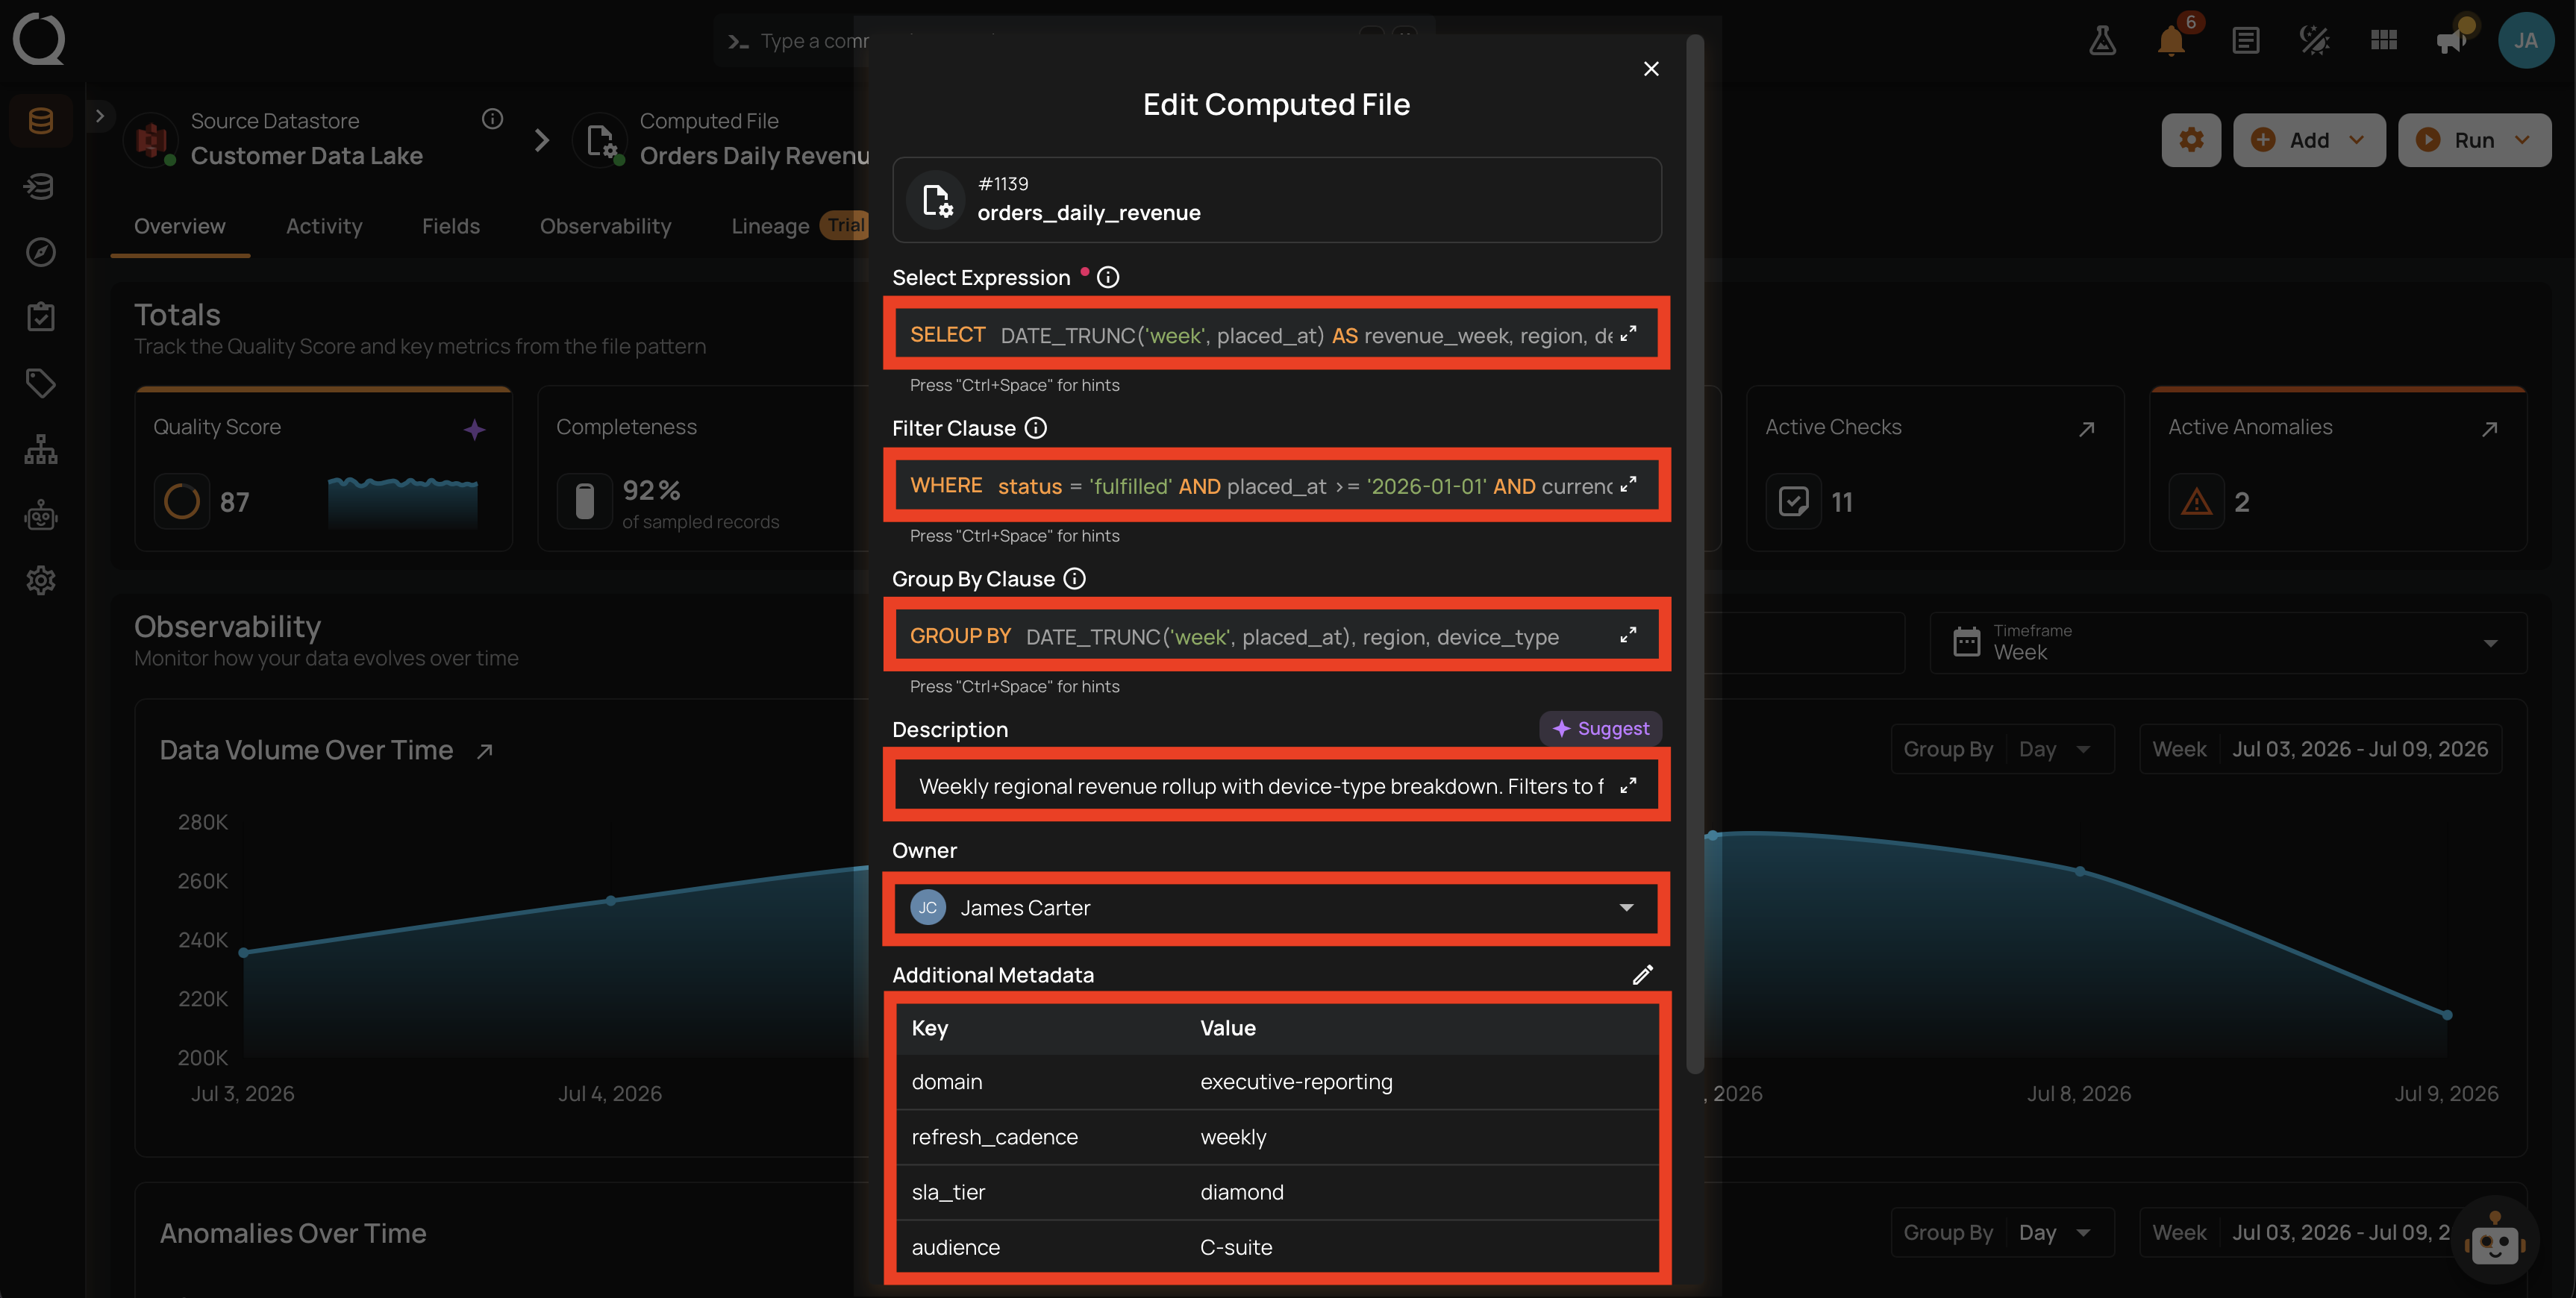
Step 6: If you changed a clause, click Validate to confirm the new definition parses and every referenced field still exists. Running Validate is optional; if you skip it, Qualytics validates the definition as part of the Save request and surfaces any error inline.
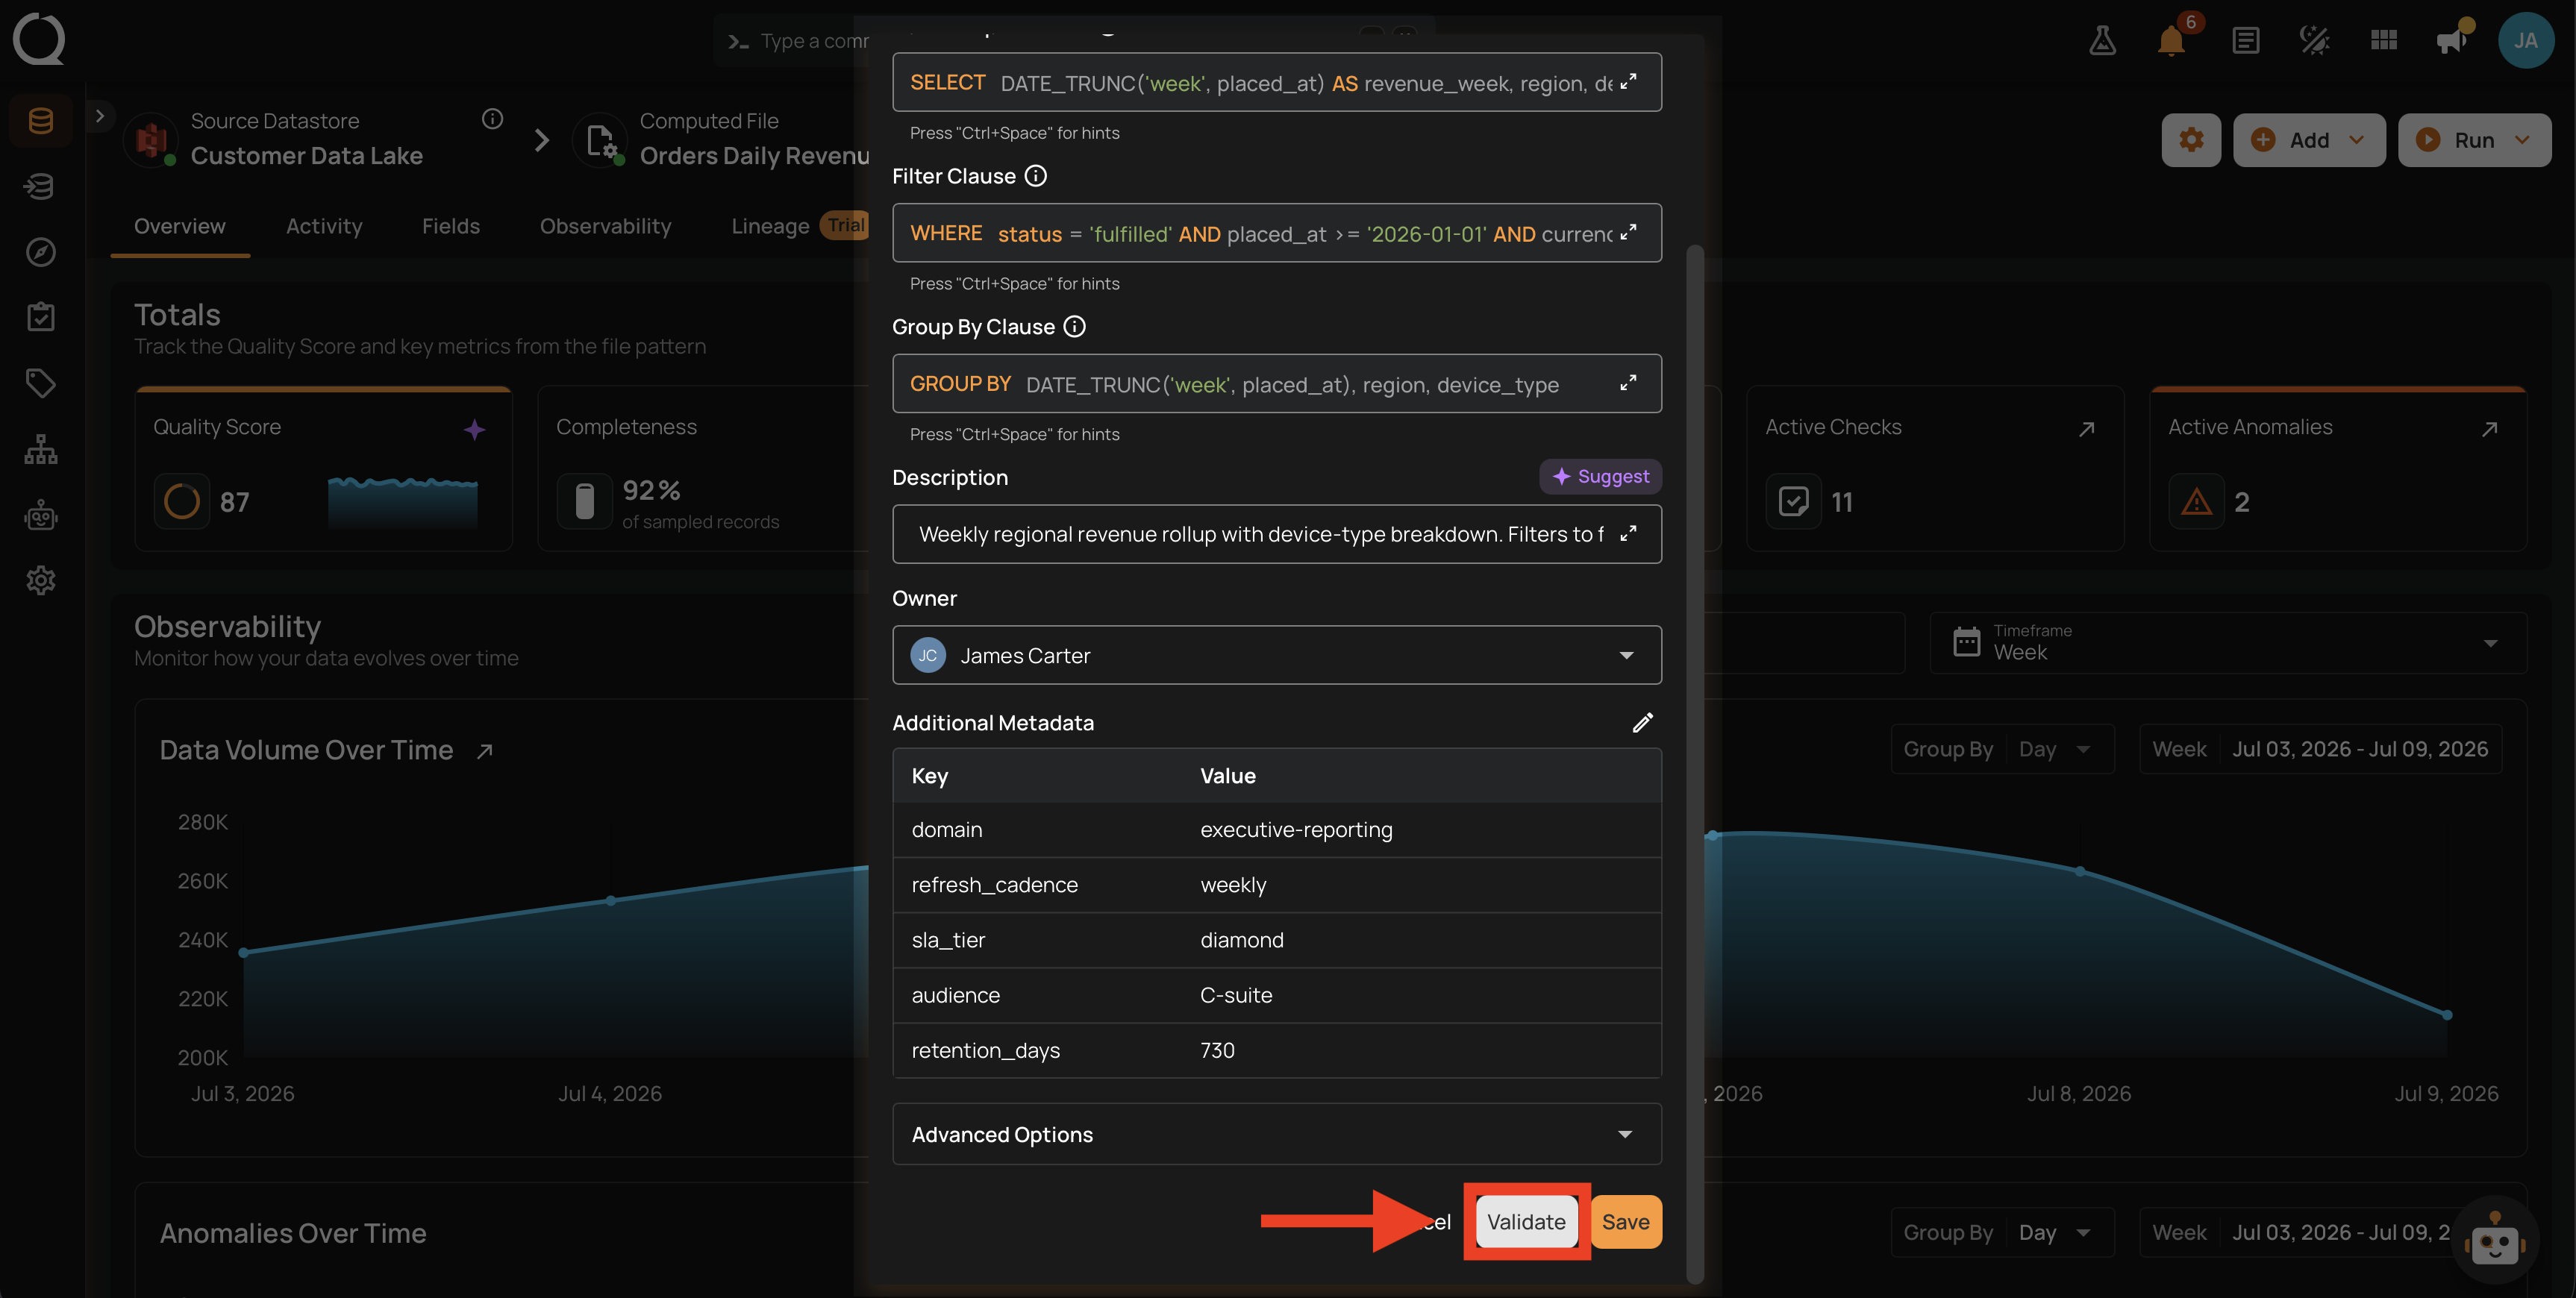
Step 7: Click Save.
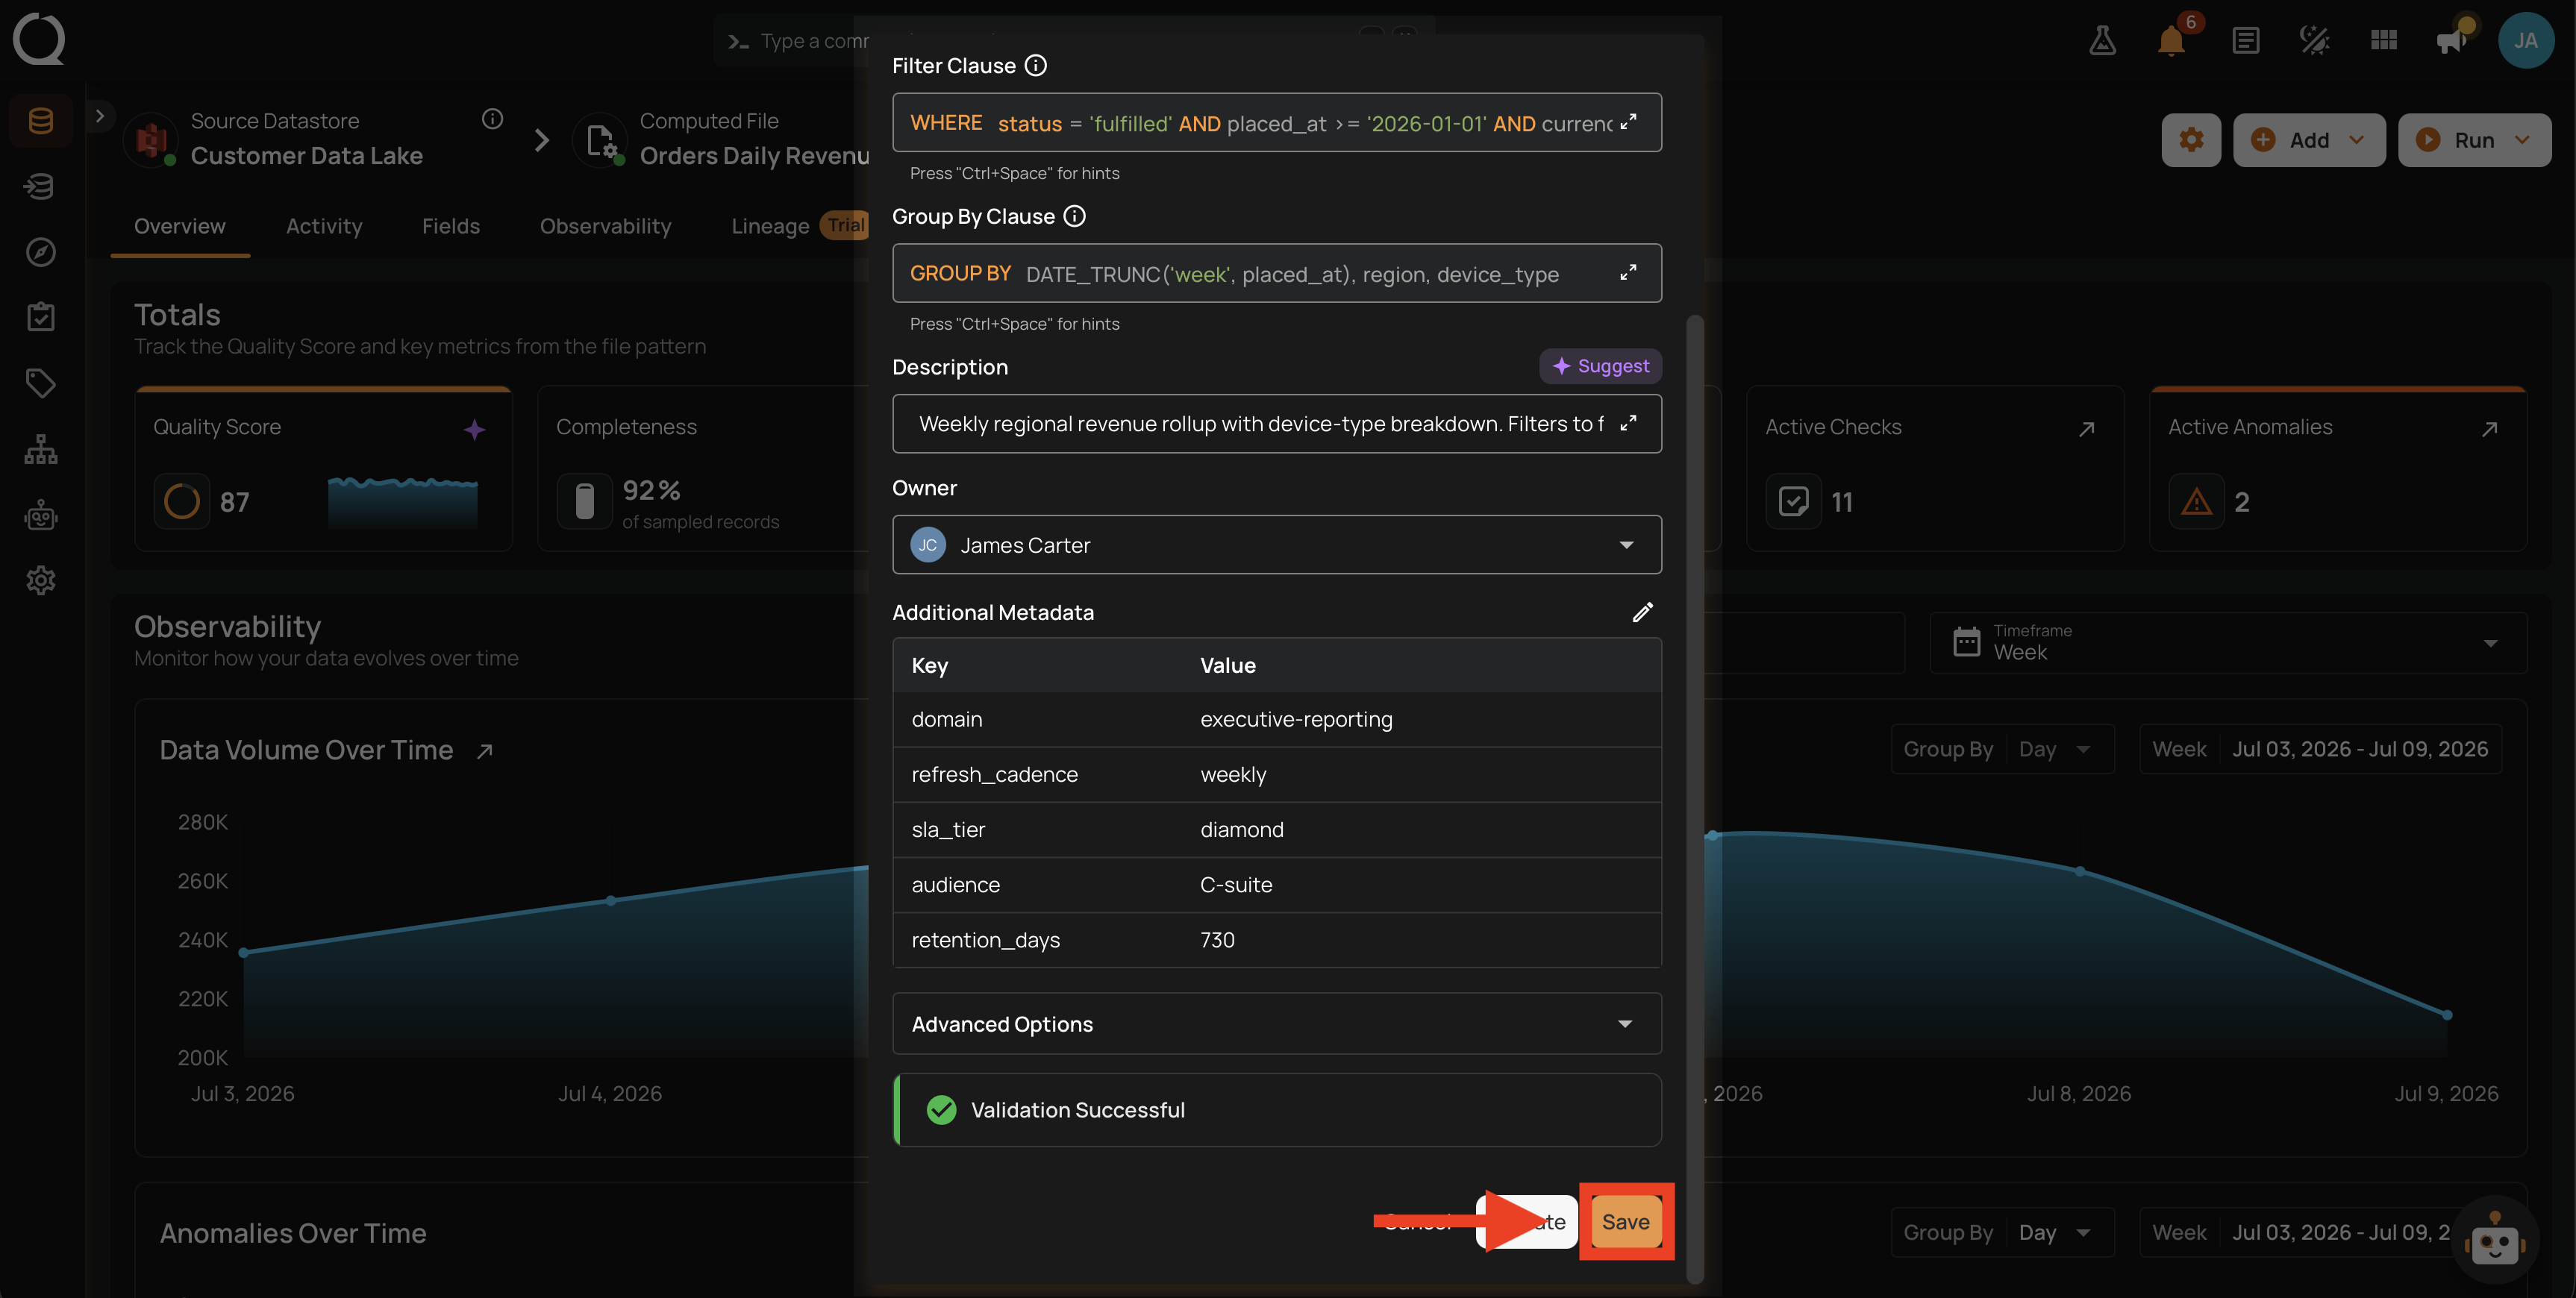
Fields will be marked as missing
If your changes would drop a field that an active quality check or anomaly depends on, Qualytics blocks the save and opens the Fields will be marked as missing warning listing the affected fields. Click Review Expression to go back and adjust the clause, or Proceed Anyway to save with the dropped fields. The affected fields are marked as missing and their quality checks and anomalies are preserved so they reactivate automatically if the fields reappear.
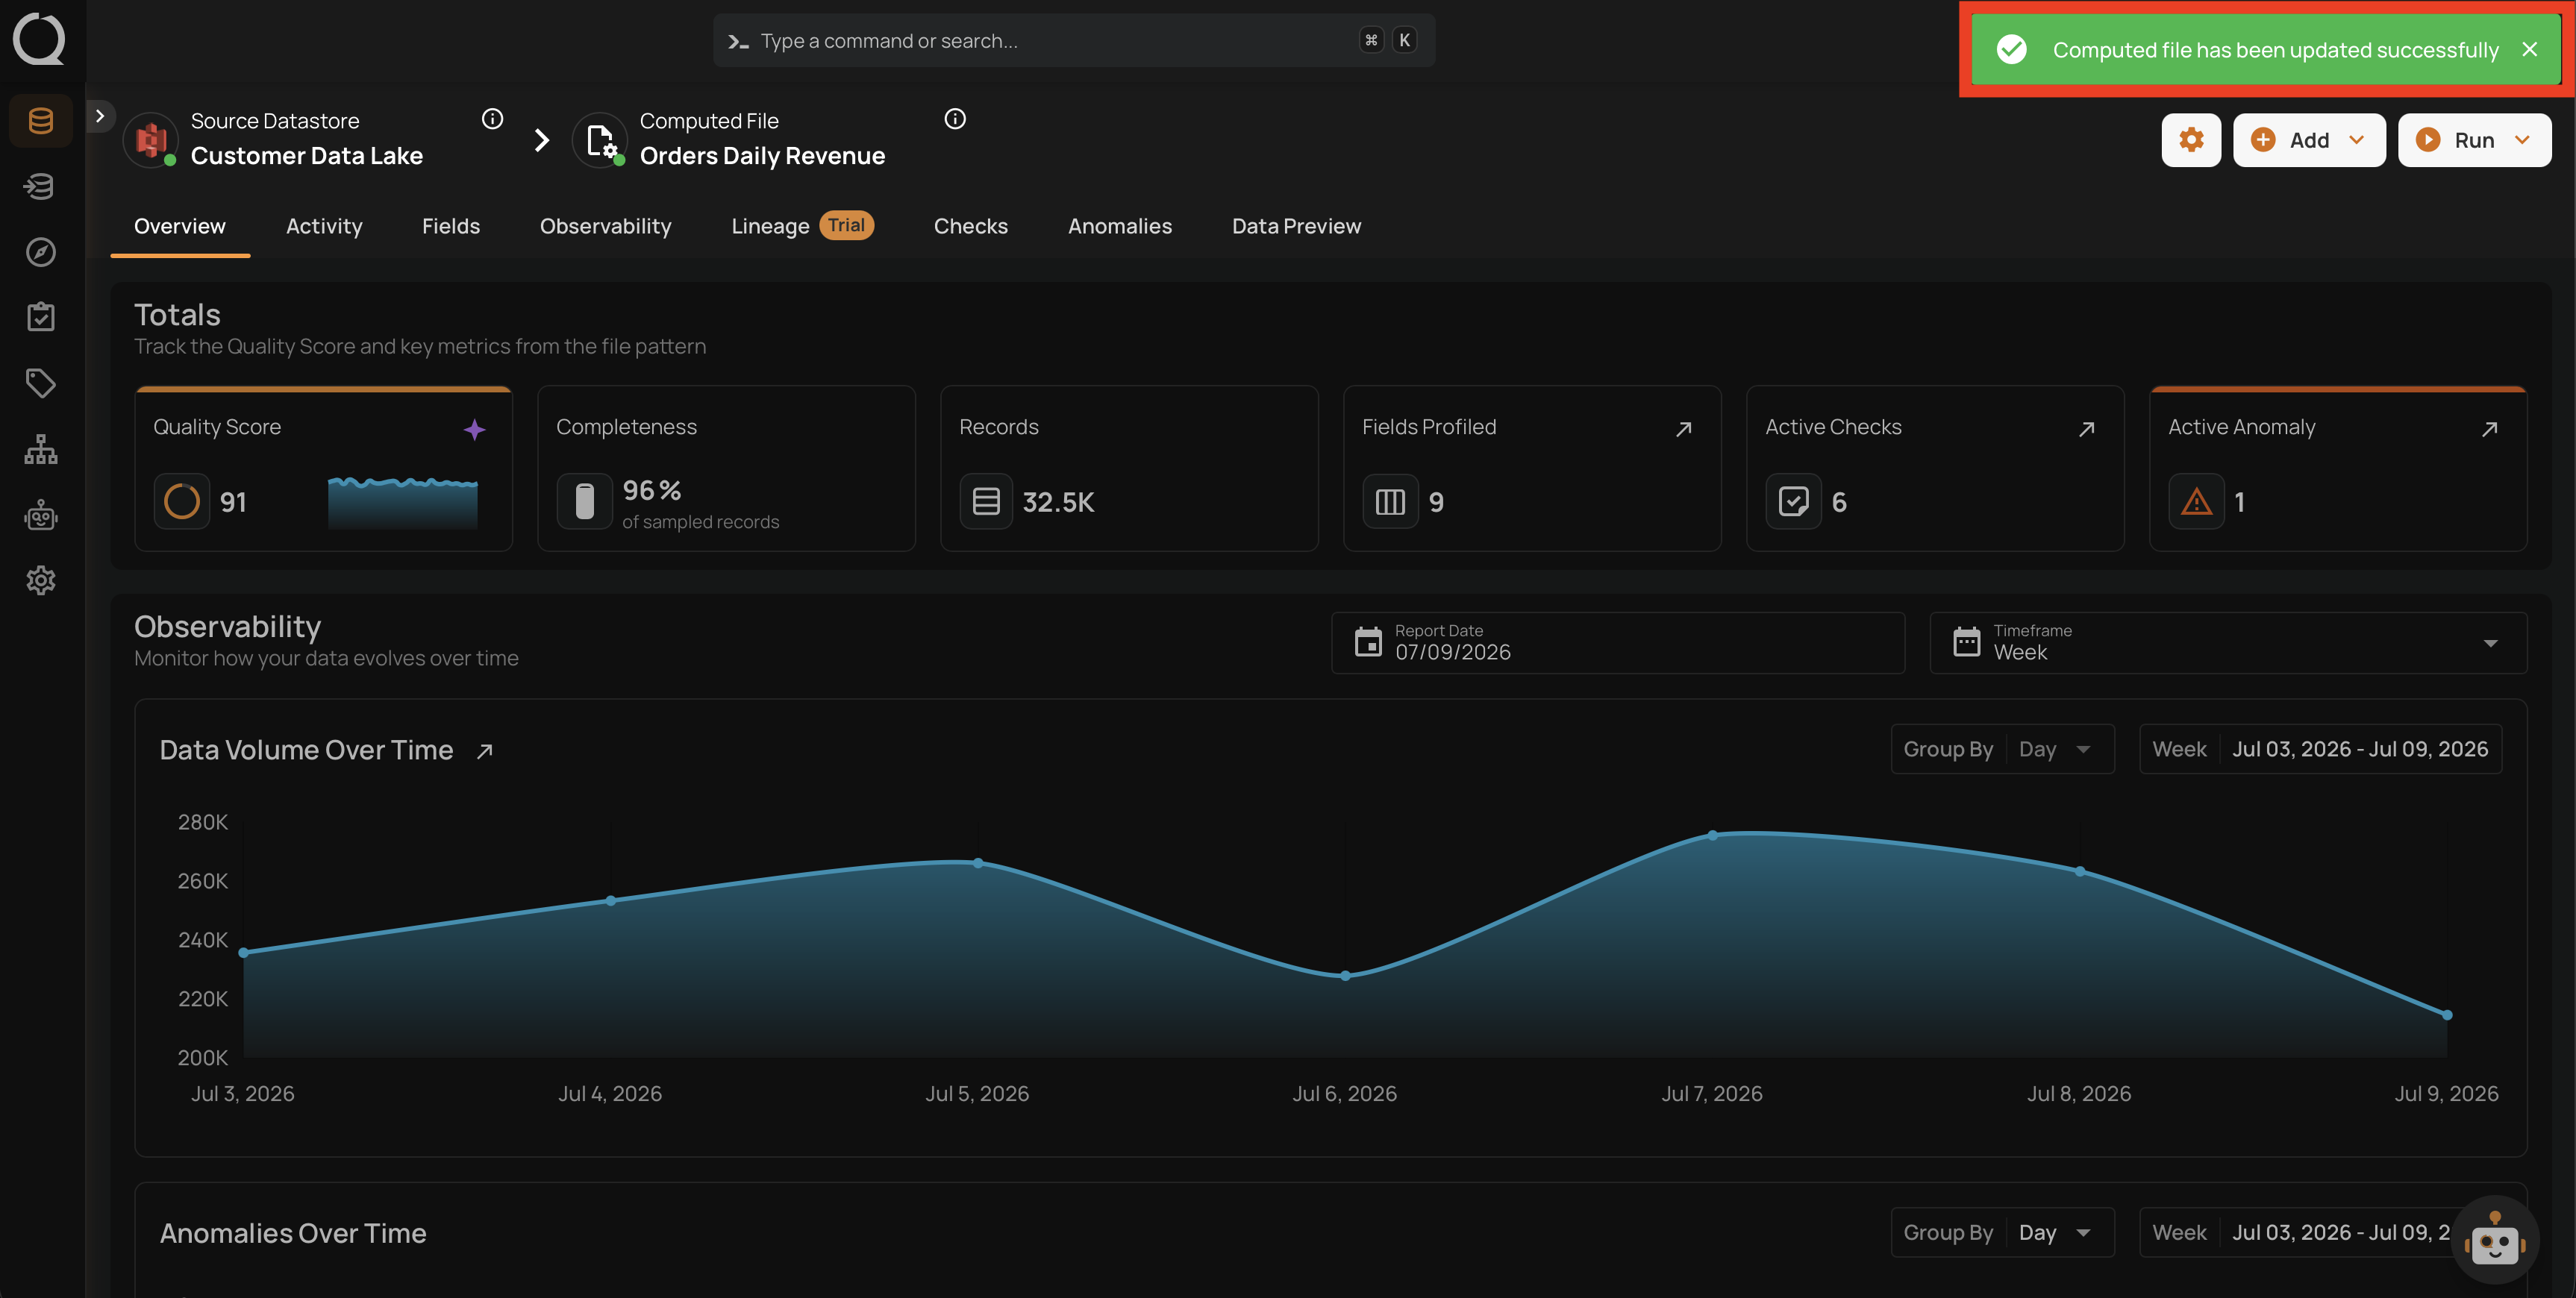
Step 8: A success message confirms the update. A new entry is added to the container's Timeline, and the clause change collapses behind a View changes control that opens the side-by-side comparison for that clause. Lateral Views changes are recorded on the Timeline but do not open the comparison.
Editing triggers a profile
Changing any clause (Select Expression, Filter Clause, Group By Clause, Lateral Views) causes Qualytics to re-profile the Computed File immediately after save: a synchronous slim profile refreshes field statistics right away, and a full asynchronous profile follows in the background. Existing quality checks are preserved; anomalies raised against the older version stay in the anomaly history for auditability.