Change Check Owner
Step-by-step tutorial for transferring the Owner of a single quality check to another user. To apply the same owner to many checks at once, see Bulk Change Check Owner. For how the field behaves in detail, see How It Works. For programmatic access, see the Ownership API.
You can change the owner from two places. The flow is identical once the Check Details modal opens, so pick the tab that matches where you start from.
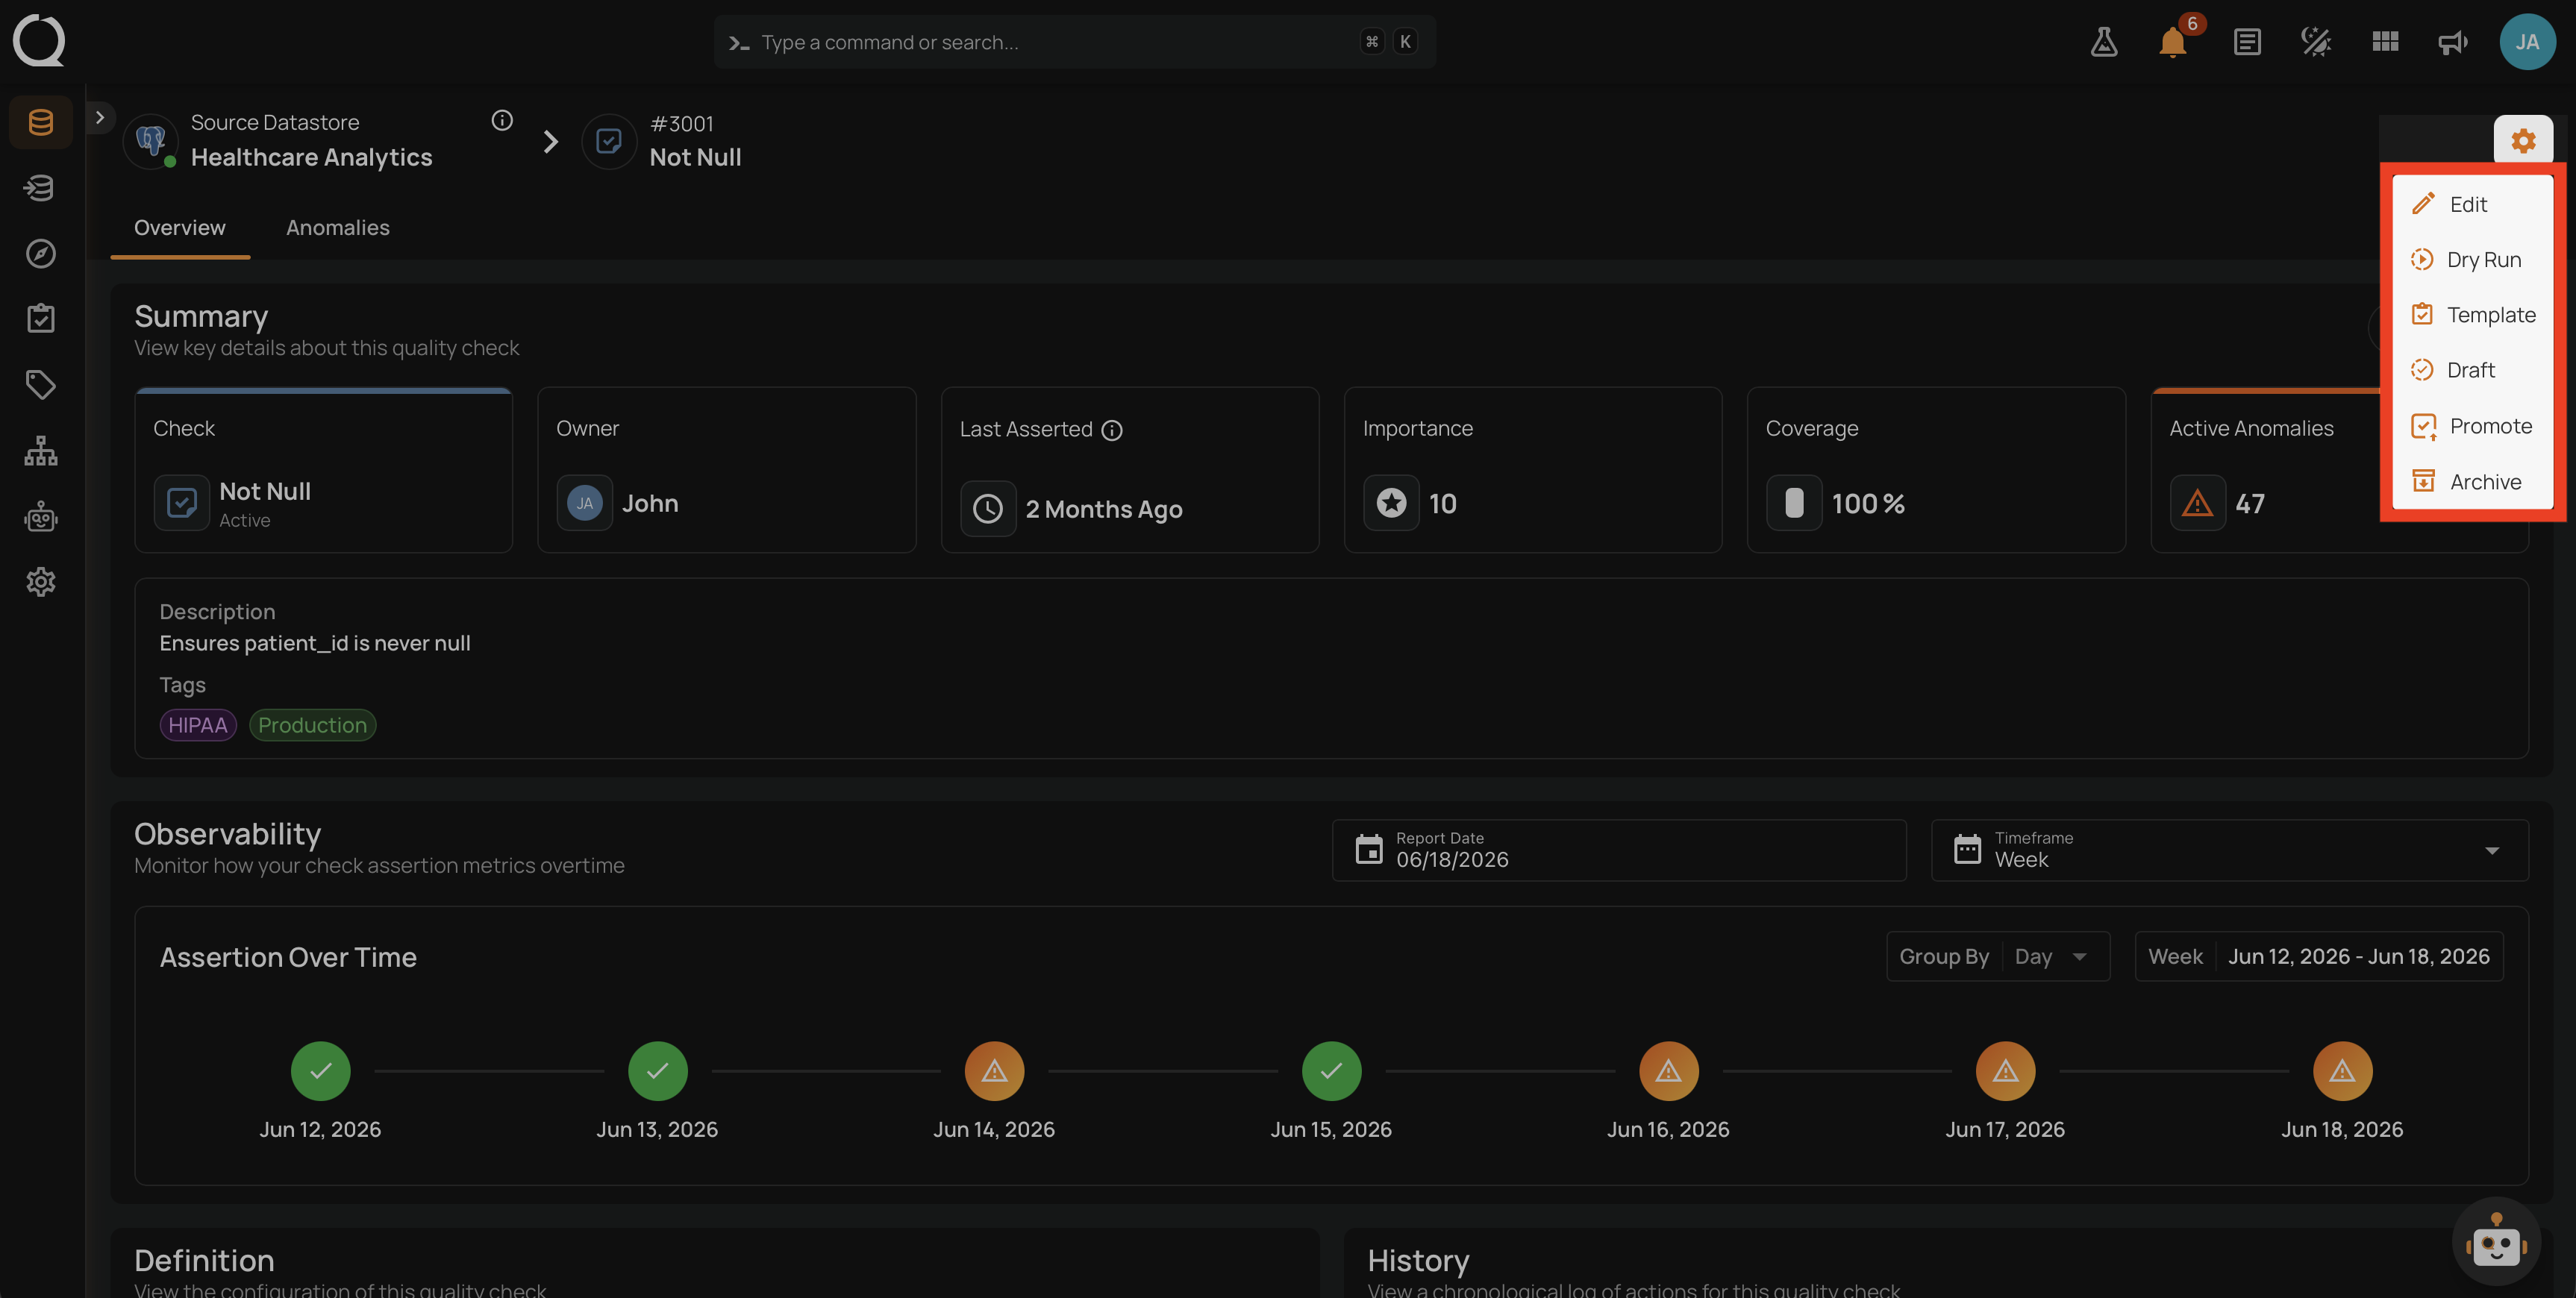
Step 1: Open the source datastore, go to the Quality Checks tab, and open the check whose owner you want to change. On the check detail page, click the Options button in the top-right corner.
![]()
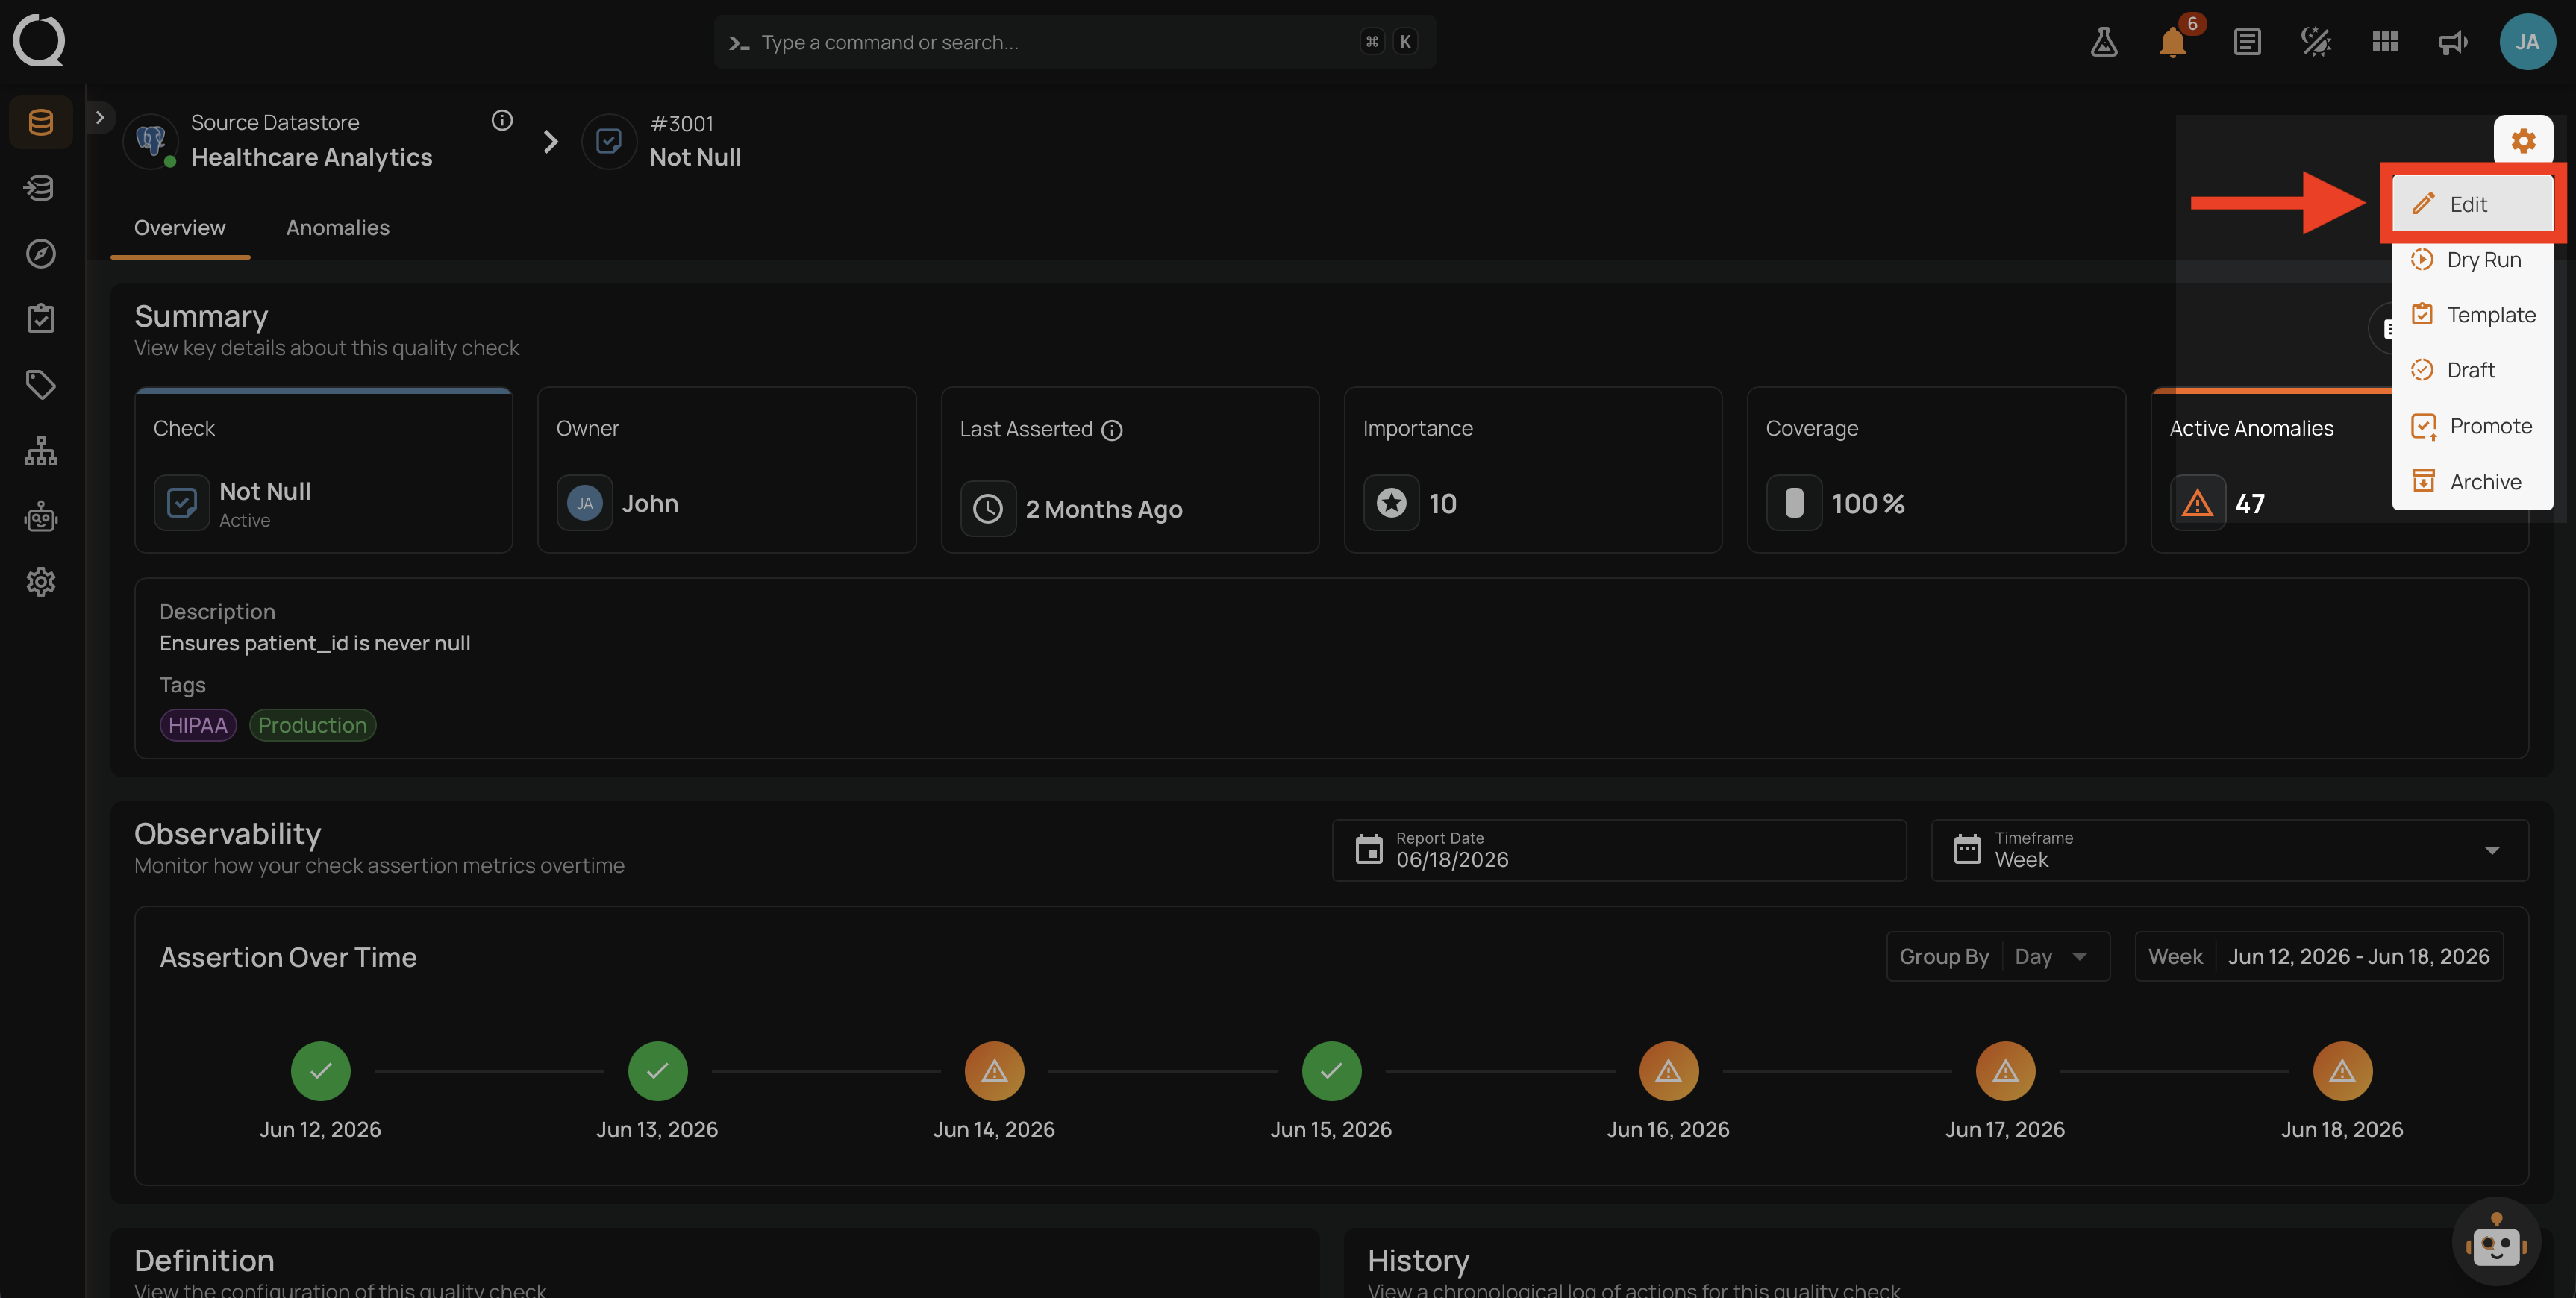
Step 2: The options menu opens.
Step 3: Click Edit .
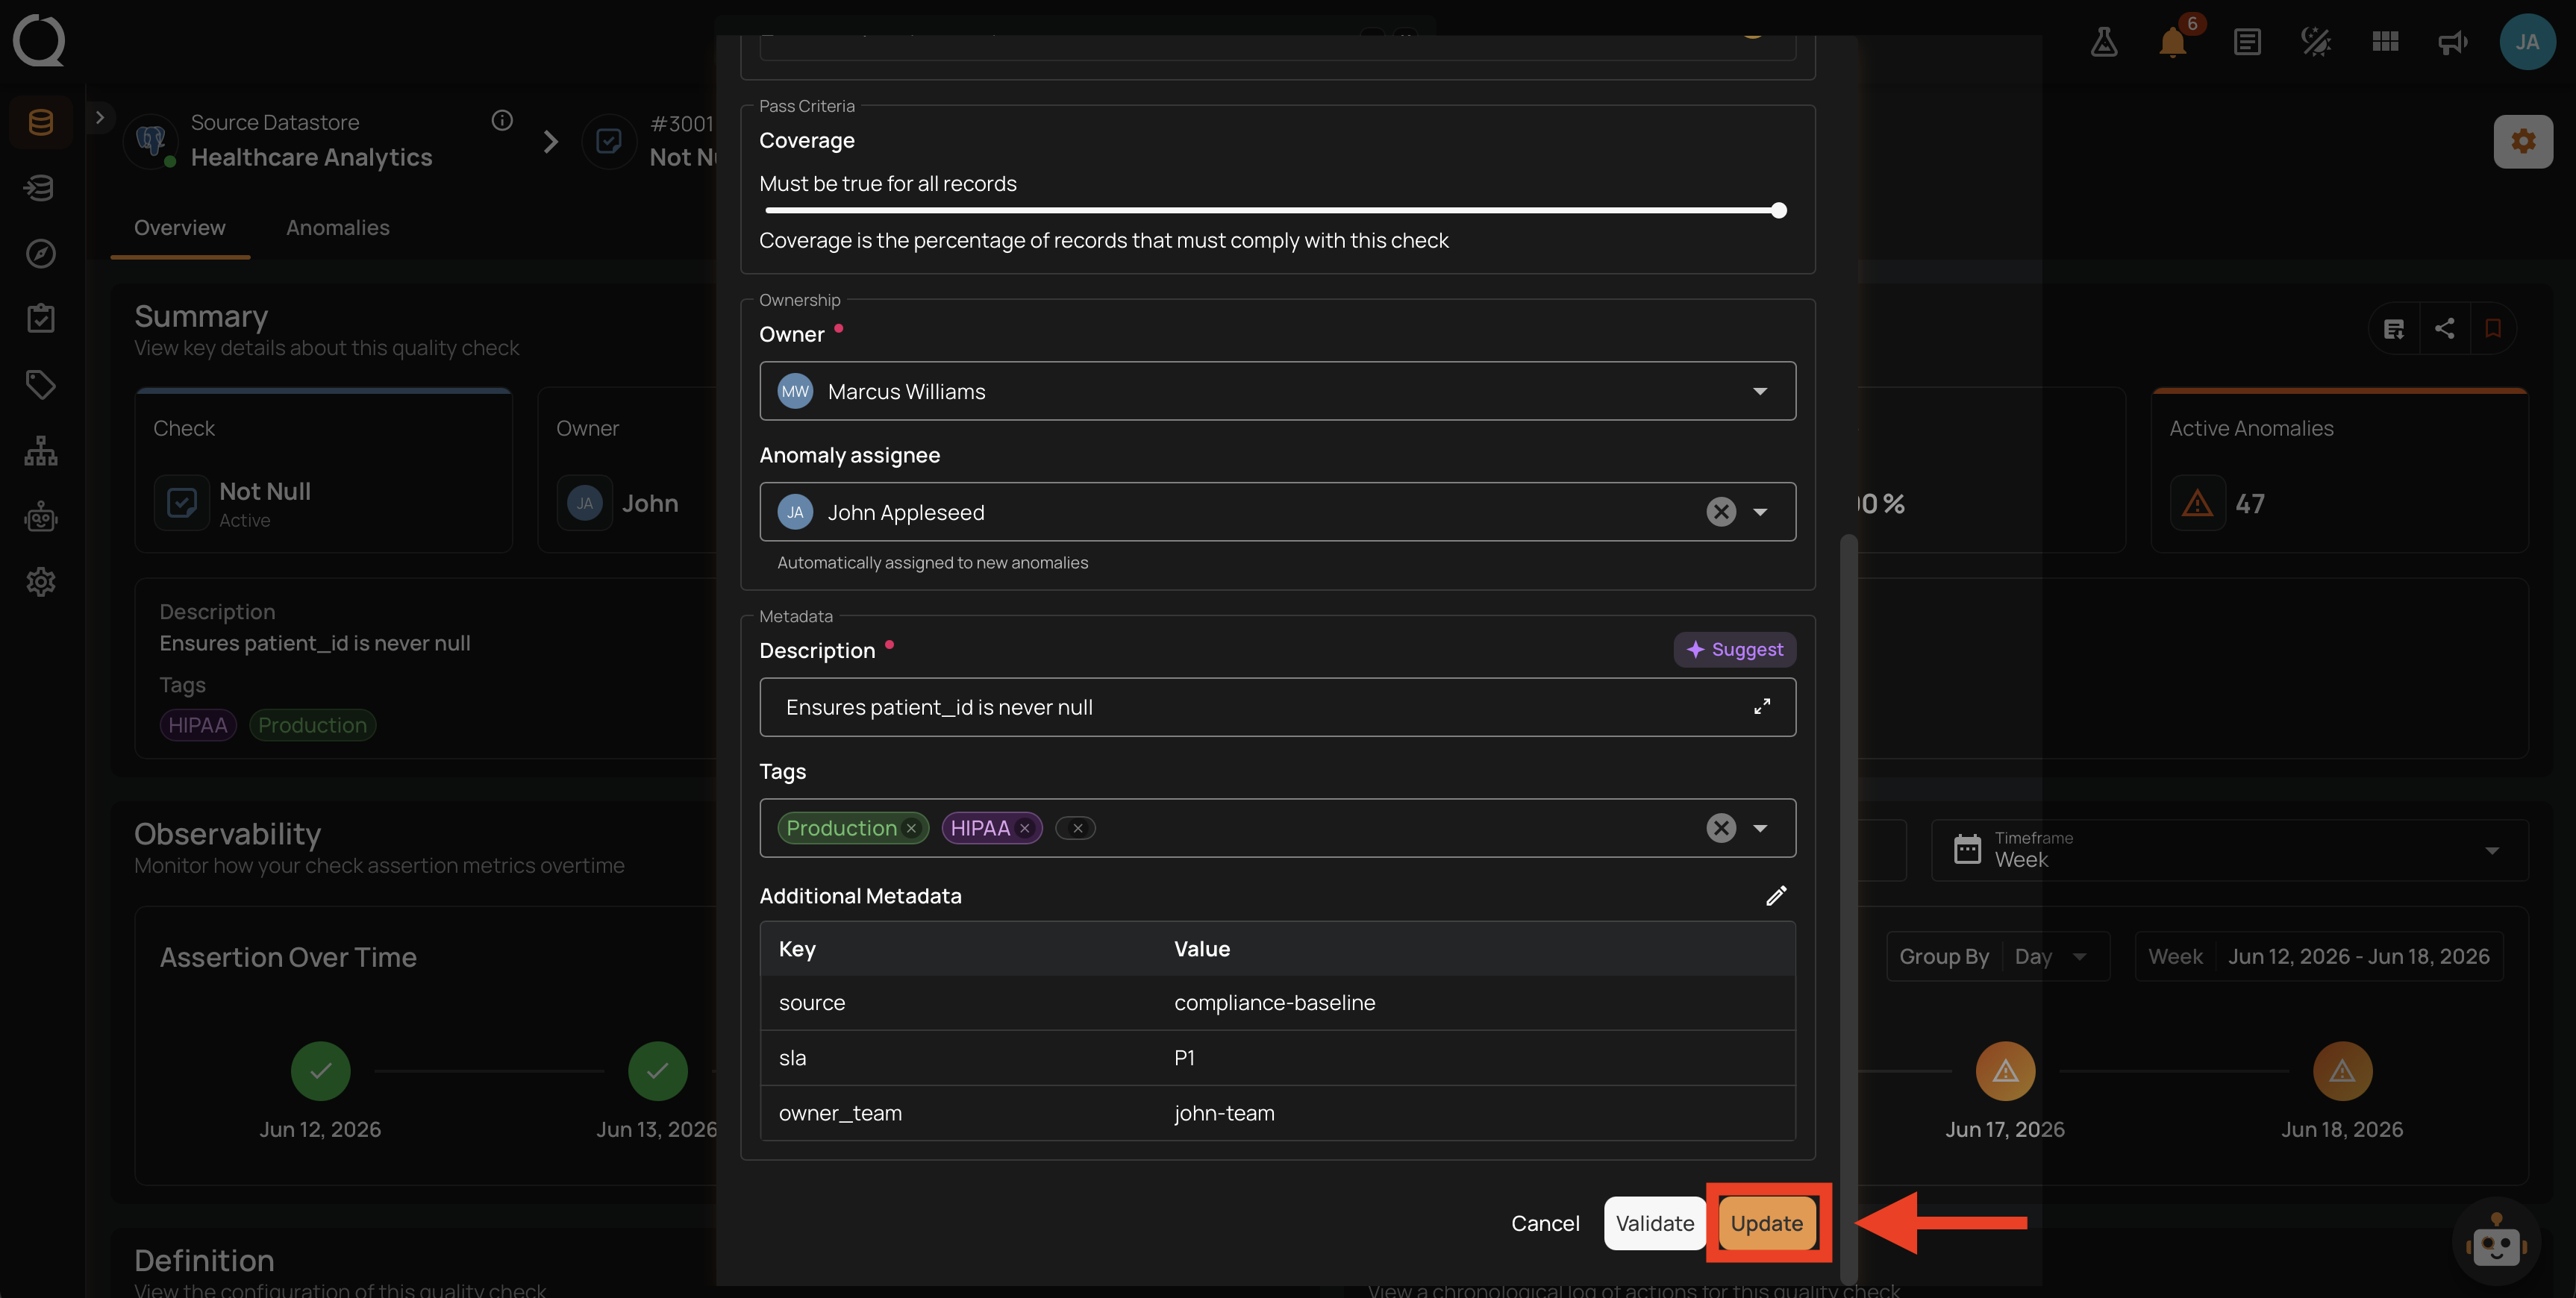
Step 4: The Check Details modal opens, showing the check's properties. Scroll until you reach the Ownership section.
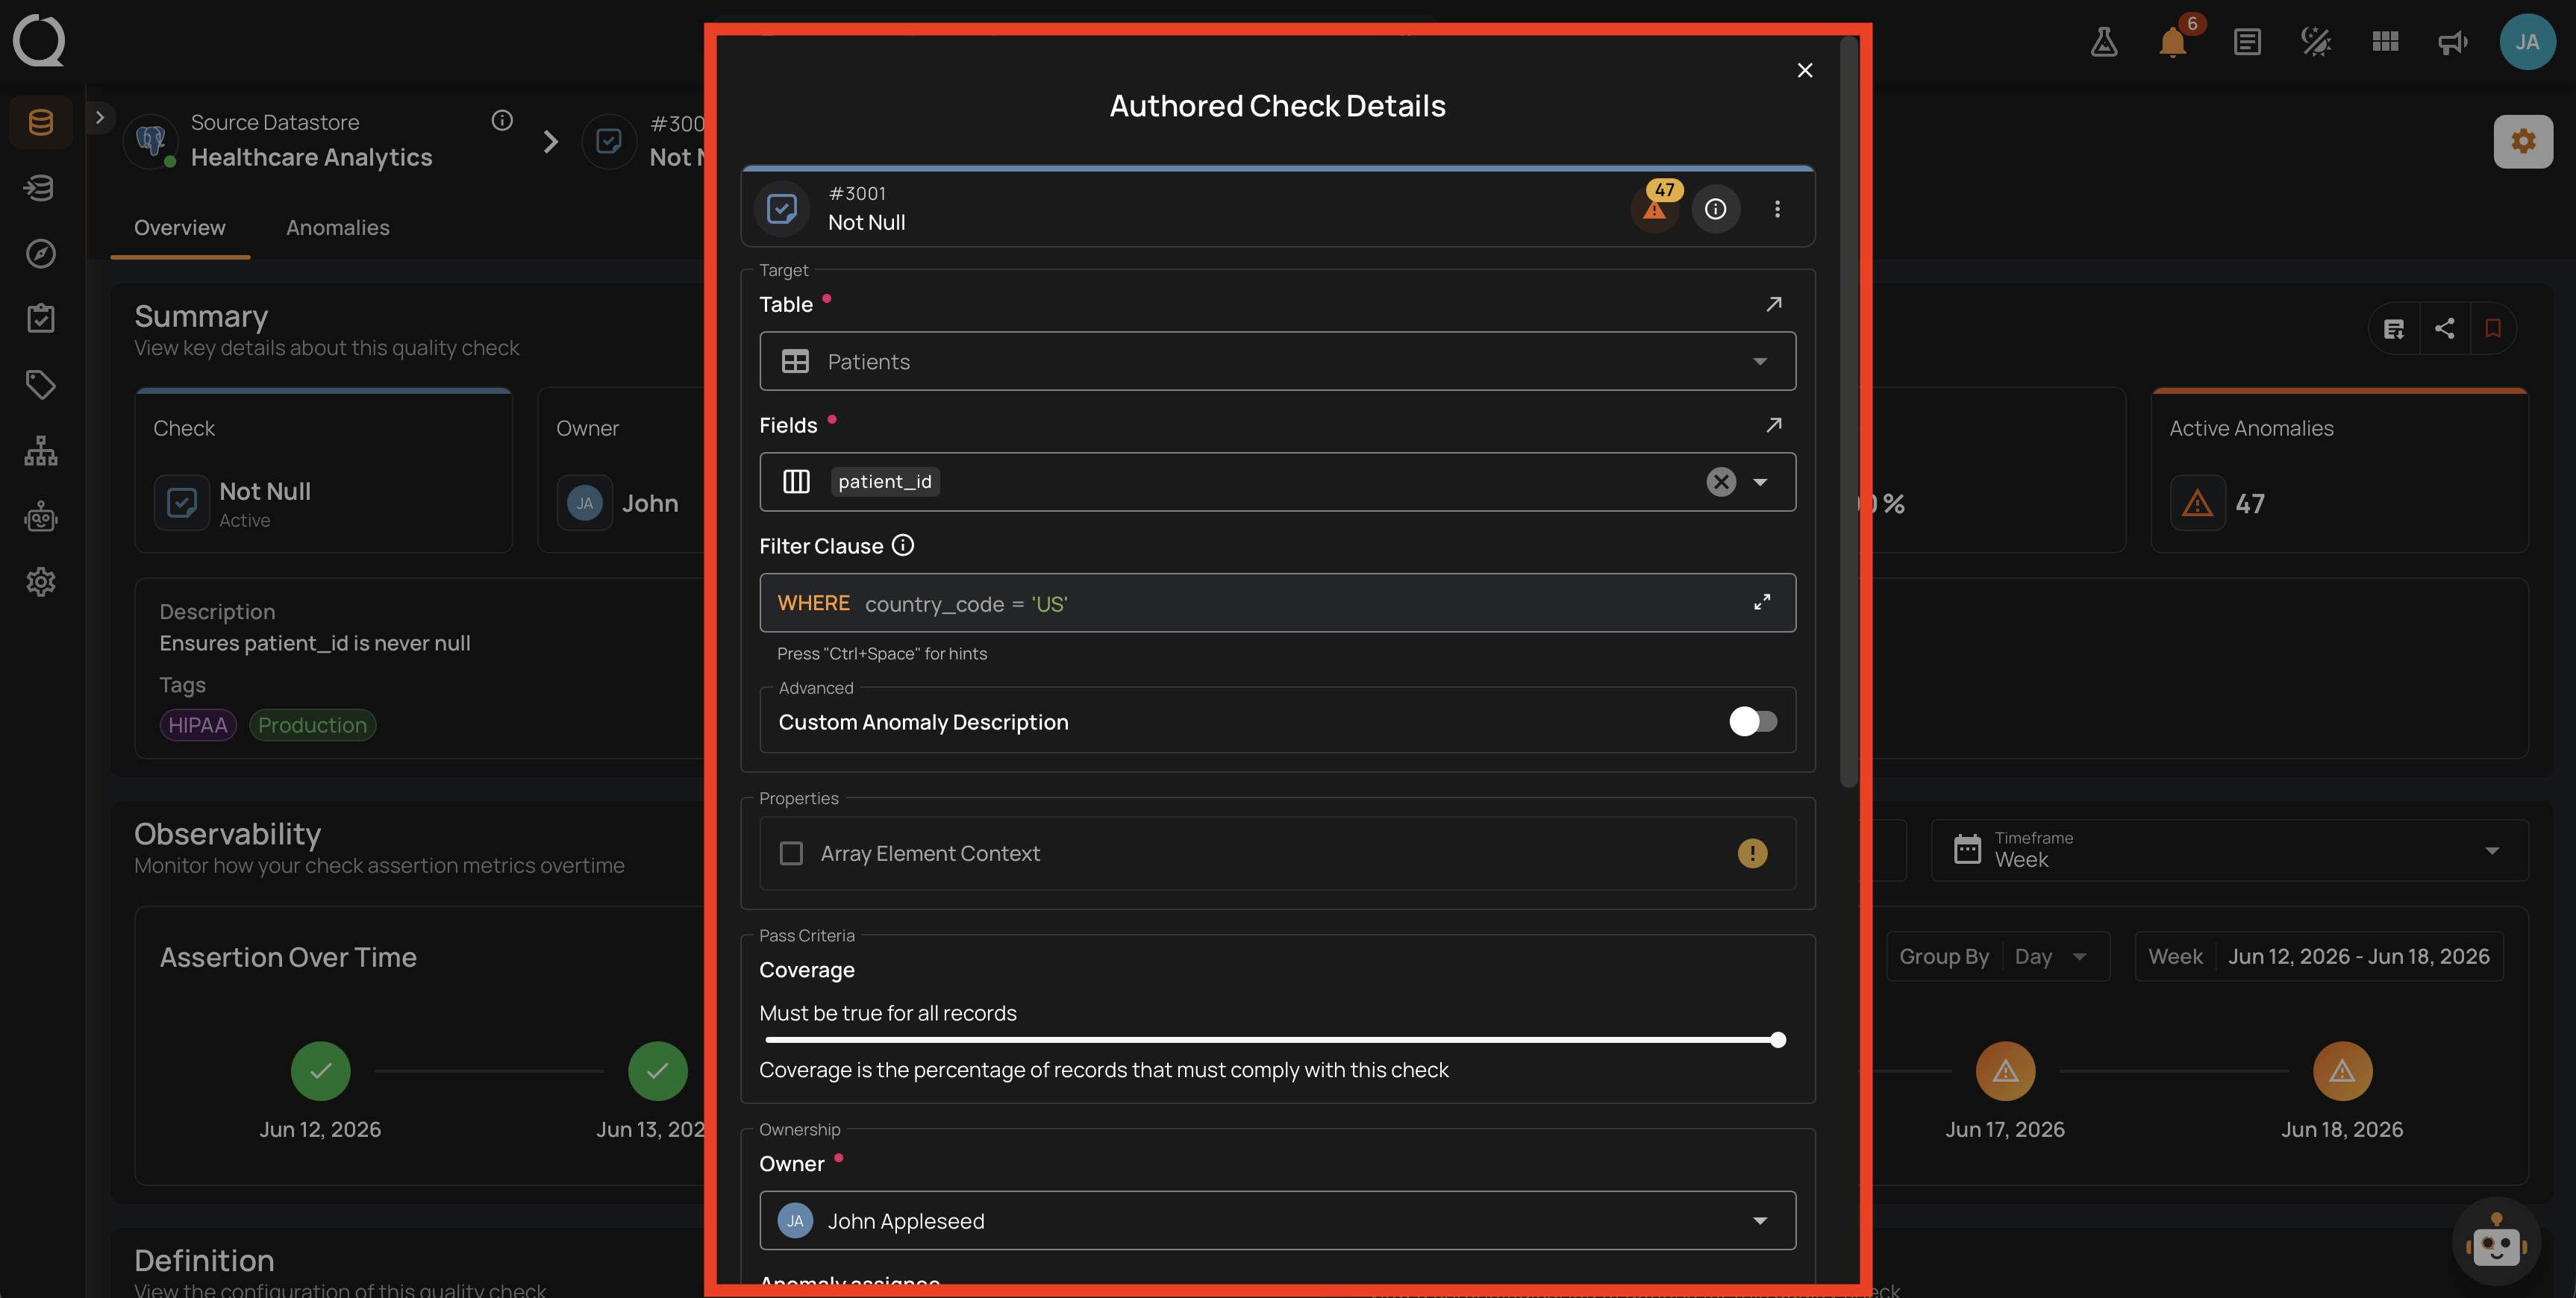
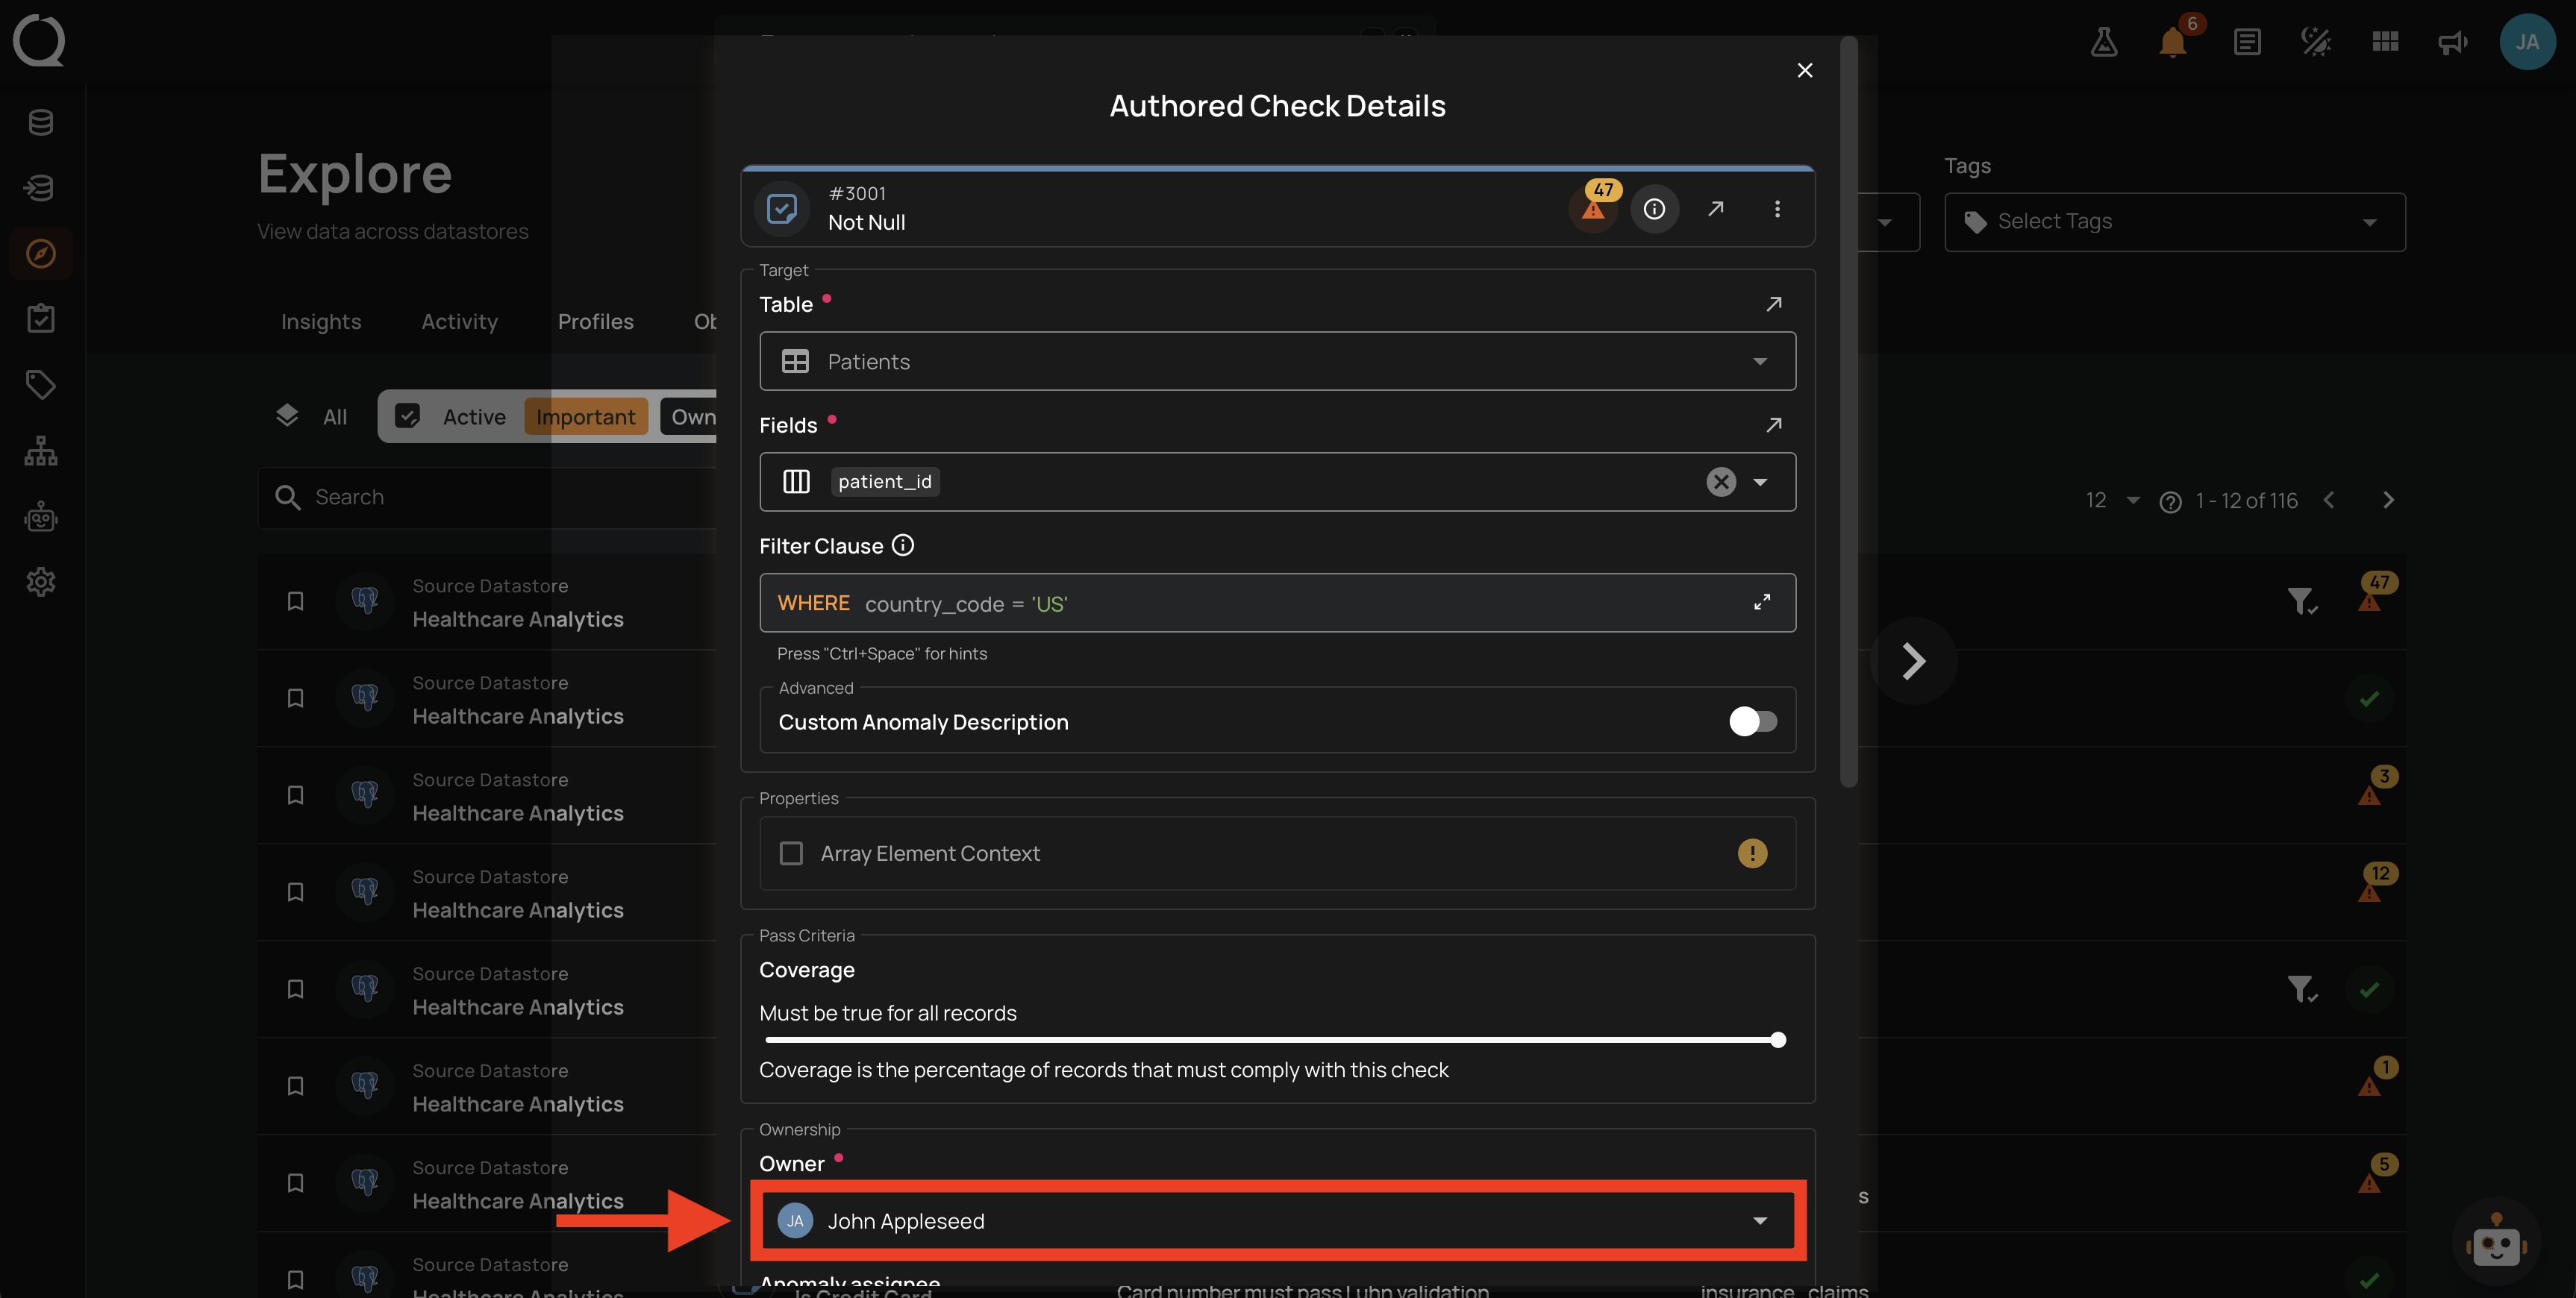
Step 5: Locate the Owner field. The current owner is shown as an avatar with the user's name.
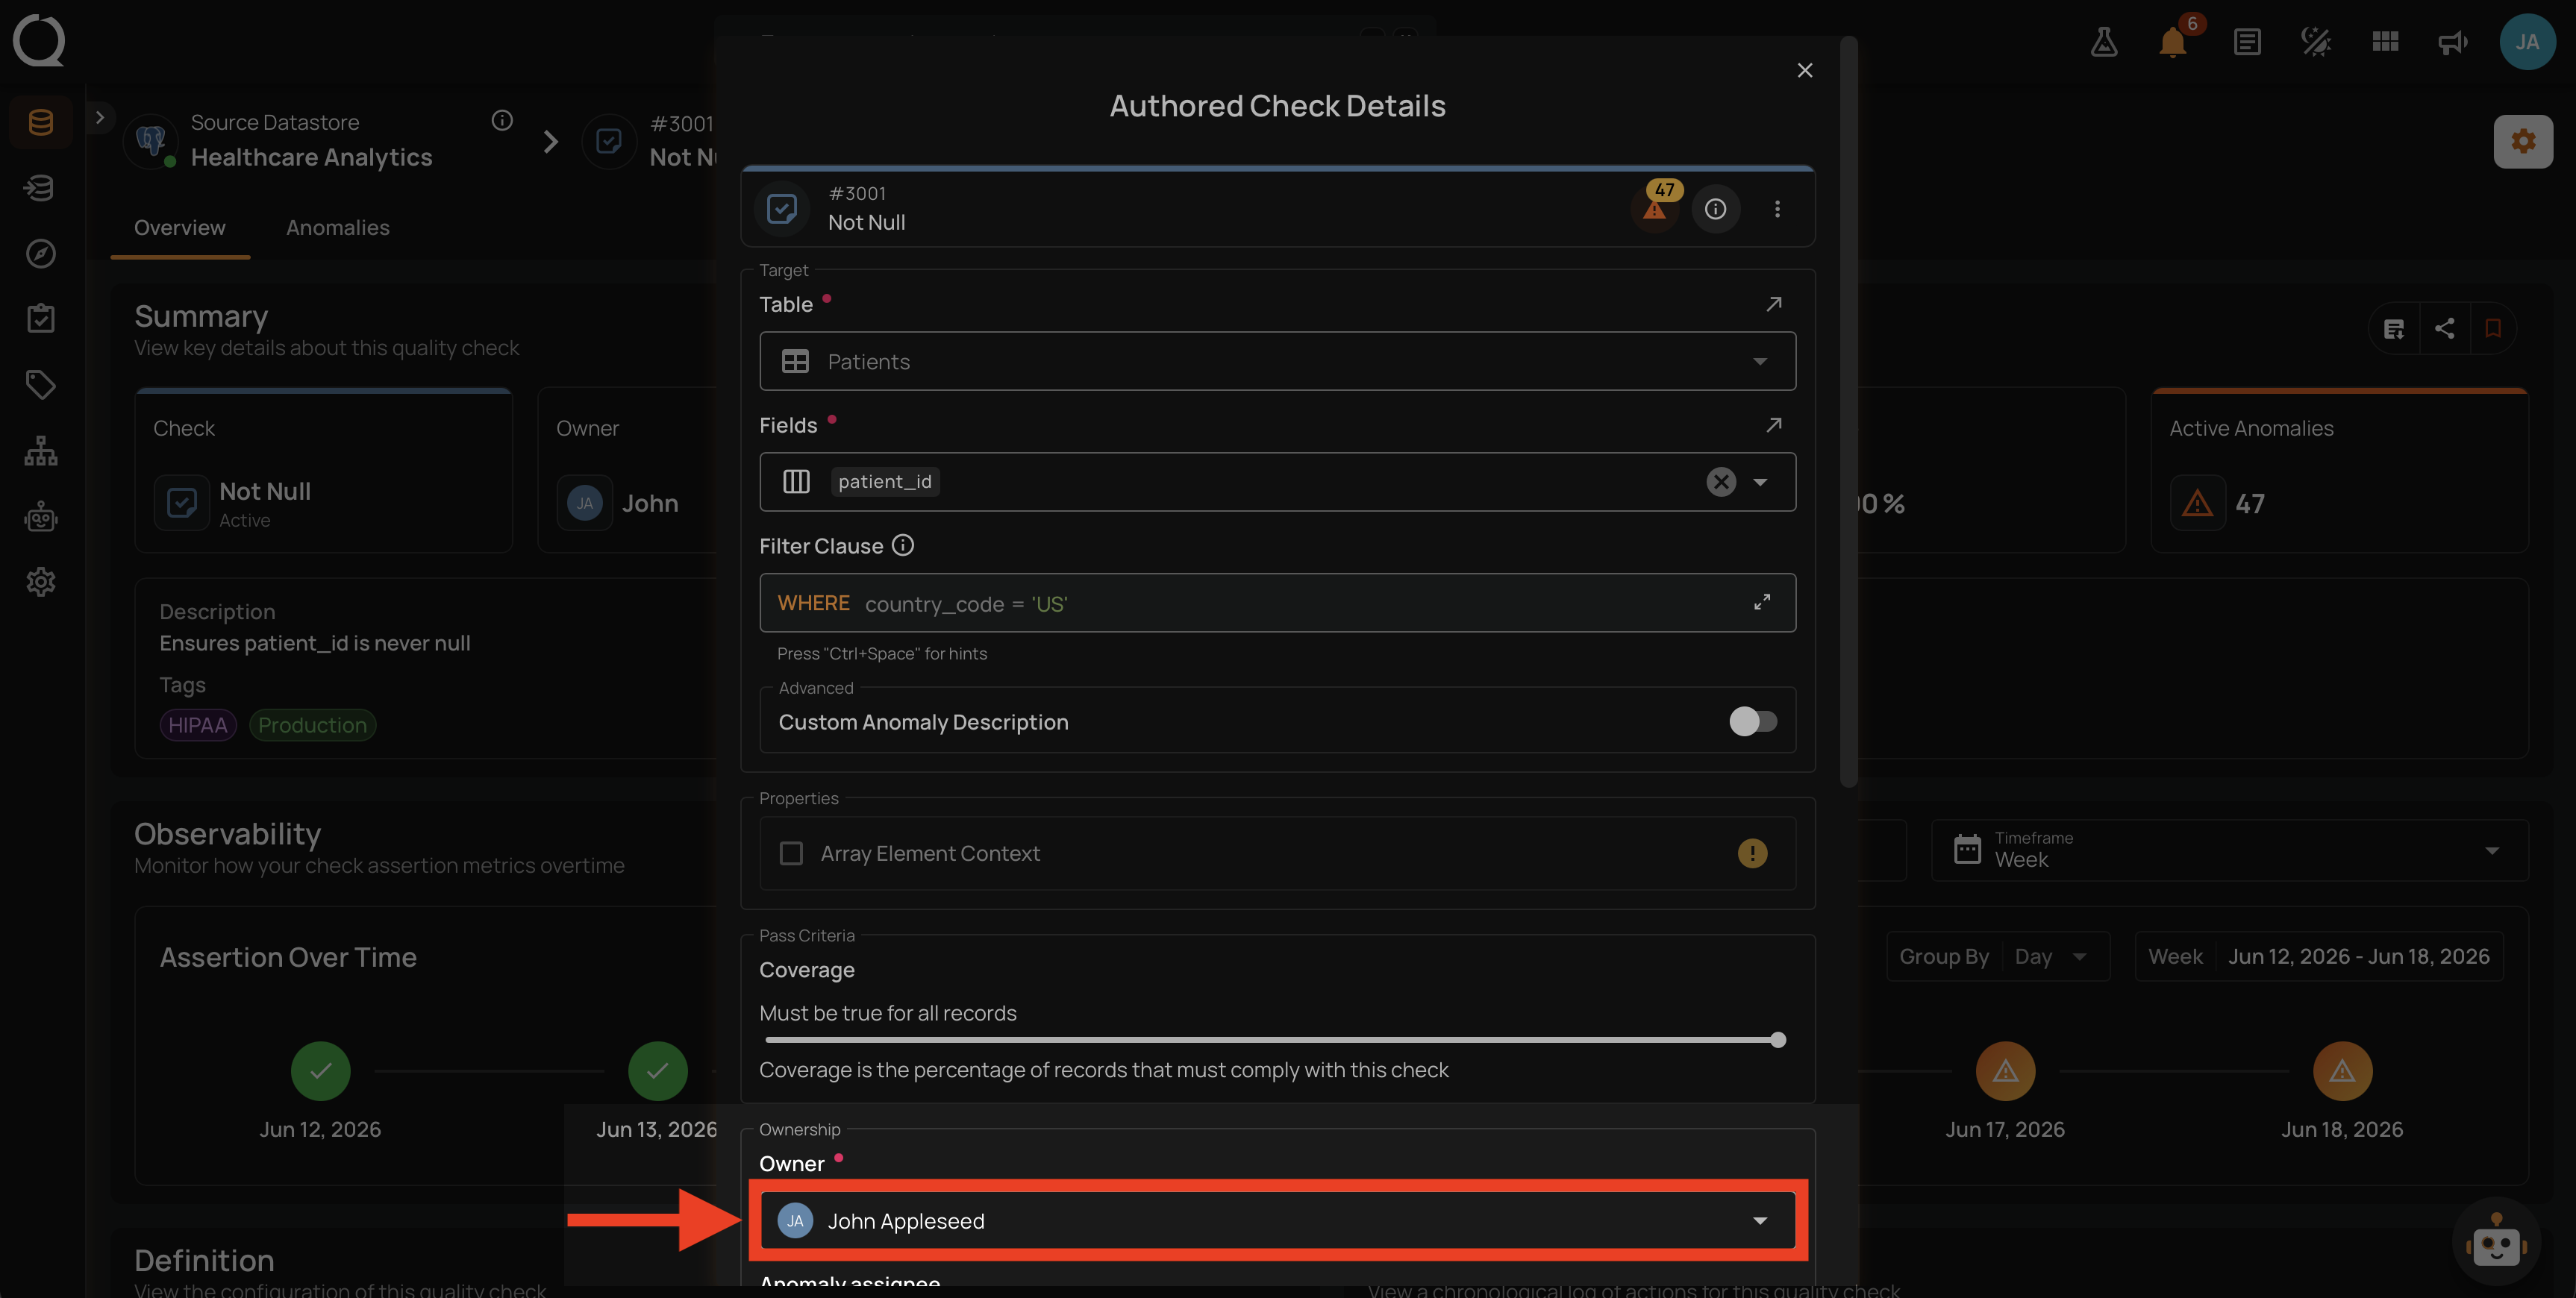
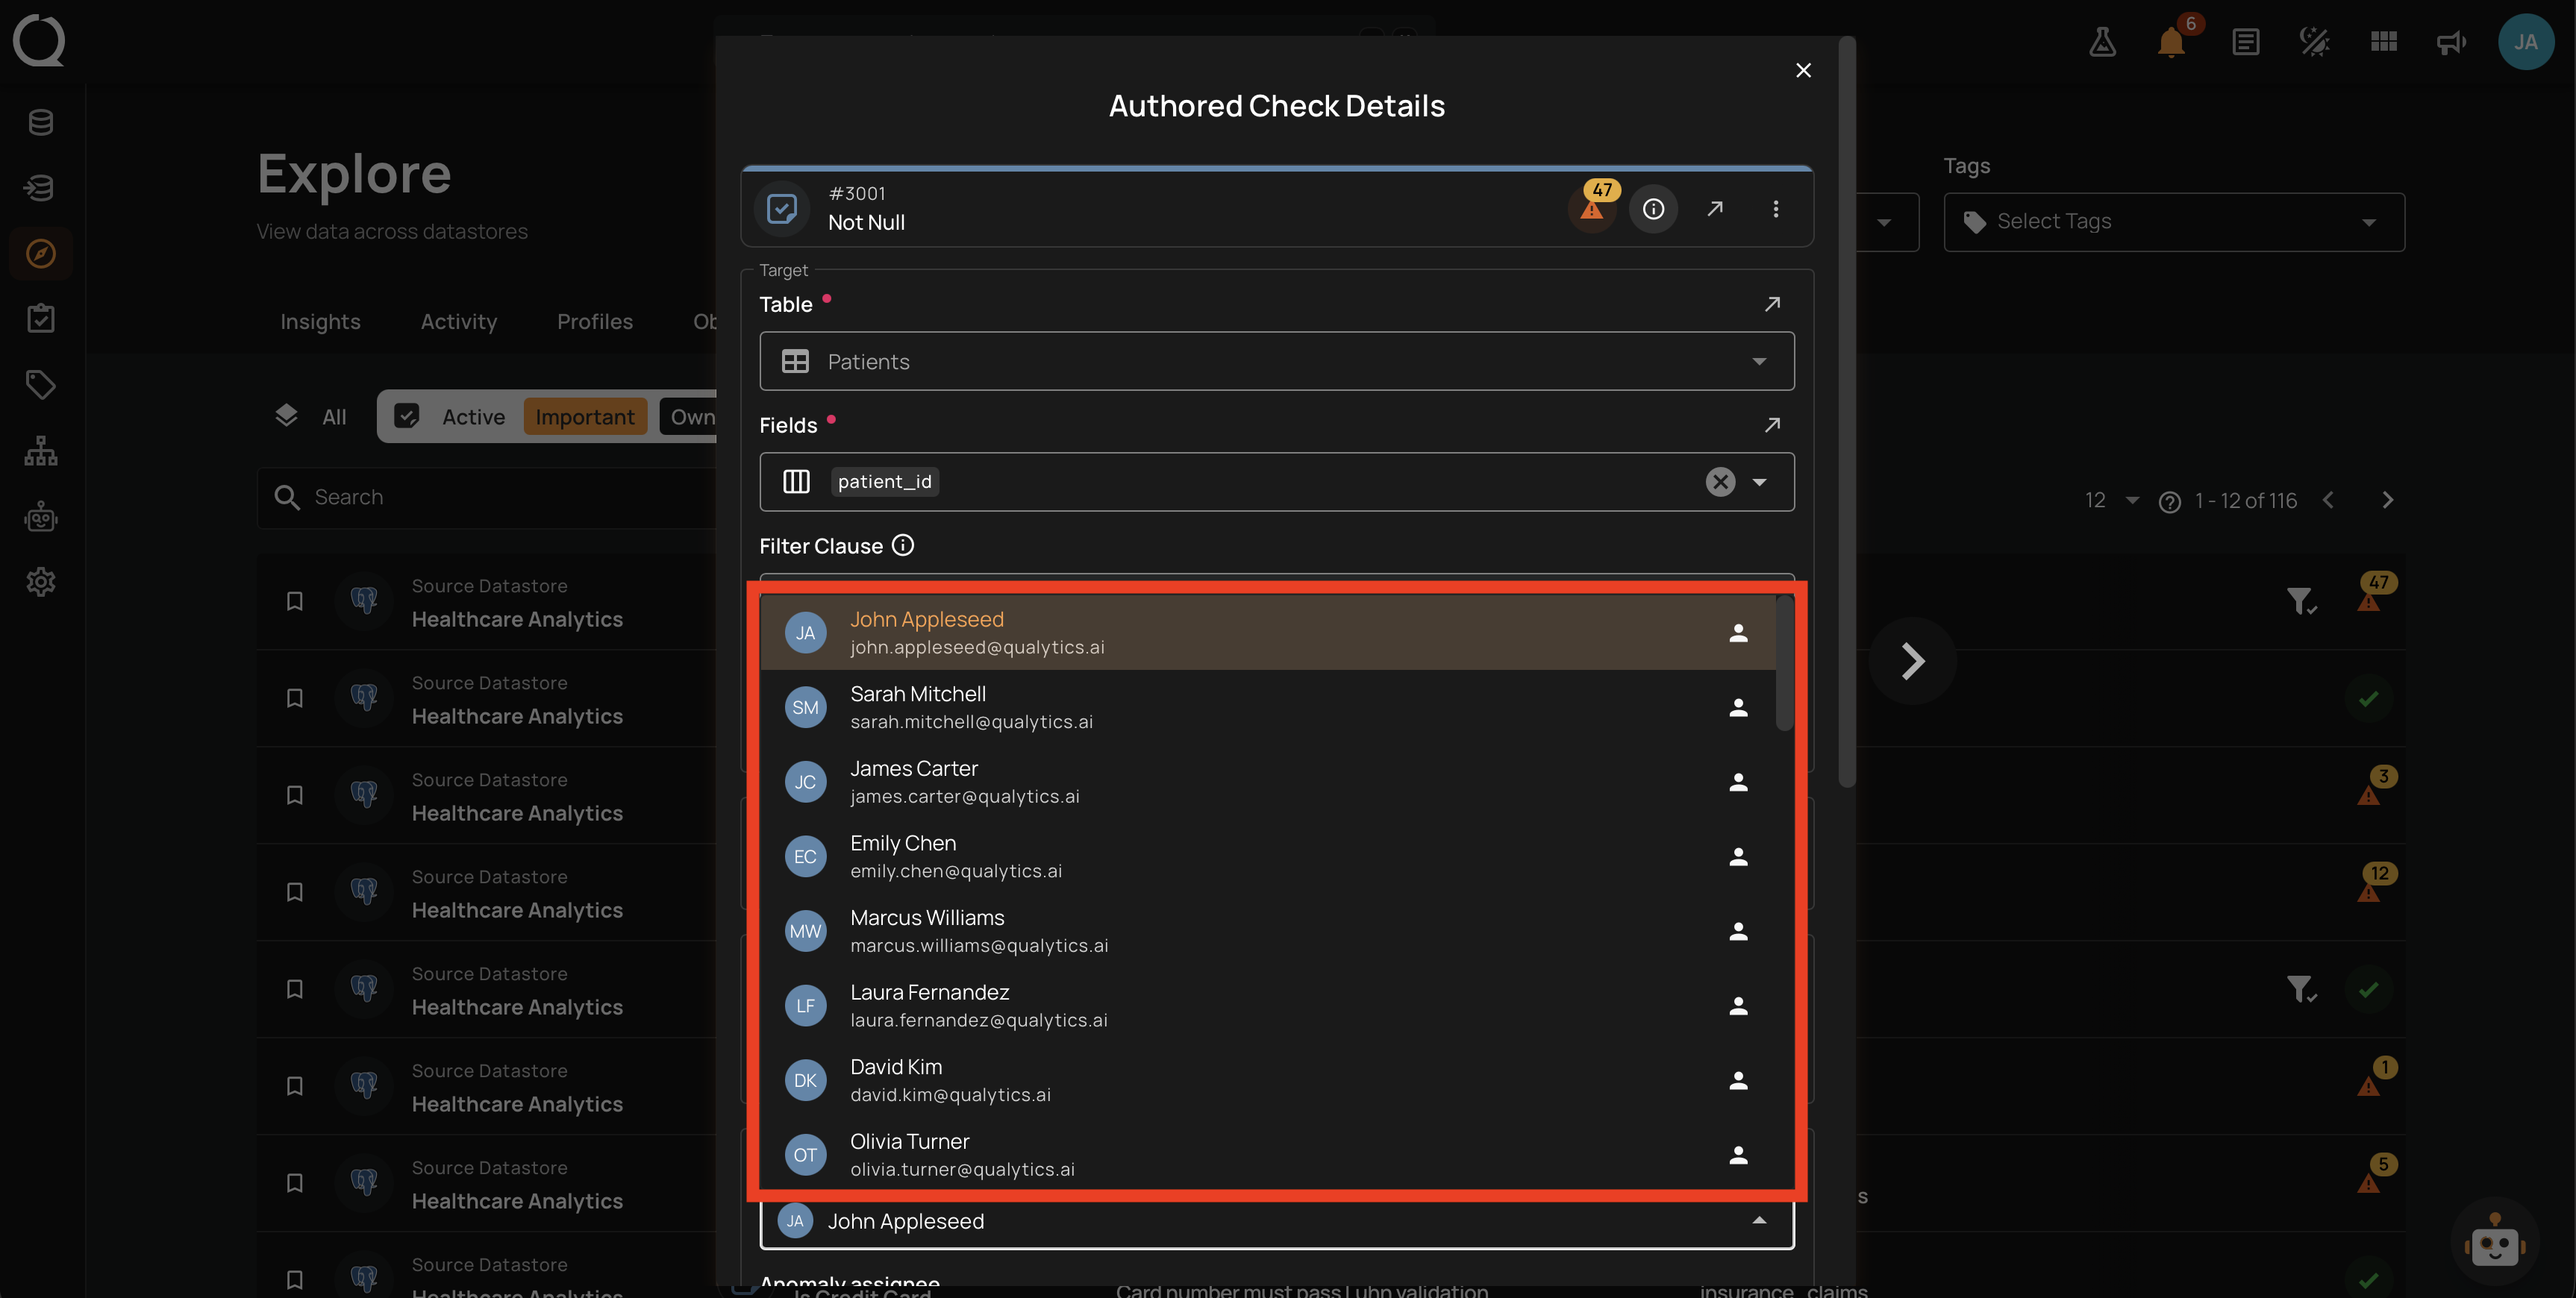
Step 6: Click the Owner dropdown. A user list opens with every user who has at least the Drafter team permission on the datastore.

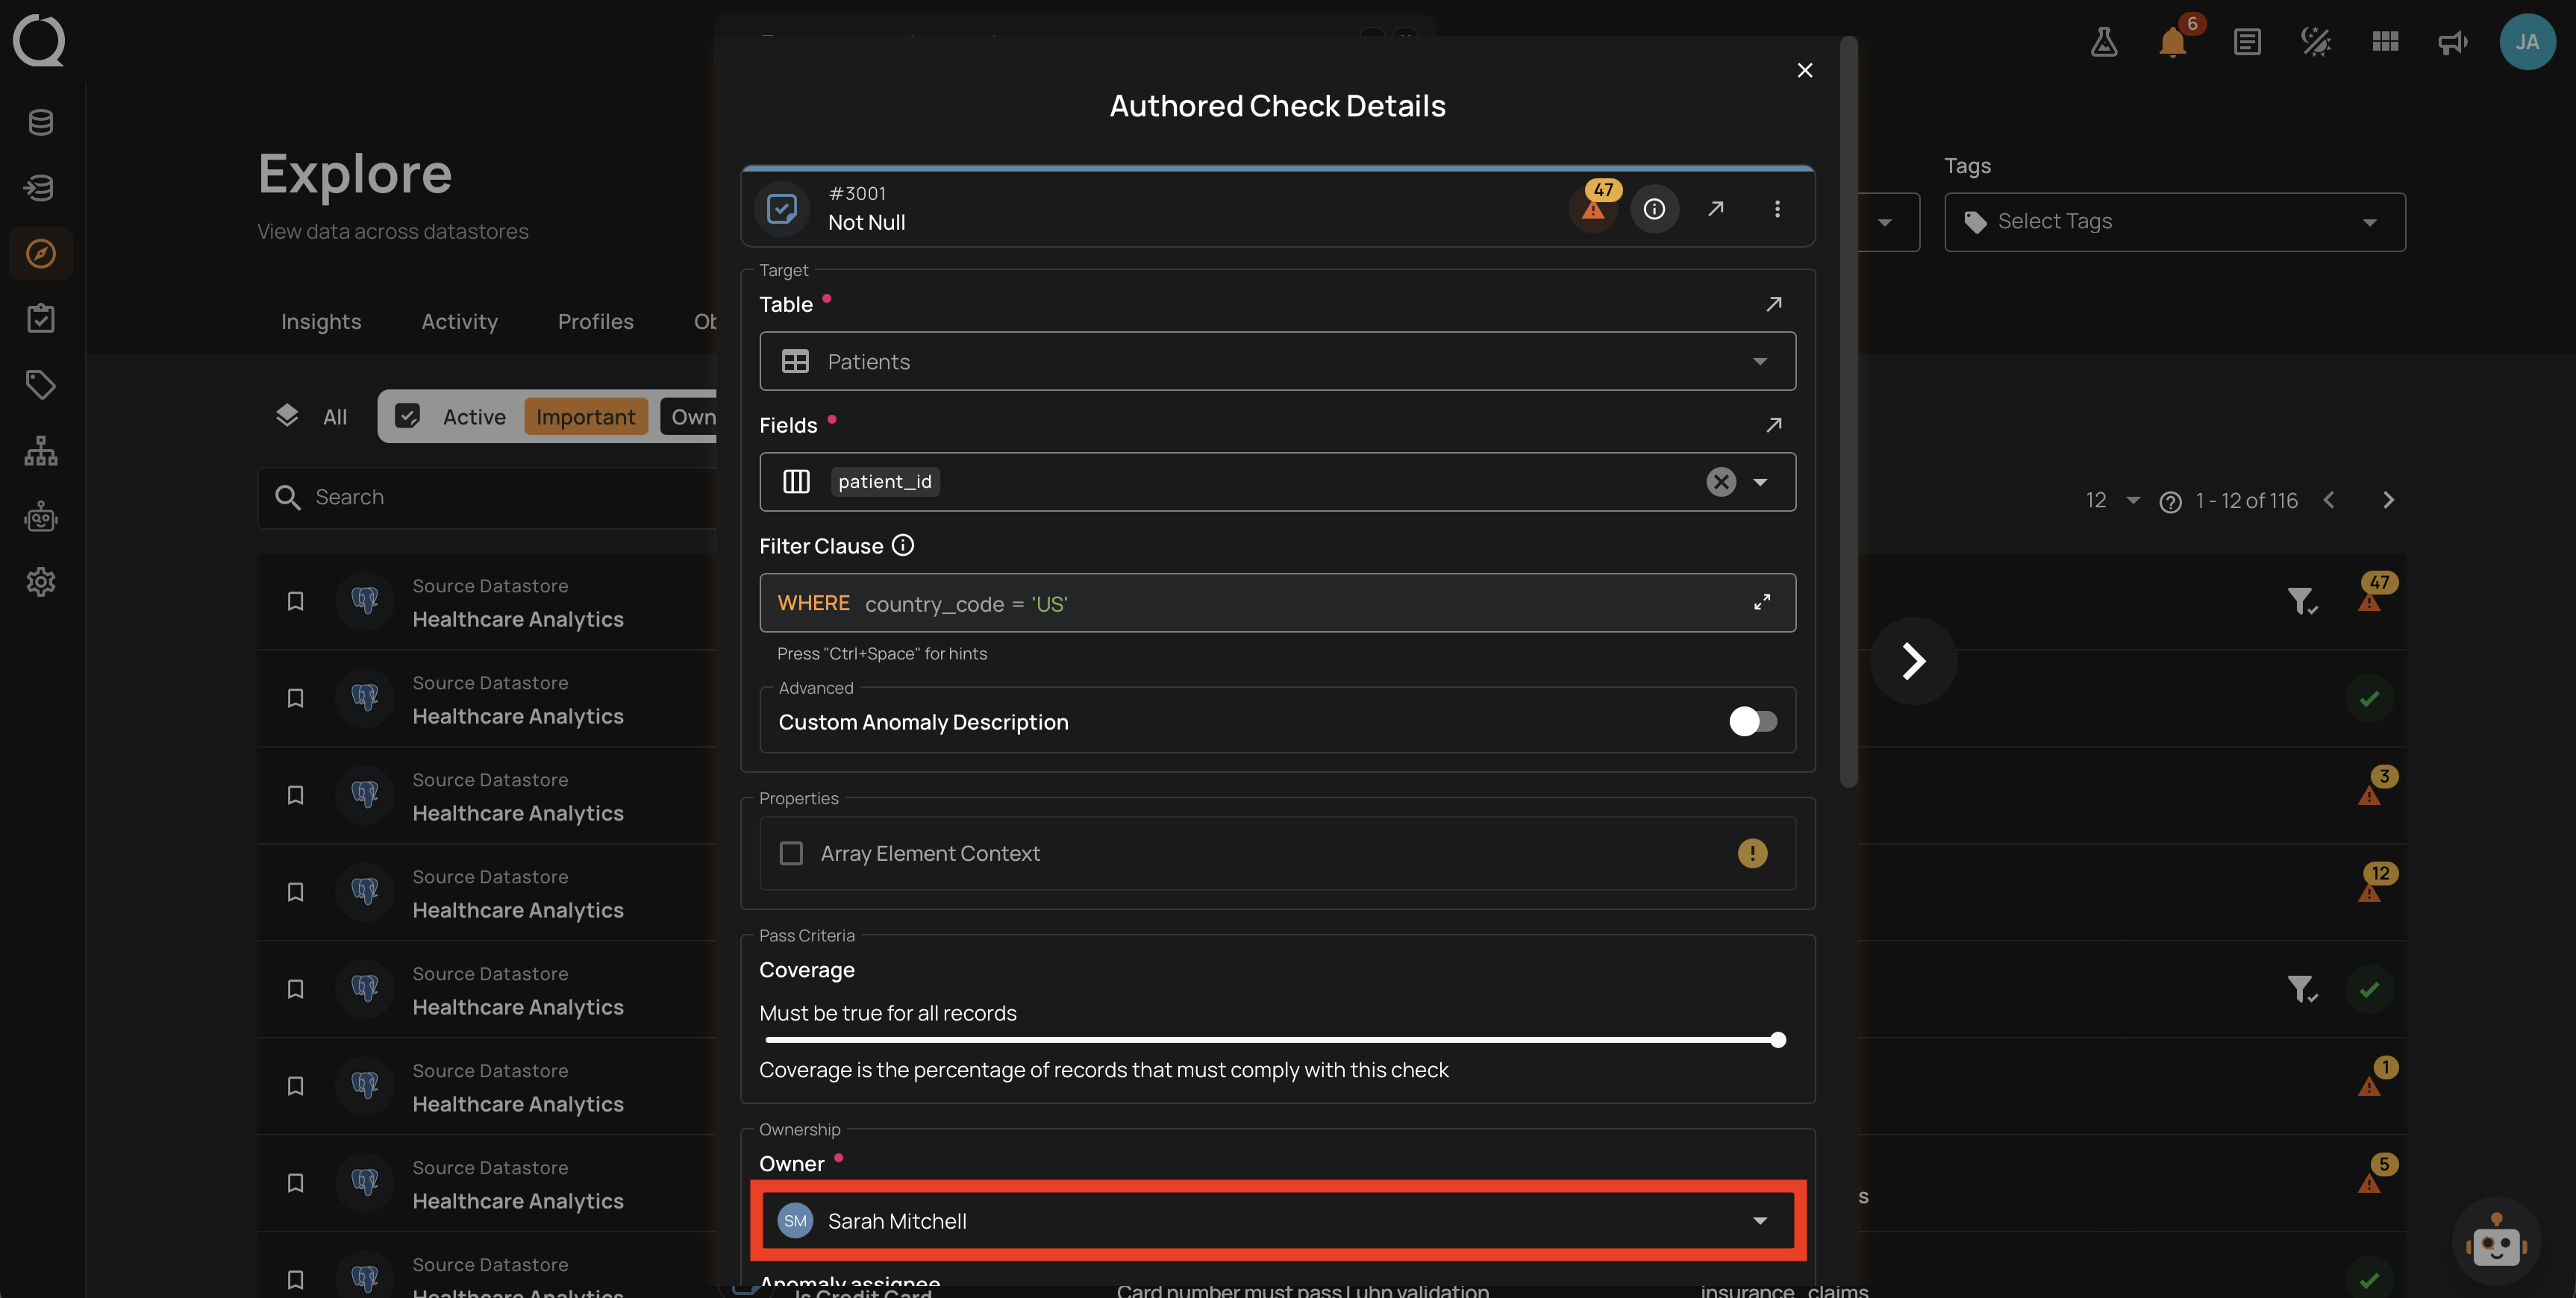
Step 7: Select the new owner from the list. The Owner field updates to show the chosen user.

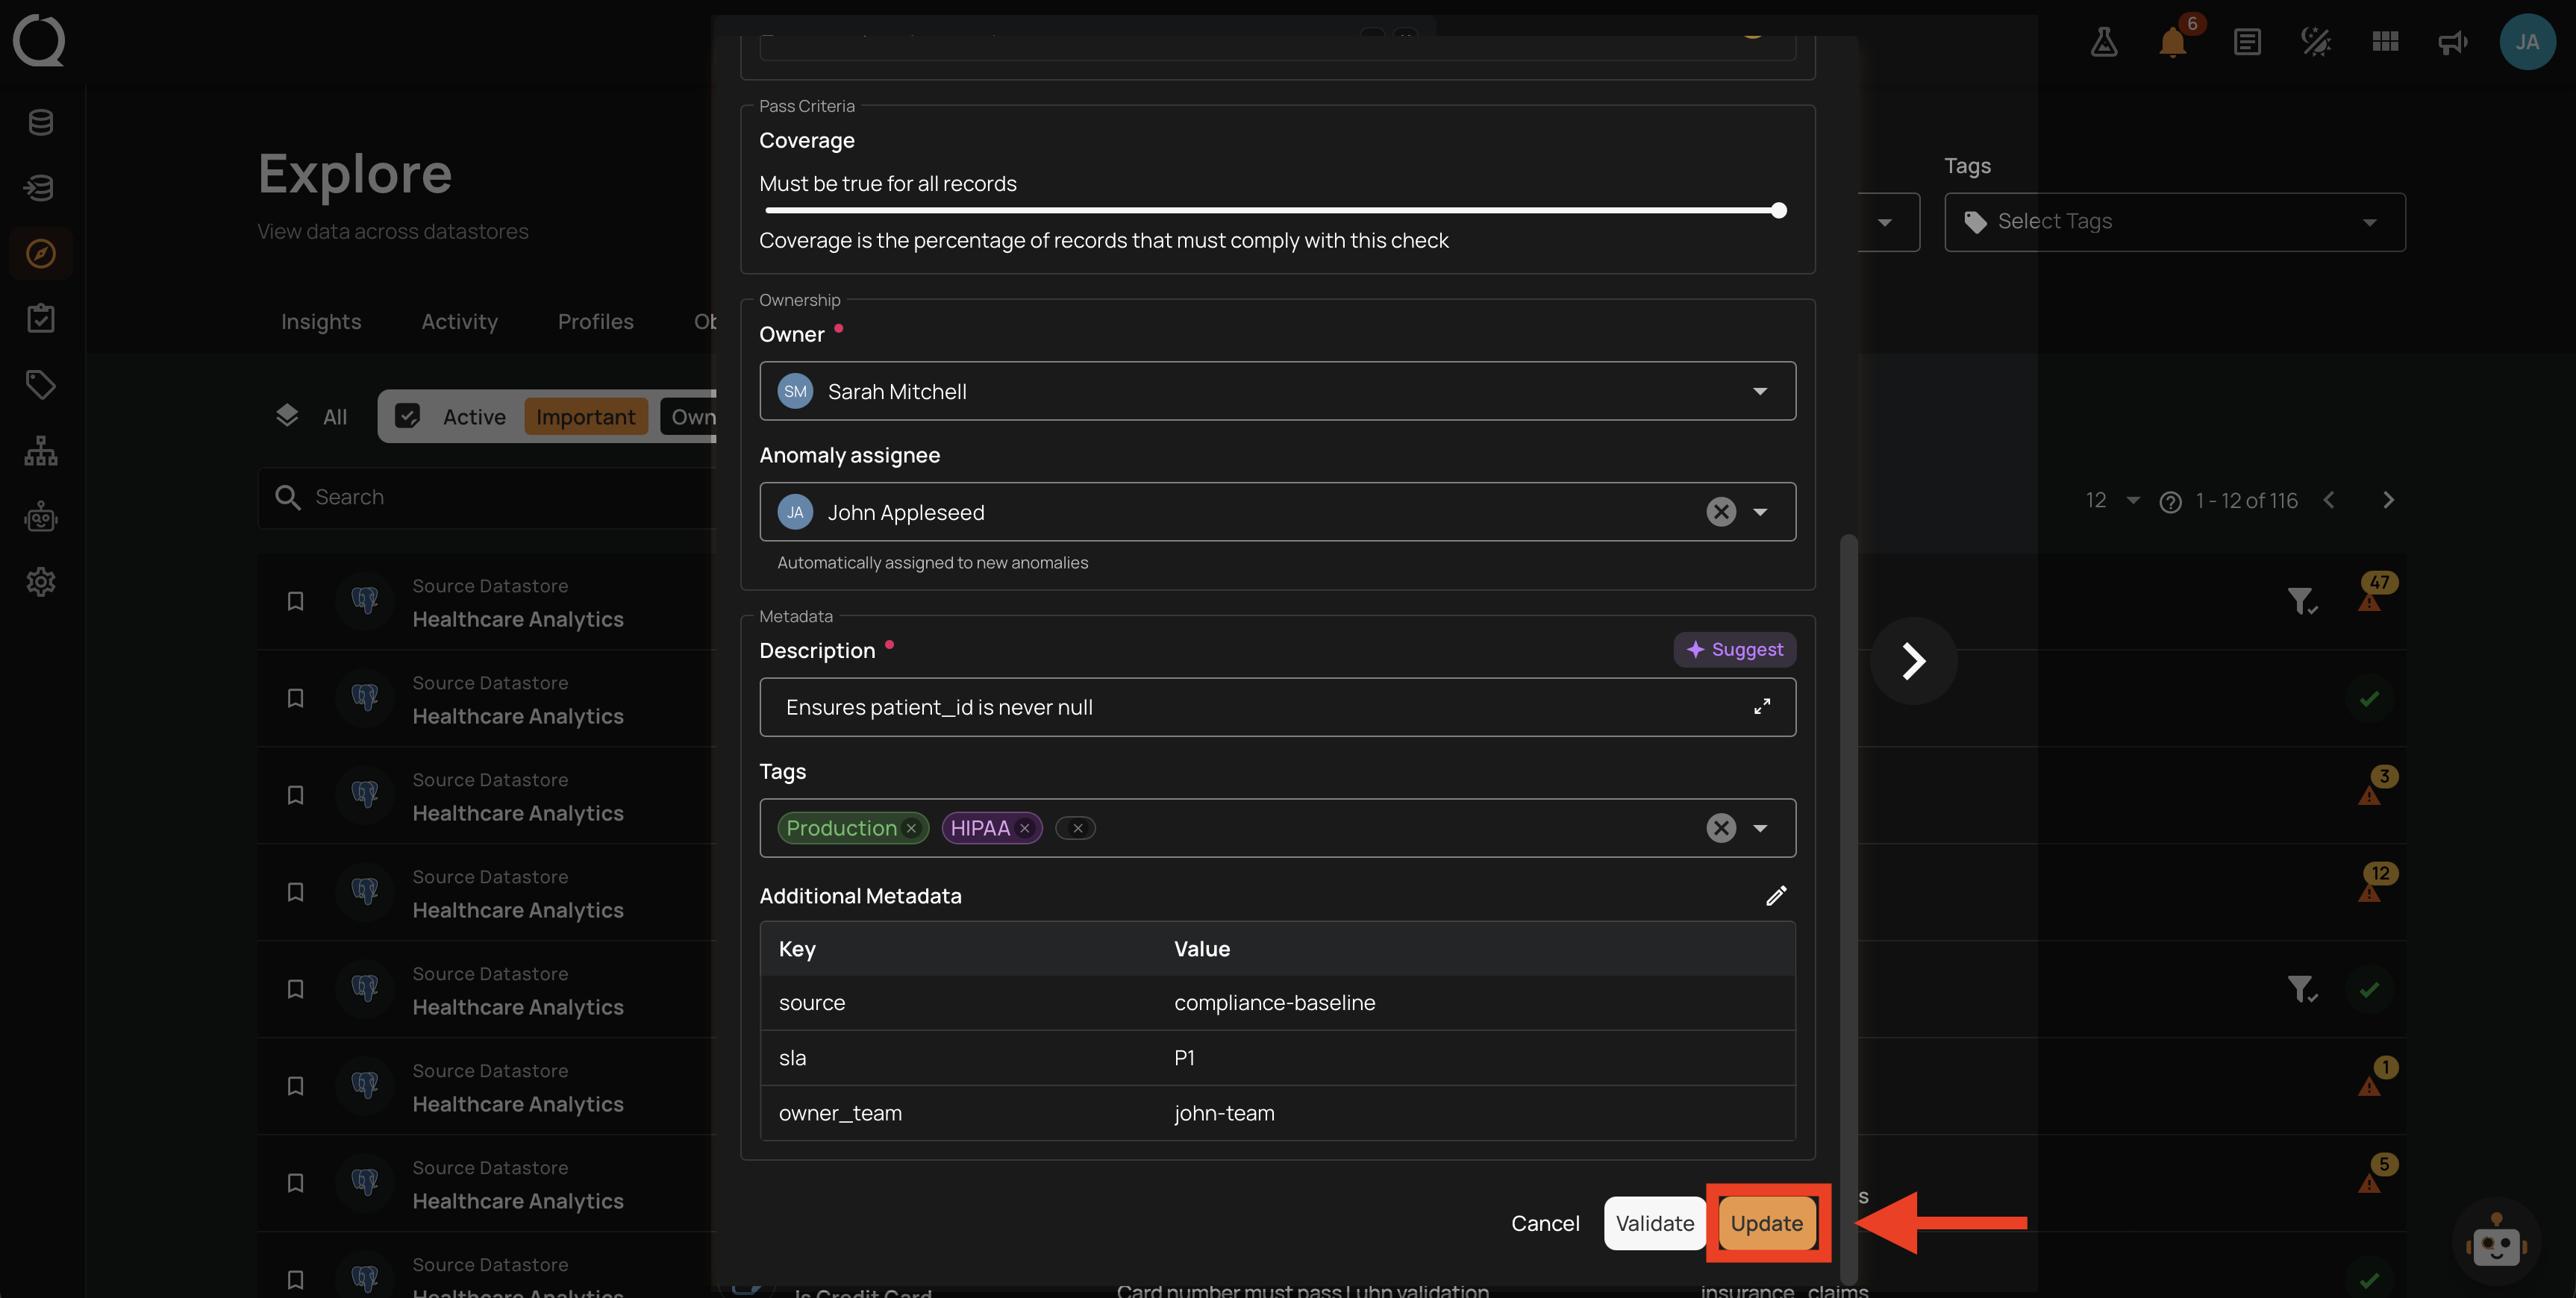
Step 8: Click Update at the bottom of the modal to save the change.
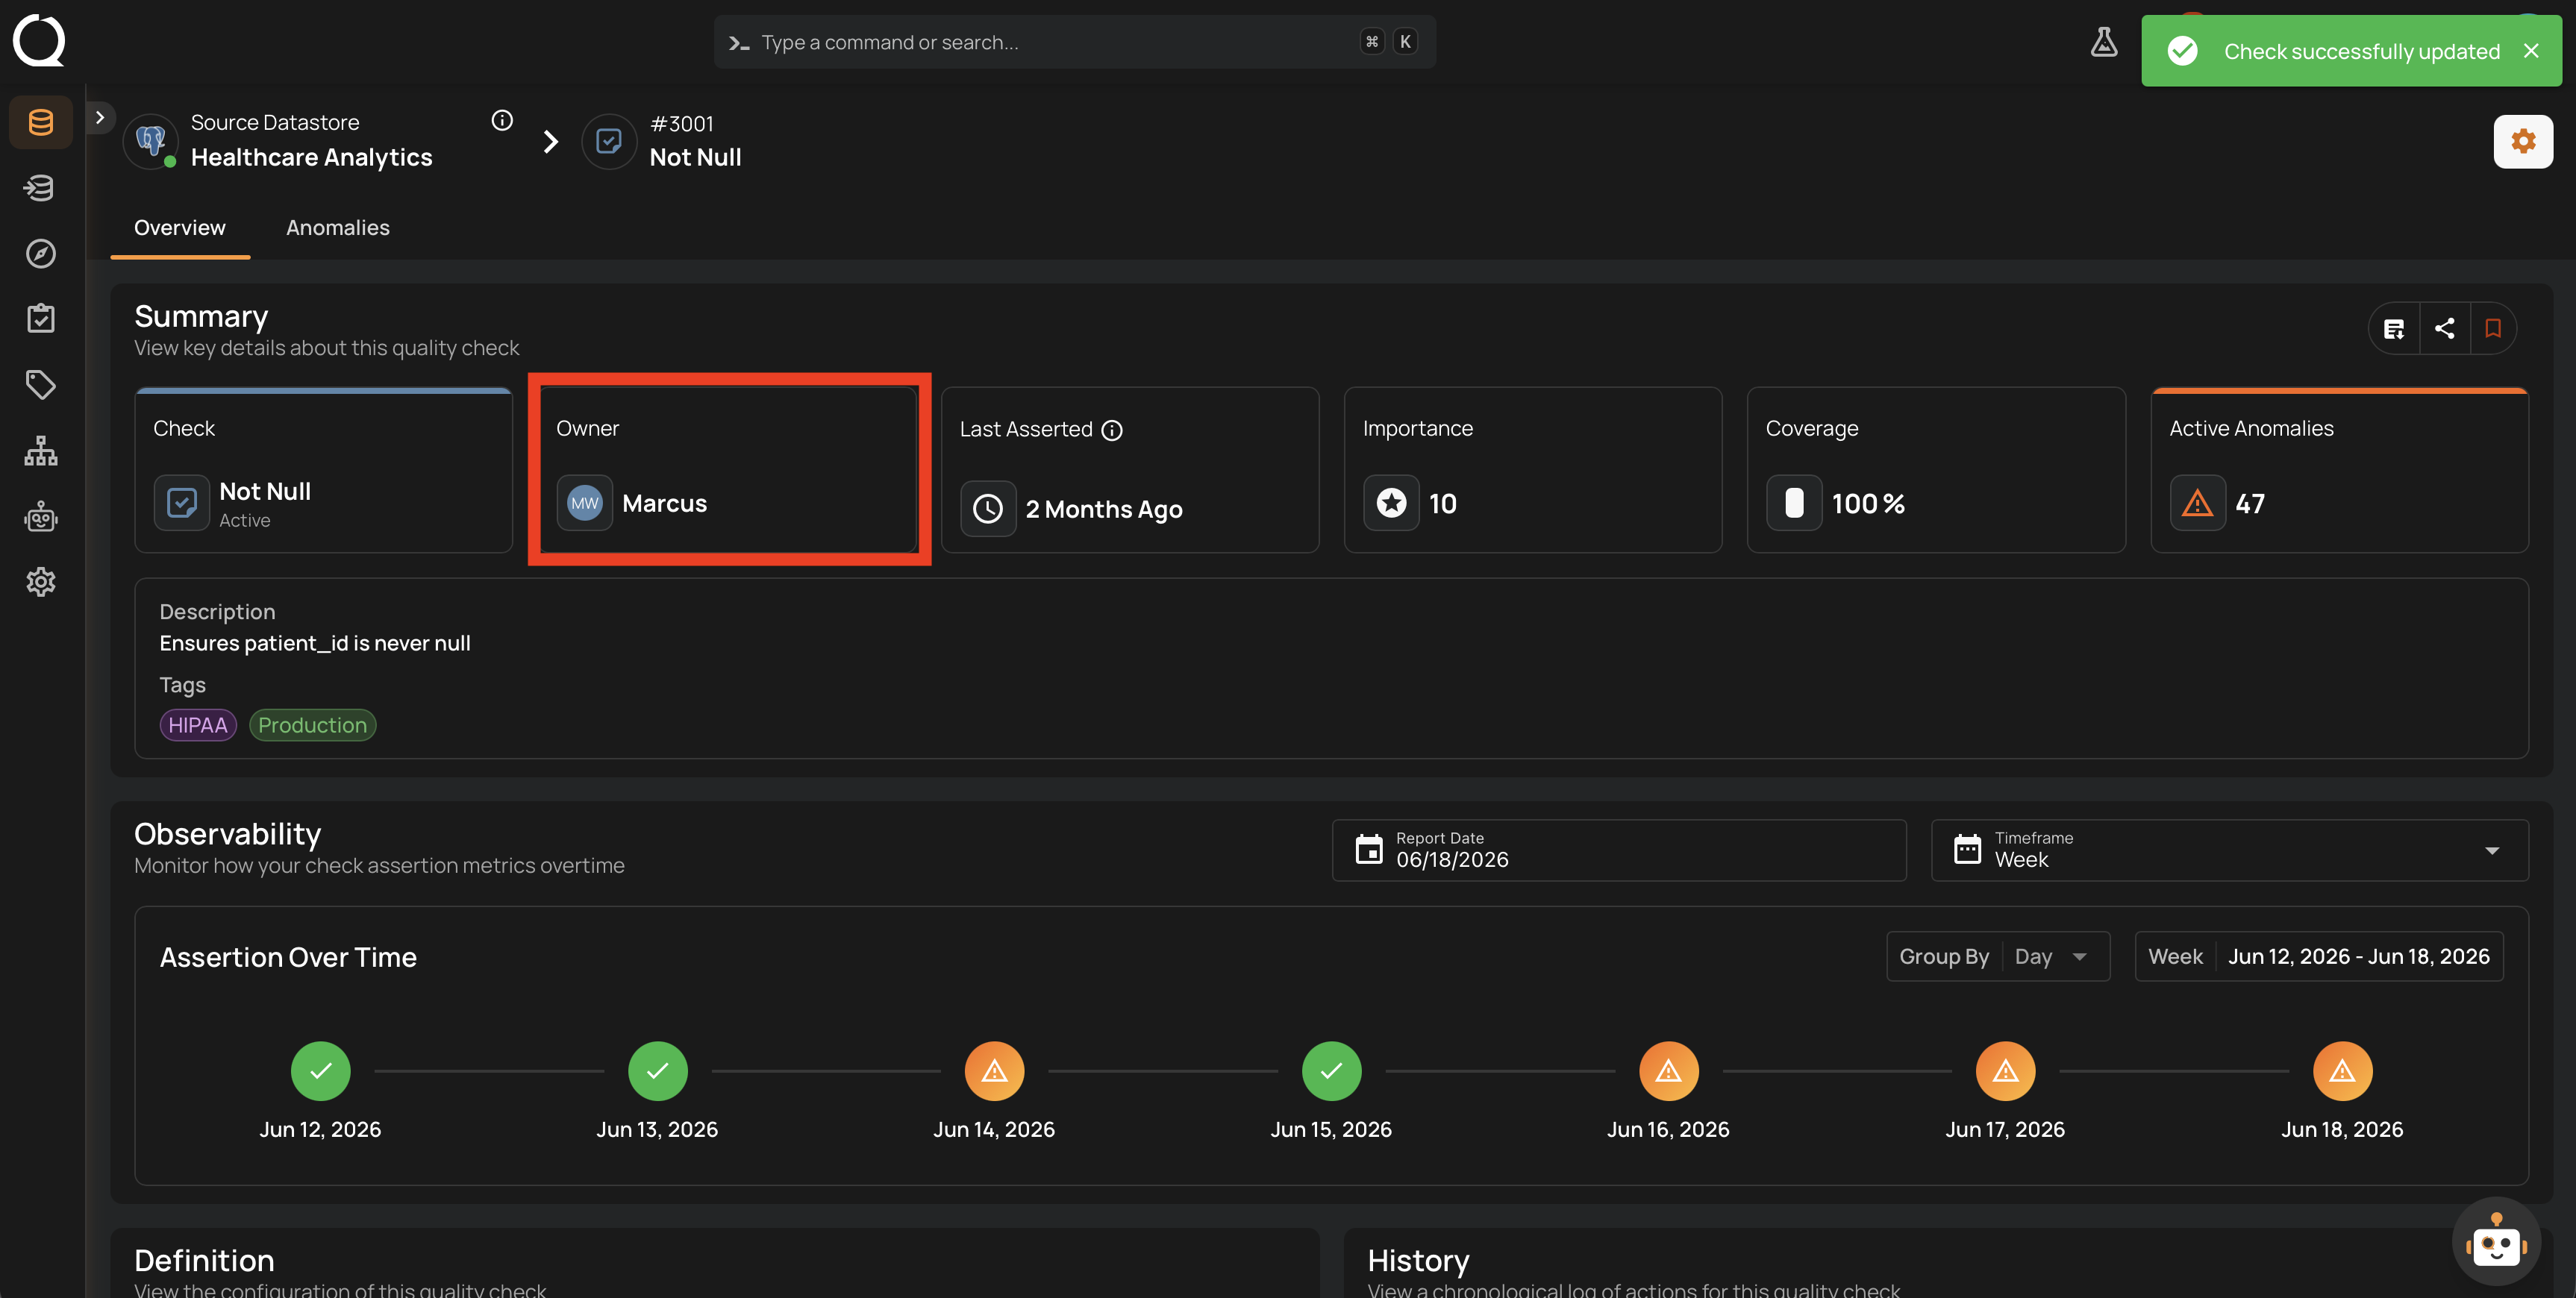
Step 9: A success message appears at the top of the page, and the check's Summary shows the new owner avatar. The change is recorded in the History section.
Check Template entry point
The same procedure shown in this tab also applies when opening a check from a Check Template (Library > Check Templates > select the template > Checks tab). Clicking the check row opens the Check Details modal directly.
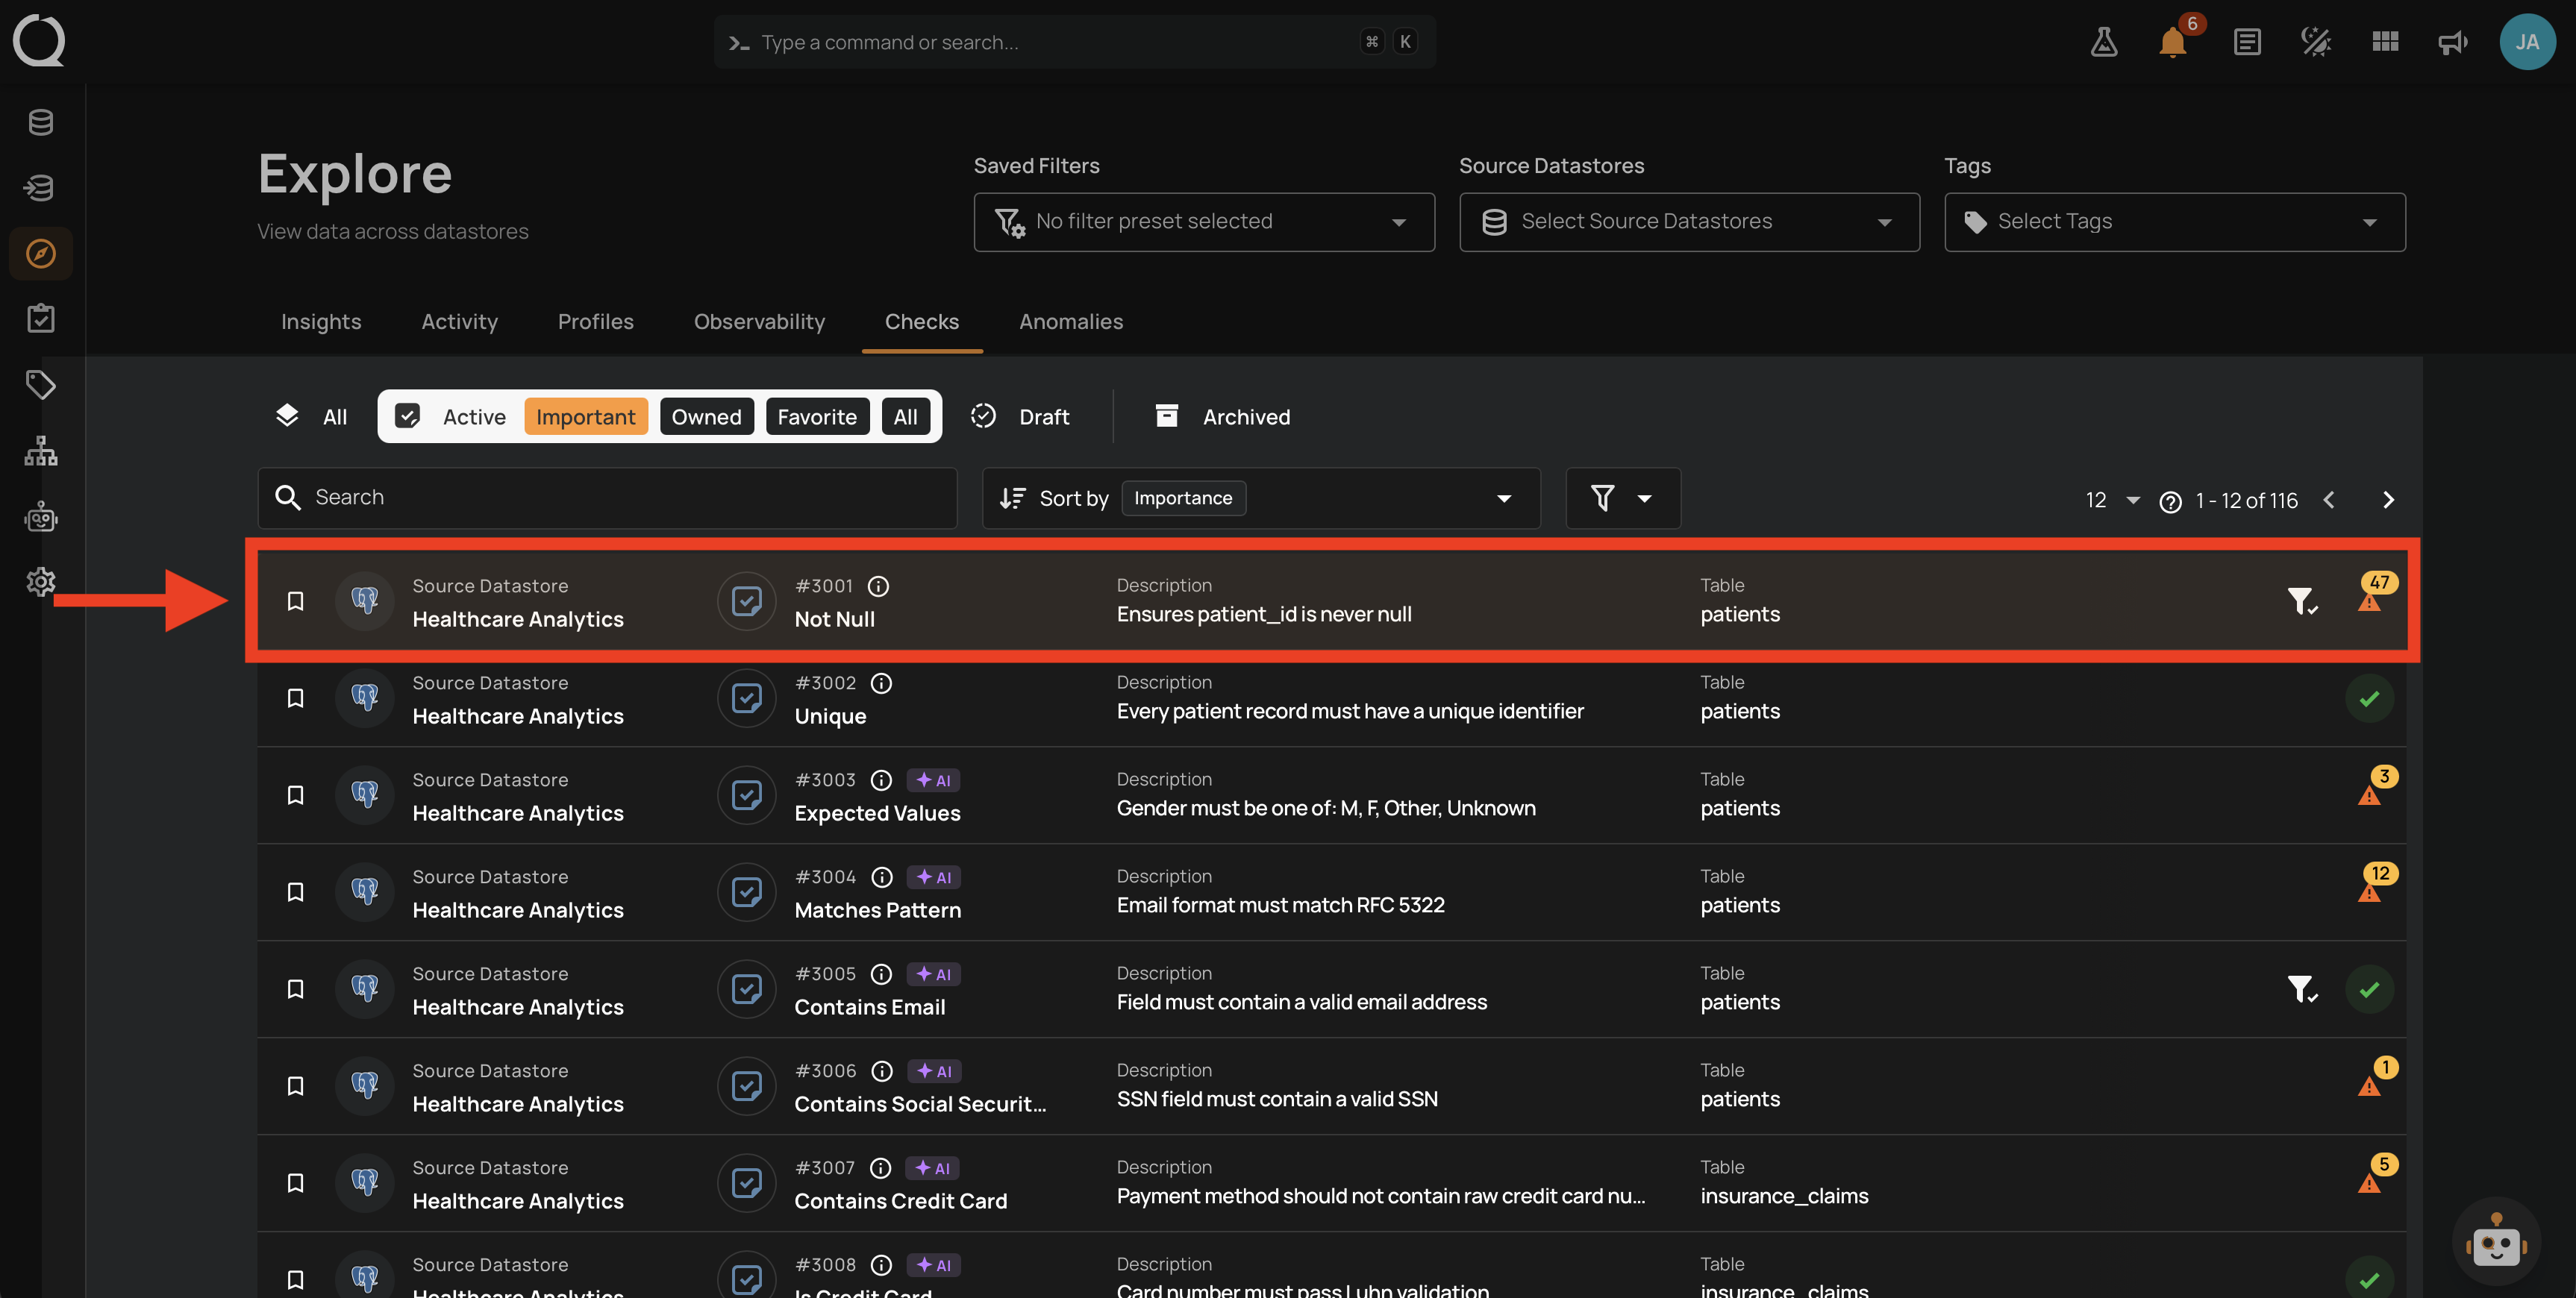
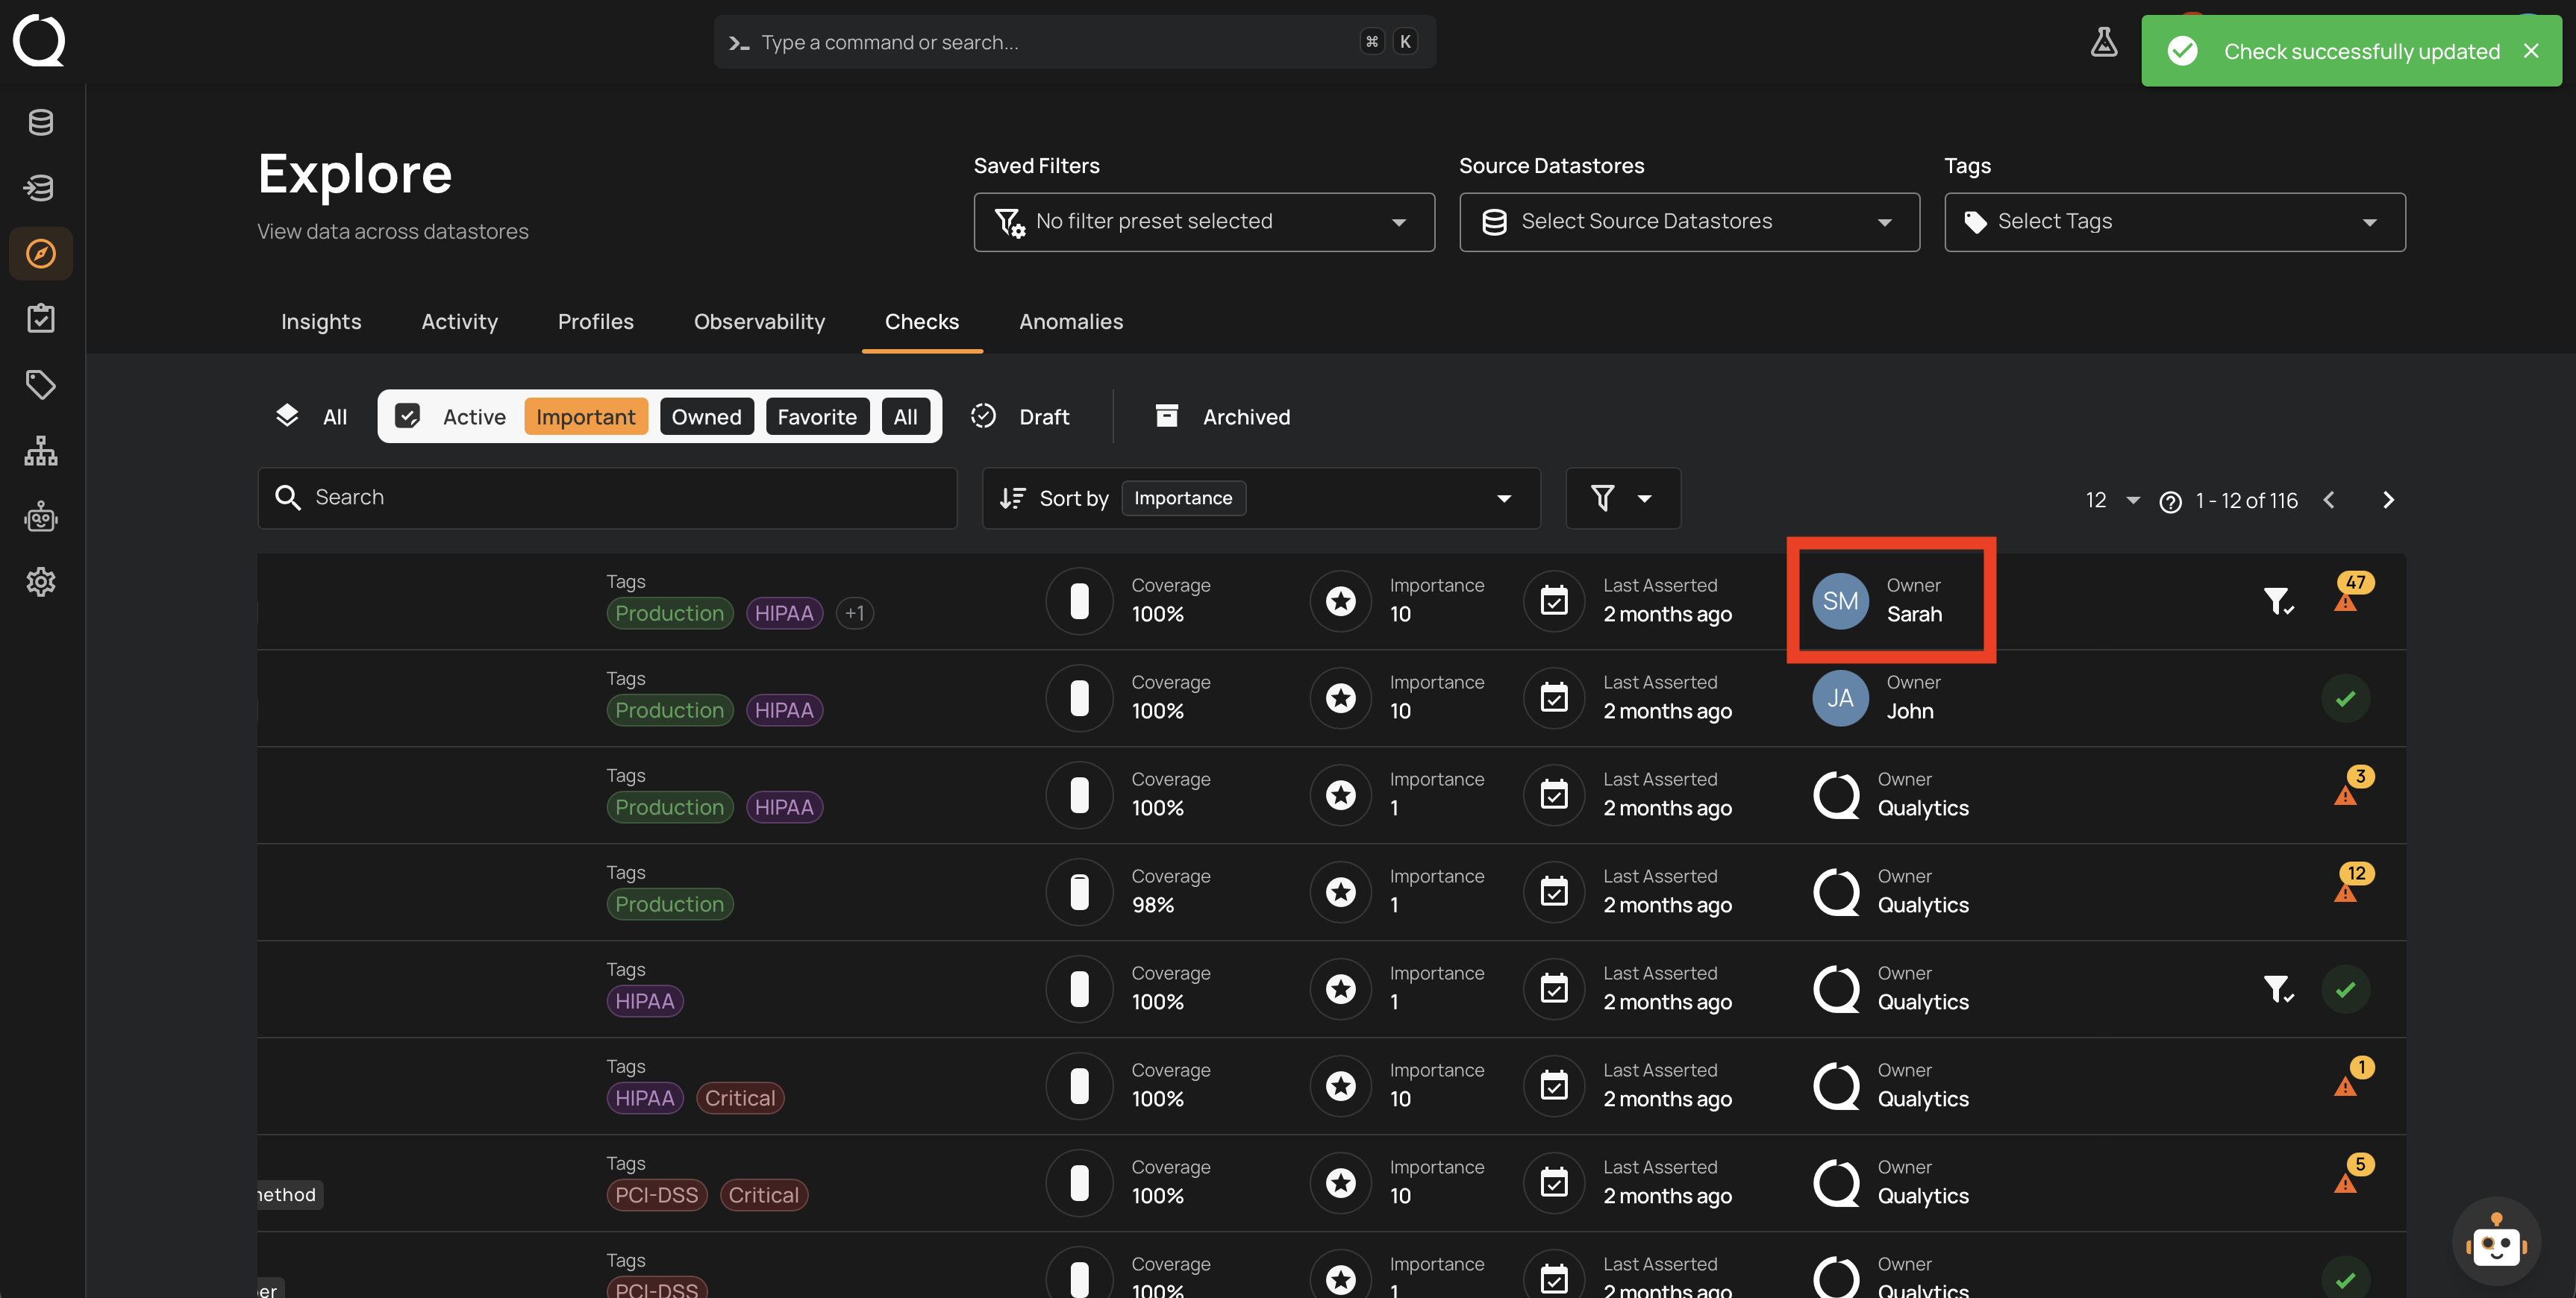
Step 1: Open Explore > Checks. The list of checks across all datastores appears.

Step 2: Click the row of the check whose owner you want to change.
Step 3: The Check Details modal opens, showing the check's properties. Scroll until you reach the Ownership section.
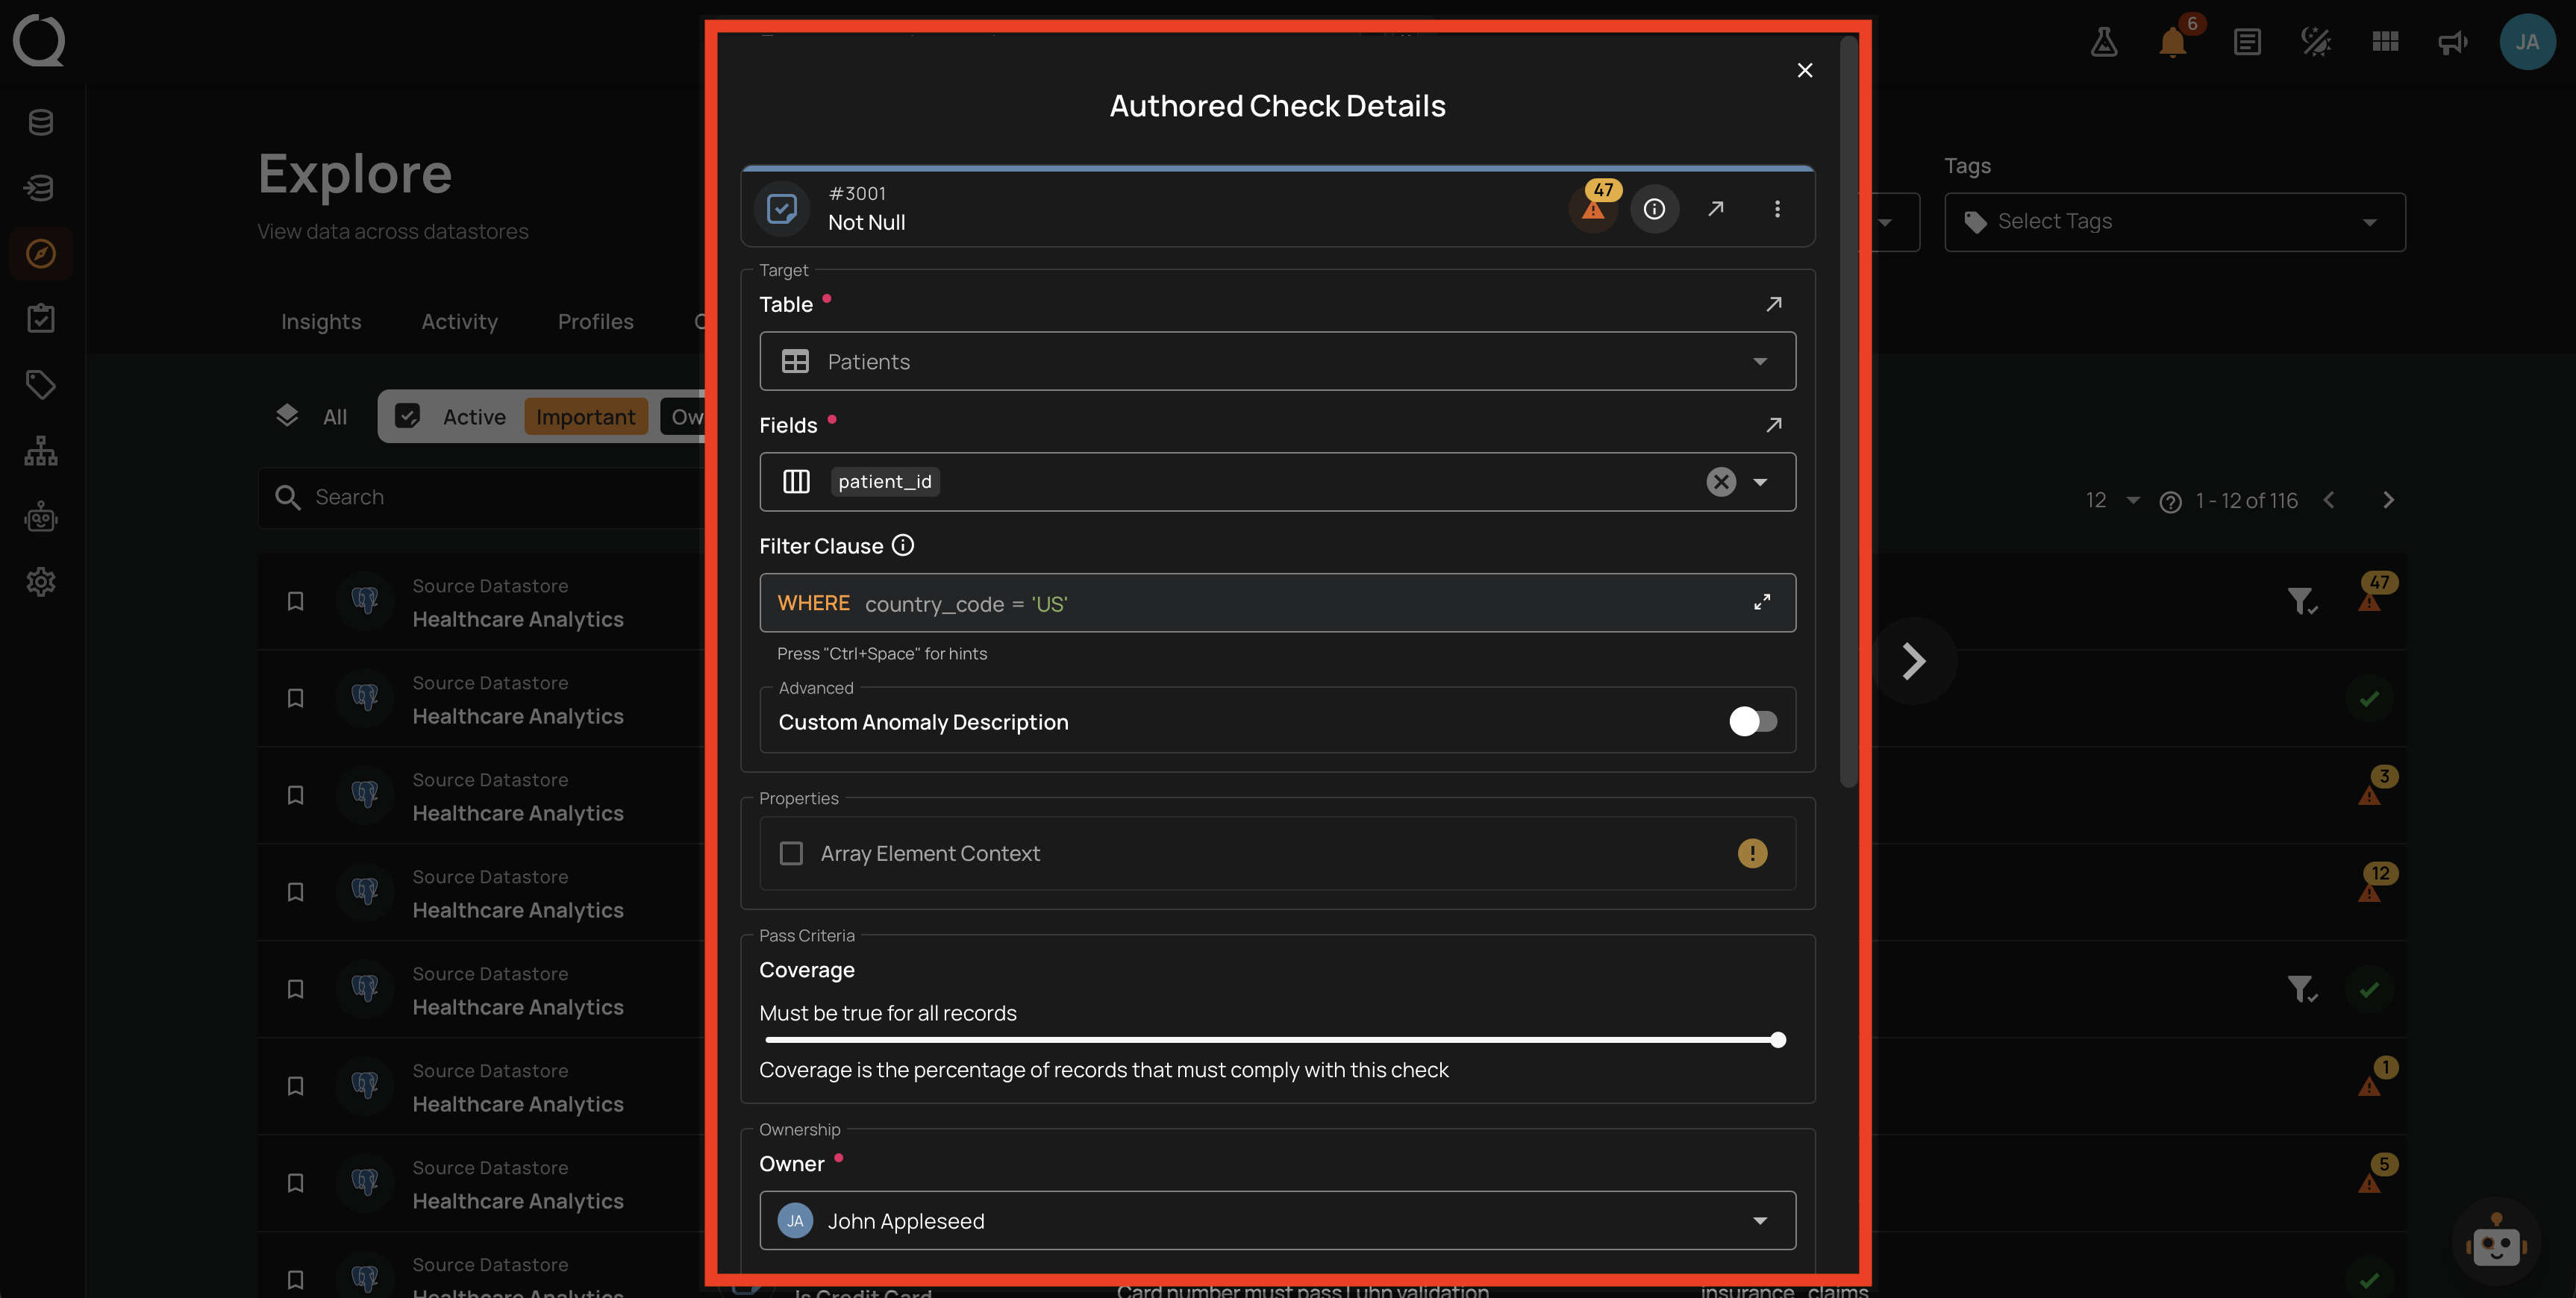
Step 4: Locate the Owner field. The current owner is shown as an avatar with the user's name.
Step 5: Click the Owner dropdown. A user list opens, showing every user with at least the Drafter team permission on the datastore.
Step 6: Select the new owner from the list. The Owner field updates to show the chosen user.
Step 7: Click Update at the bottom of the modal to save the change.
Step 8: A success message appears at the top of the page, and the check's row in the list shows the new owner avatar. The change is recorded in the History section.
Info
Changing the owner requires the Author team permission (or higher) on the check's datastore. The new owner must have at least the Drafter team permission on the same datastore.
When the check is an AI Managed check still owned by Qualytics, the Qualytics user is pinned at the top of the Owner dropdown. Once the owner is transferred away from Qualytics, the dropdown disables Qualytics as a selectable owner; the inline warning "Once transferred, ownership cannot be returned to Qualytics" makes this explicit. The new owner receives an Ownership in-app notification the next time someone else updates the check; see How It Works · Notifications.