Authored Check
Authored checks capture business expectations that your team defines and governs. Create them in the Qualytics platform or through the API, using guided rule types, reusable templates, or SQL expressions for specialized logic. Unlike AI Managed checks, Authored checks remain under your team's control and are not changed by later Profile operations.
Show me how
The app can walk you through this. Click Show me how in the check creation form's header, or press H while it is open, and the Add a Check walkthrough highlights each step while you fill in the real form. See The How-tos Scope for every way to start one.
Navigation
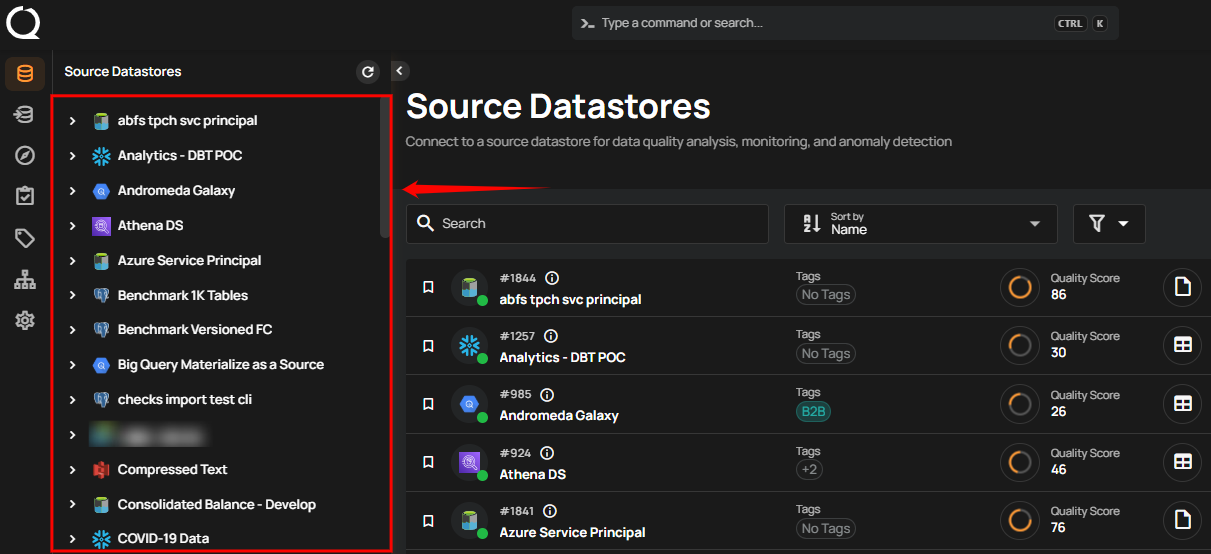
Step 1: Log in to your Qualytics account and select the datastore from the left menu.
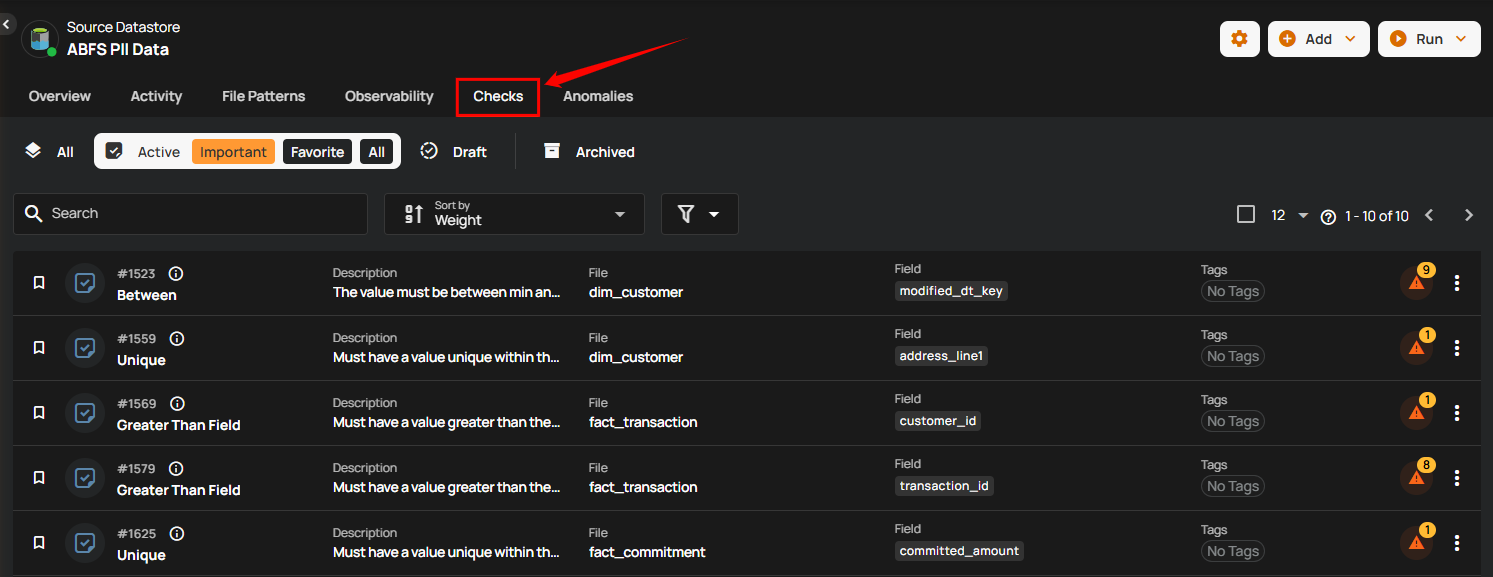
Step 2: Click on the "Checks" from the Navigation Tab.
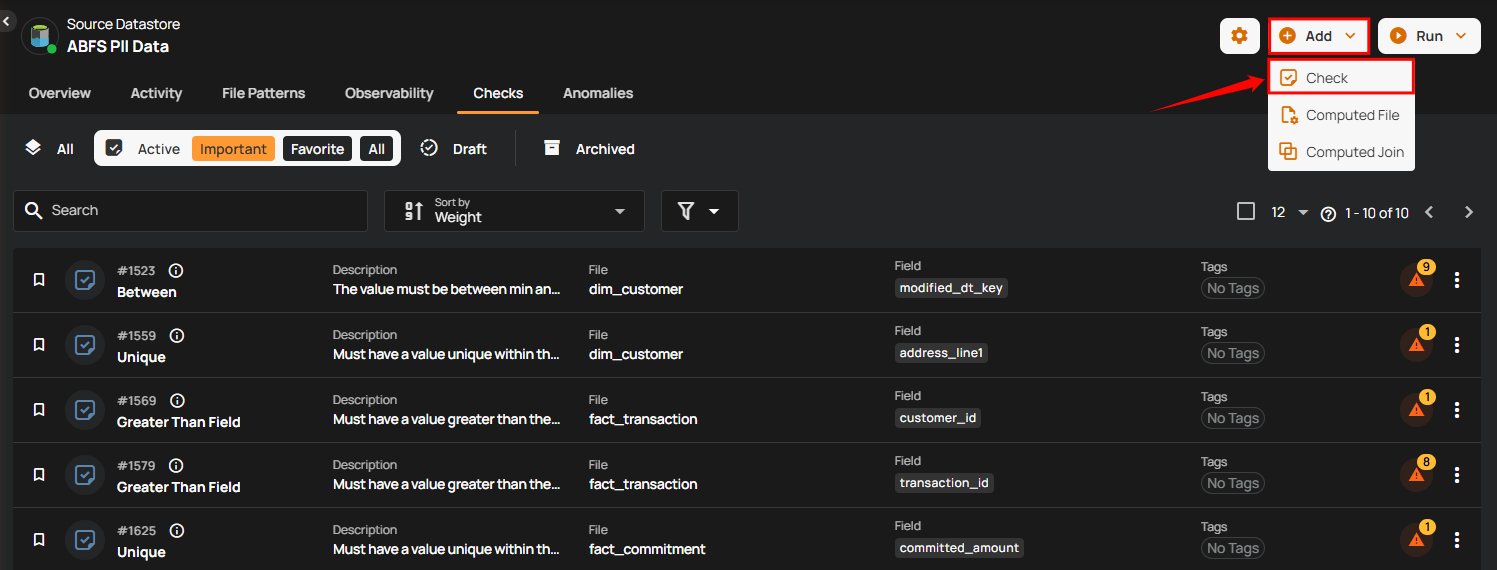
Step 3: In the top-right corner, click on the "Add" button, then select "Check" from the dropdown menu.
A modal window titled “Authored Check Details” will appear, providing you the options to add the authored check details.
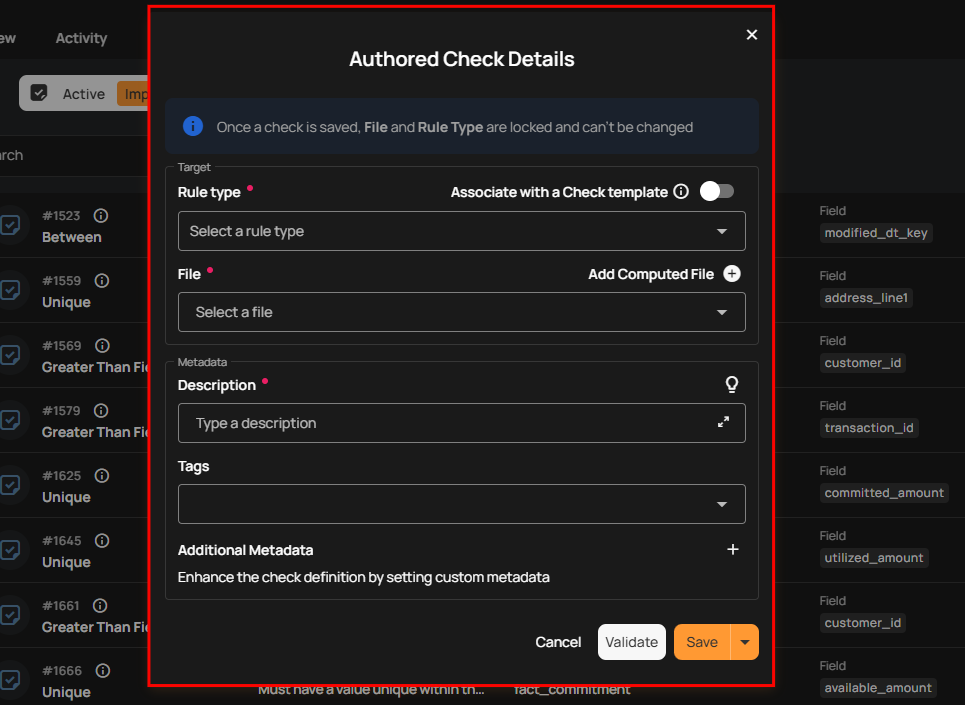
Step 4: Enter the following details to add the authored check:
Let AgentQ fill in the form
When AgentQ is configured for your deployment and its data-sharing level is Metadata shared or higher, the Check Assistant panel on the right side of the form can author the check for you: describe the rule in plain language, or pick one of its suggested prompts, and it proposes a configuration you can apply to the form. Review the filled-in fields, then Validate and Save as usual. Use Hide companion panel to collapse it when you want the full width for the form.
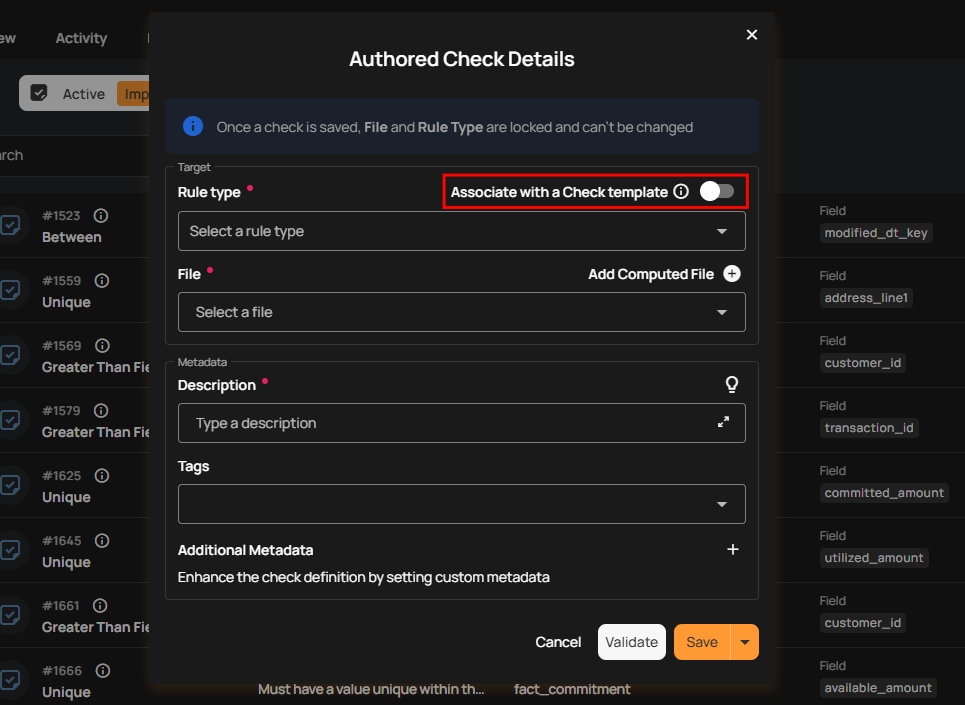
1. Associate with a Check Template:
-
If you toggle ON the "Associate with a Check Template" option, the check will be linked to a specific template.
-
If you toggle OFF the "Associate with a Check Template" option, the check will not be linked to any template, which allows you full control to modify the properties independently.
2. Rule Type (Required): Select a Rule from the dropdown menu, such as checking for non-null values, matching patterns, comparing numerical values, or verifying date-time constraints. Each rule type defines the specific validation logic to be applied.
For demonstration purposes we have selected the After Date Time rule type.
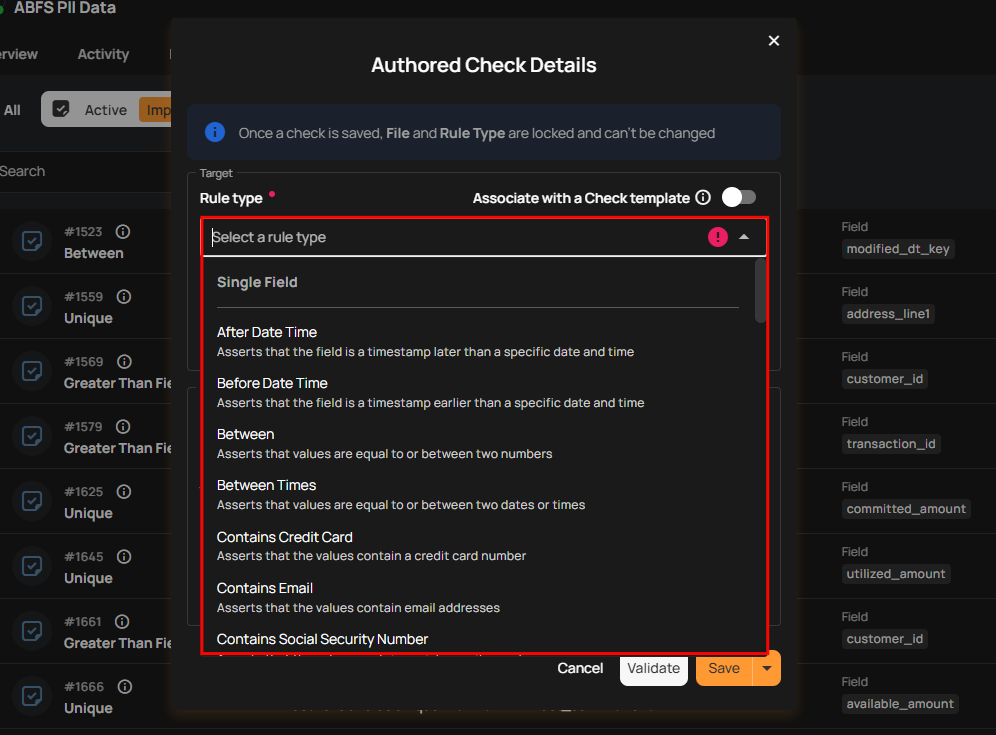
For more details about the available rule types, refer to the Getting Started with Check Rule Types documentation.
Note
Different rule types have different sets of fields and options appearing when selected.
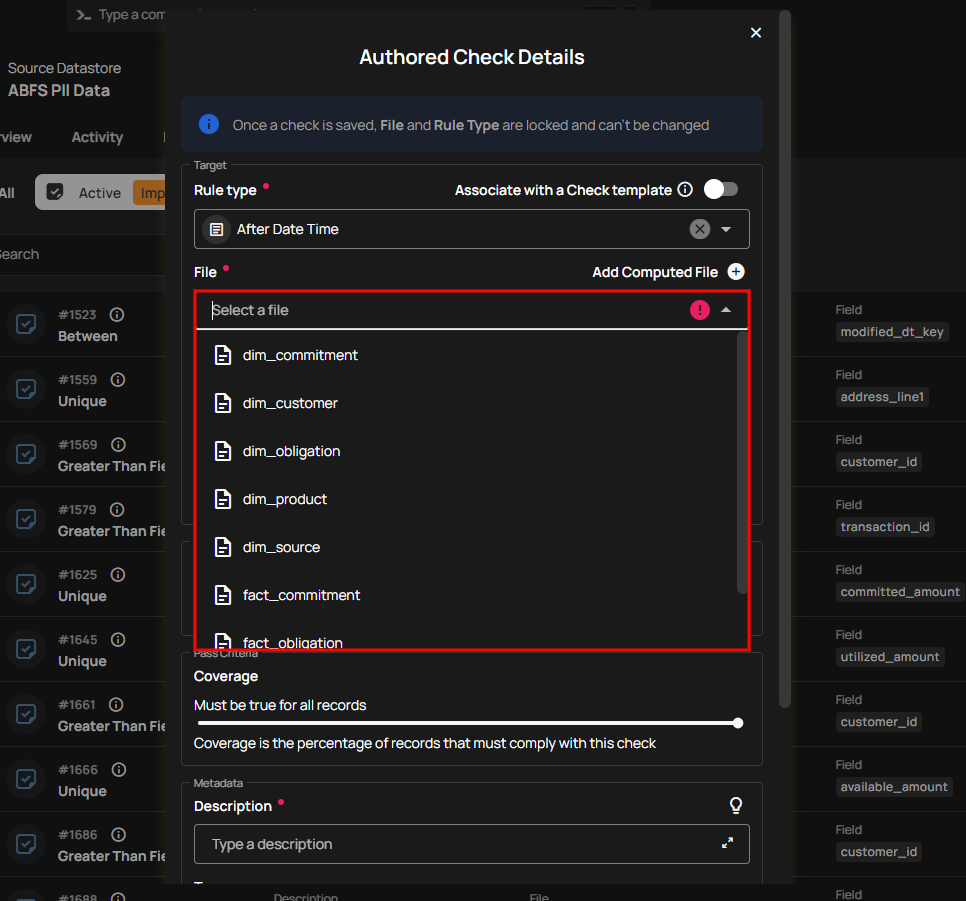
3. Table / File (Required): Select the table or file on which the check will be performed. The label follows the datastore, reading Table on a database datastore and File on a file-based datastore.
Locked after save
Once a check is saved, the Table / File and Rule Type fields are locked and cannot be changed. The form shows a banner with this reminder; to target another table or rule, create a new check.
4. Field (Required): Select a field from the dropdown menu on which the check will be performed.
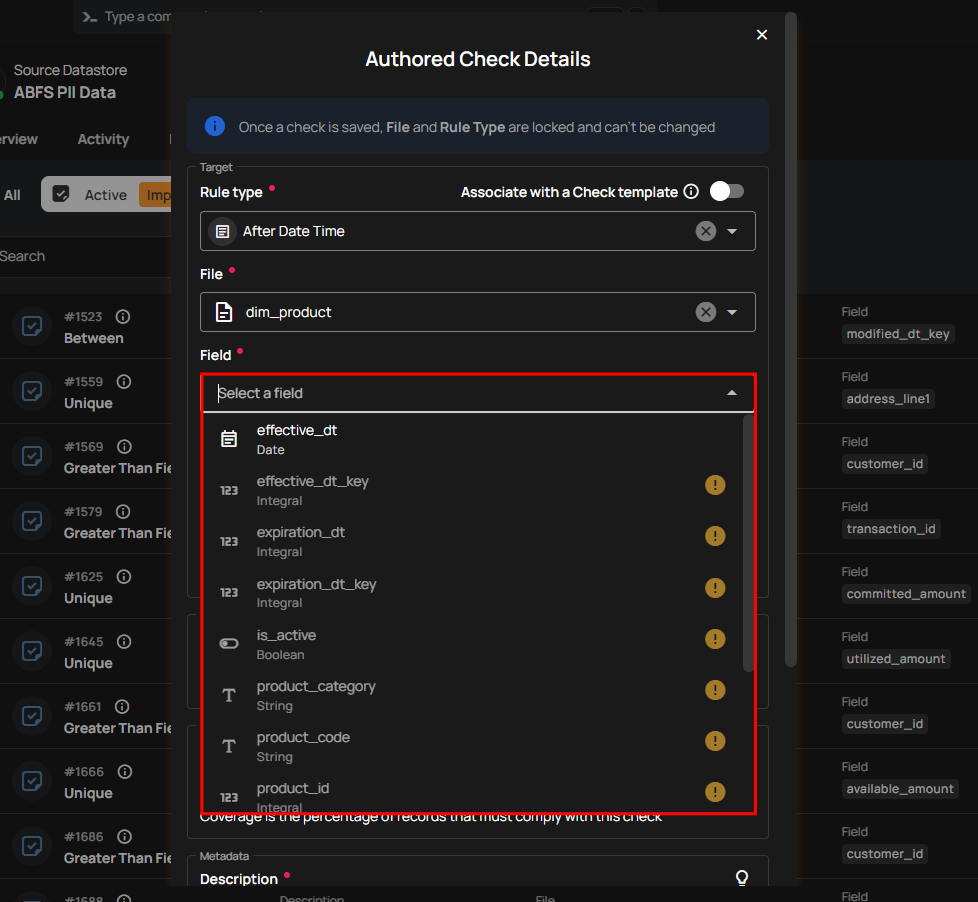
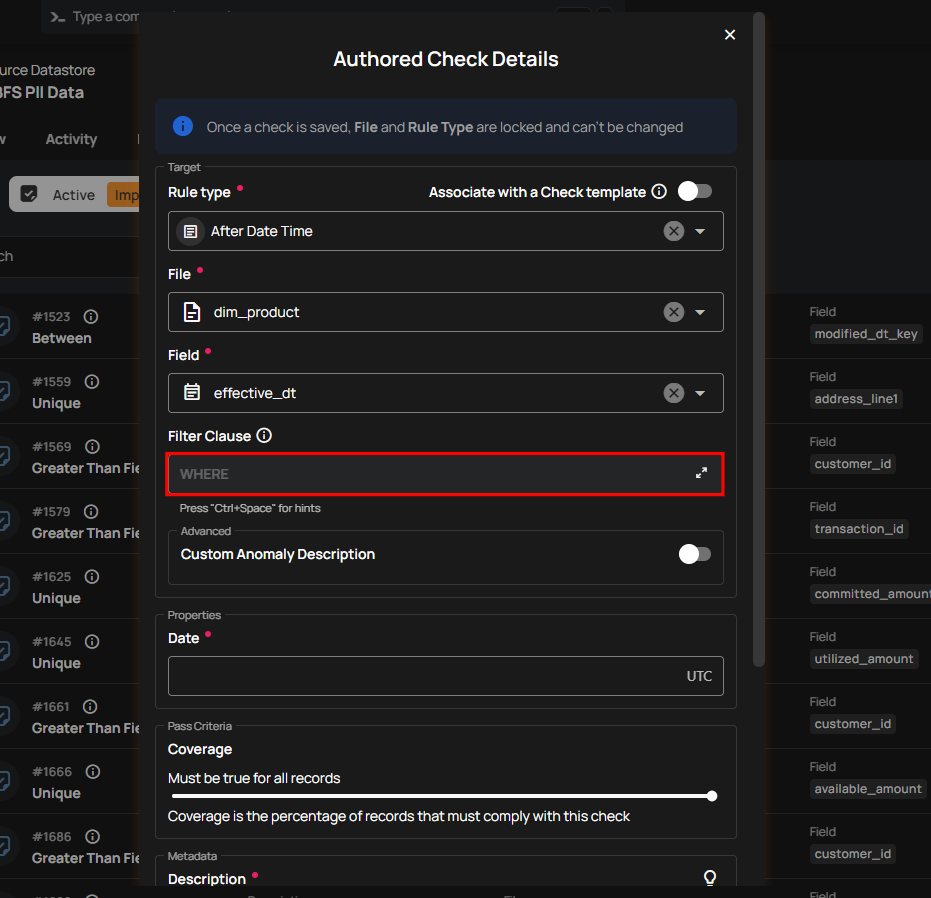
5. Filter Clause: Specify a valid SQL WHERE expression to limit the records evaluated by the check.
The filter clause defines the conditions under which the check will be applied. It typically includes a WHERE statement that specifies which rows or data points should be included in the check.
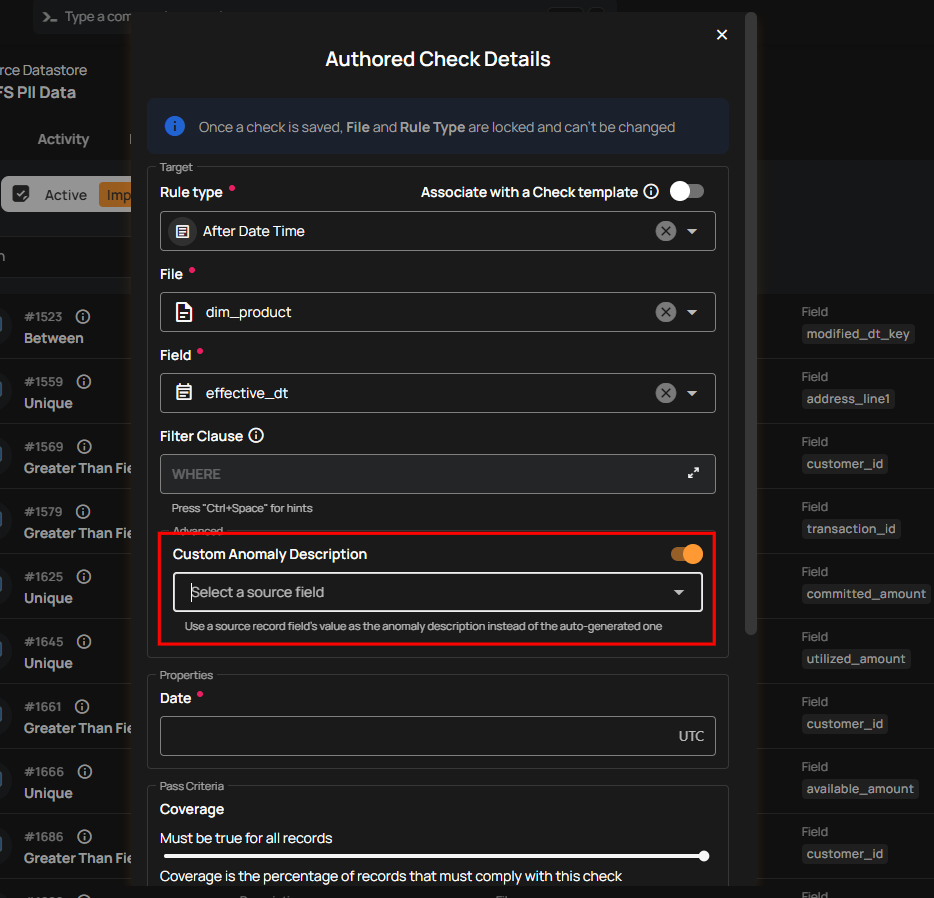
6. Custom Anomaly Description: A toggle under the Advanced section at the end of the Target fields, off by default. Turn it on to use a source record field as the anomaly description instead of the default system-generated message.
Once enabled, select the source field whose value will be displayed as the anomaly description for failed records. A dropdown appears when the table's fields are available; otherwise, type the field name in the text input.
Note
If the selected field is empty for a failed record, the default system-generated message will be used.
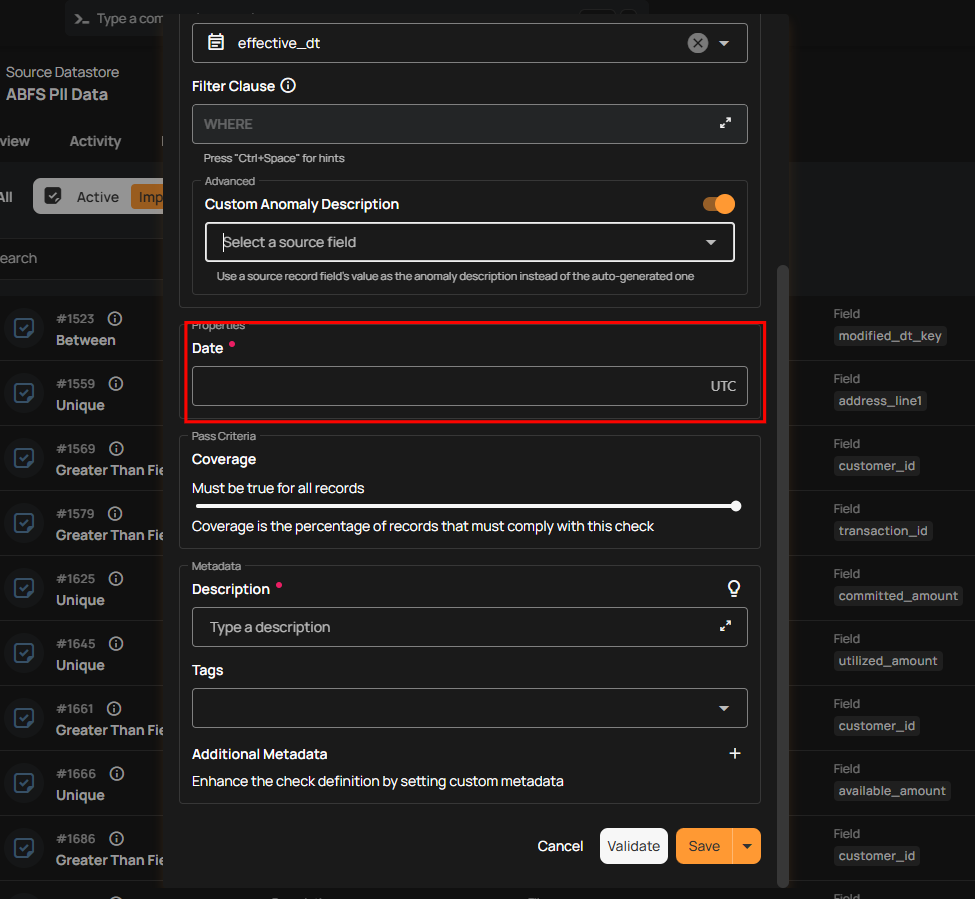
7. Date (Required): Enter the reference date for the rule. For the After Date Time rule, records in the selected field must have a timestamp later than this specified date.
Note
SQL expressions used in calculated fields are editable.
8. Coverage: Adjust the Coverage setting to specify the percentage of records that must comply with the check.
Note
The Coverage setting applies to most rule types and allows you to specify the percentage of records that must meet the validation criteria.
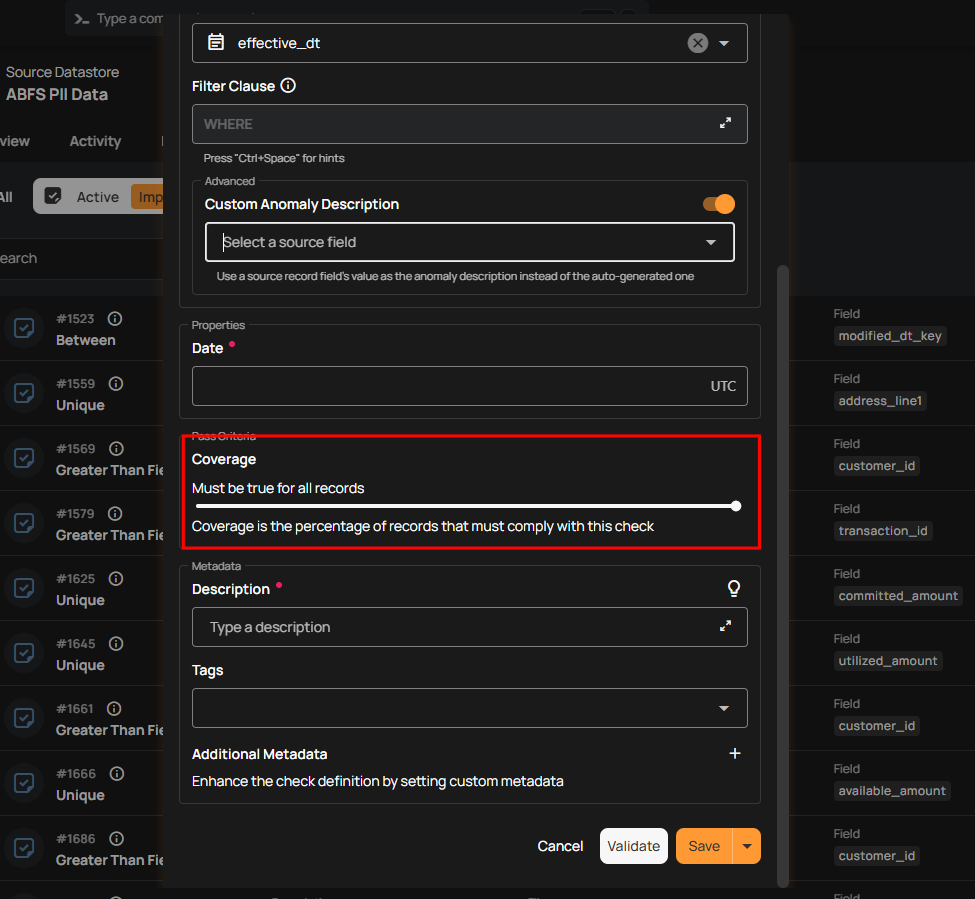
9. Owner (Required): The user responsible for the check. It comes pre-filled with the user creating the check. Anyone allowed to edit the check can pick someone else: Author on an Active check, Drafter while the check is still a Draft.
10. Anomaly assignee: The user automatically assigned to every anomaly this check produces. Leave it empty to skip automatic assignment.
11. Description (Required): Enter a detailed description of the check, including its purpose, applicable data, and relevant information to ensure clarity for users. The field opens the Markdown editor, so the description supports formatting such as headings, lists, links, and tables. If you're unsure of what to include, the form offers help next to the field. With an AI integration configured, the Suggest a description control writes a description from the check's definition. Without one, an Apply suggested description control fills in a standard description for the selected rule type instead.
Example: The Date of Birth must be a timestamp later than < date_time >.
This description specifies that the Date of Birth field must have a timestamp later than the specified < date_time >.
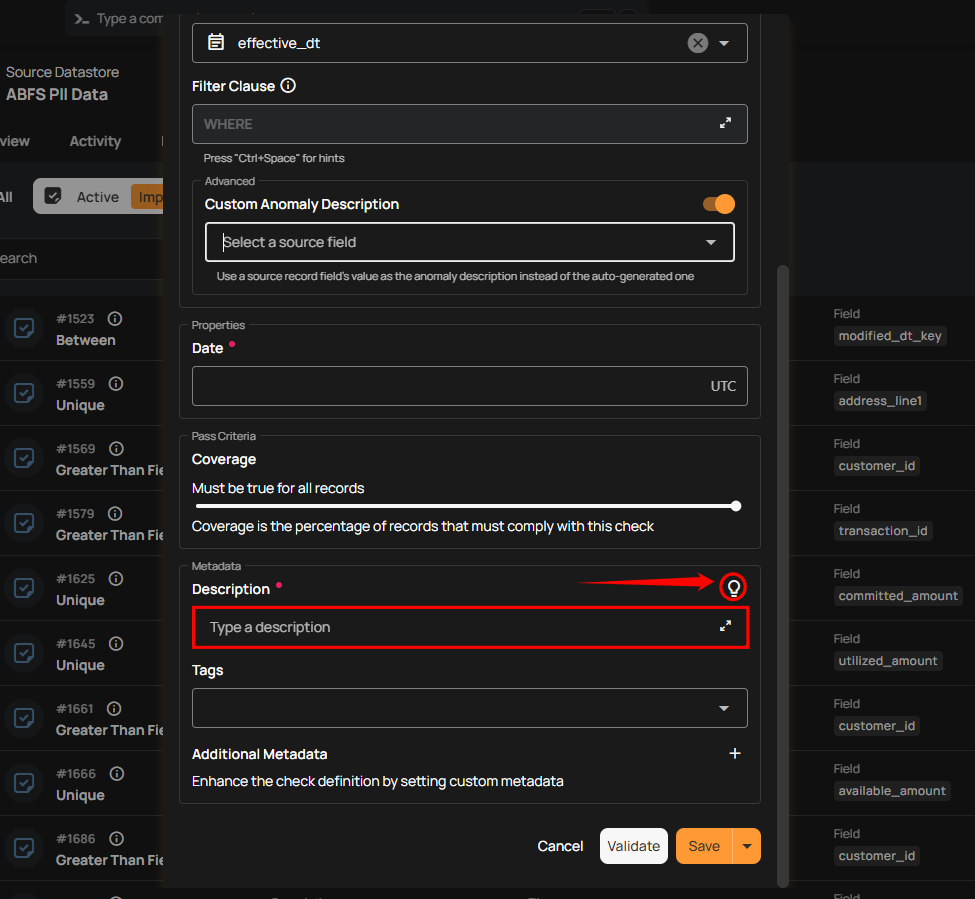
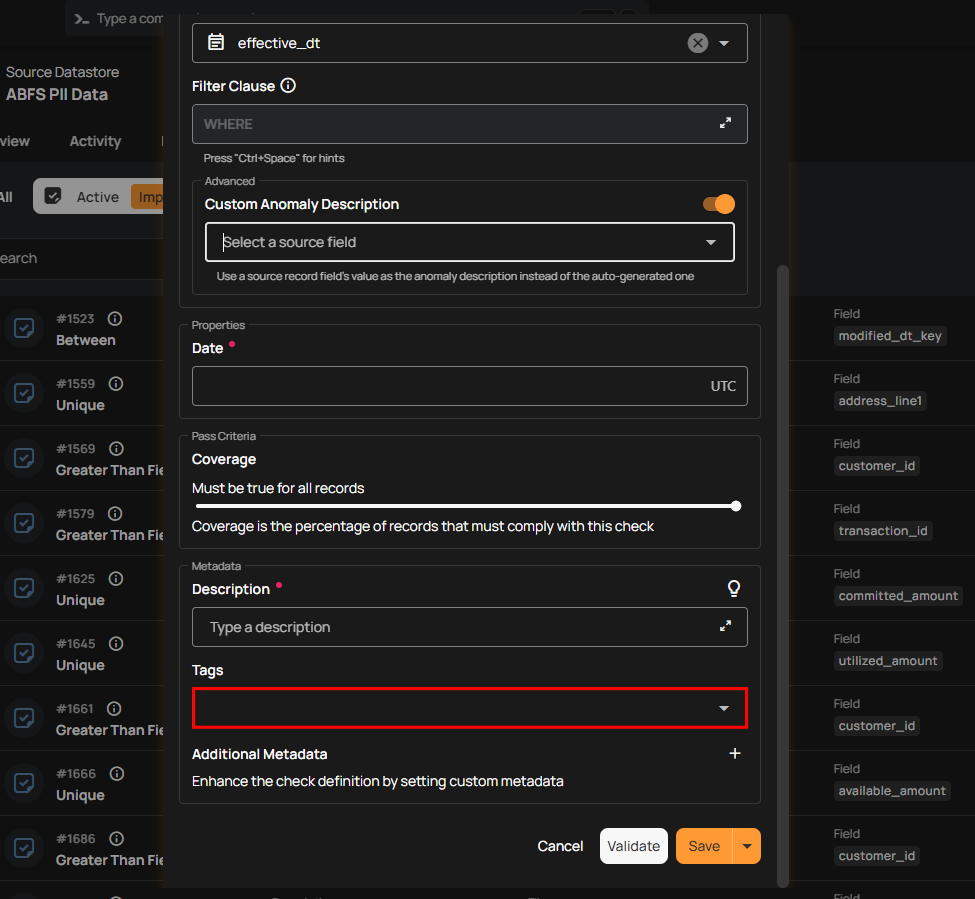
12. Tag: Assign relevant tags to your check to facilitate easier searching and filtering based on categories like "data quality," "financial reports," or "critical checks."
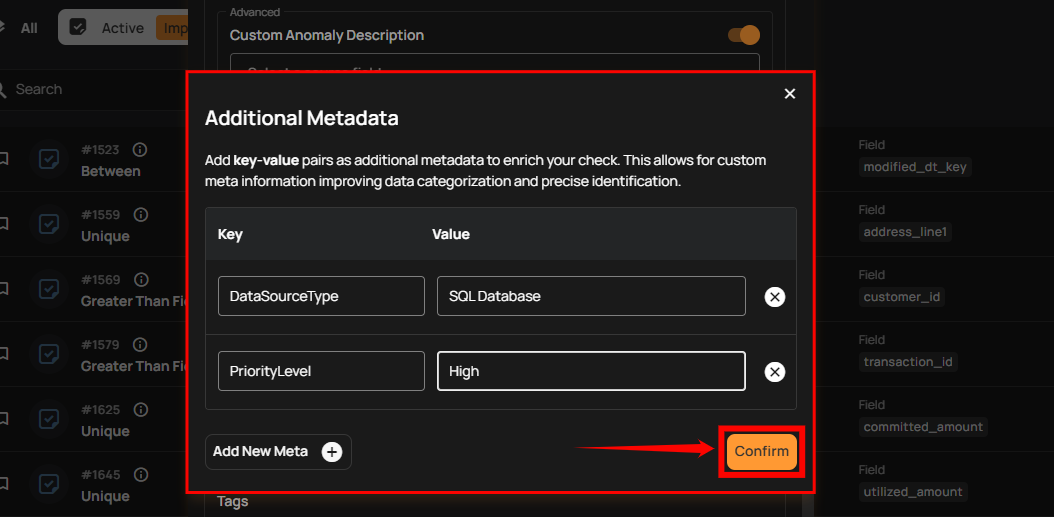
13. Additional Metadata: Add key-value pairs as additional metadata to enrich your check. Click the plus icon (+) next to this section to open the metadata input form, where you can add as many key-value pairs as needed.
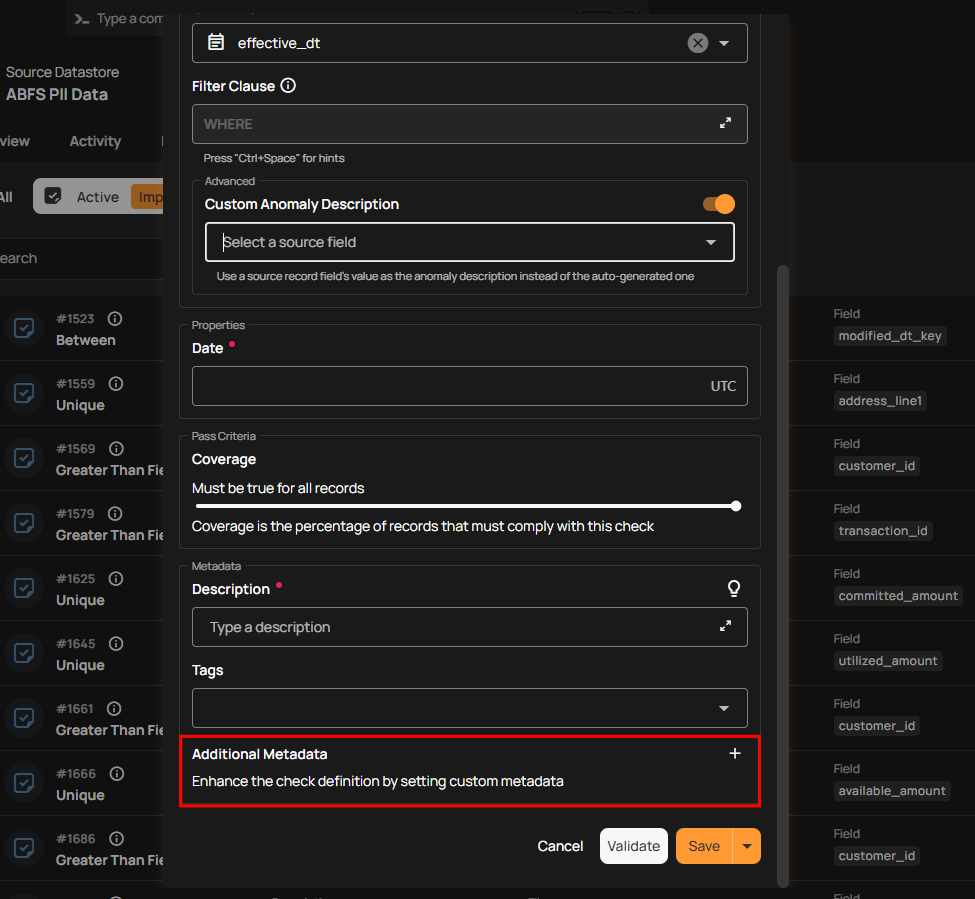
Enter the desired key-value pairs (e.g., DataSourceType: SQL Database and PriorityLevel: High). After entering the necessary metadata, click "Confirm" to save the custom metadata.
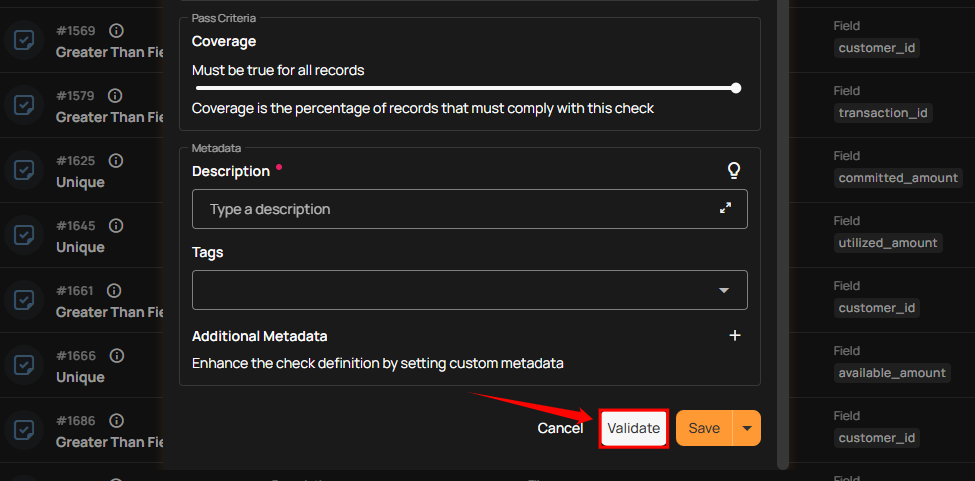
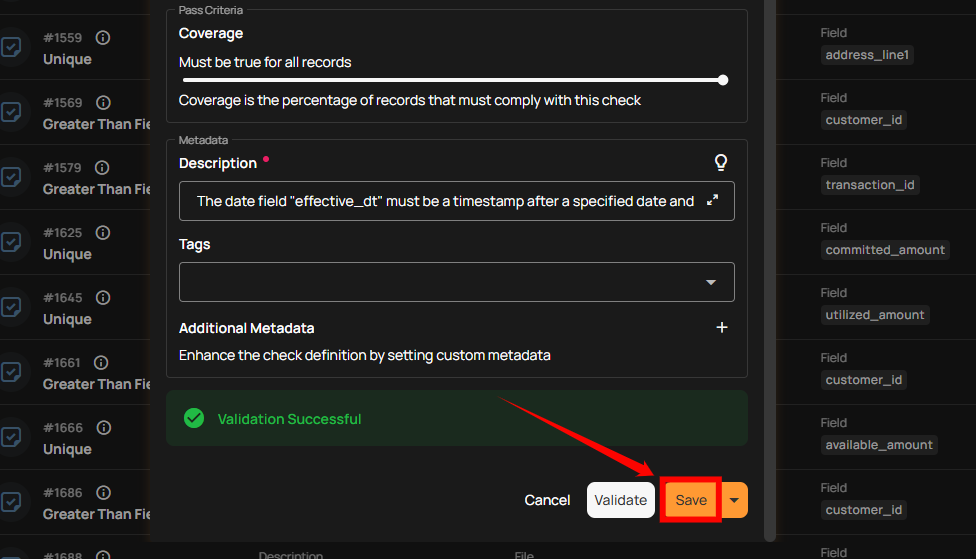
Step 5: After completing the check details, click Validate to test the proposed rule against the selected data without saving it. A successful validation confirms that the rule can run on that data. Review the result and business meaning before saving the check.
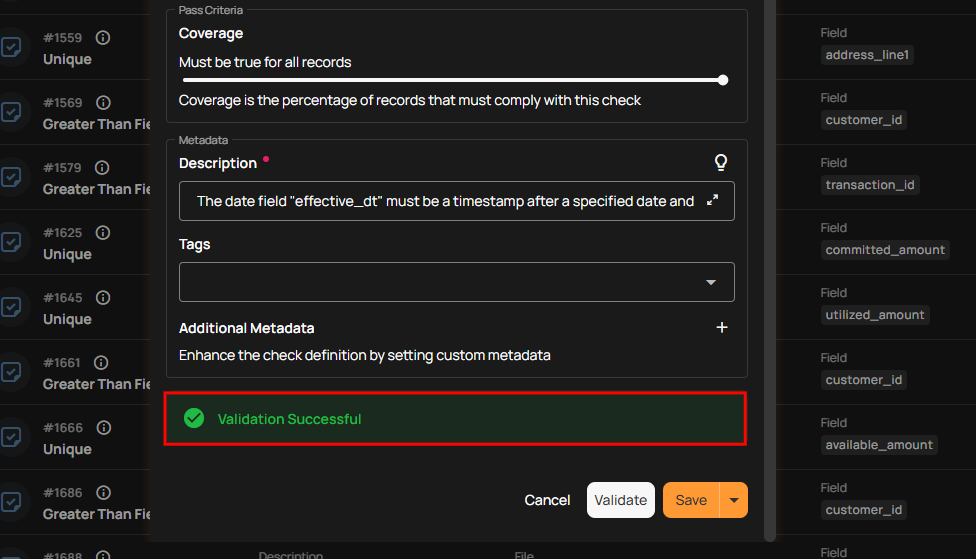
A success message appears when validation completes.
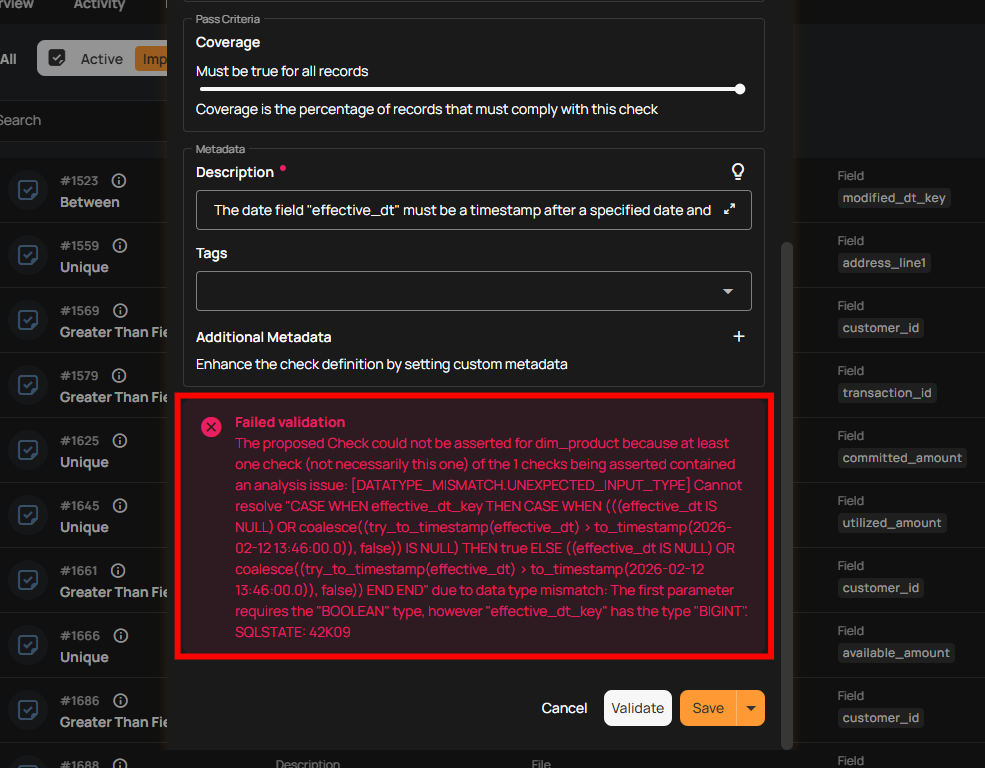
If validation fails, an error message explains what needs attention. Review the rule settings, selected data, and any connection or loading error before trying again.
Container marked as Unloadable
If validation fails with a message like Container '<CONTAINER_NAME>' is marked as Unloadable. No attempt was made to load the container due to multiple consecutive failures in prior operations., the underlying container has been skipped after 3 consecutive scan or profile failures. For tables, views, and file patterns, run a Sync Operation on the datastore to reset the status. For computed assets (Computed Tables, Computed Files, Computed Joins), force an edit on the asset (click Edit), then click Validate and Save to re-evaluate the definition. See Unloadable Container Error for the full resolution steps.
Step 6: Once you have a successful validation, click the Save button.
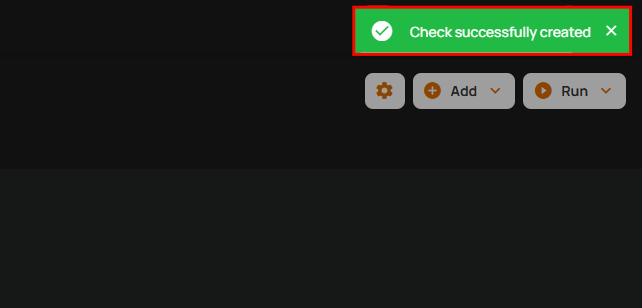
After you click Save, a success message confirms that the check was created.
Author a Check via API
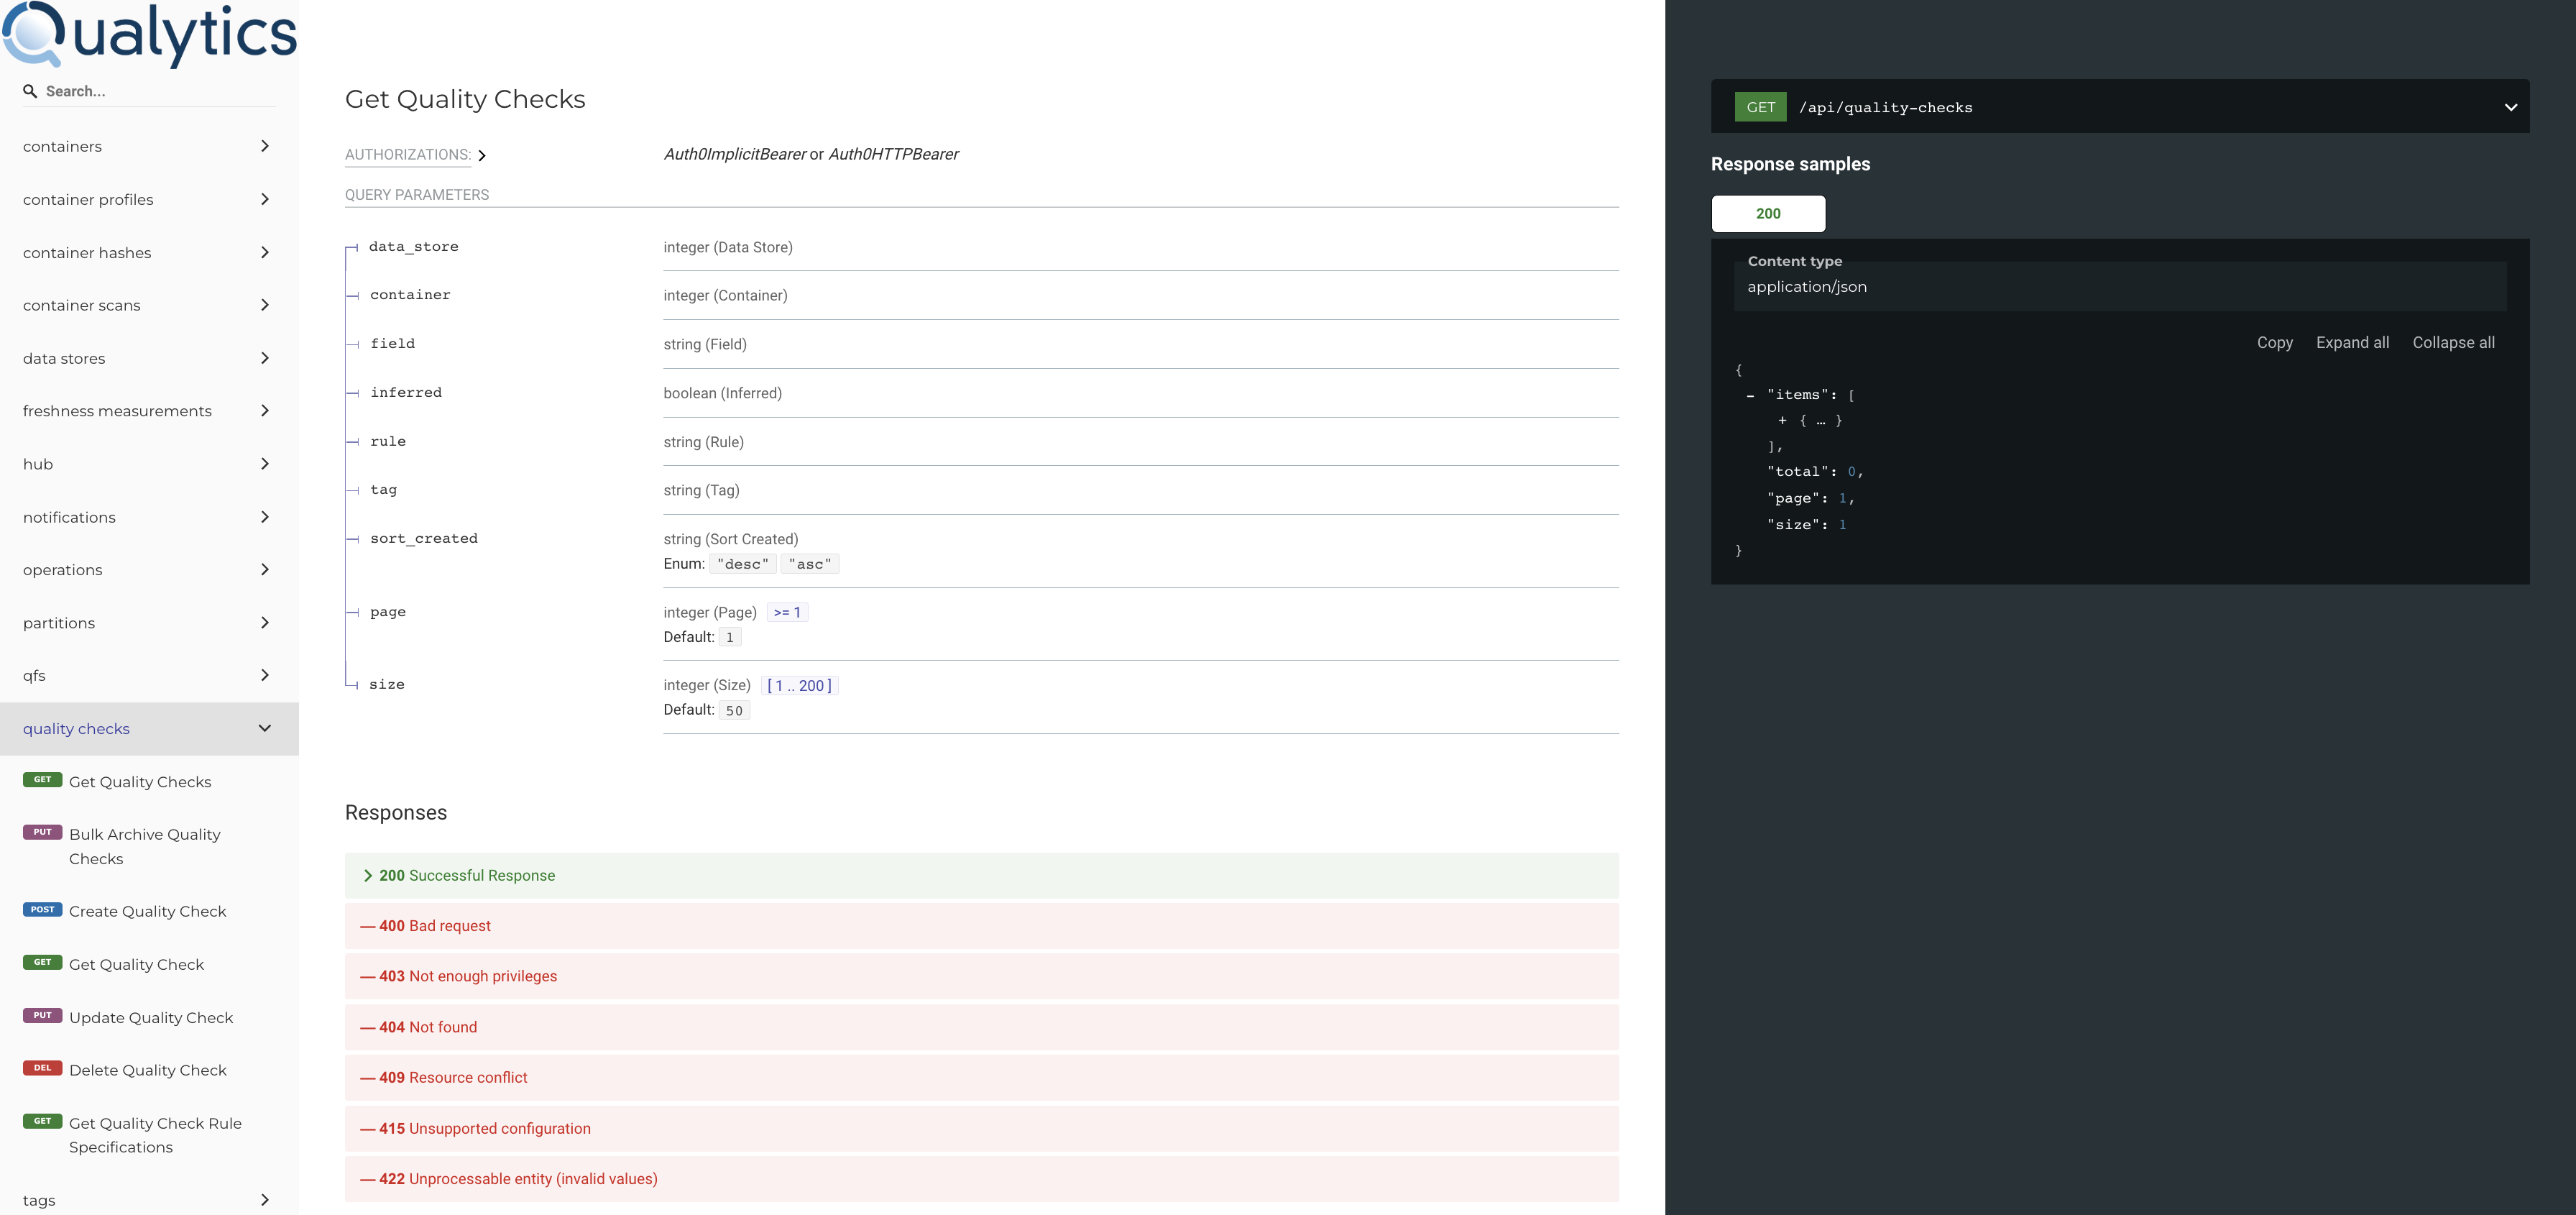
You can also create and manage checks through the API. See the interactive API documentation at /api/docs for request schemas and examples.