Edit a Computed Join
This page walks through editing an existing Computed Join. For the conceptual overview, see How Computed Join Works.
Permissions
You need Editor permission on the datastore the Computed Join belongs to, or Author permission plus ownership of this Computed Join. In pairwise mode that datastore is the left datastore; in SQL mode it is the first source's datastore, fixed when the join was created. See Computed Join Permissions for the full matrix.
What can be edited
These fields behave the same in both modes:
| Field | Editable? |
|---|---|
| Name | (use the Rename action on the container) |
| Editor Mode (Pairwise or SQL) | |
| Description | |
| Owner | (Editor only) |
| Additional Metadata |
The mode is fixed when the join is created. On the edit dialog both mode tabs still appear, but the one you are not using is dimmed and does not respond when clicked.
Pairwise mode
| Field | Editable? |
|---|---|
| Left Datastore / Container | |
| Right Datastore / Container | |
| Join Type | |
| Left / Right Field | |
| Left / Right Prefix | |
| Select / Filter / Group By Clause |
The left and right containers themselves are immutable after creation. To change them, delete the Computed Join and recreate it.
SQL mode
| Field | Editable? |
|---|---|
| Query | |
| Each source's Datastore and Container | |
| Each source's Alias | |
| Each source's Filter Clause | |
| Number of sources | (add up to 10, remove down to 2) |
SQL-mode sources are not immutable: you can point a source at a different container, rename an alias, and change a per-source Filter Clause after creation. The Query and the Sources are saved together as one definition, so every save rewrites the whole source list. A source you remove from the form is dropped, and a Filter Clause you clear stays cleared.
The datastore the joined result belongs to is still fixed at creation, set to the first source's datastore. It does not move if you later point the first source at a container in another datastore.
Edited elsewhere. The Edit Computed Join modal covers the join definition, description, owner, and additional metadata. Other container-level settings live on separate surfaces:
- Name - use the Rename action on the container.
- Tags - use the tag picker on the container detail page.
- Volumetric and freshness tracking, automation flags - use the container's Monitoring modal.
- Incremental identifier - use the container's Settings modal, shown only when the join's datastore is a JDBC datastore (on a DFS datastore, set it through the API instead).
Steps
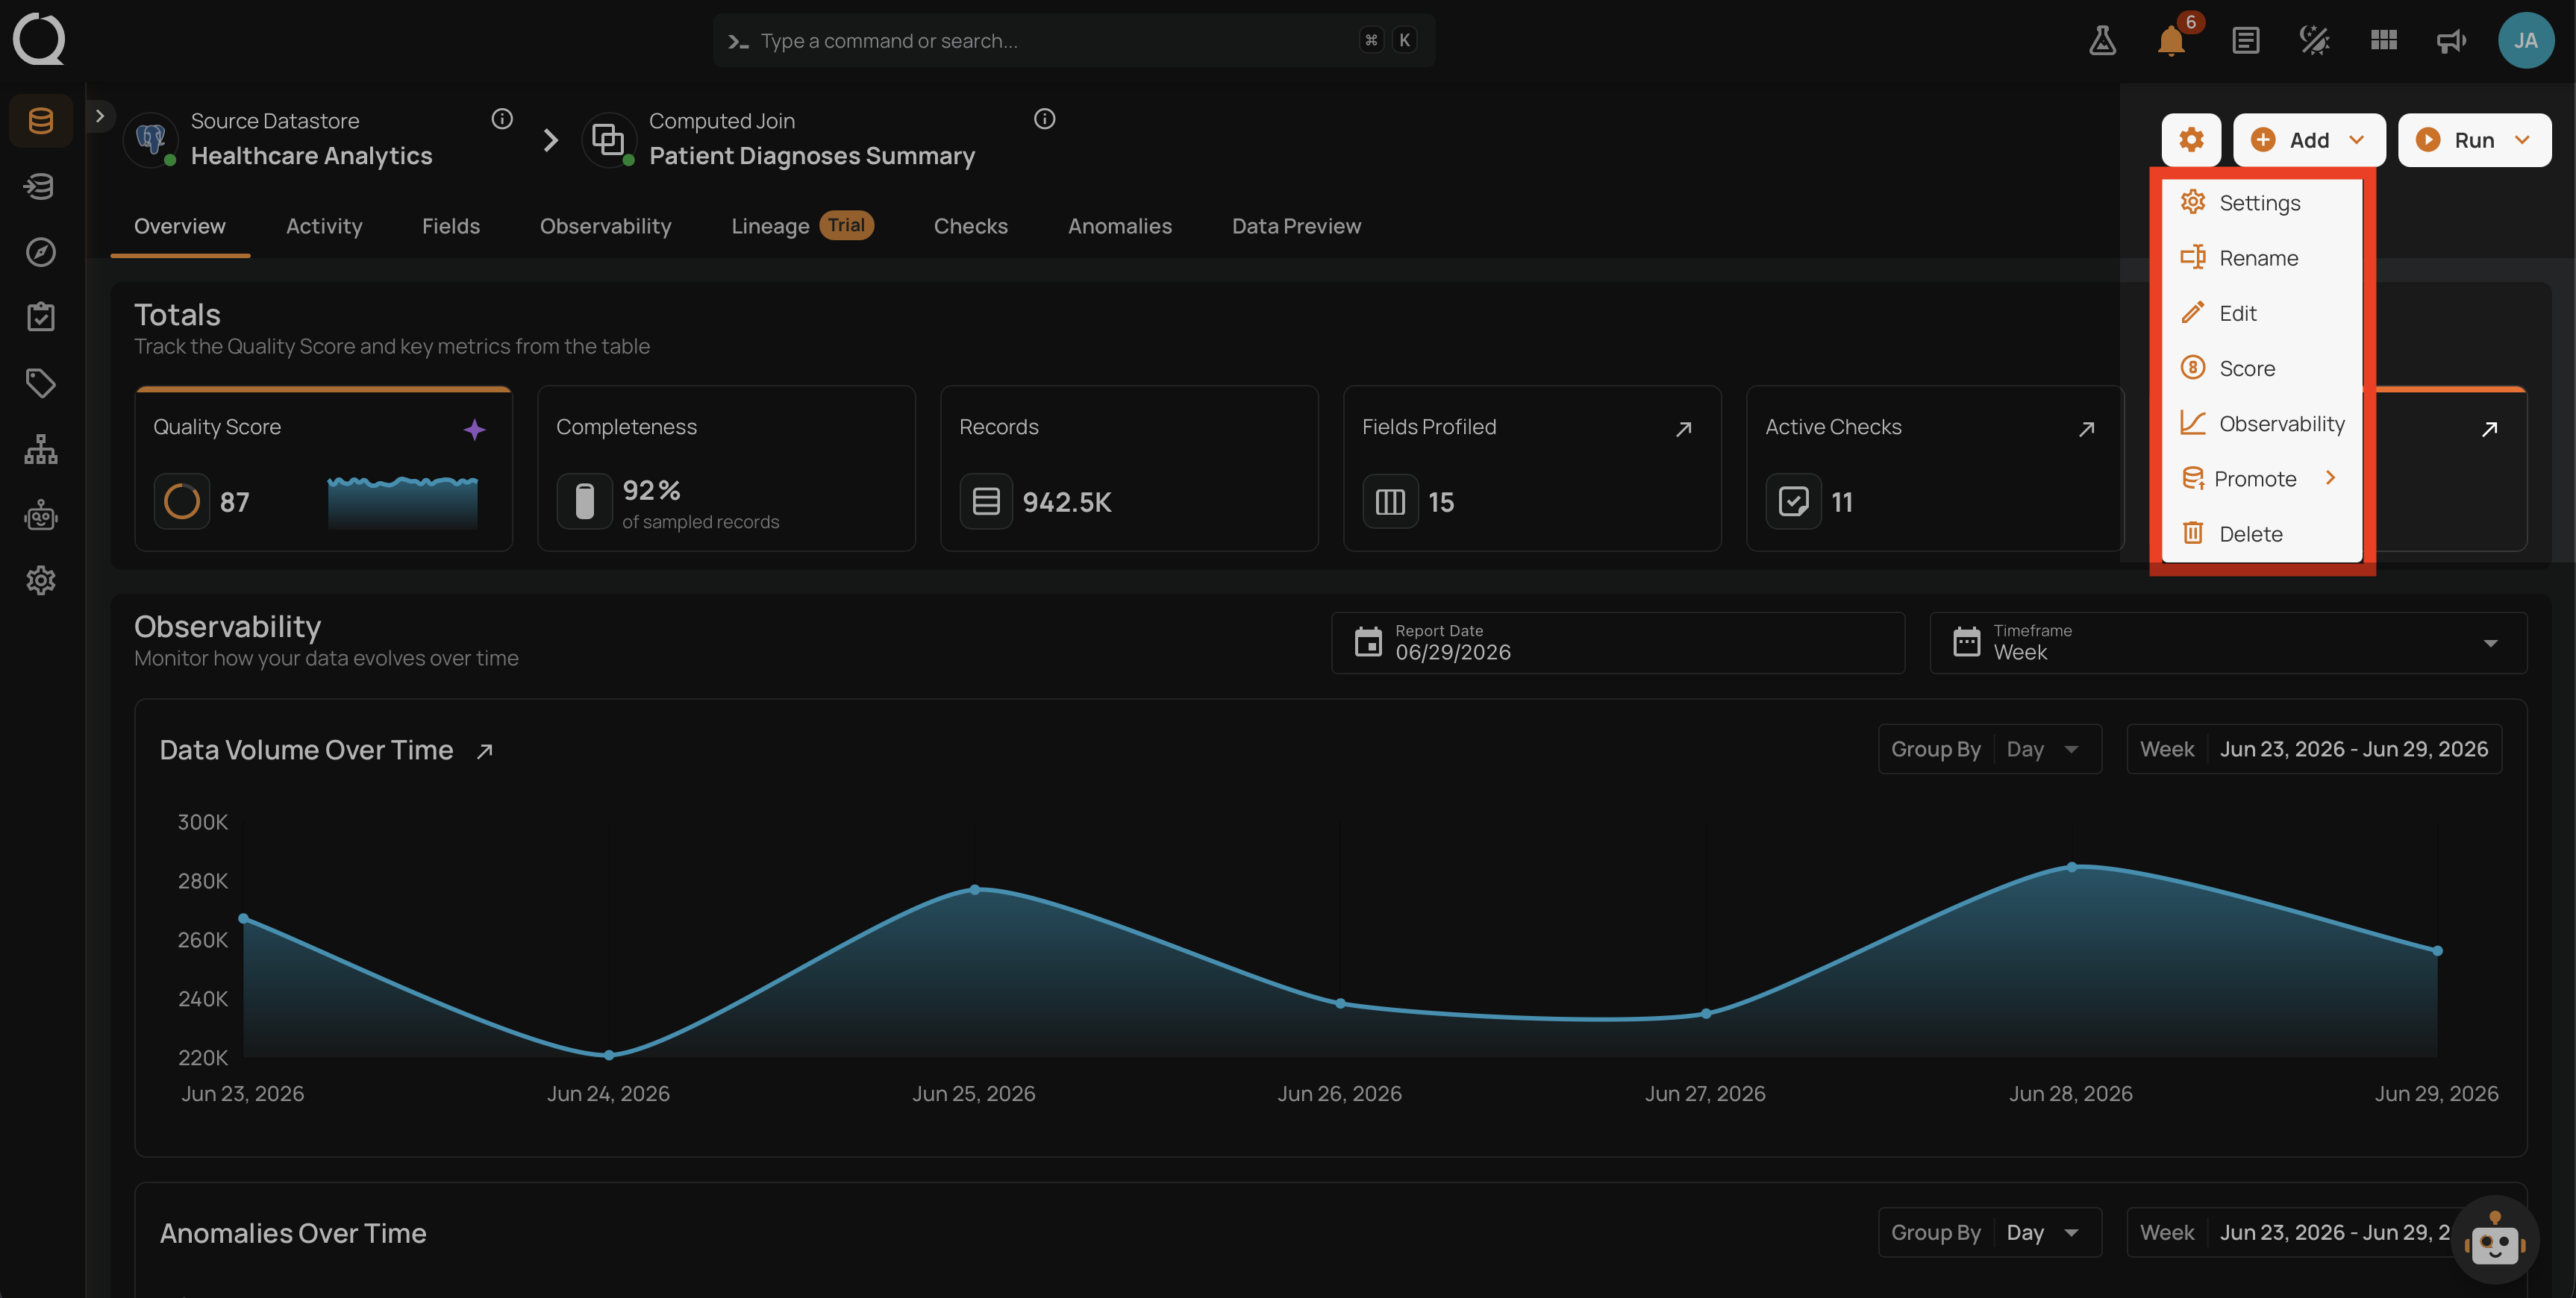
Step 1: Open the Container settings menu from the Computed Join's card or detail page.
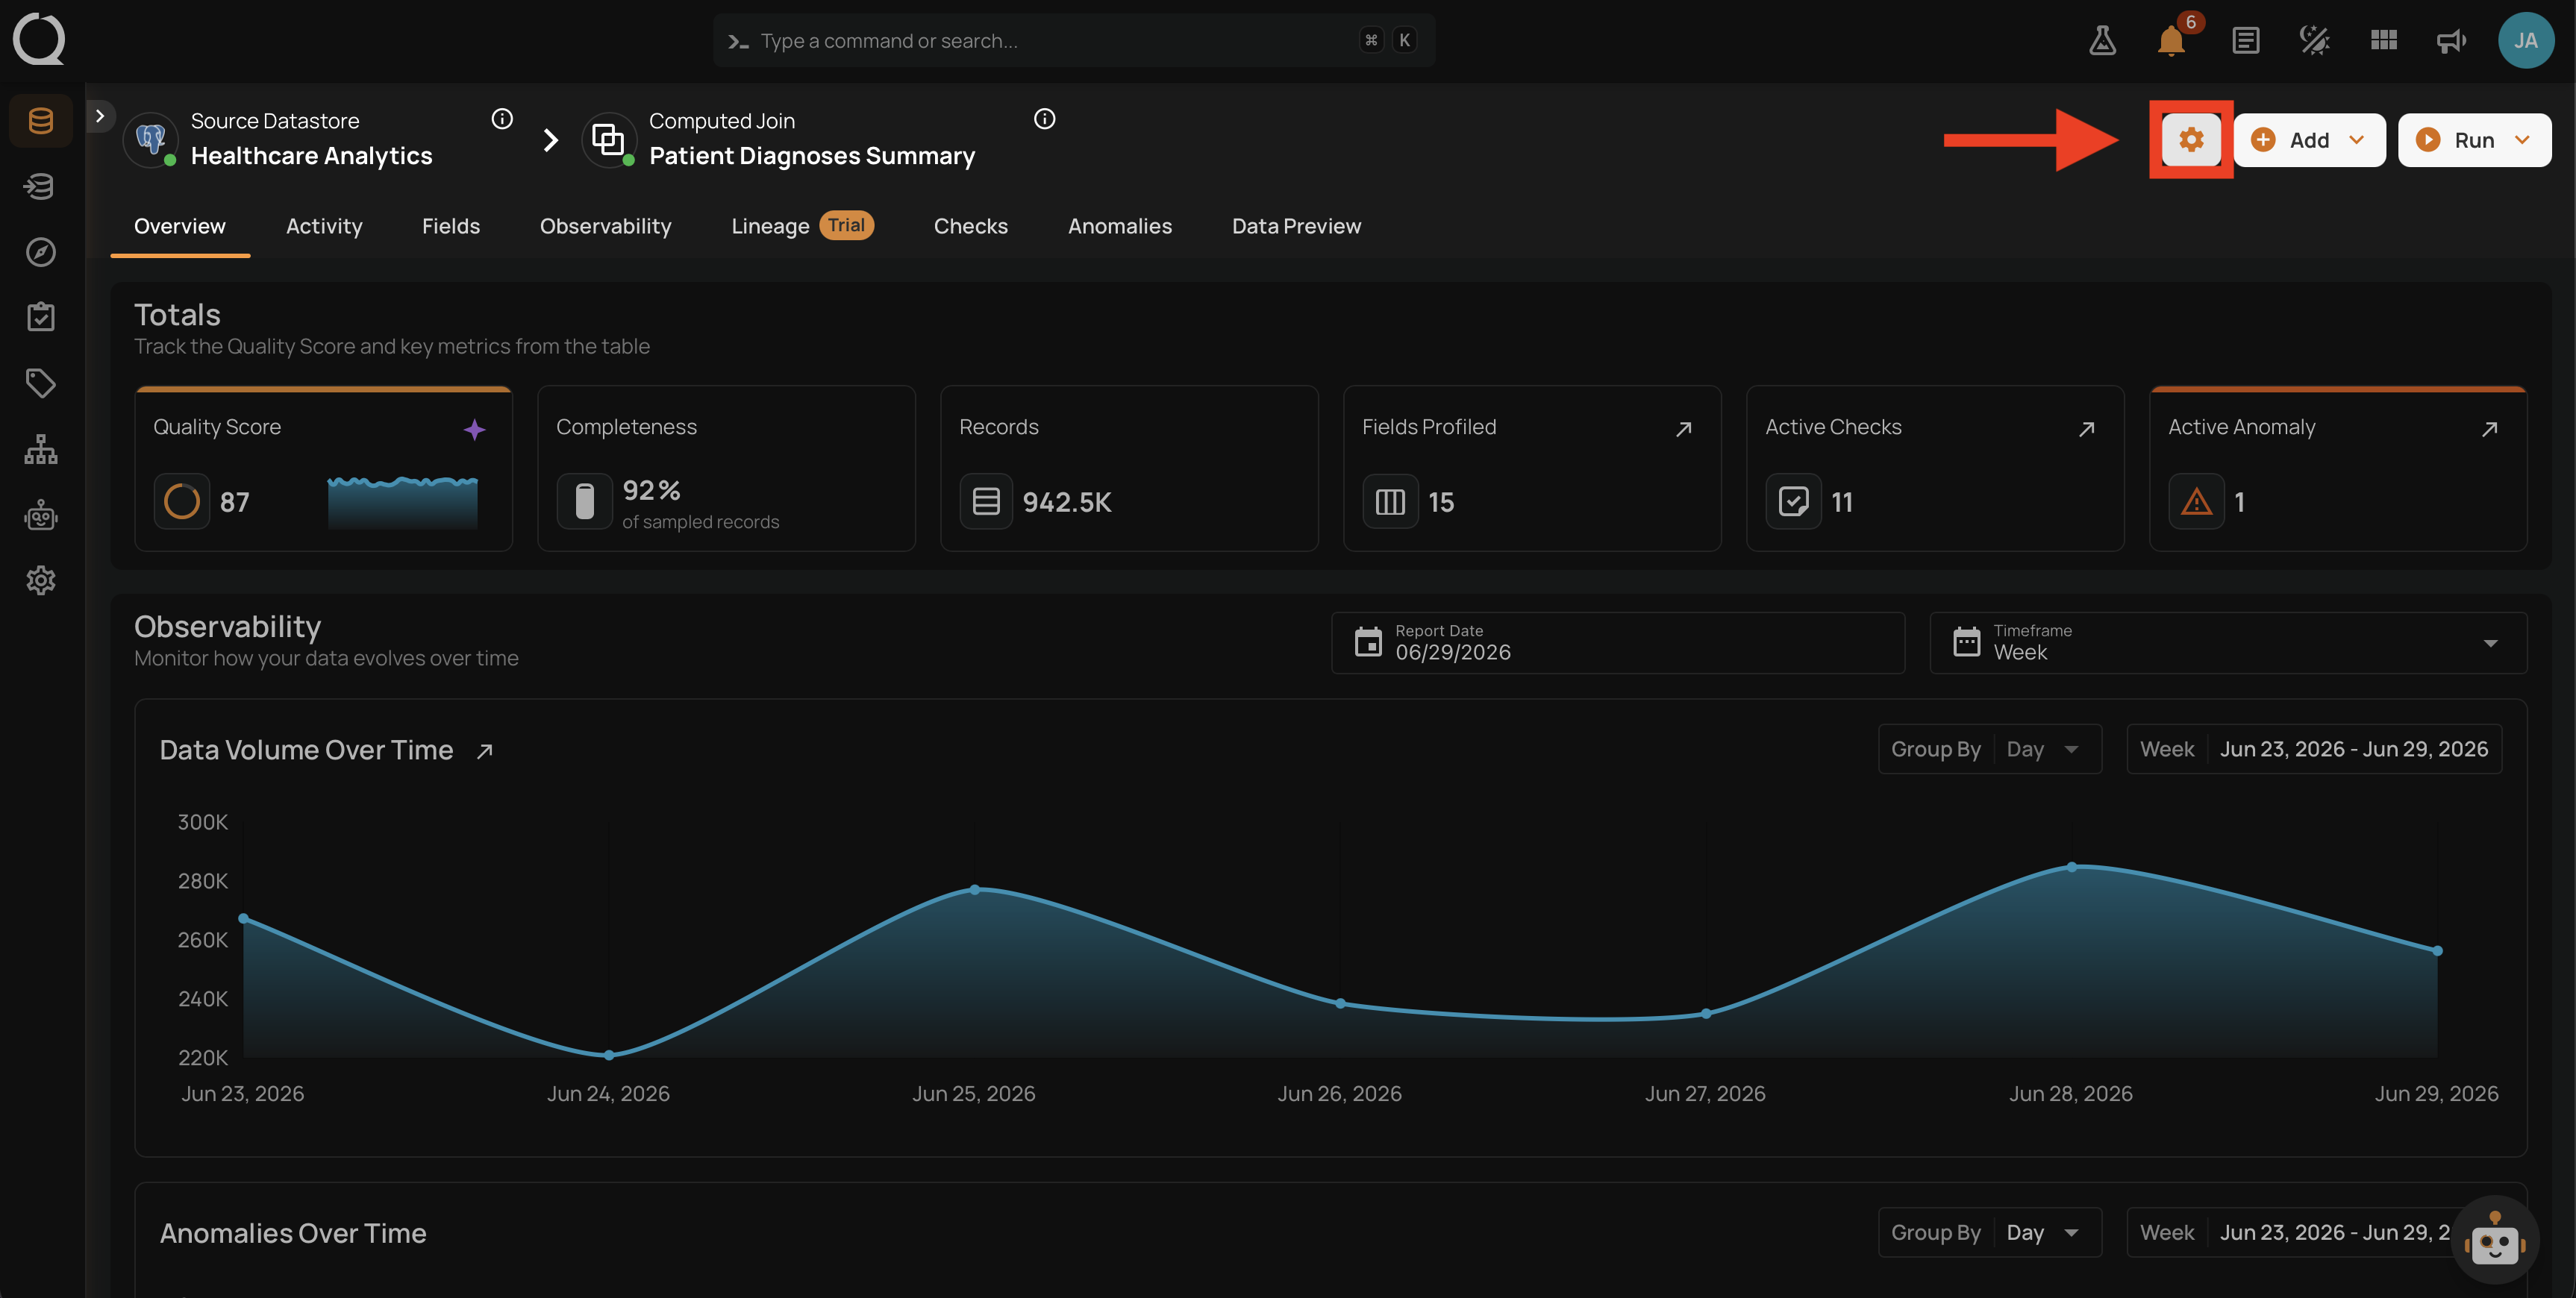
Step 2: In the dropdown, click Edit.
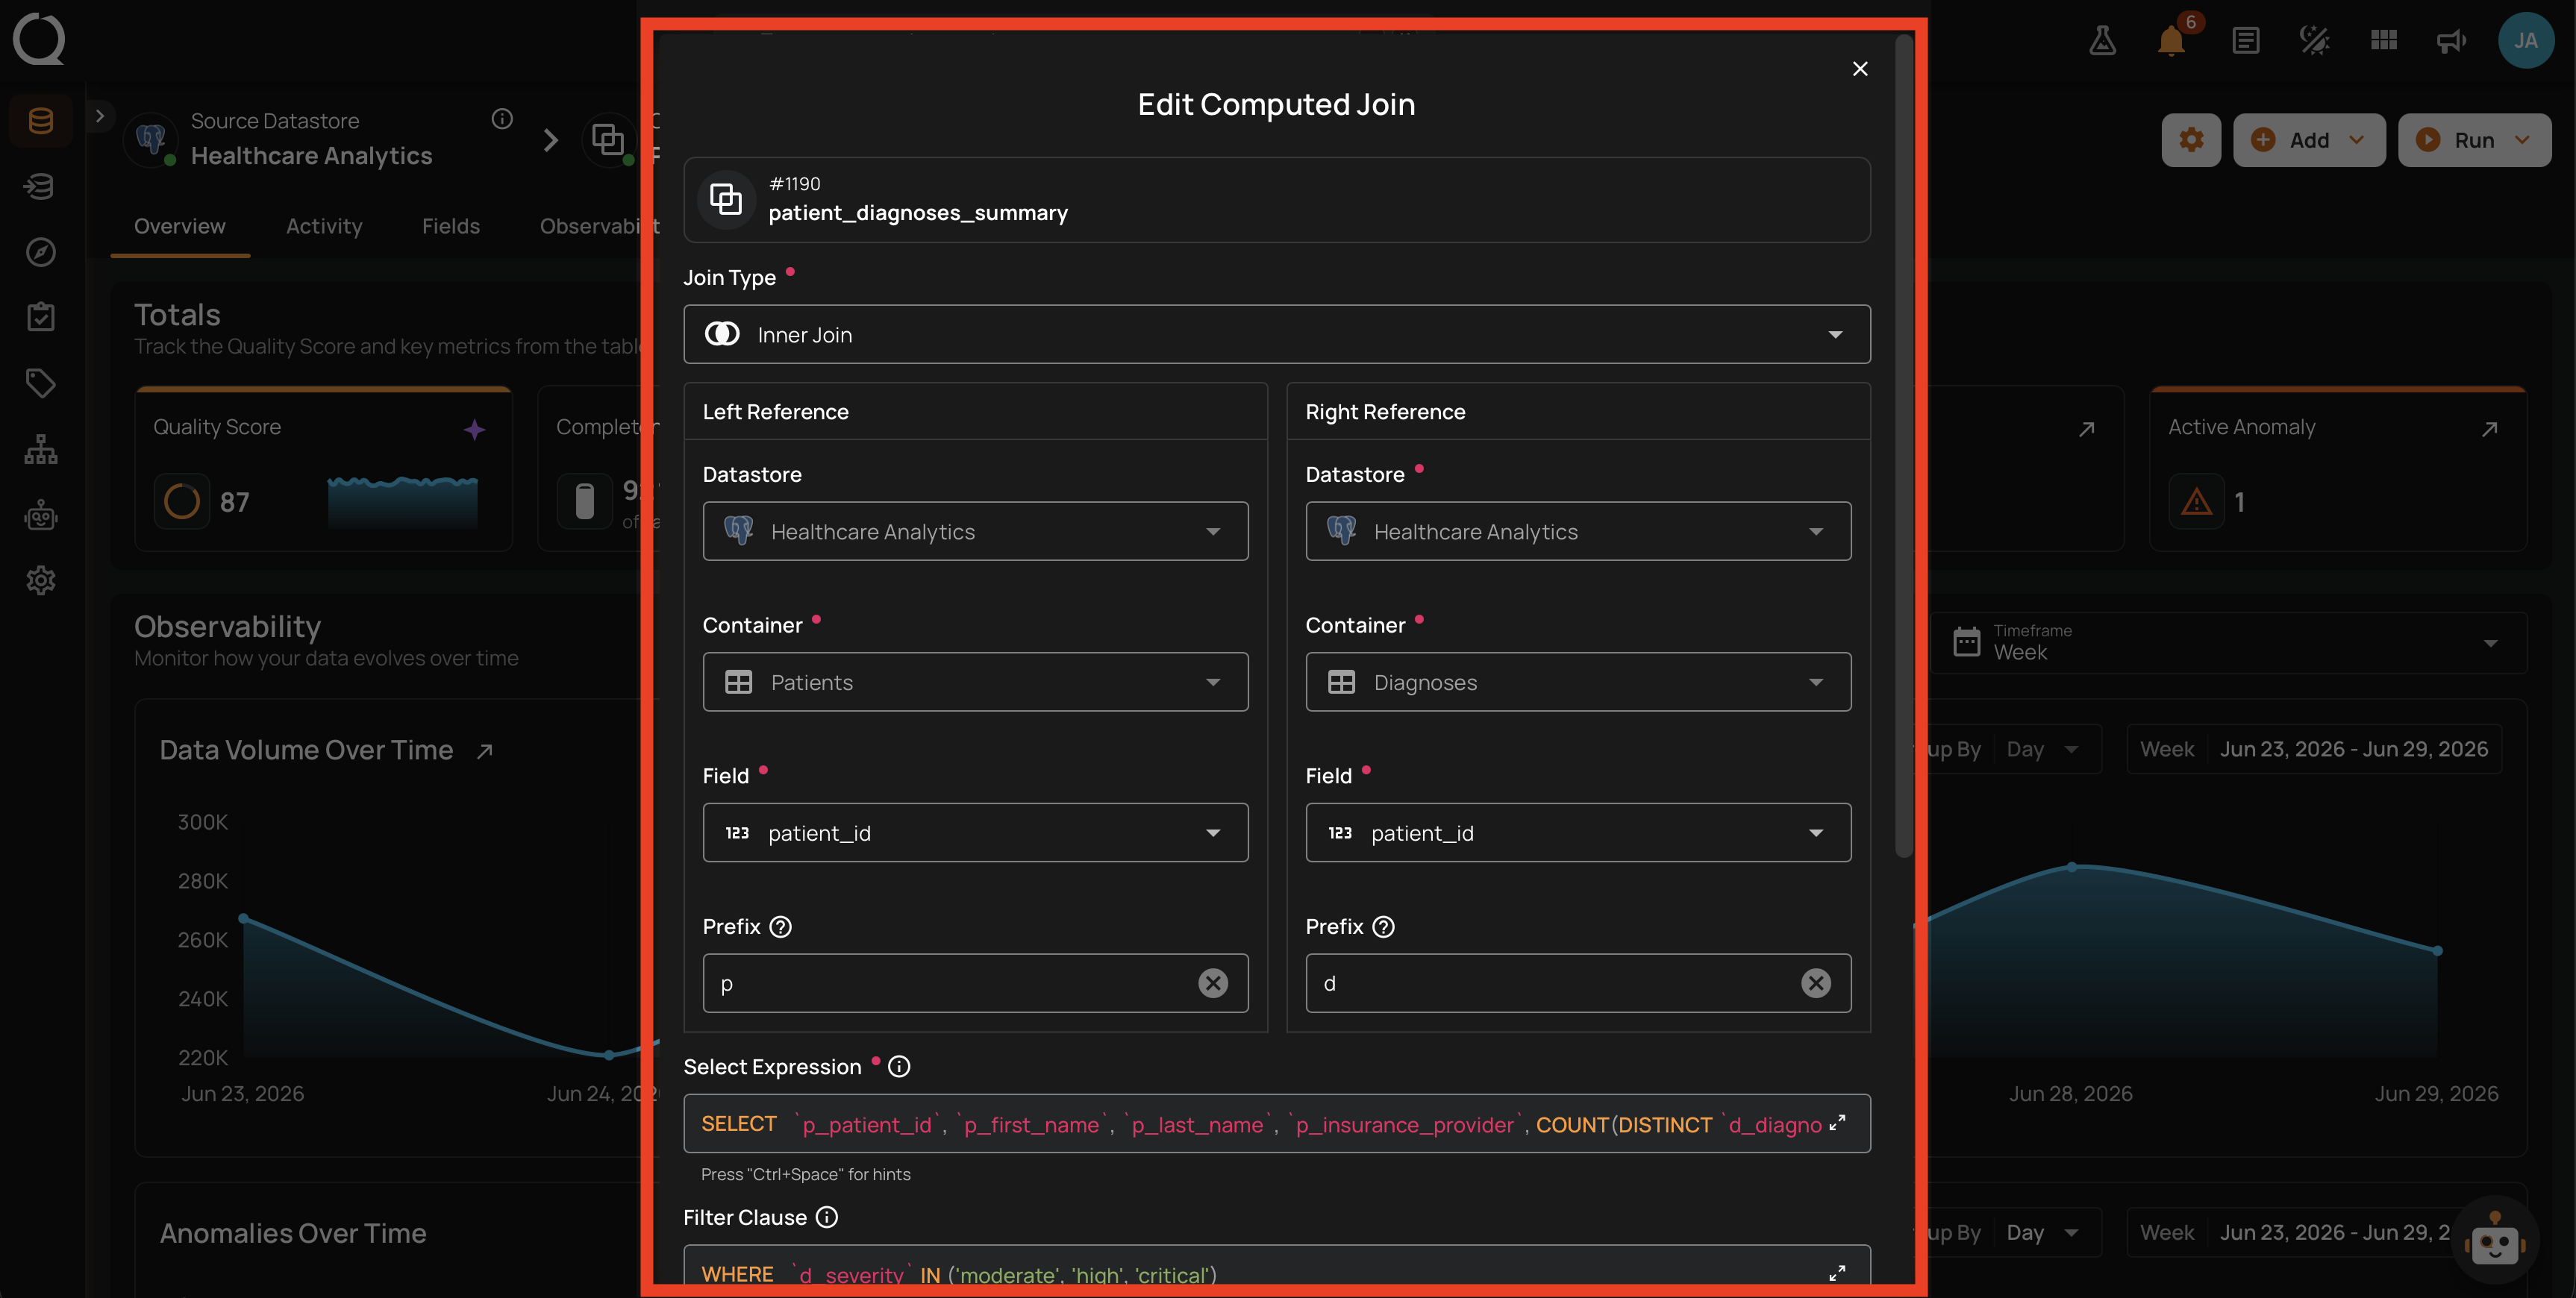
Step 3: The Edit Computed Join dialog opens. The Name field is not shown here; a band under the title shows the join's name and id instead. Adjust the fields you want to change. As you edit:
- In pairwise mode, changing a Prefix rewrites every matching column reference in the Select Expression automatically.
- In pairwise mode, changing the Select Expression to remove a field that has active quality checks triggers a Fields will be marked as missing warning panel.
- In SQL mode, the same warning panel appears when the rewritten Query stops projecting such a field. While the panel is shown, the sources and the query are read-only.
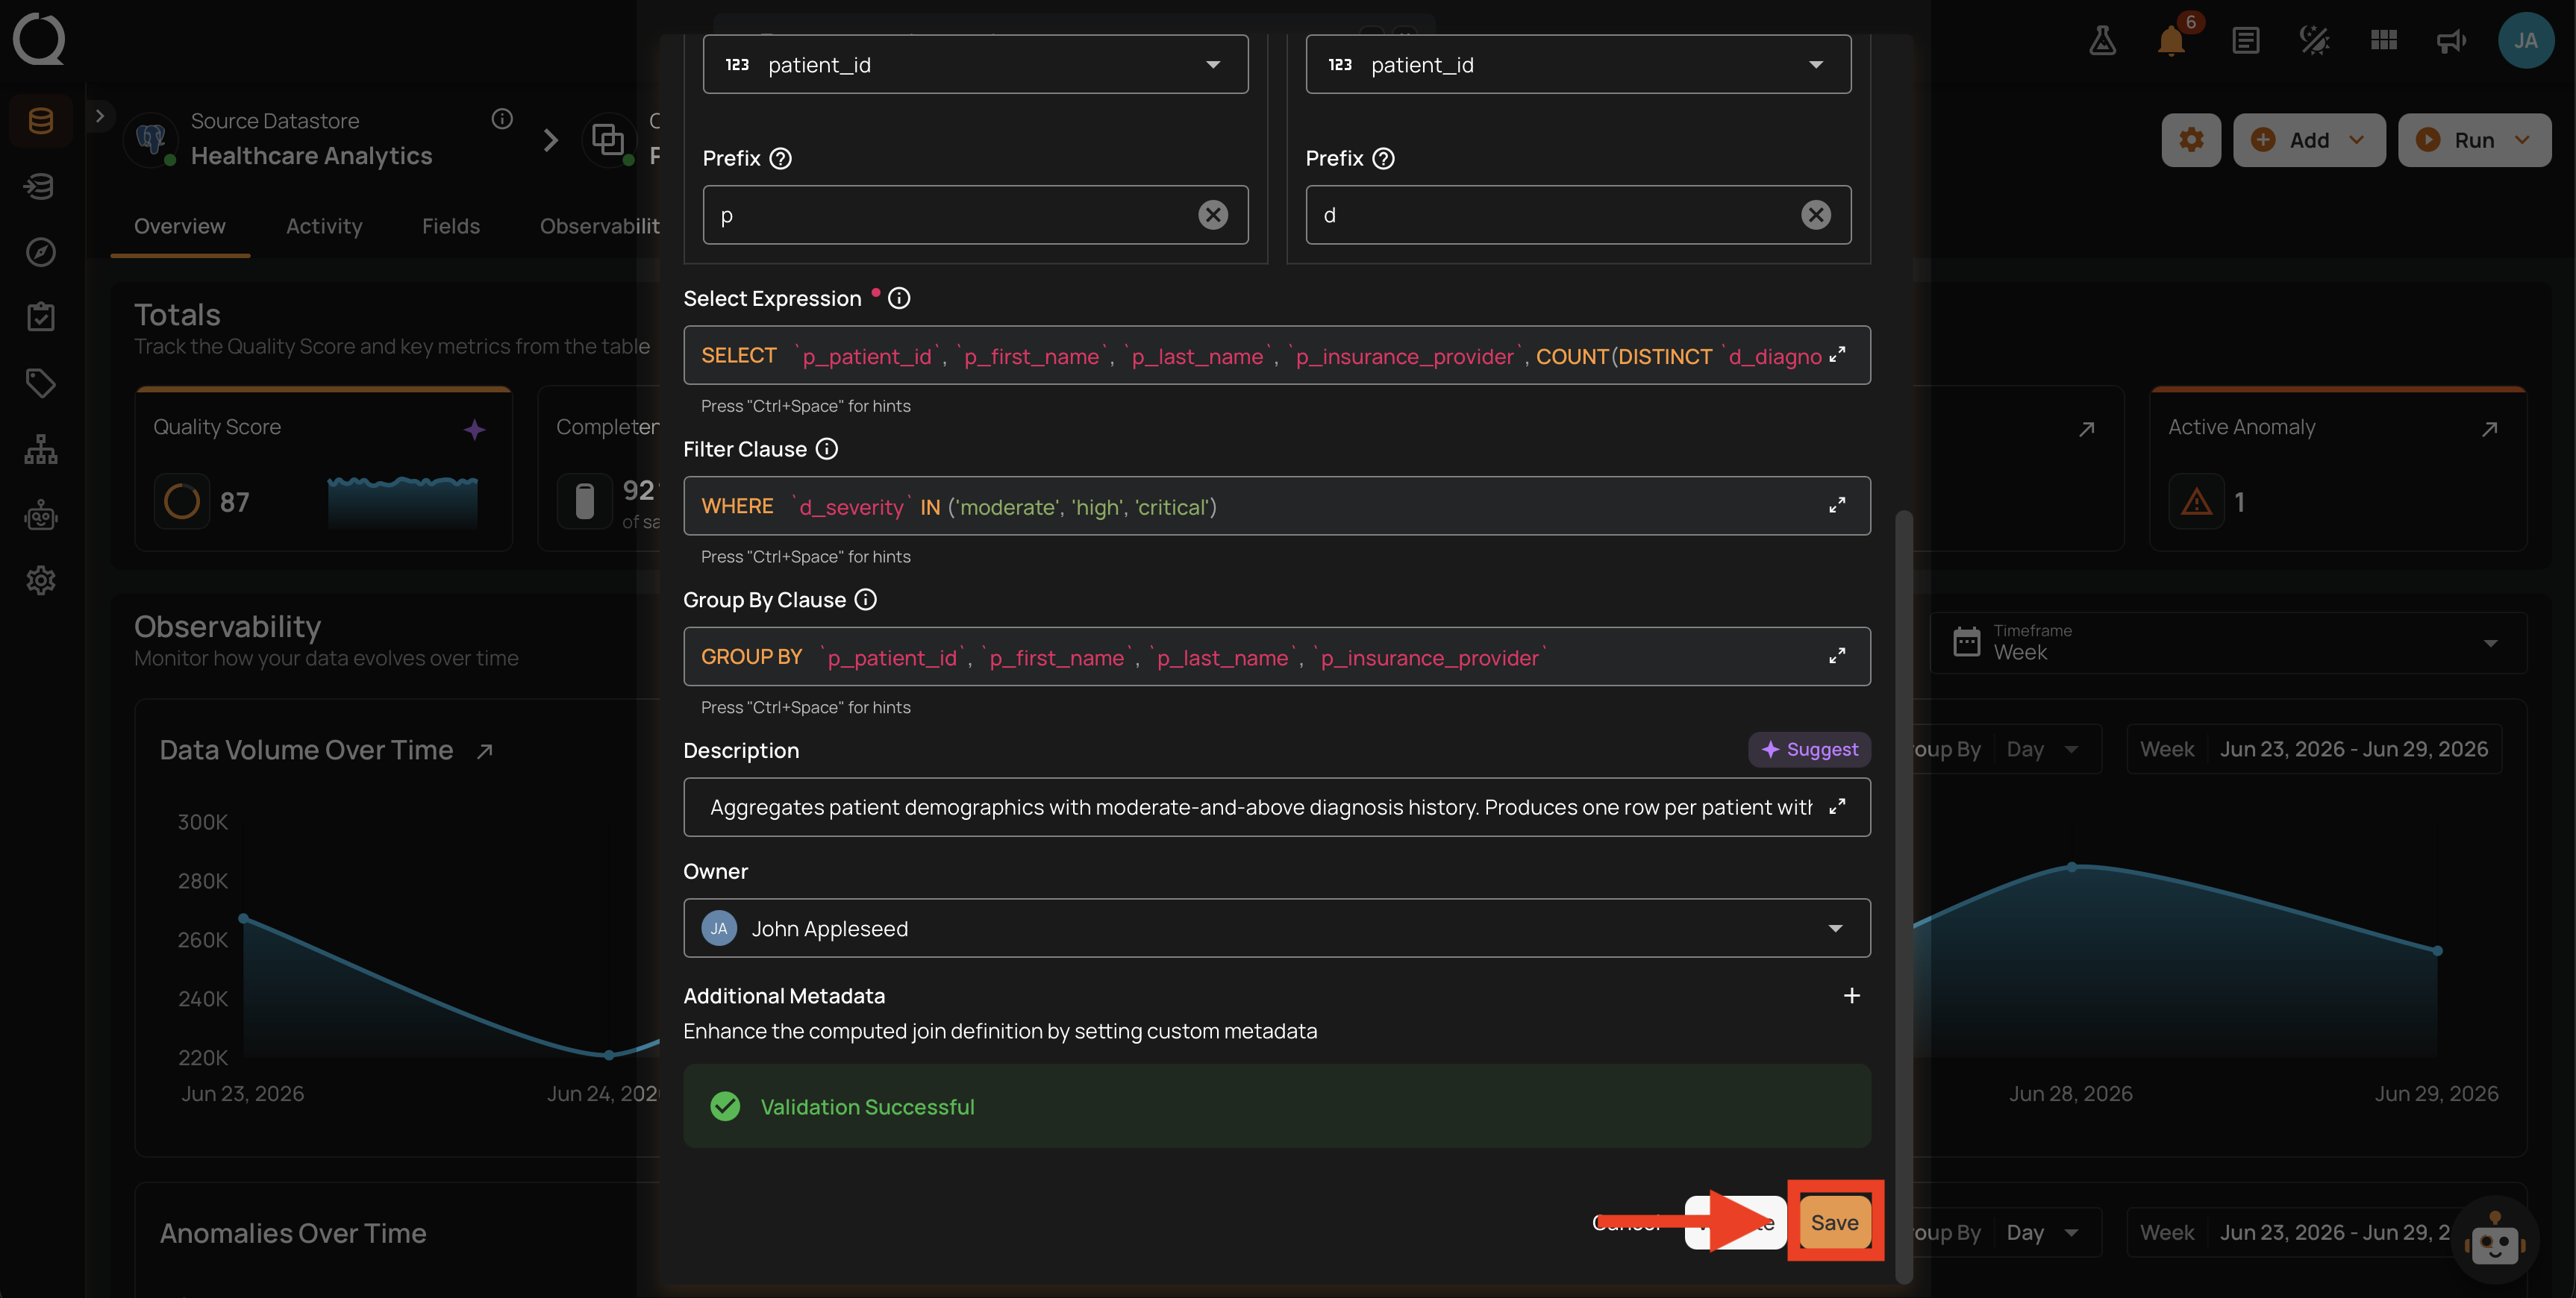
Step 4: Click Validate. A Validation Successful message appears if the SQL parses and the schema resolves.
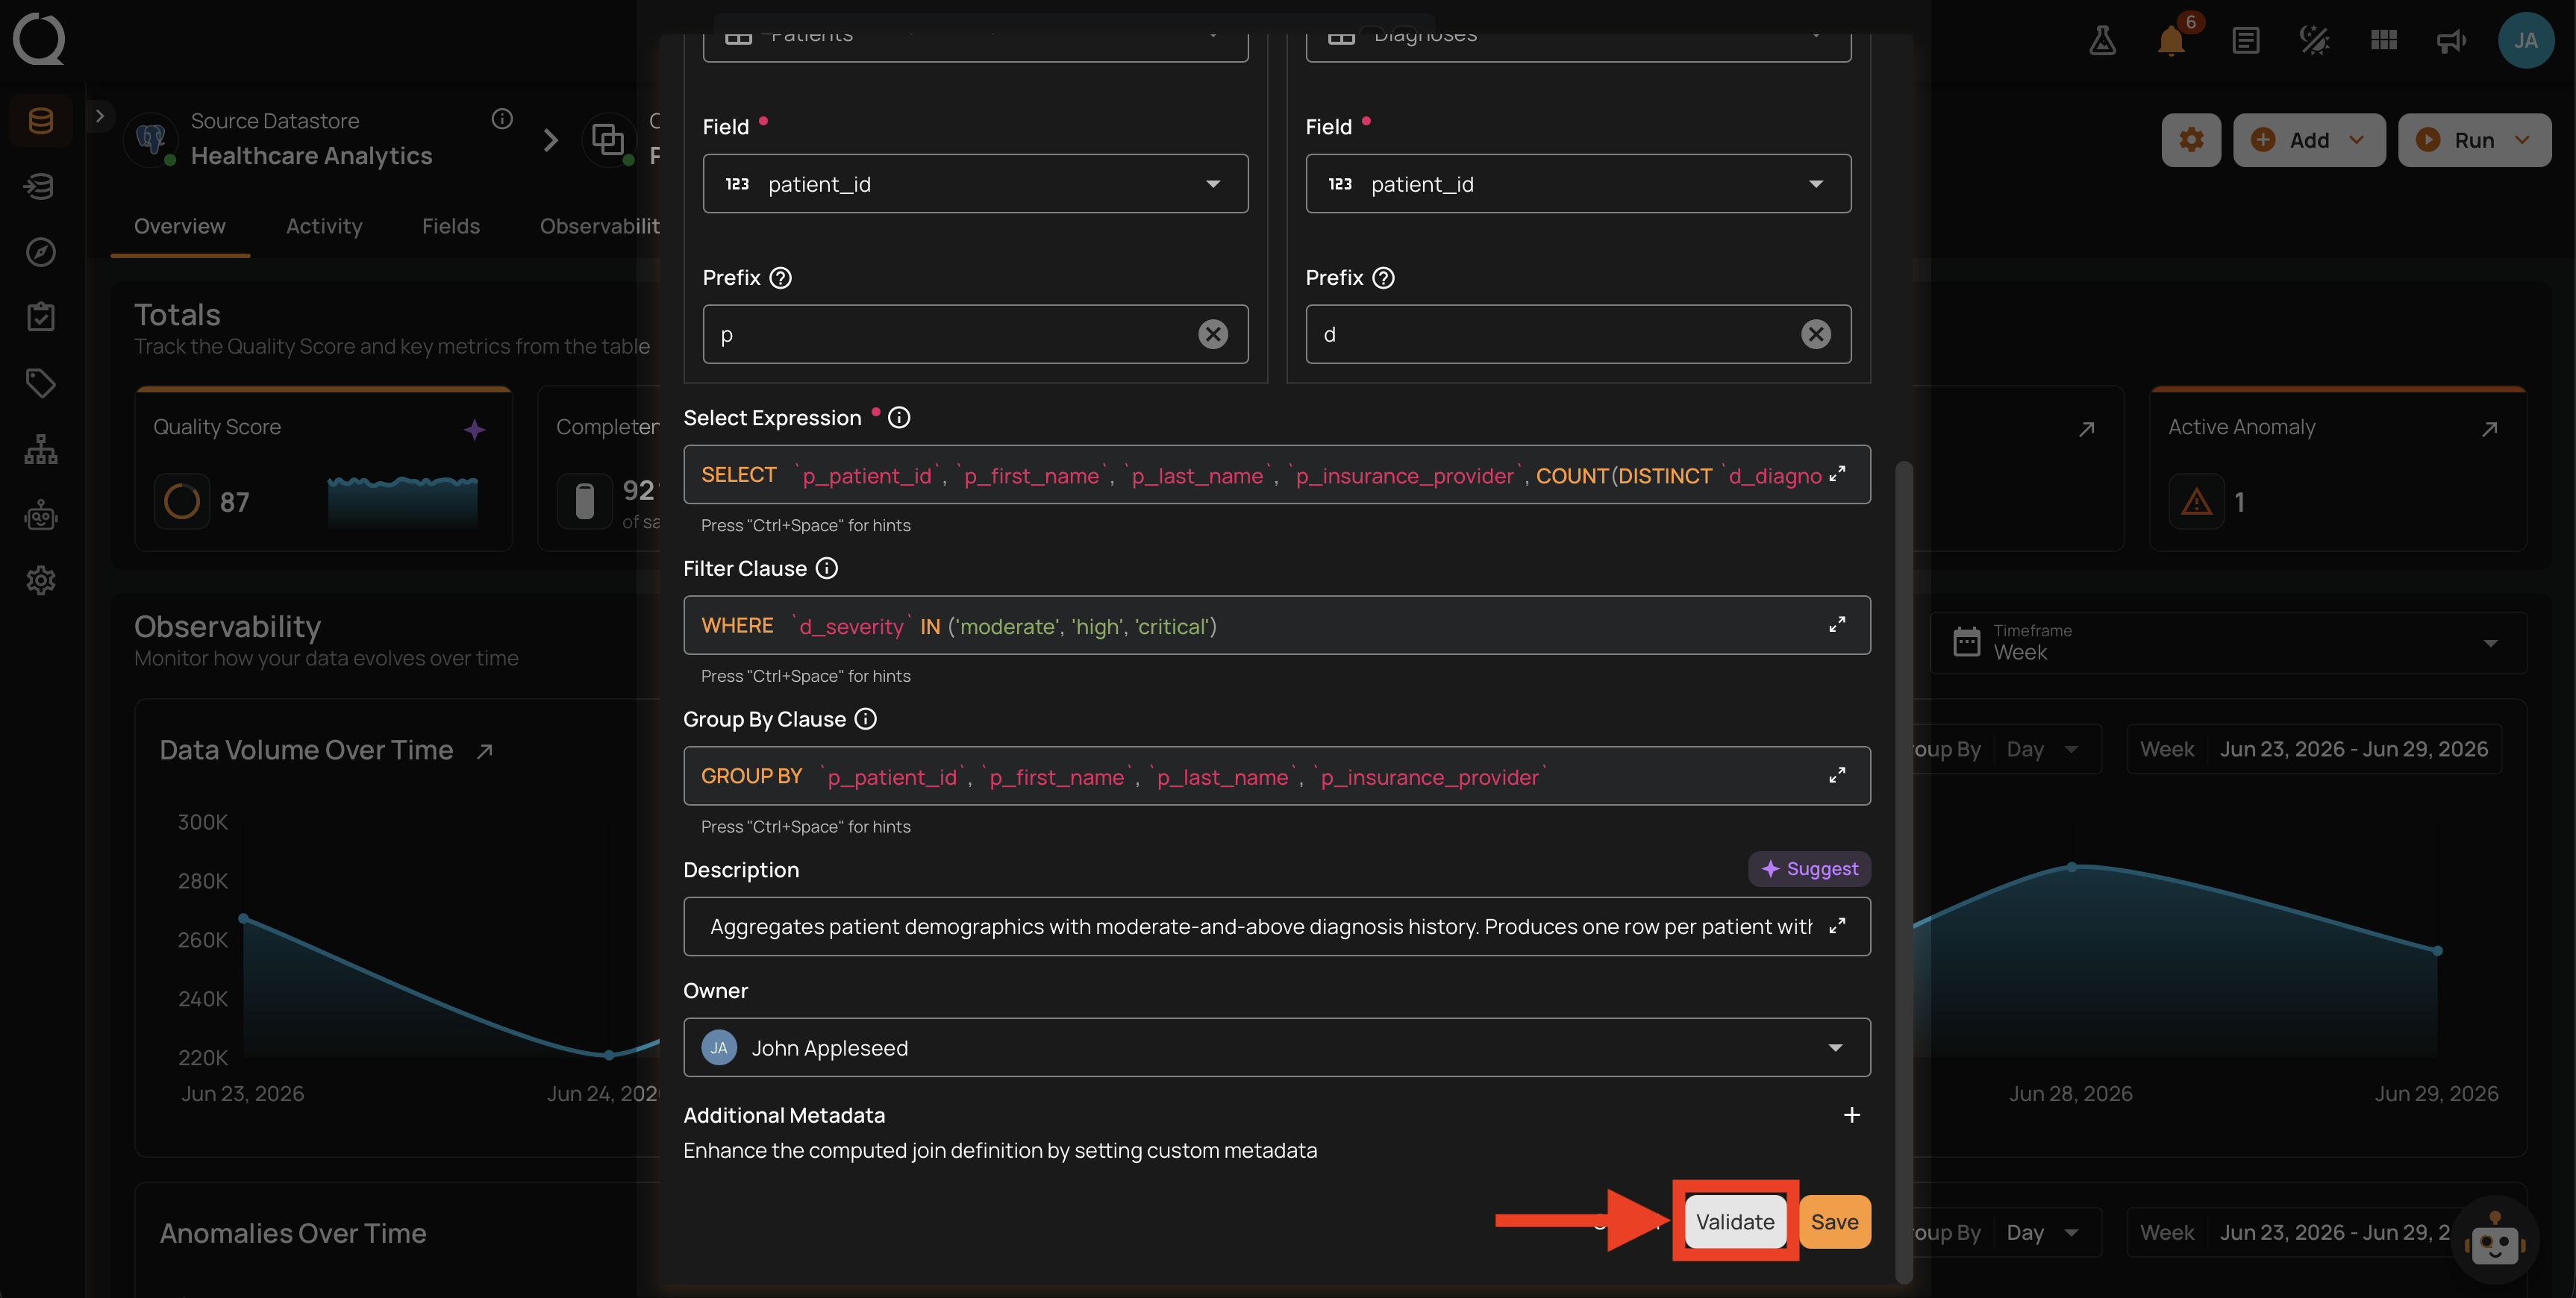
Step 5: Click Save to apply the changes. A success message appears.
When Fields Will Be Marked as Missing
If your edit removes a field that has active quality checks or anomalies, the dialog switches to an amber panel listing each affected field with its quality-check and anomaly counts. Two options appear at the bottom:
- Review Expression returns to the form so you can adjust the Select Expression.
- Proceed Anyway applies the edit.
For what happens to the dropped fields' checks and anomalies afterwards, see Field Changes on Inputs. For the literal server message, see Removed fields warning on Save.