Add Jira Connection
Connect the Jira integration in Qualytics using the host URL, API token, and default project key you set up in Jira.
Prerequisites
Complete the Configure Jira steps first to generate the API token and gather the instance URL and project key.
Permissions
Users with the Manager or Admin role can connect the Jira integration. See the Permissions page for details.
Fields
The Add Jira Integration form contains the following fields:
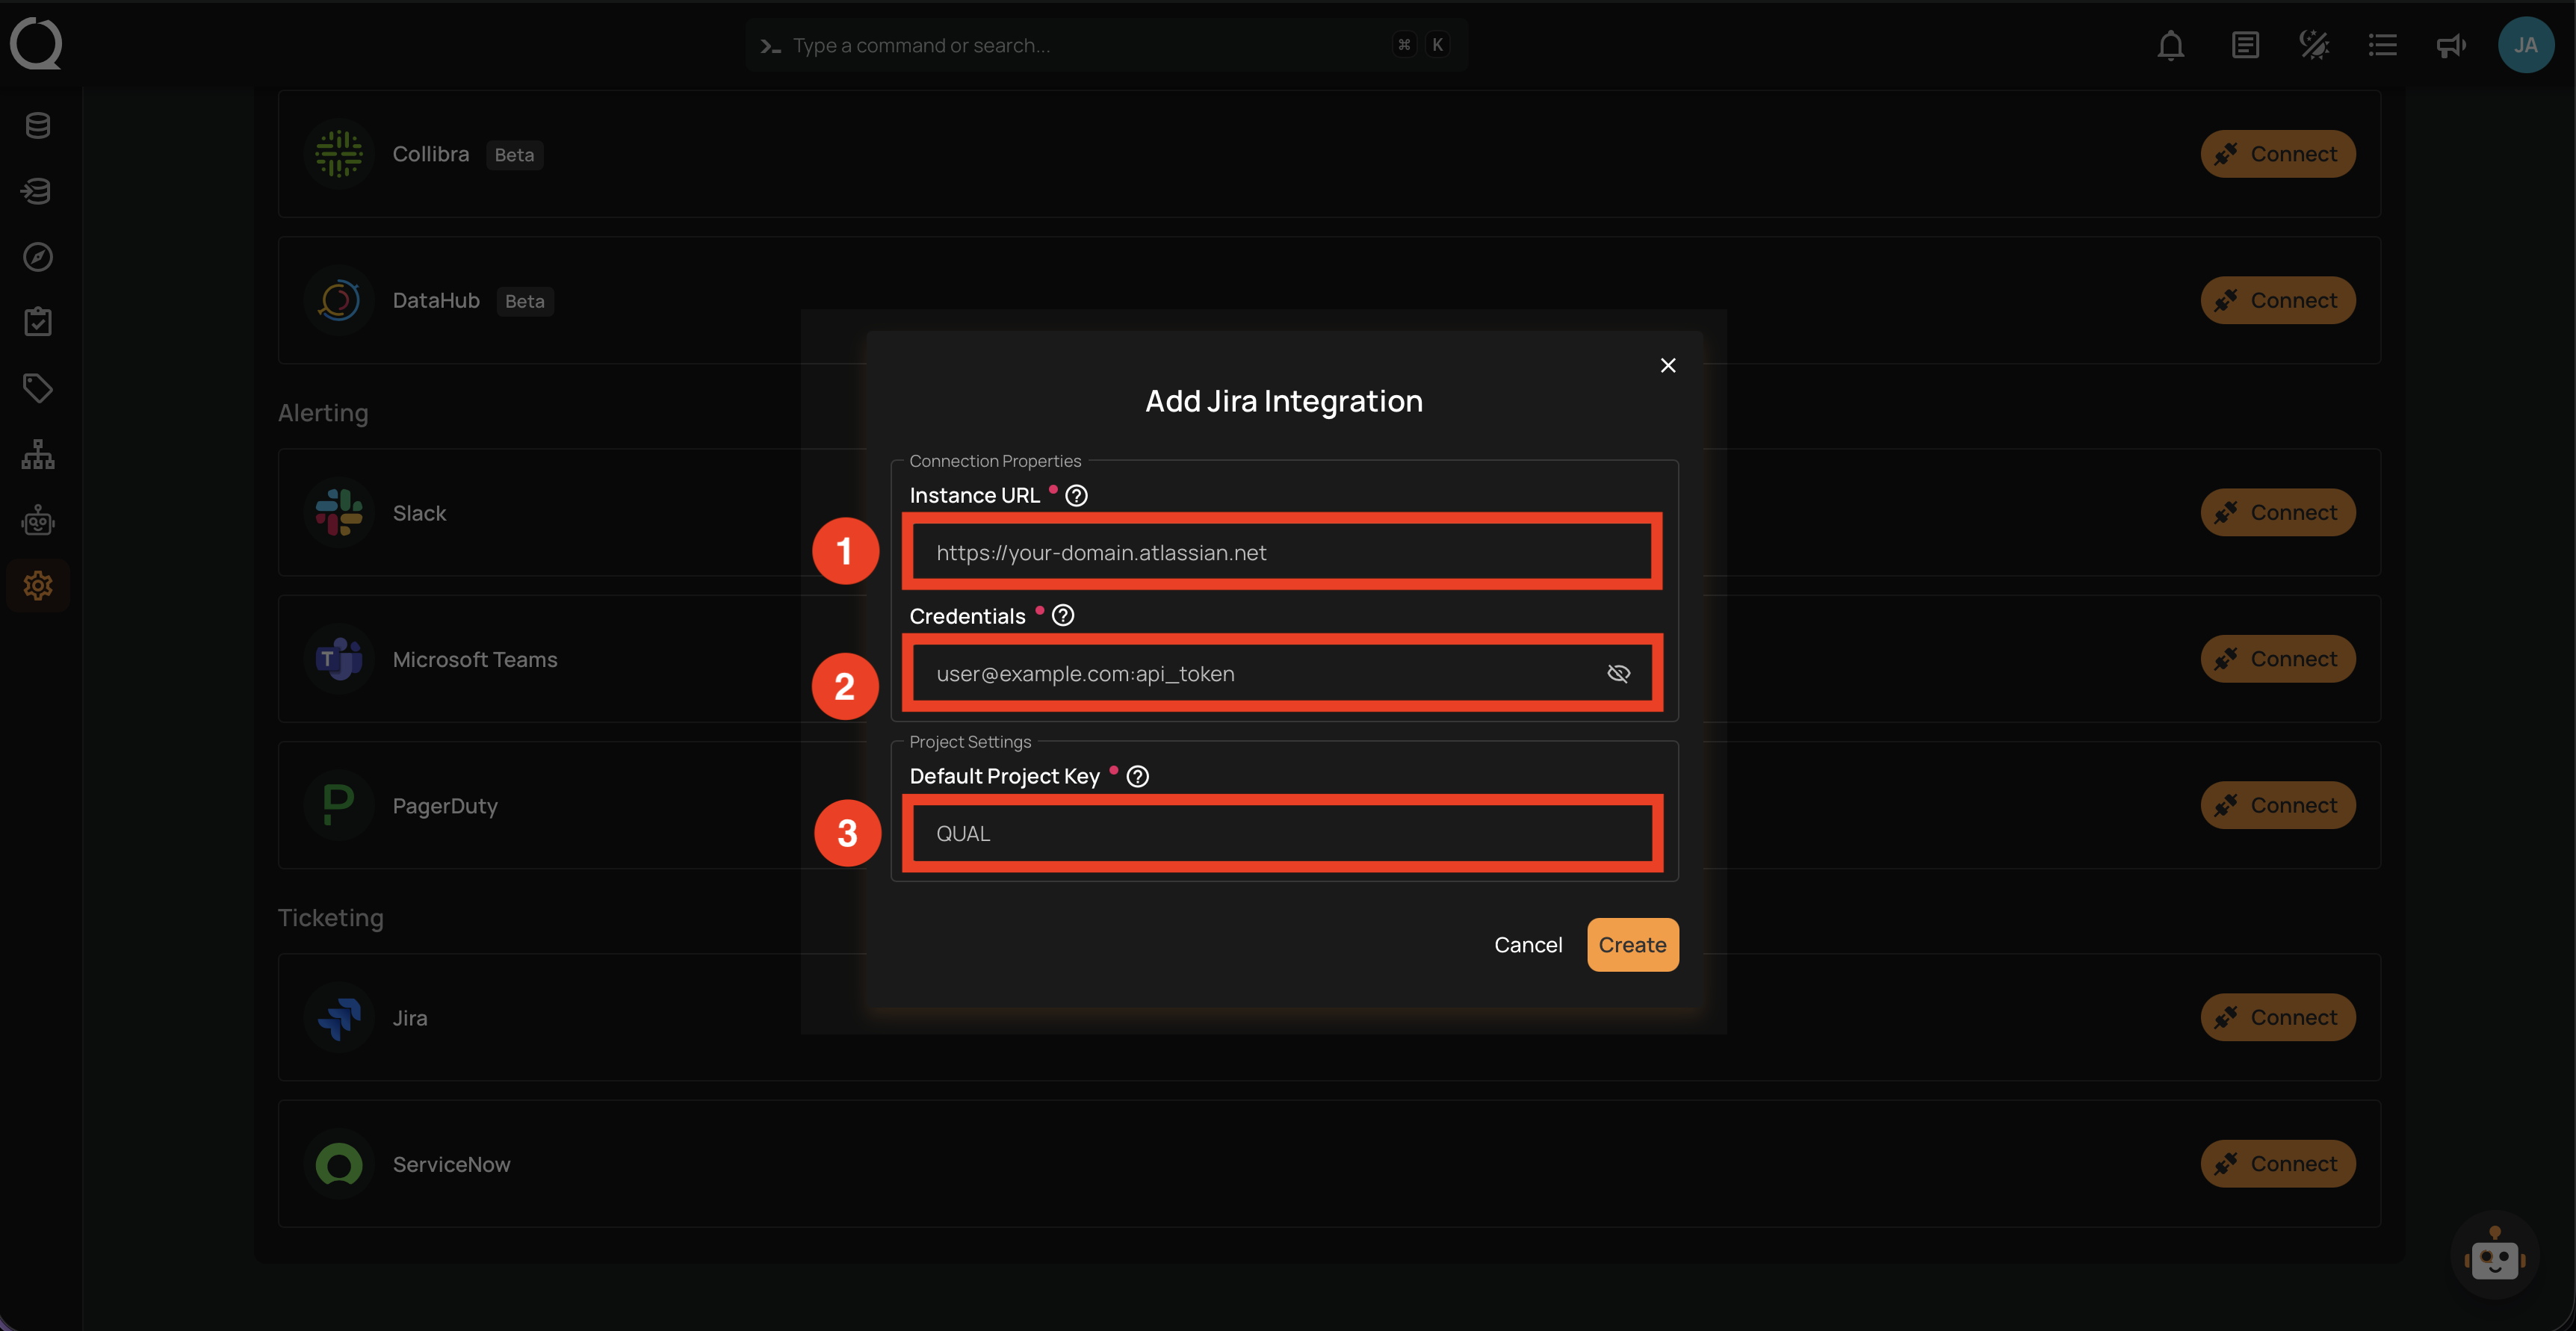
| REF. | FIELD | DESCRIPTION |
|---|---|---|
| 1 | Instance URL (Required) | The complete Jira instance URL (e.g., https://your-domain.atlassian.net). Do not include a trailing slash. |
| 2 | Credentials (Required) | Jira account email and API token combined with a colon, in the format email:api_token (e.g., user@company.com:your_api_token). |
| 3 | Default Project Key (Required) | The Jira project key where new tickets will be created by default (e.g., QUAL, DATAQ). |
Credentials Format
The credentials must be entered as email:api_token with a colon separator. Use your Jira account email and the API token you generated.
Steps
Step 1: Find the Jira integration in the integrations list and click the Connect button.

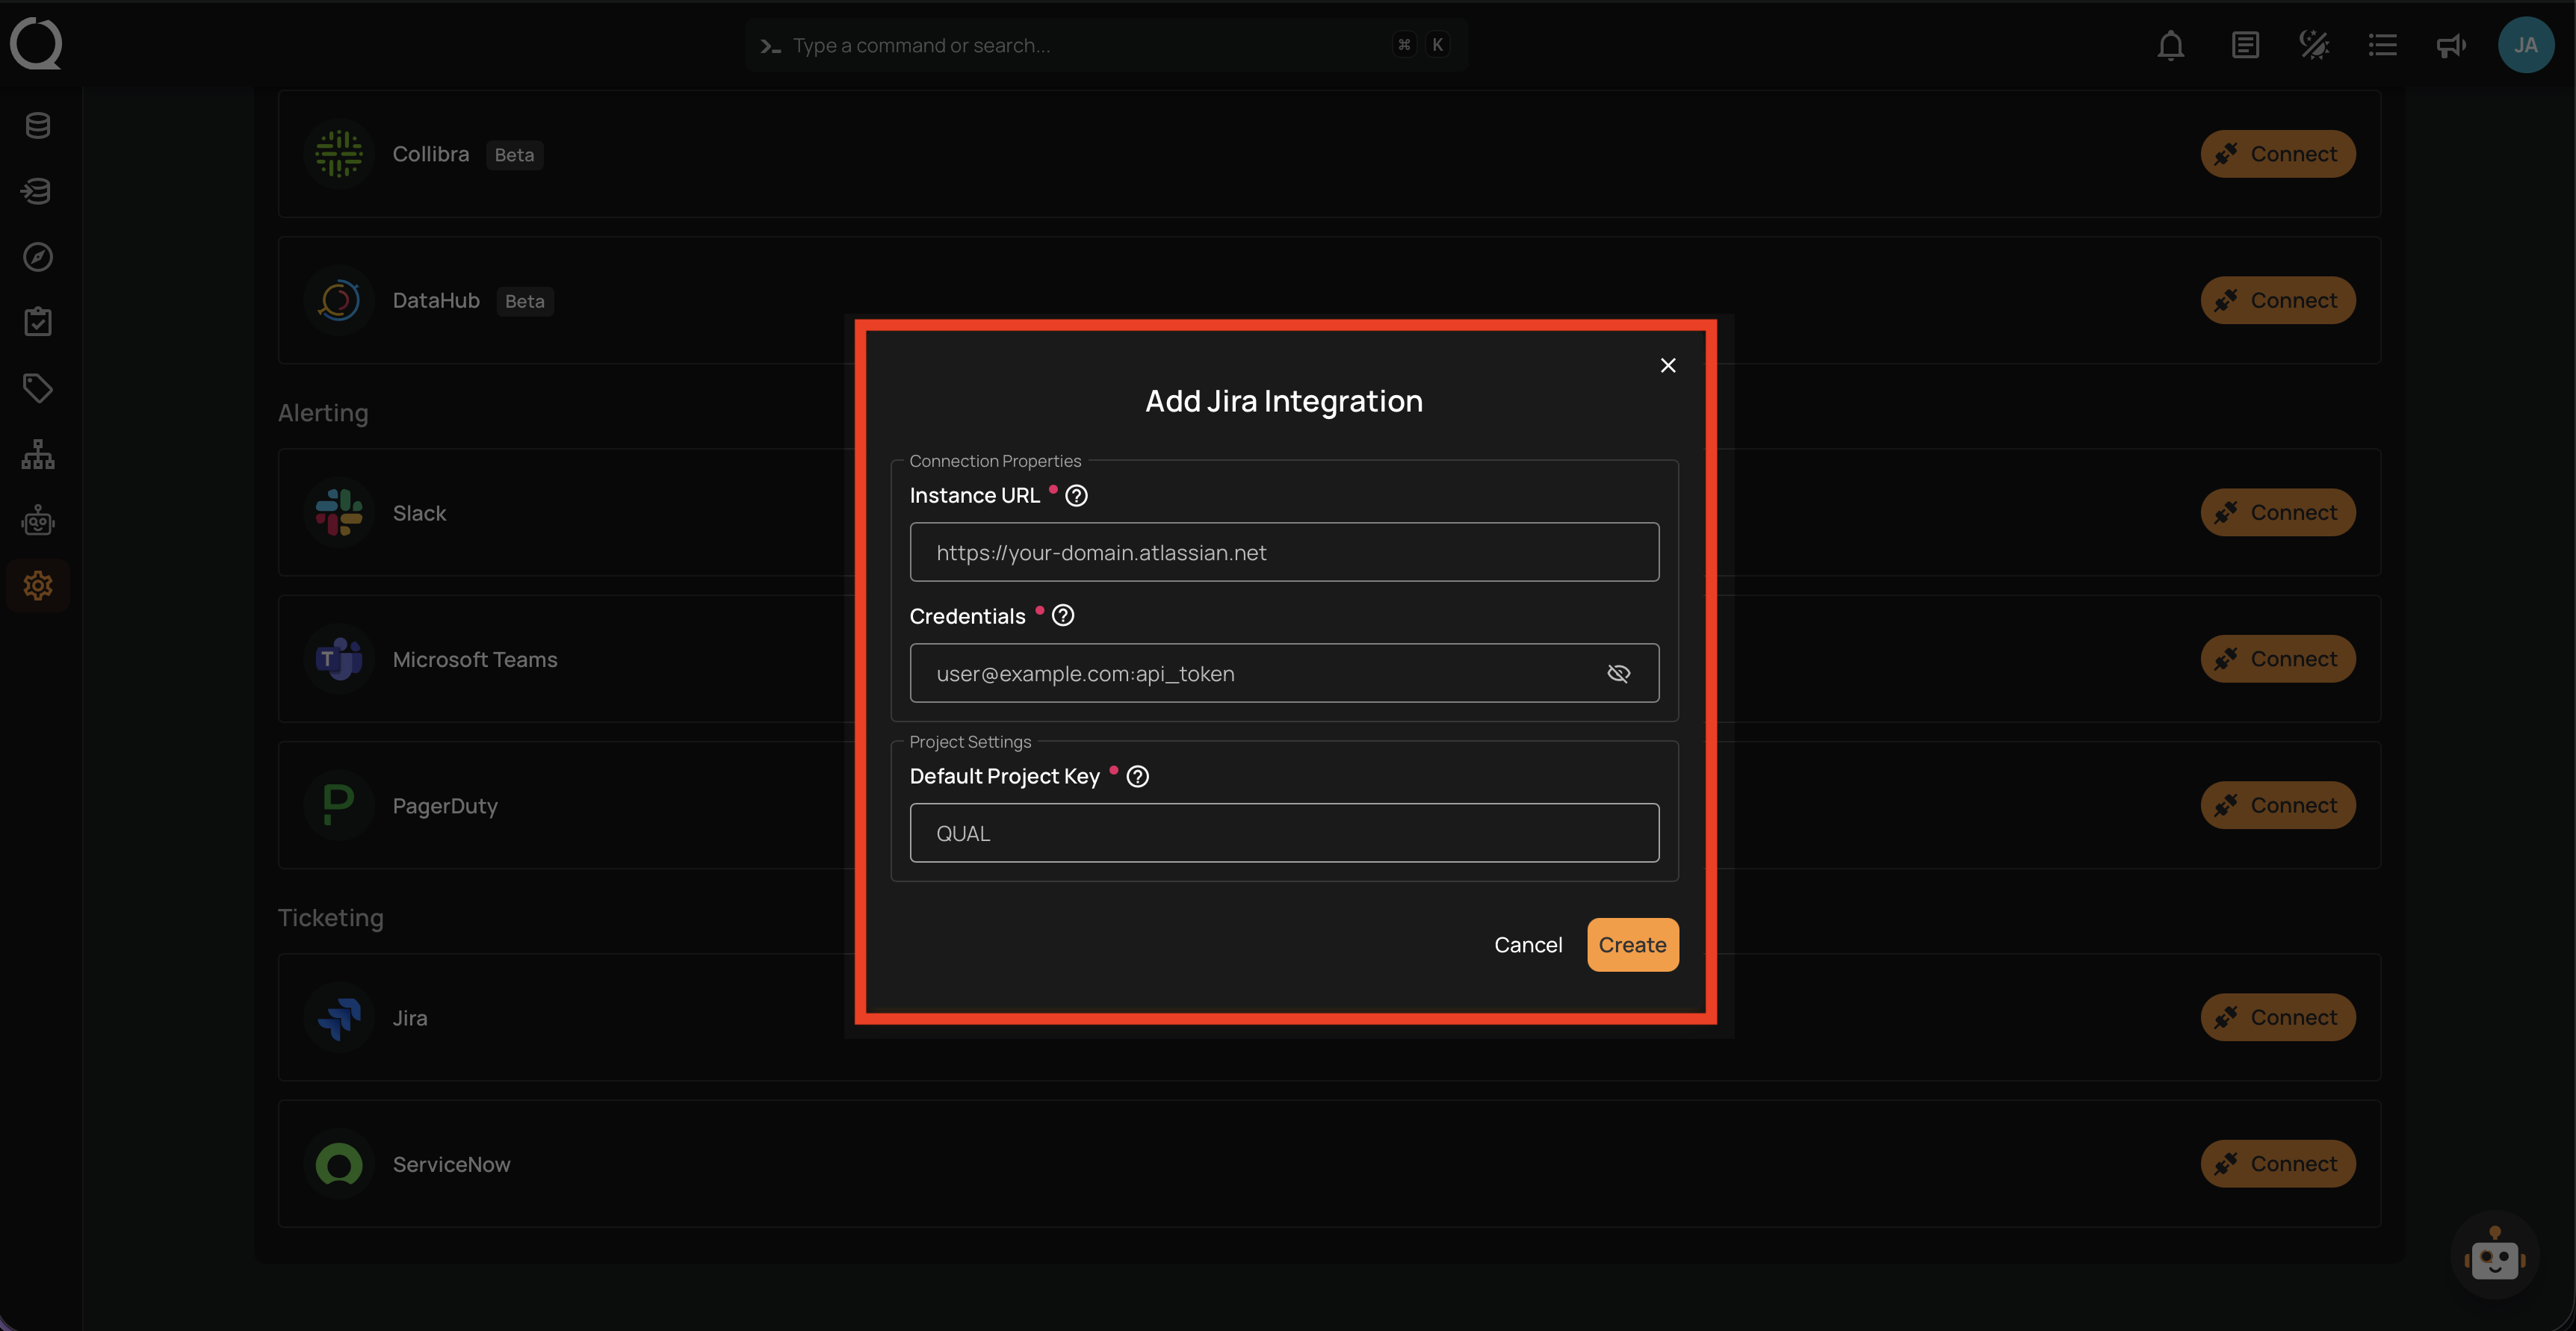
Step 2: The Add Jira Integration modal opens. Fill in the three required fields described in the Fields section above.
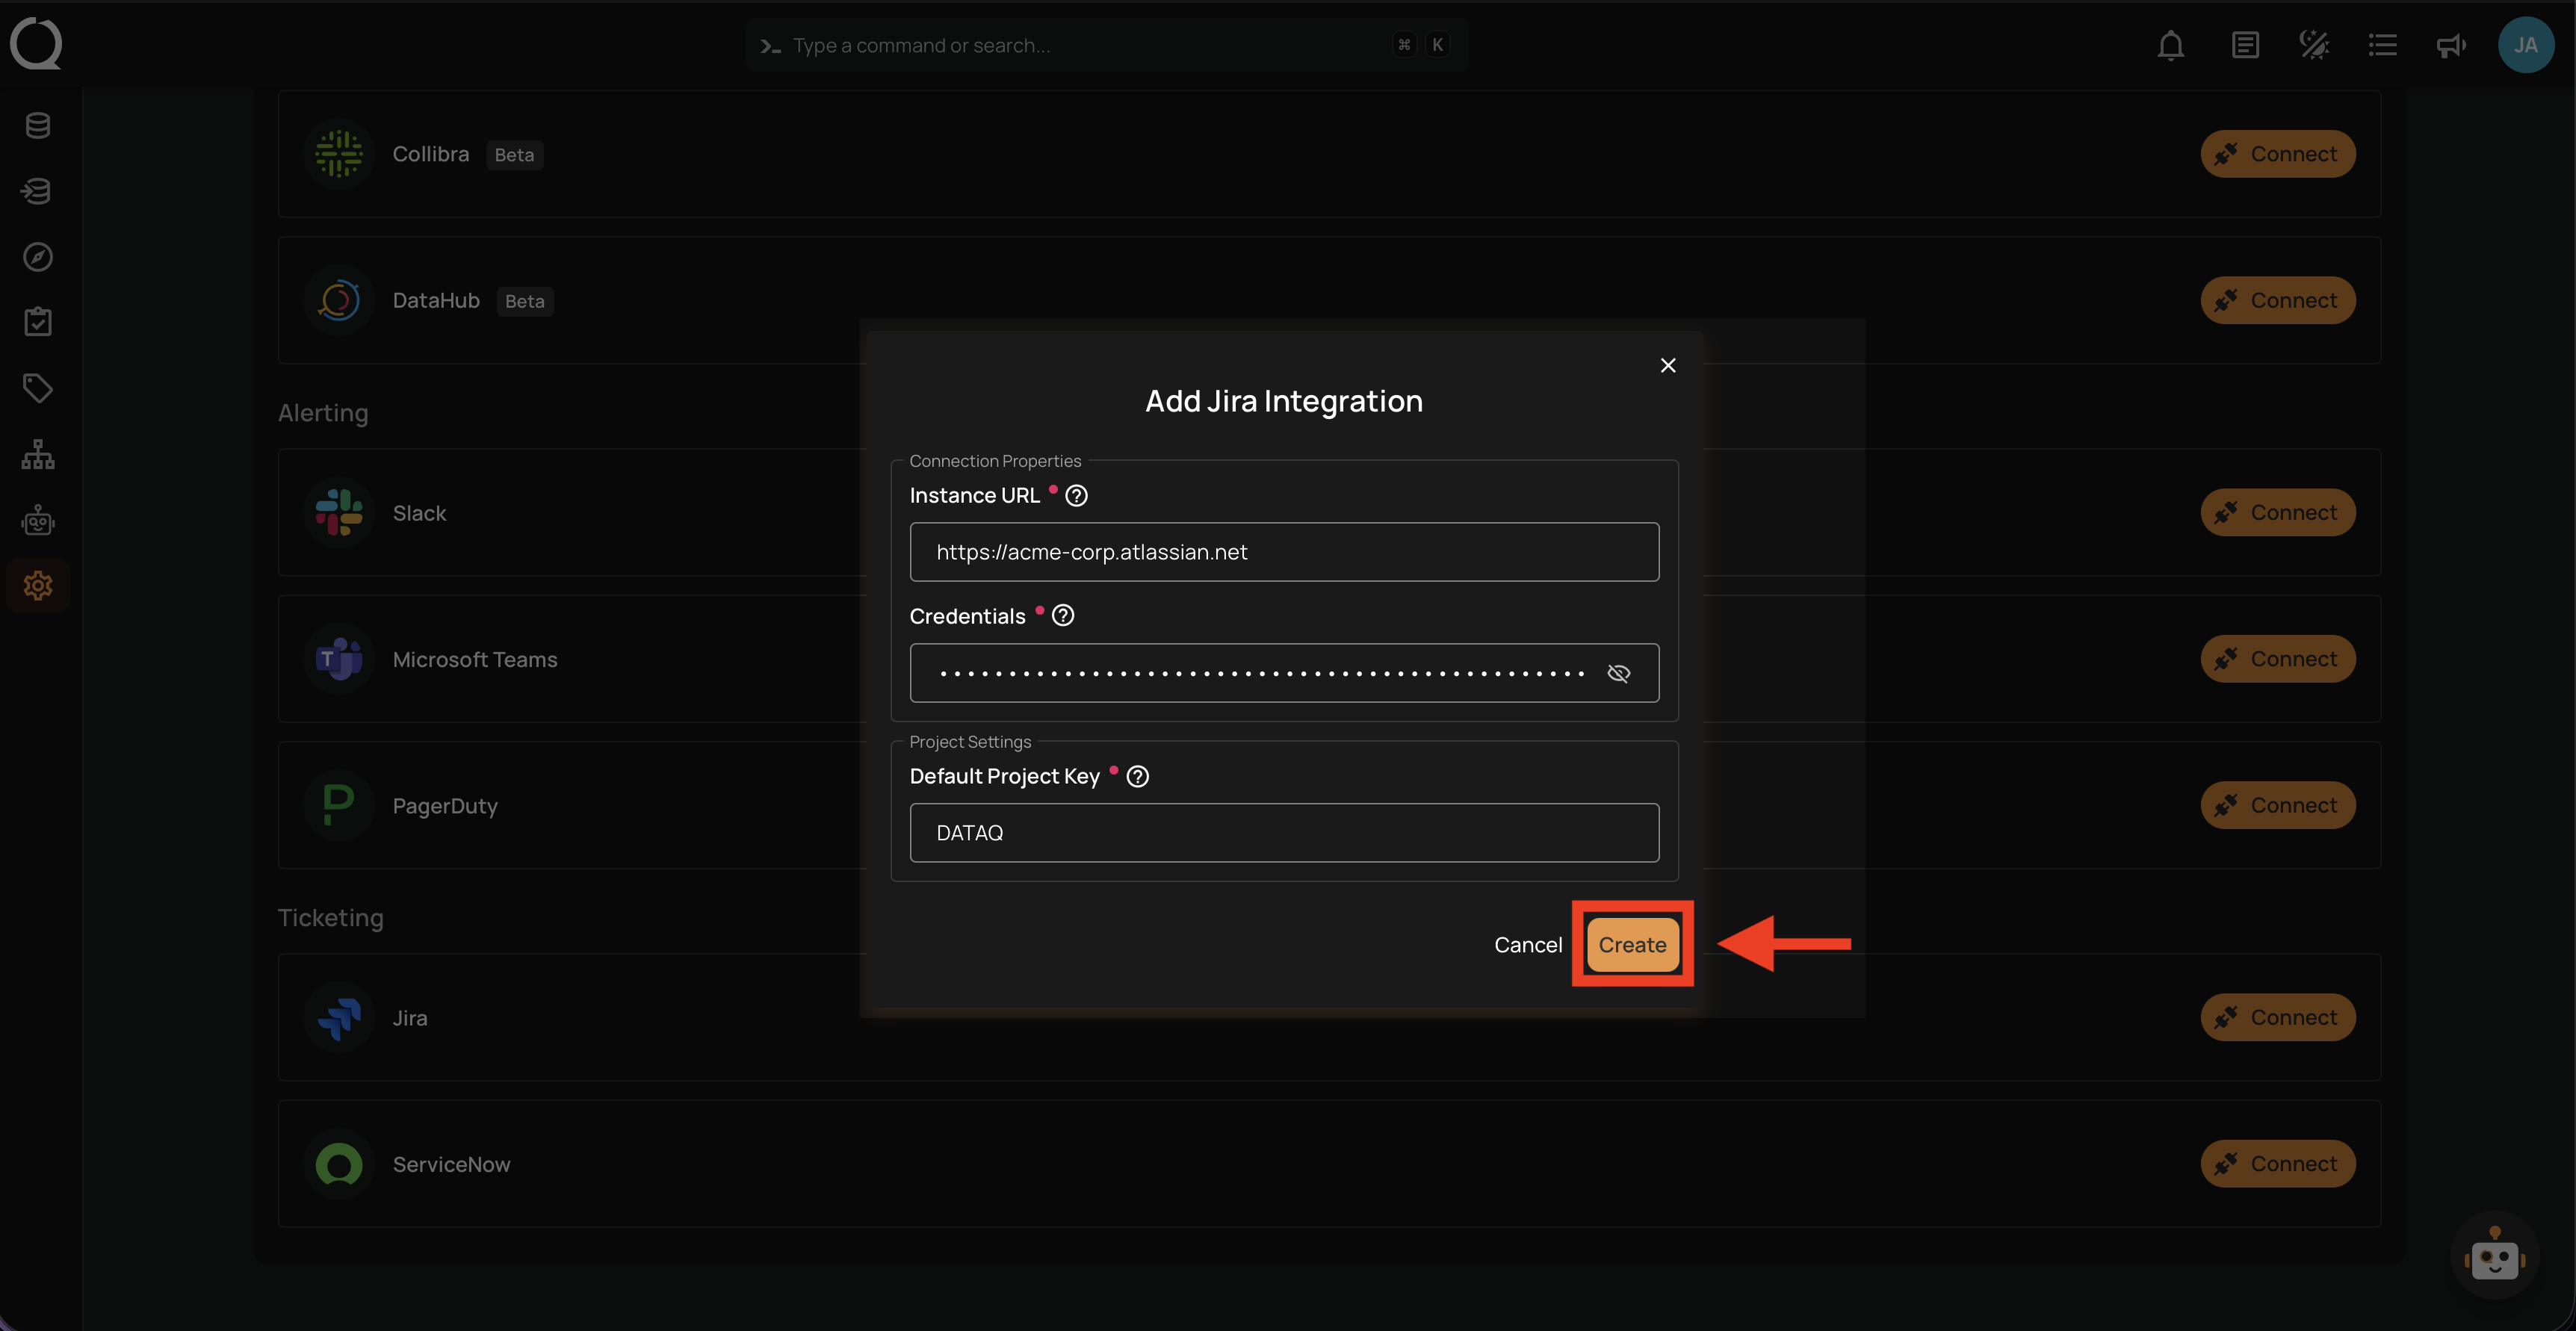
Step 3: Click the Create button to validate and store the credentials.
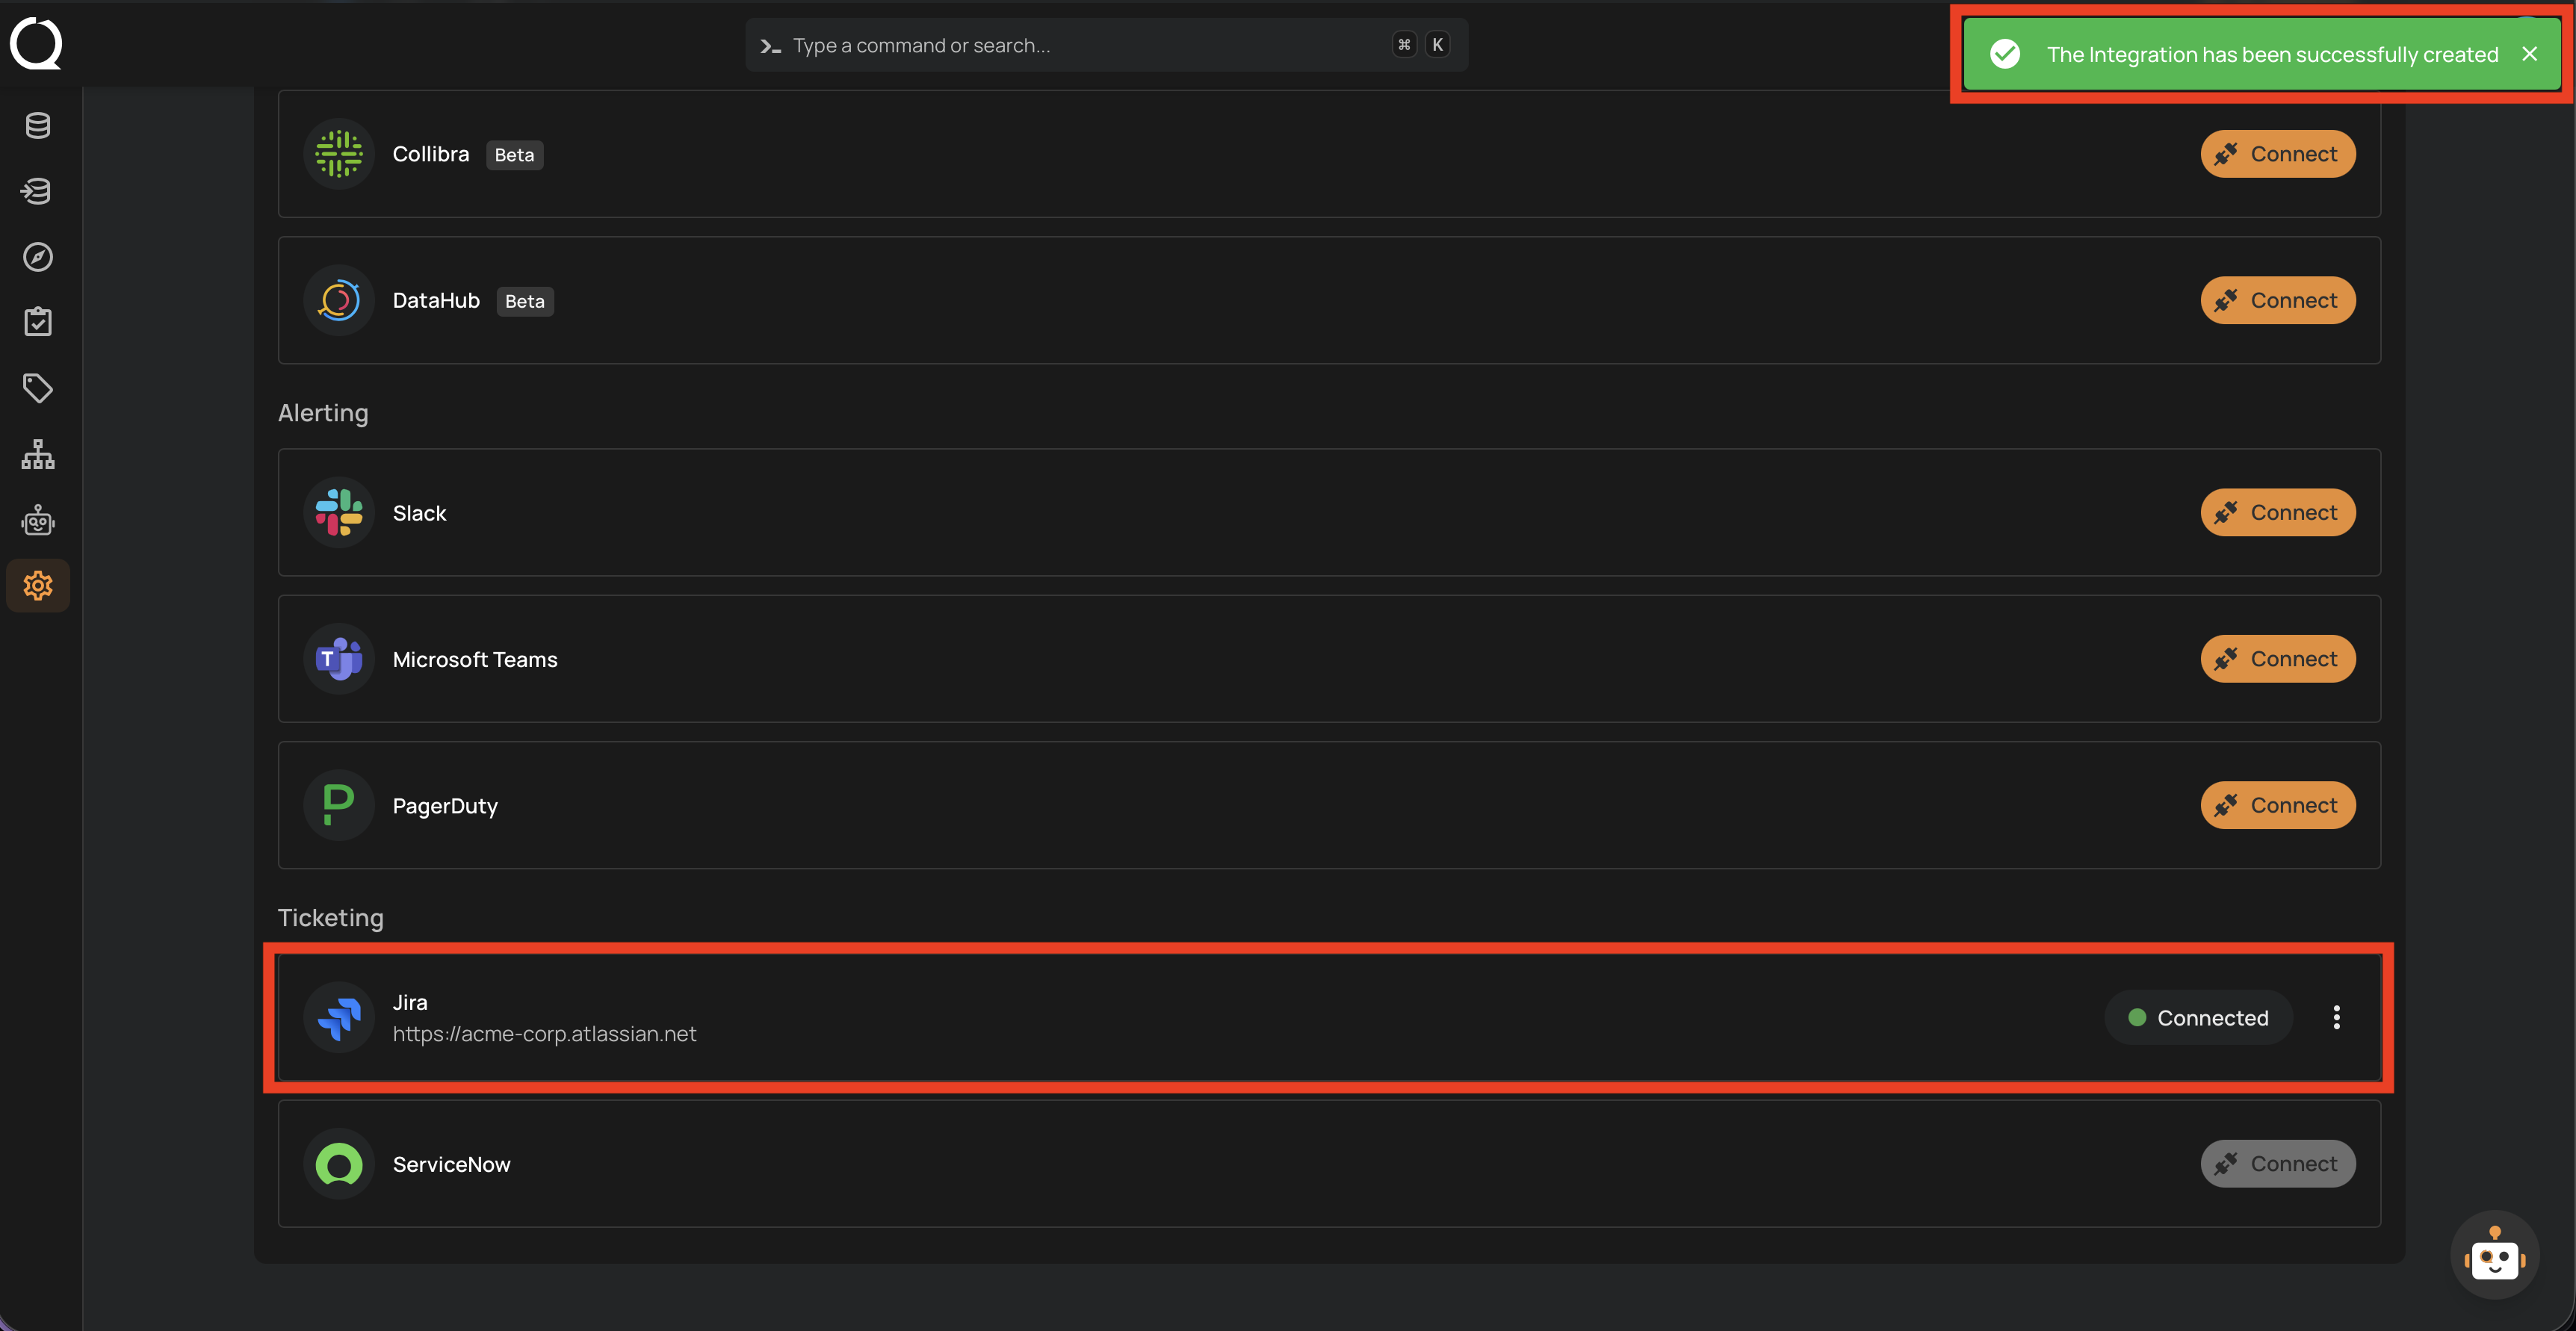
Step 4: A success message appears and the Jira entry shows as Connected with your instance URL.
Test the Connection
After saving, the connection status should show as Connected. If you encounter errors, verify:
- Instance URL is correct and includes
https://(no trailing slash) - Credentials are in the correct format (
email:api_token) - API token is valid and not expired
- Default Project Key matches an existing project where the account has access
- Account has required permissions in Jira