Create a Filter Preset
Save your current filter selection as a named filter preset that you can reuse and share. You can open the create dialog from two places in the Saved Filters area:
- The Save as new preset icon next to the Saved Filters label, visible only when at least one filter is applied.
- The Add filter preset link at the bottom of the Saved Filters dropdown, always available.
Name must be unique across the workspace
Filter preset names are shared across the workspace. If a preset with the same name already exists, the dialog shows an error and the preset is not created. Pick a different name to retry.
Fields
The Add Filter Preset dialog has the following fields:
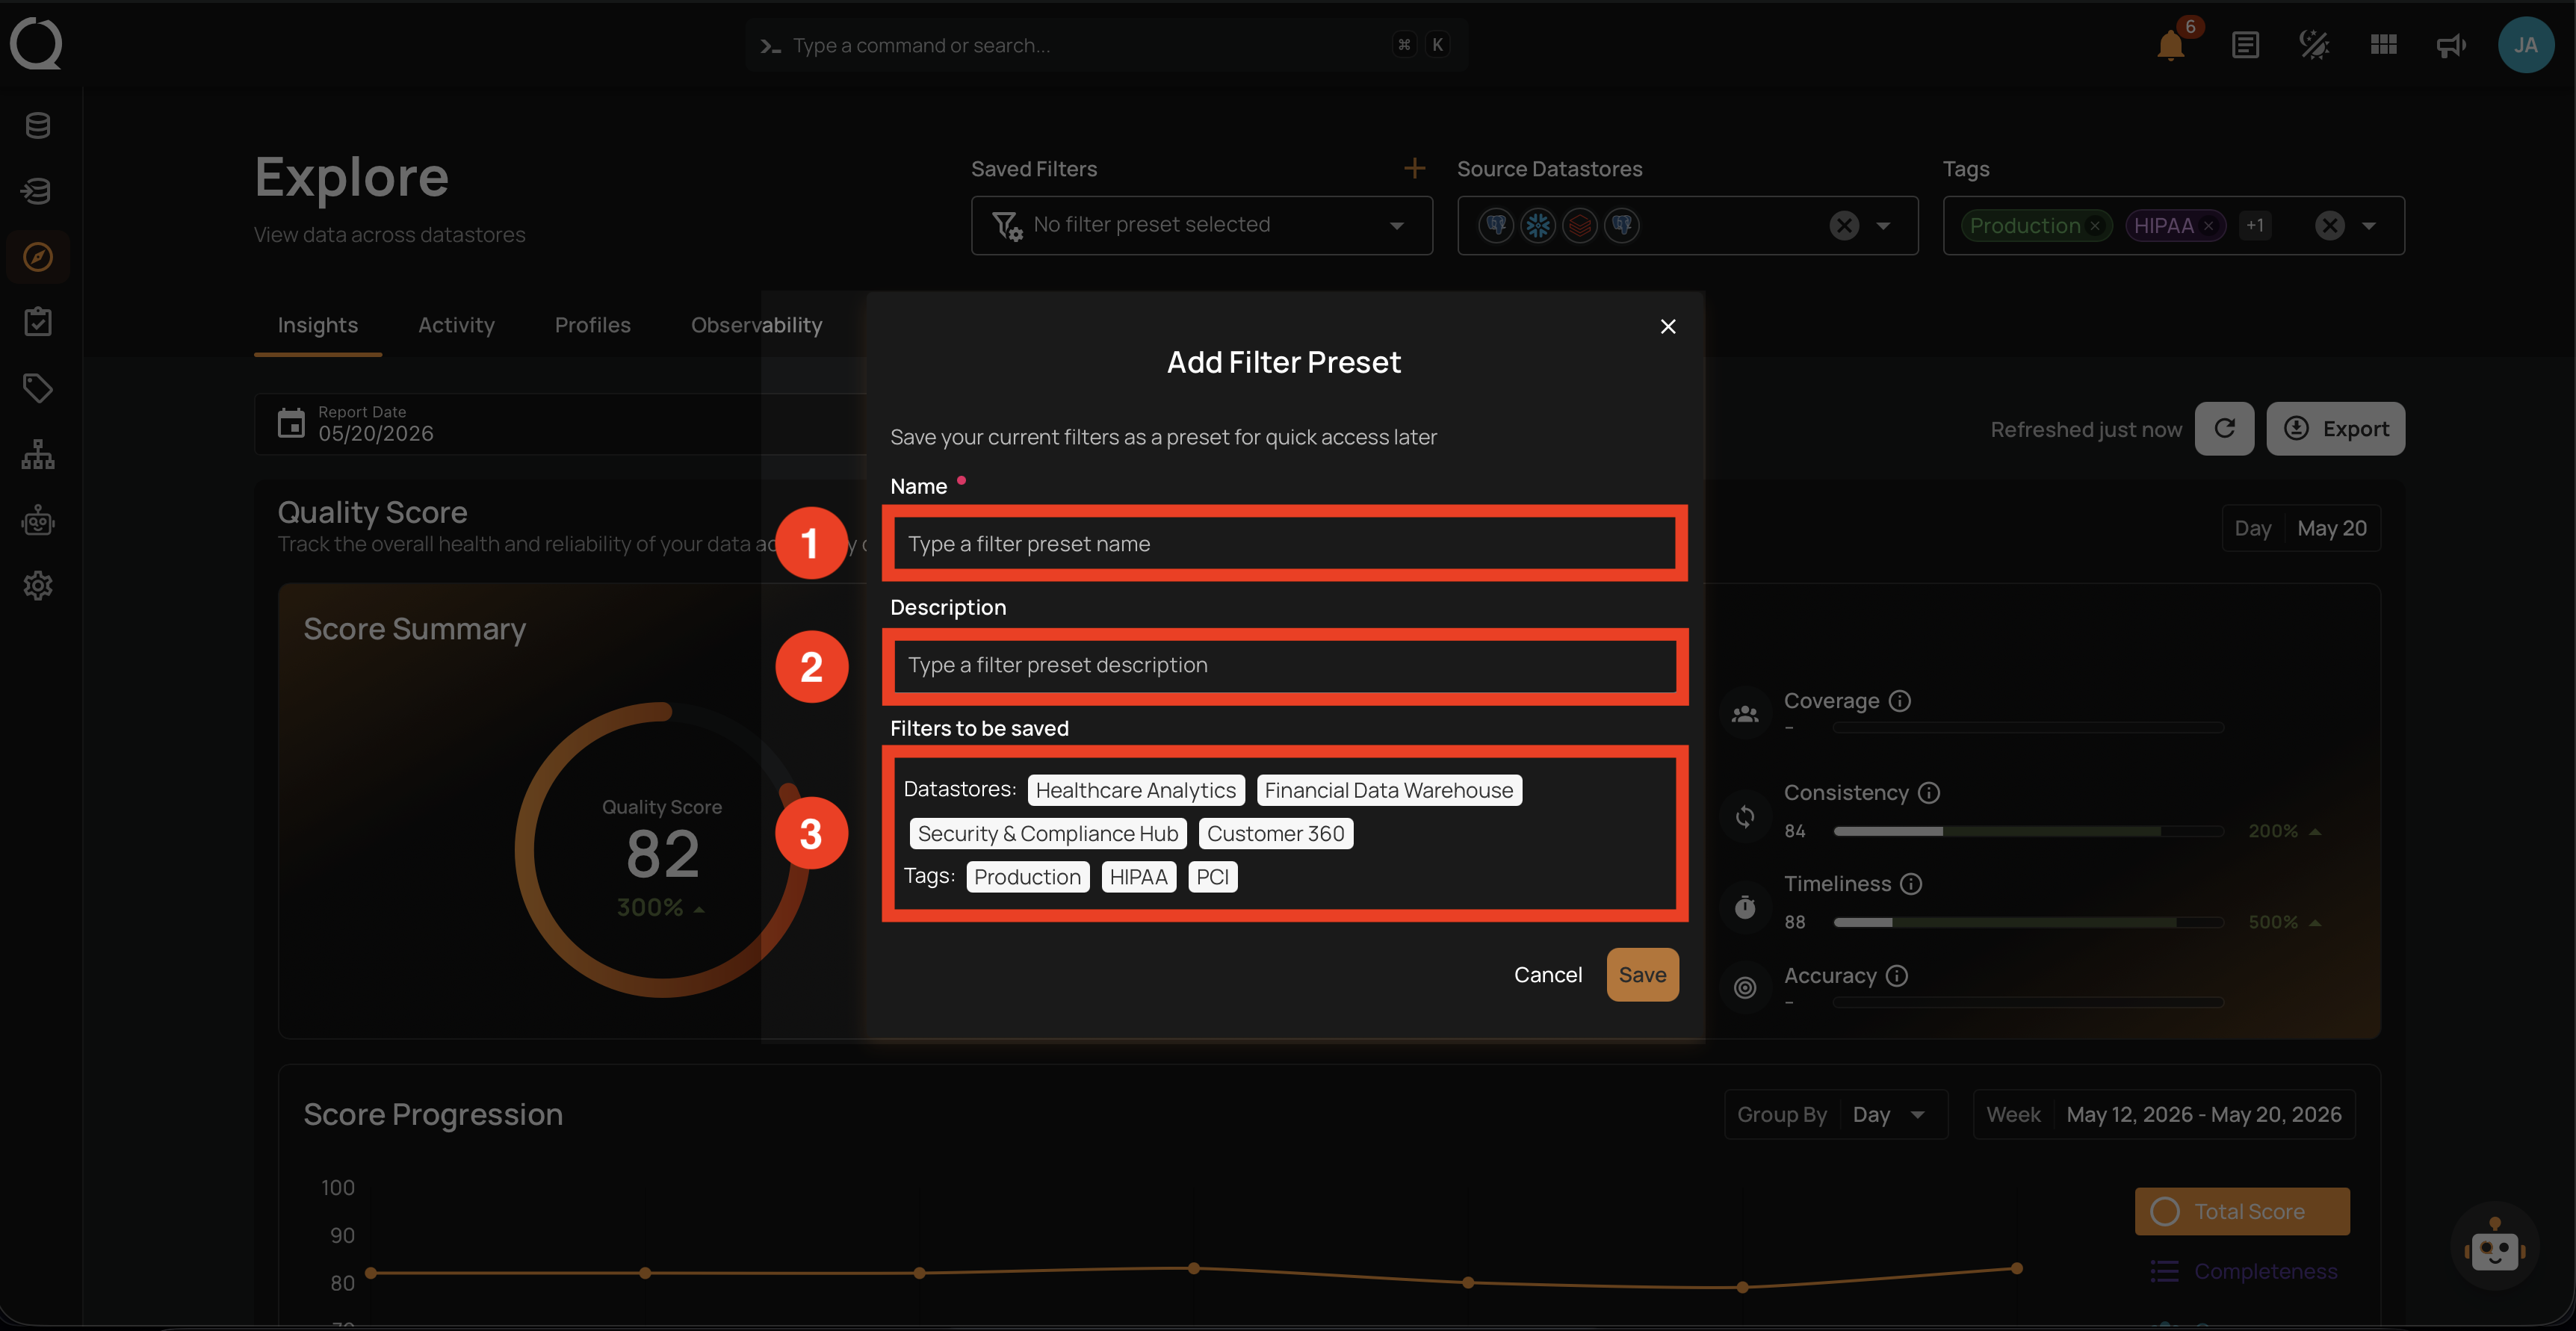
| No | Field | Description |
|---|---|---|
| 1. | Name | A descriptive name for the preset. Required. Must be unique across the workspace, maximum 255 characters. |
| 2. | Description | Optional free-text description that appears under the preset name in the Saved Filters dropdown. |
| 3. | Filters to be saved | The datastores and tags currently applied to the filter bar. These are captured when you click Save and become the preset's saved selection. |
Steps
Step 1: With at least one datastore or tag applied in the filter bar, click the Save as new preset icon next to the Saved Filters label.
![]()
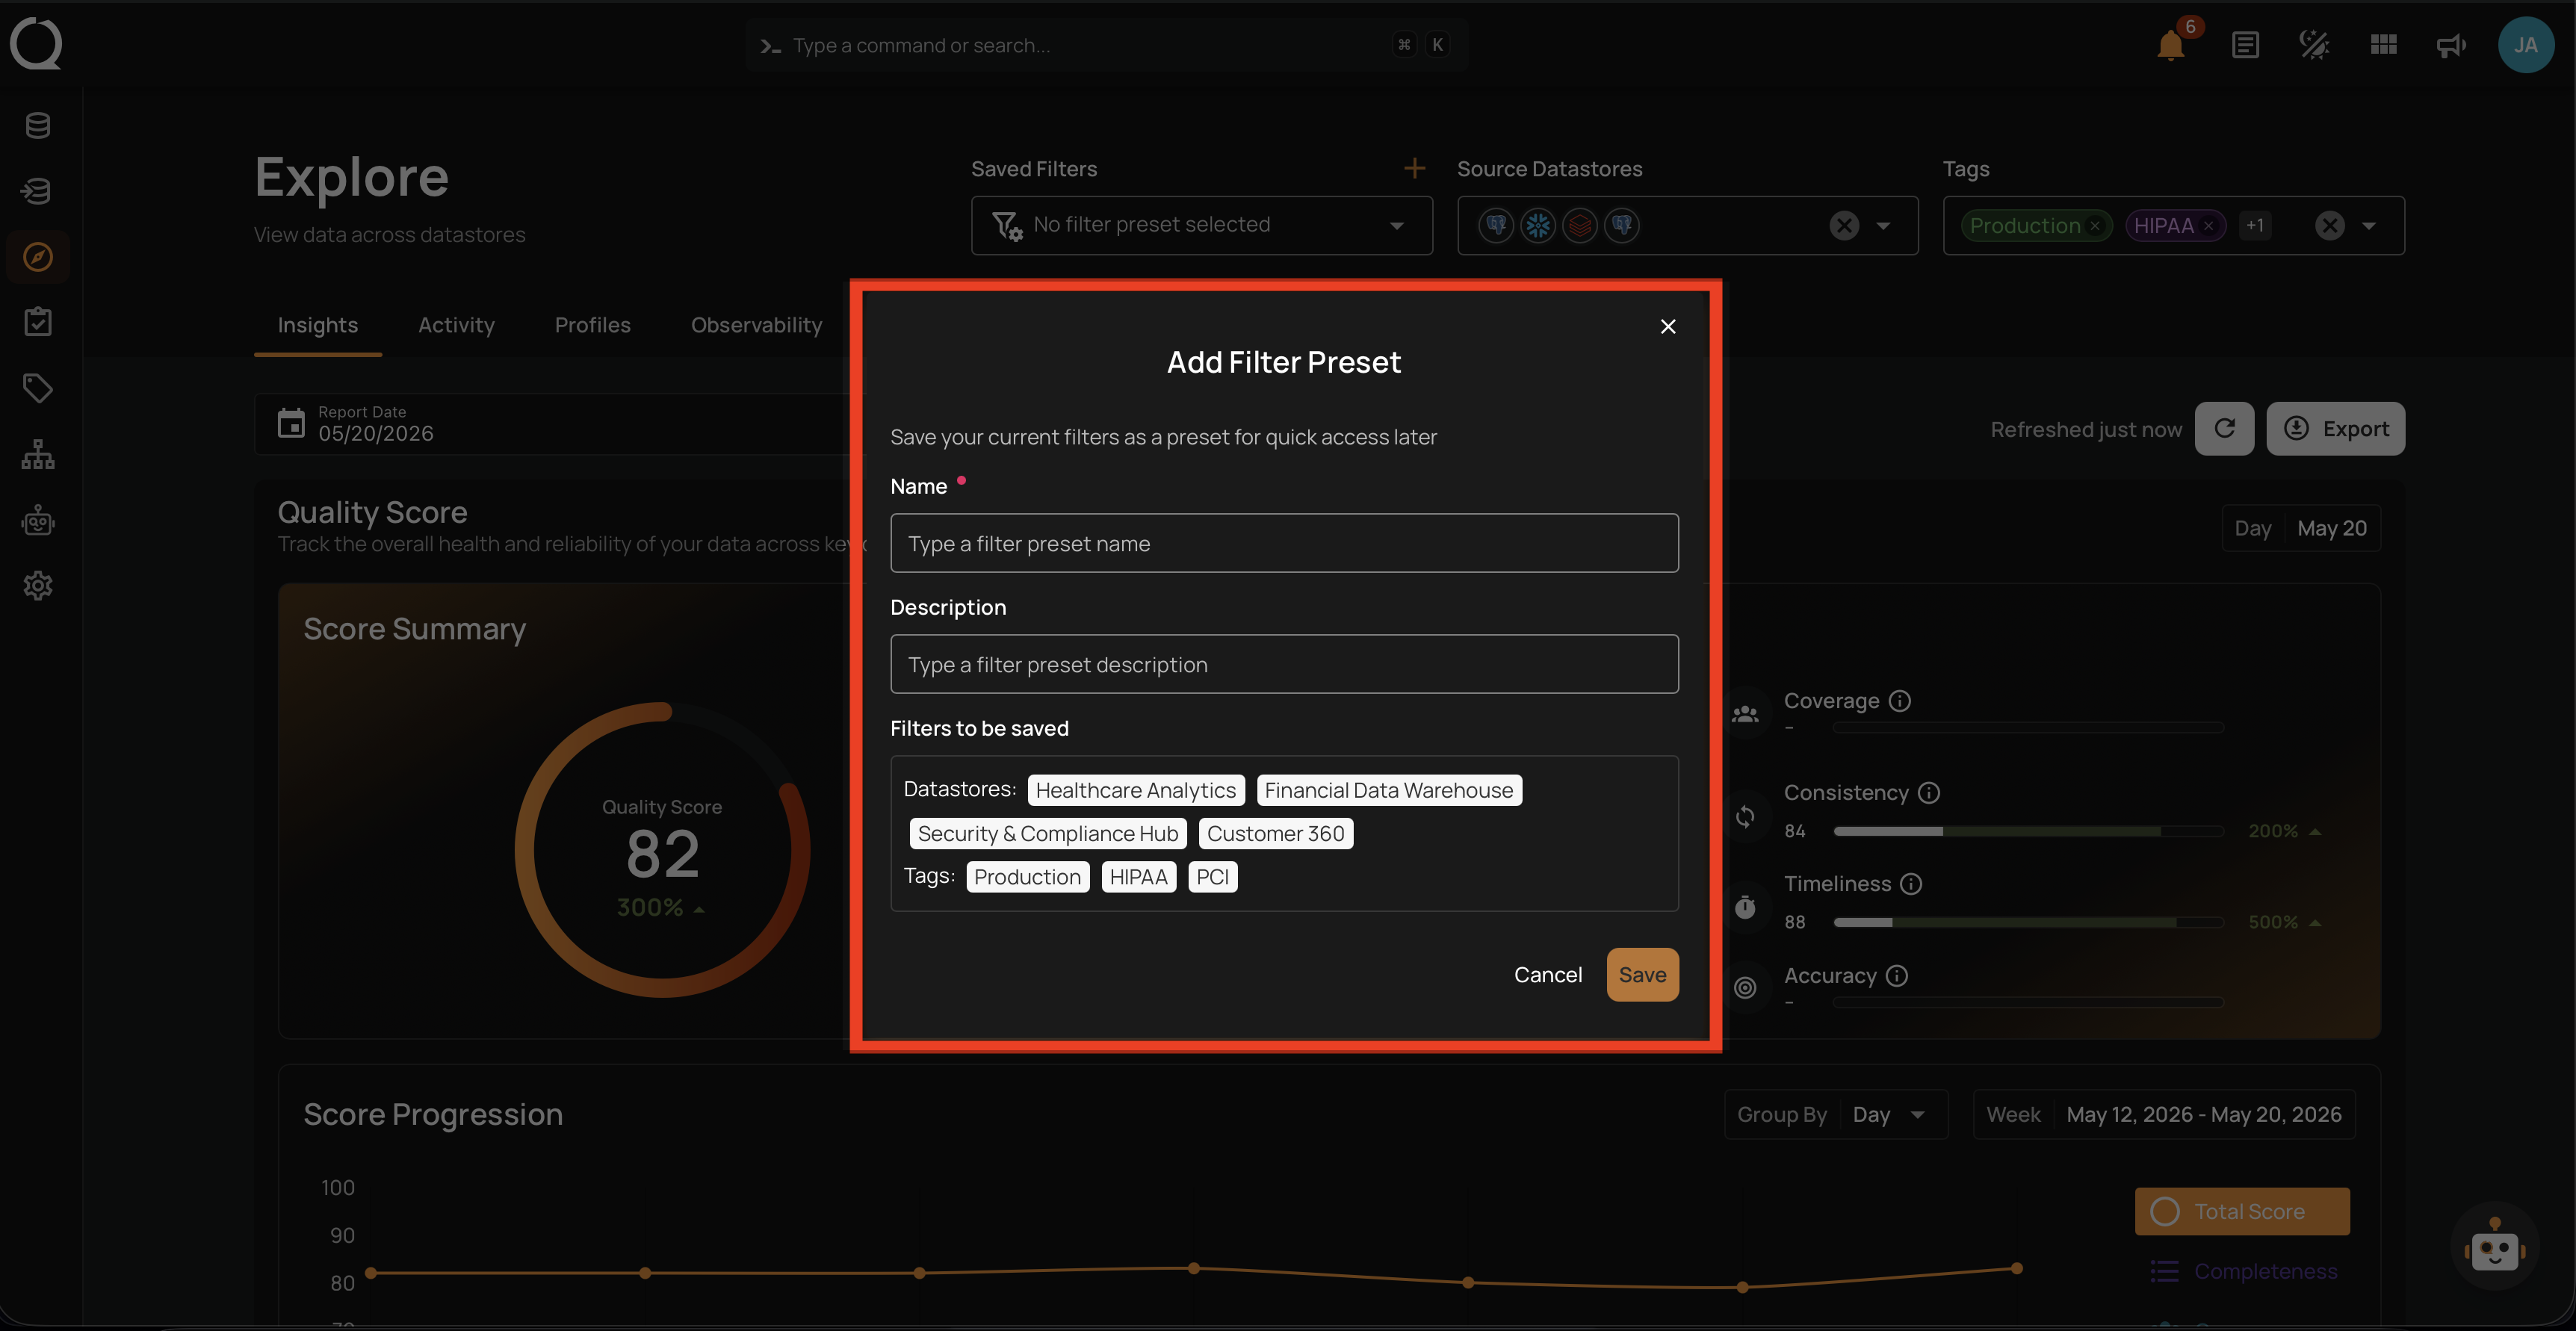
Step 2: The Add Filter Preset dialog opens.
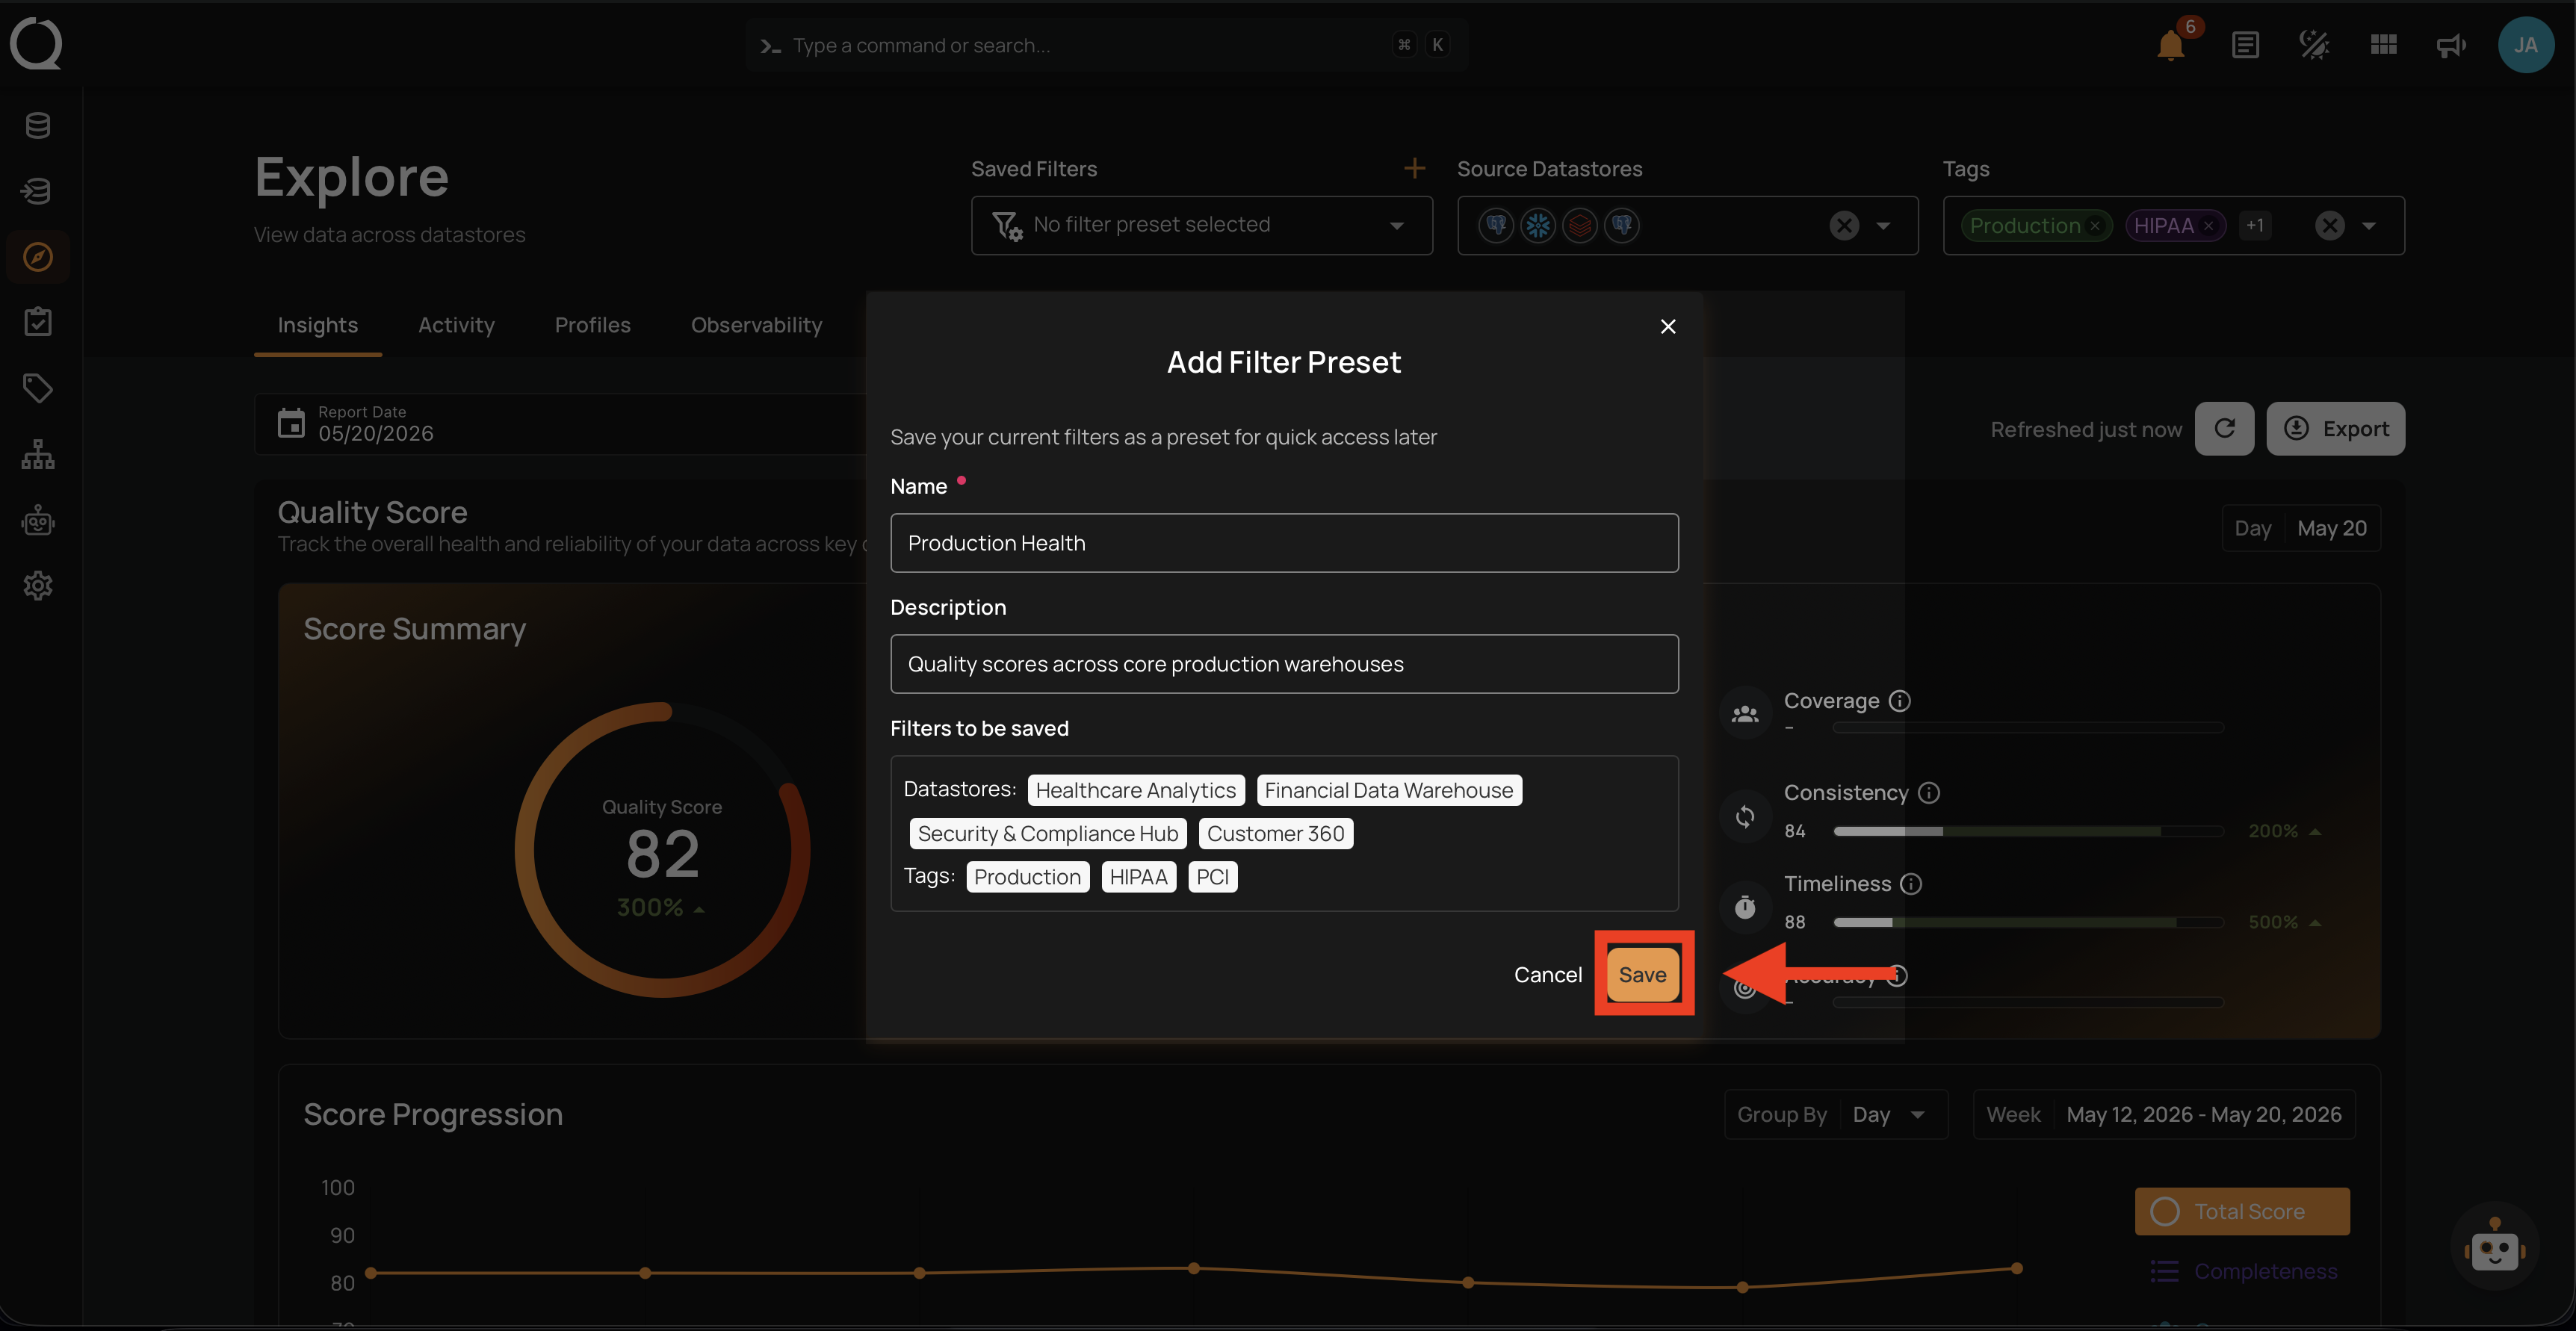
Step 3: Enter a Name and an optional Description, then click Save.
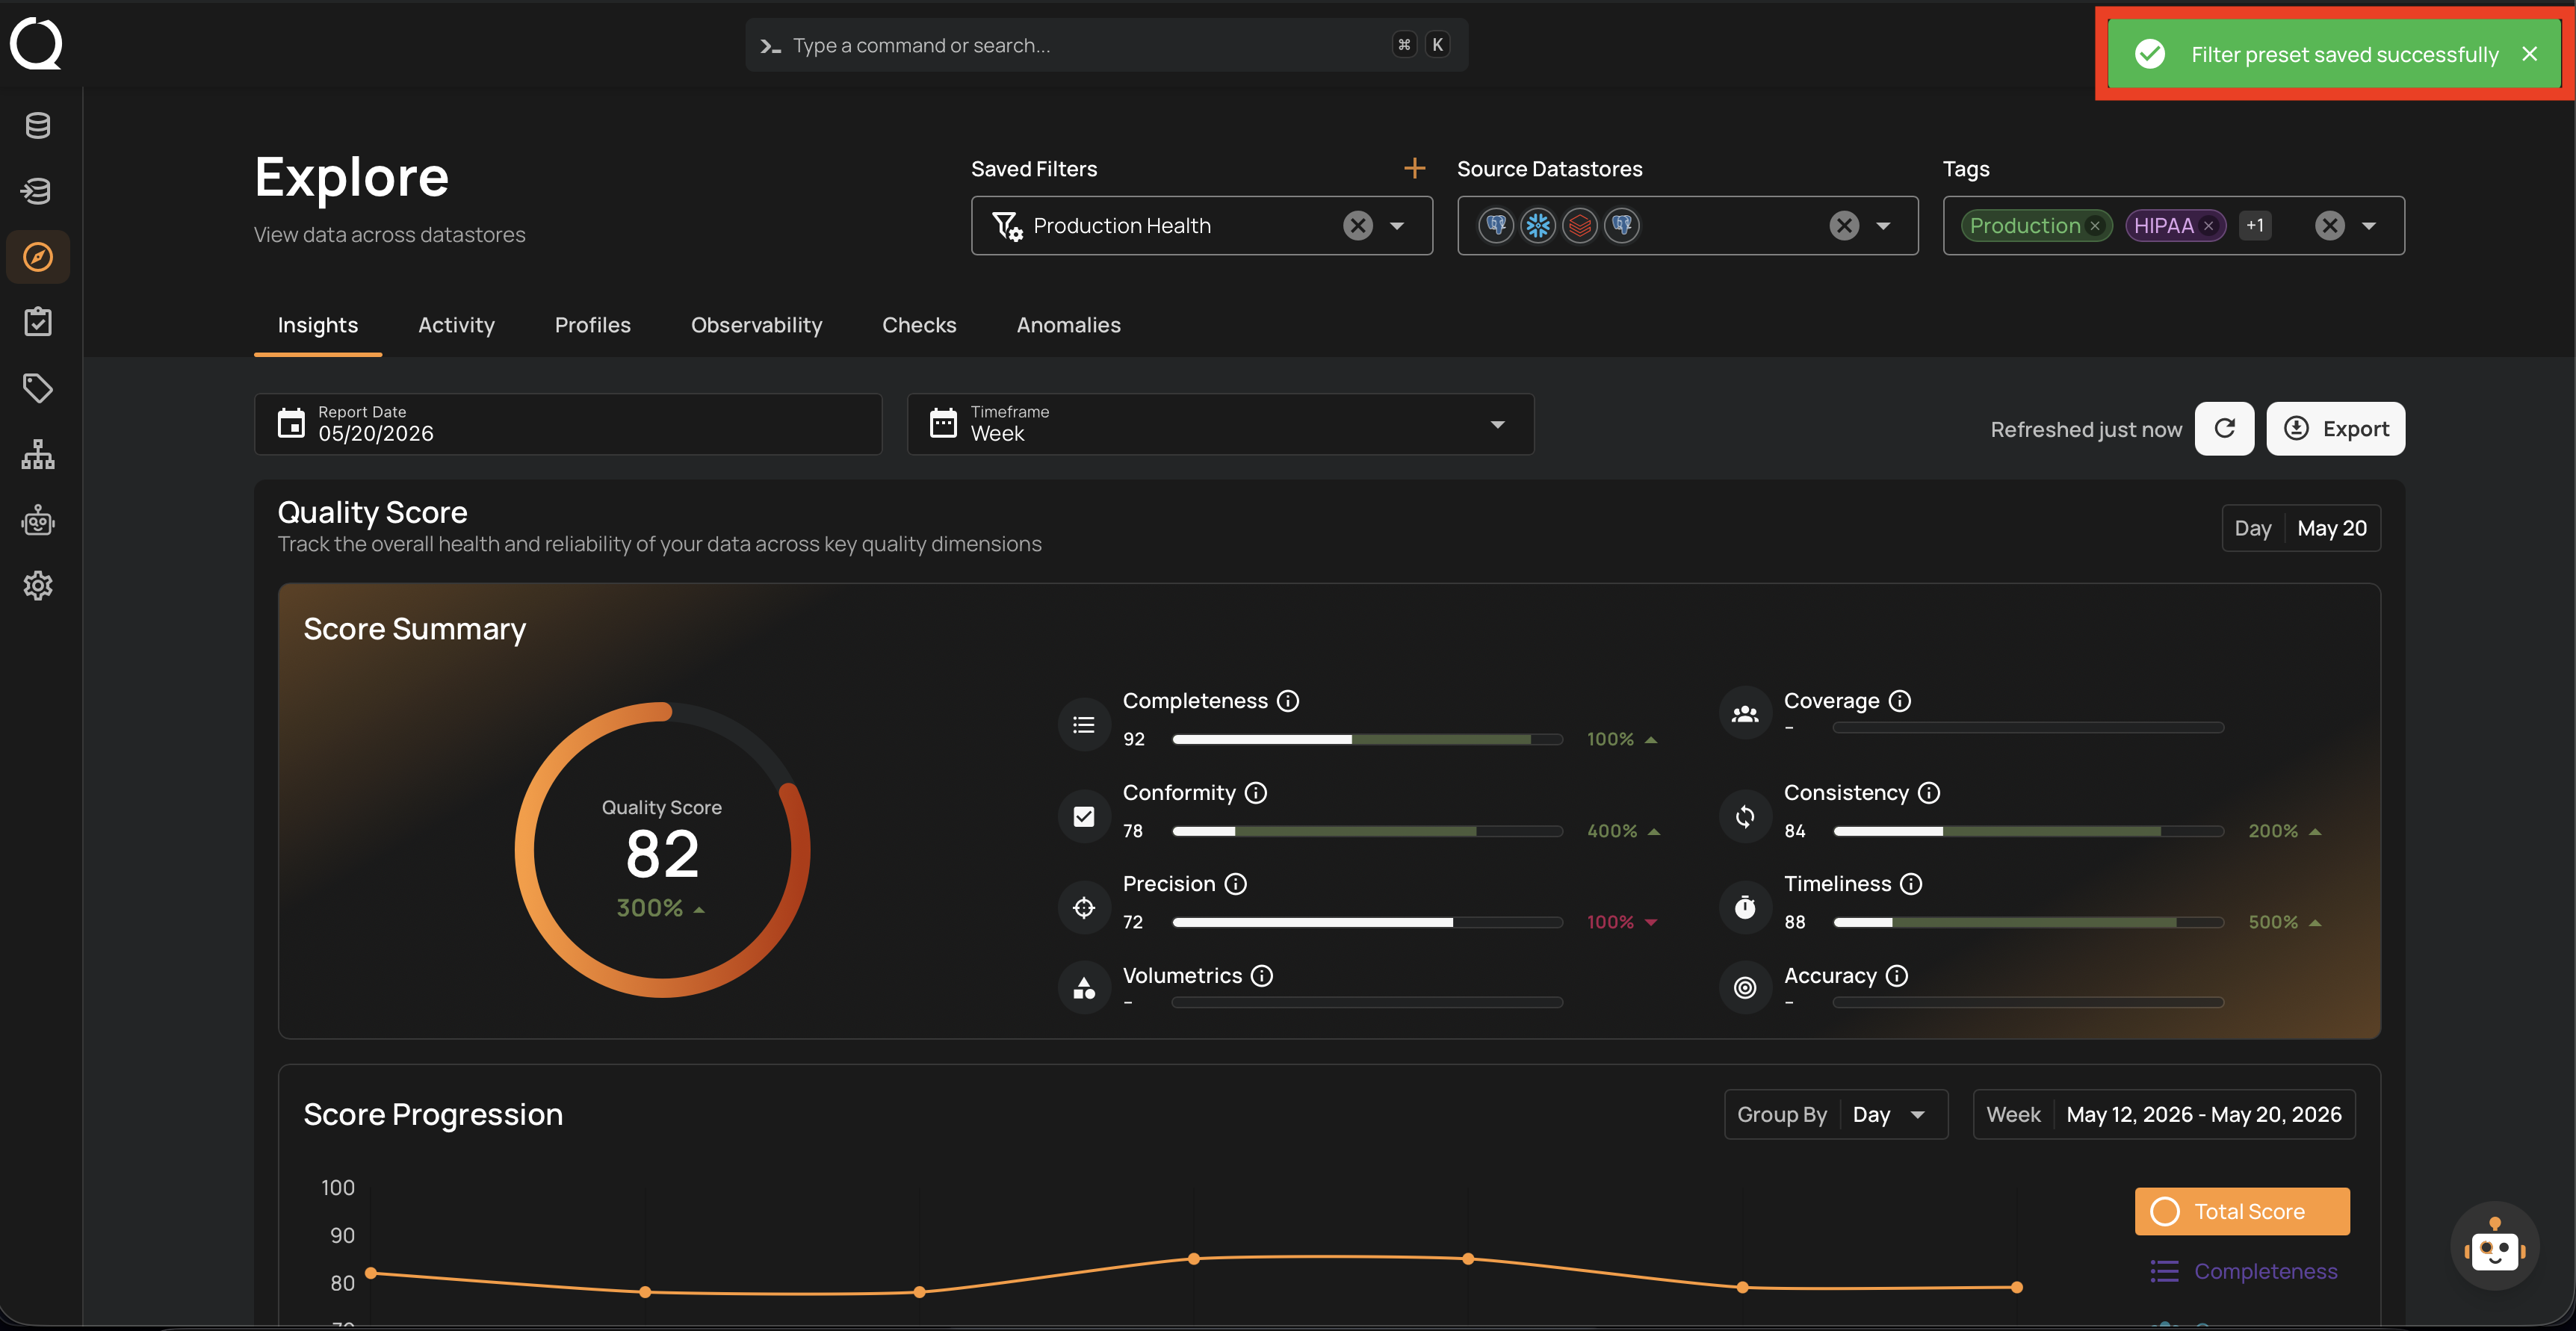
Step 4: A success message appears, and the new preset is selected in the Saved Filters dropdown.
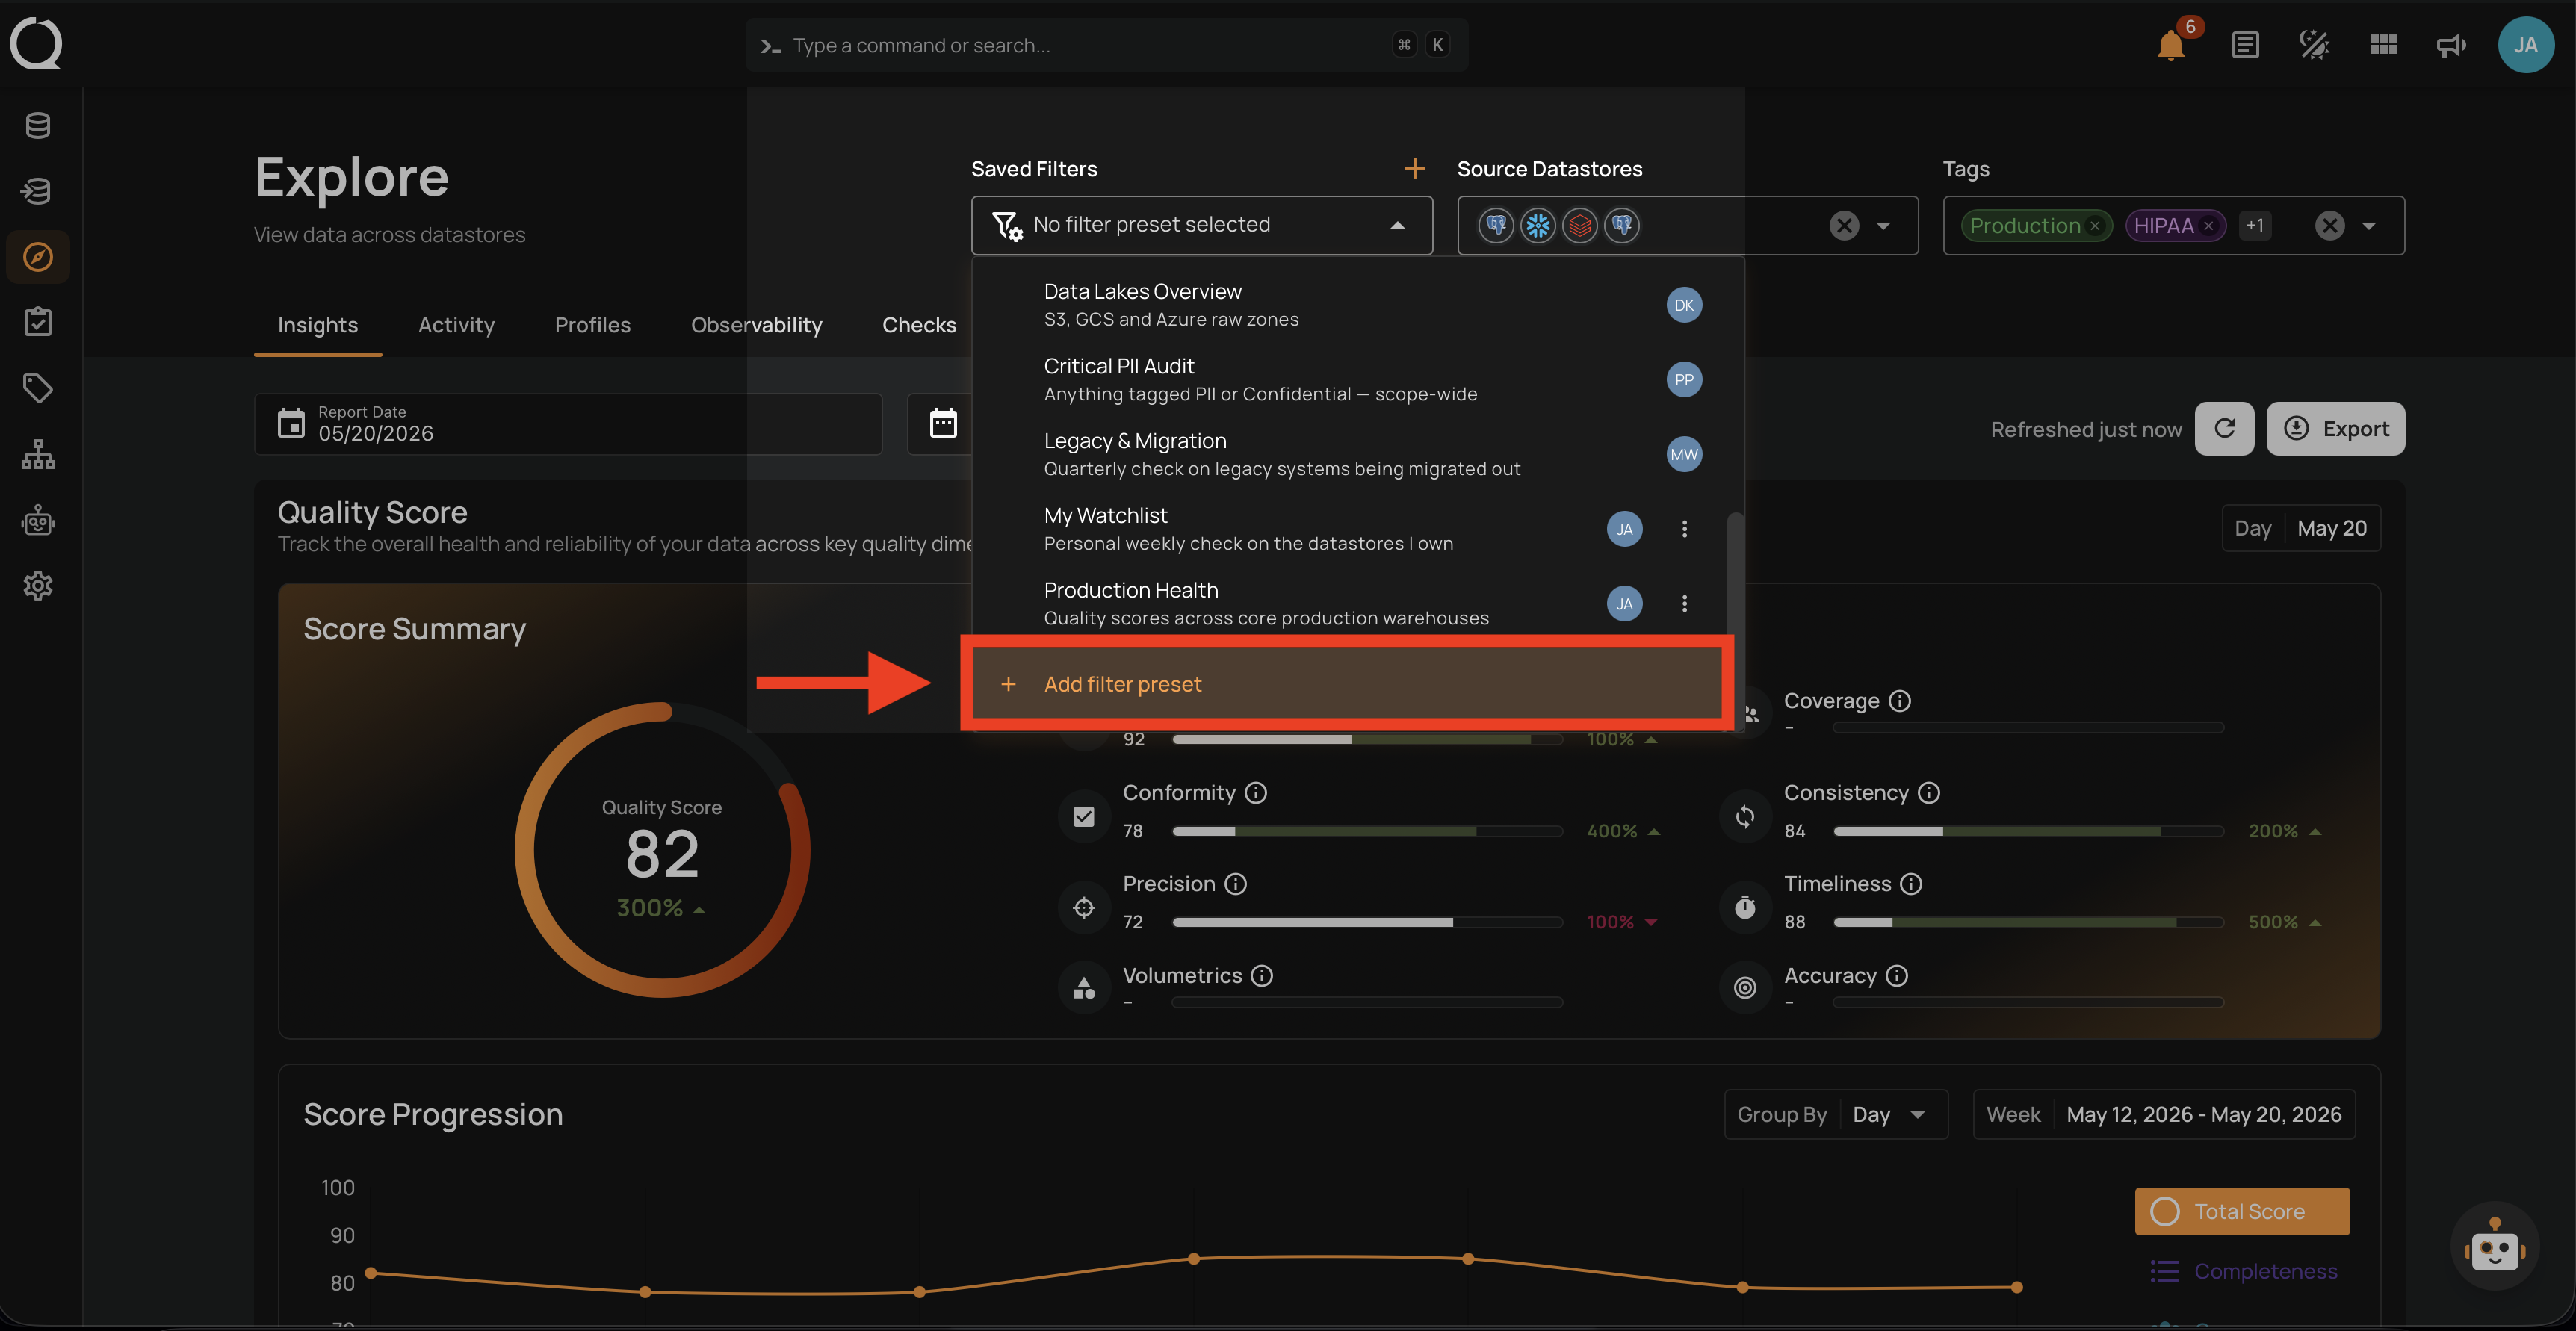
Step 1: Locate the Saved Filters area in the Explore page filter bar.
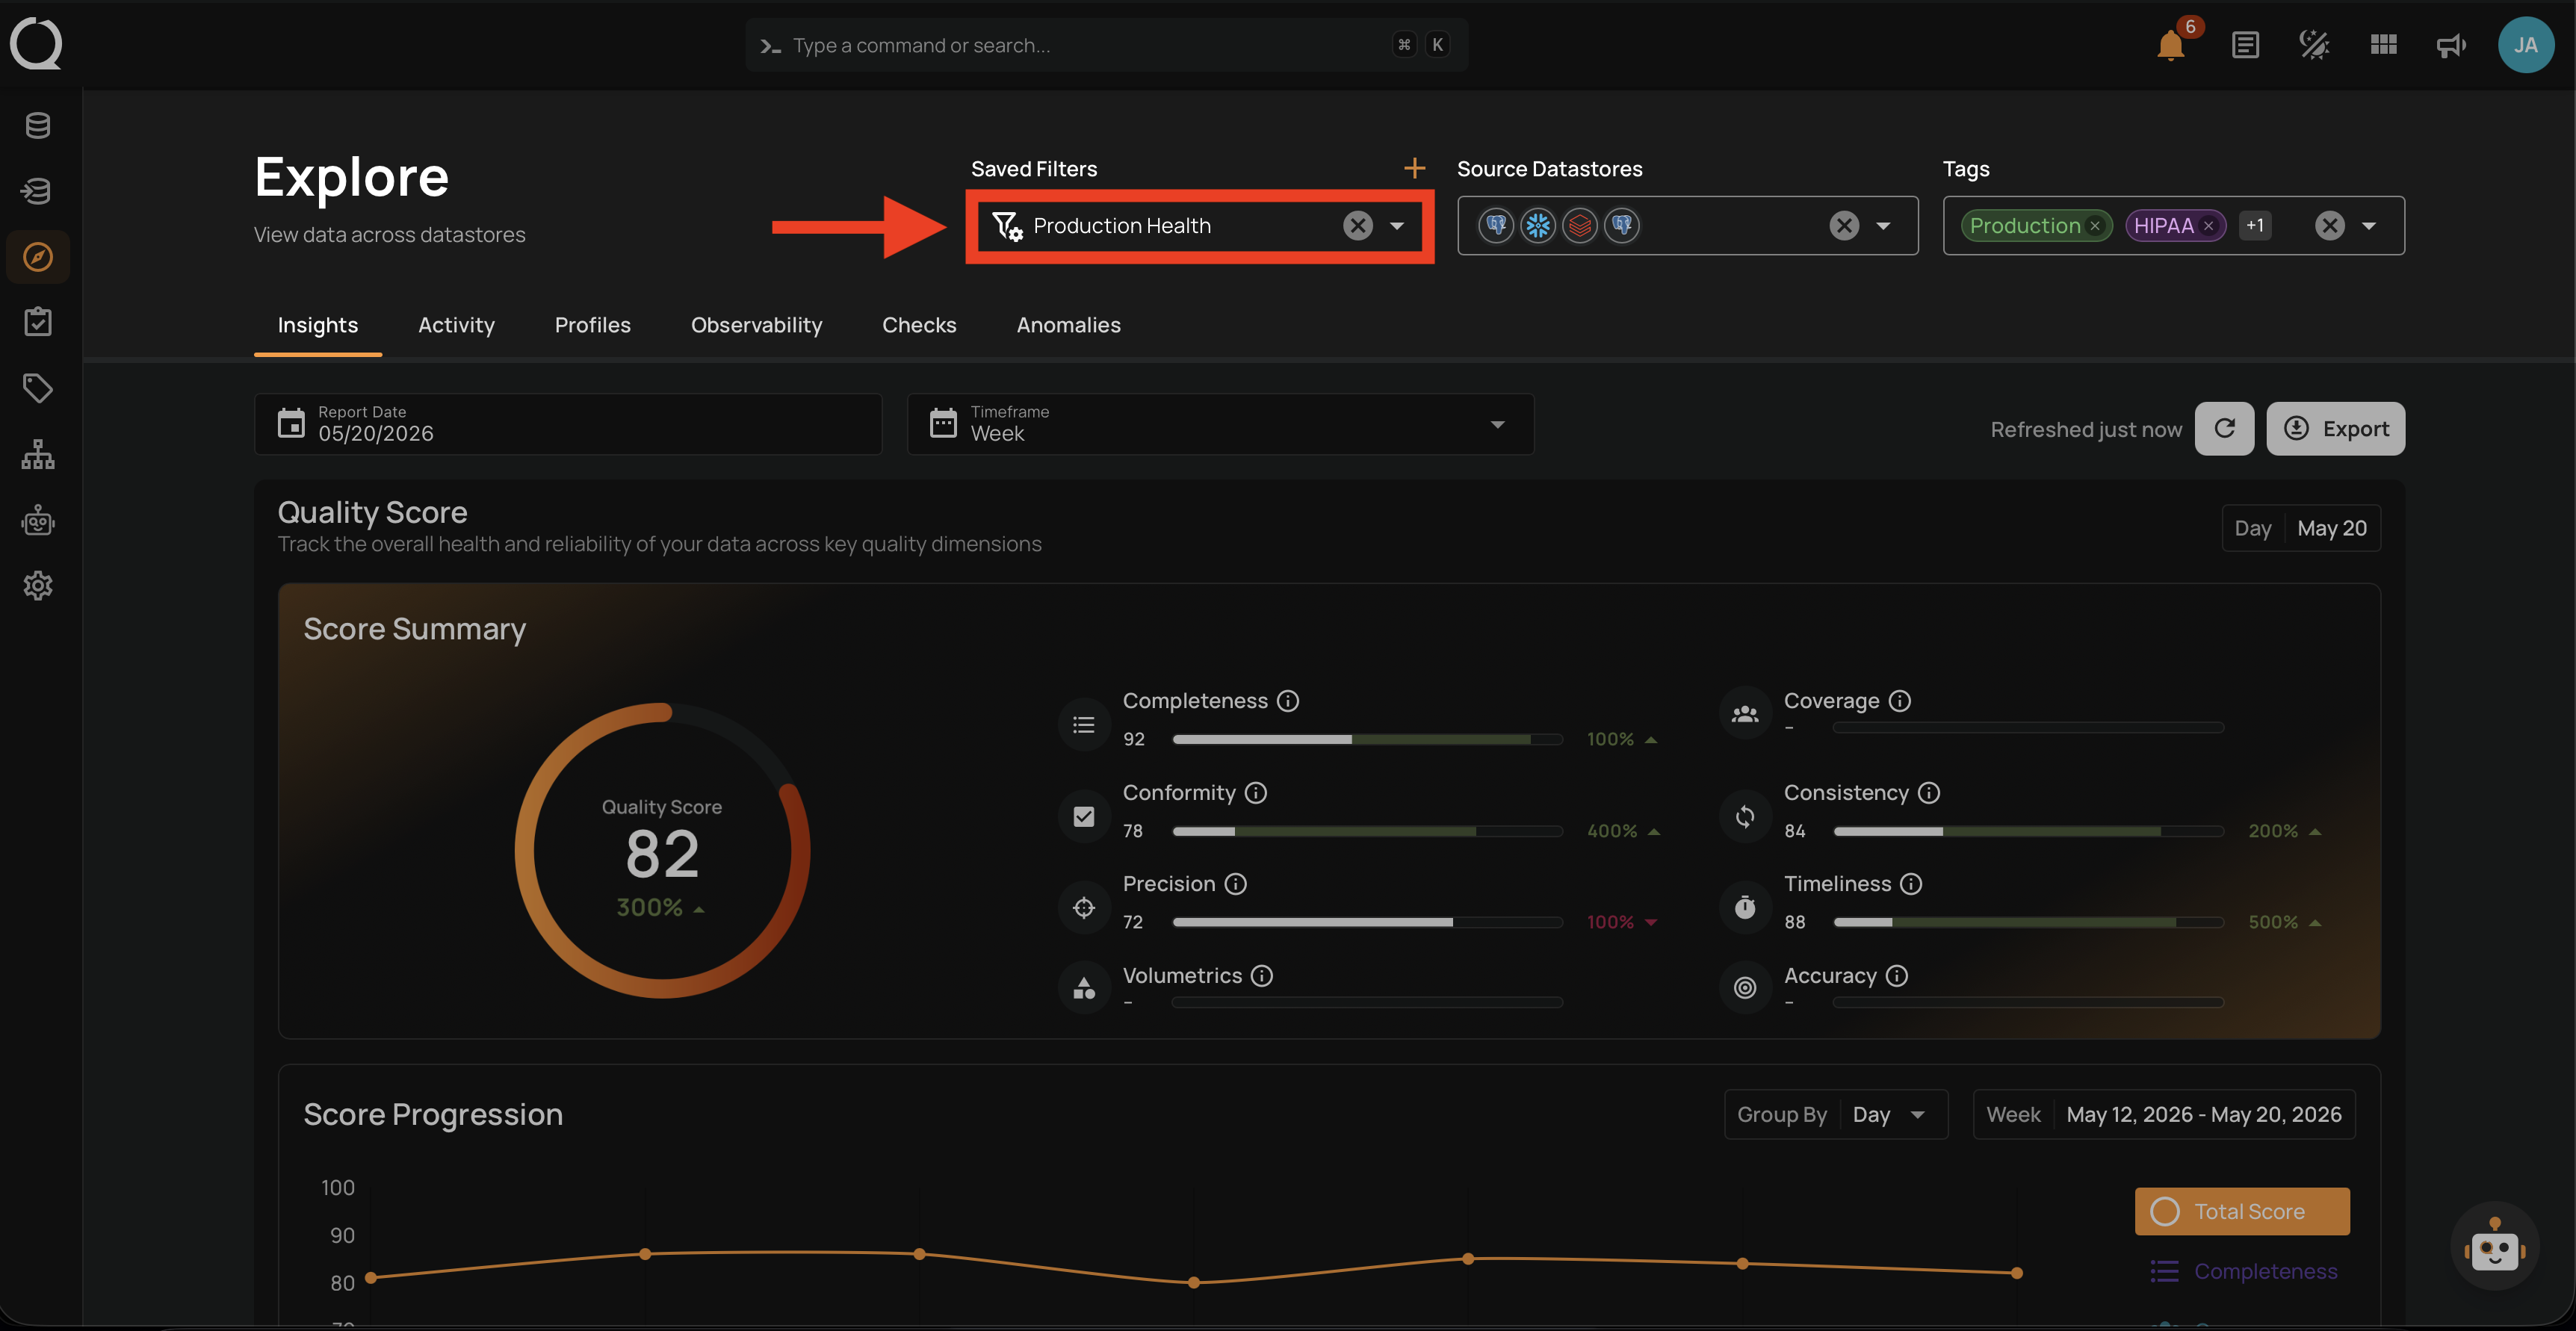
Step 2: Open the Saved Filters dropdown.
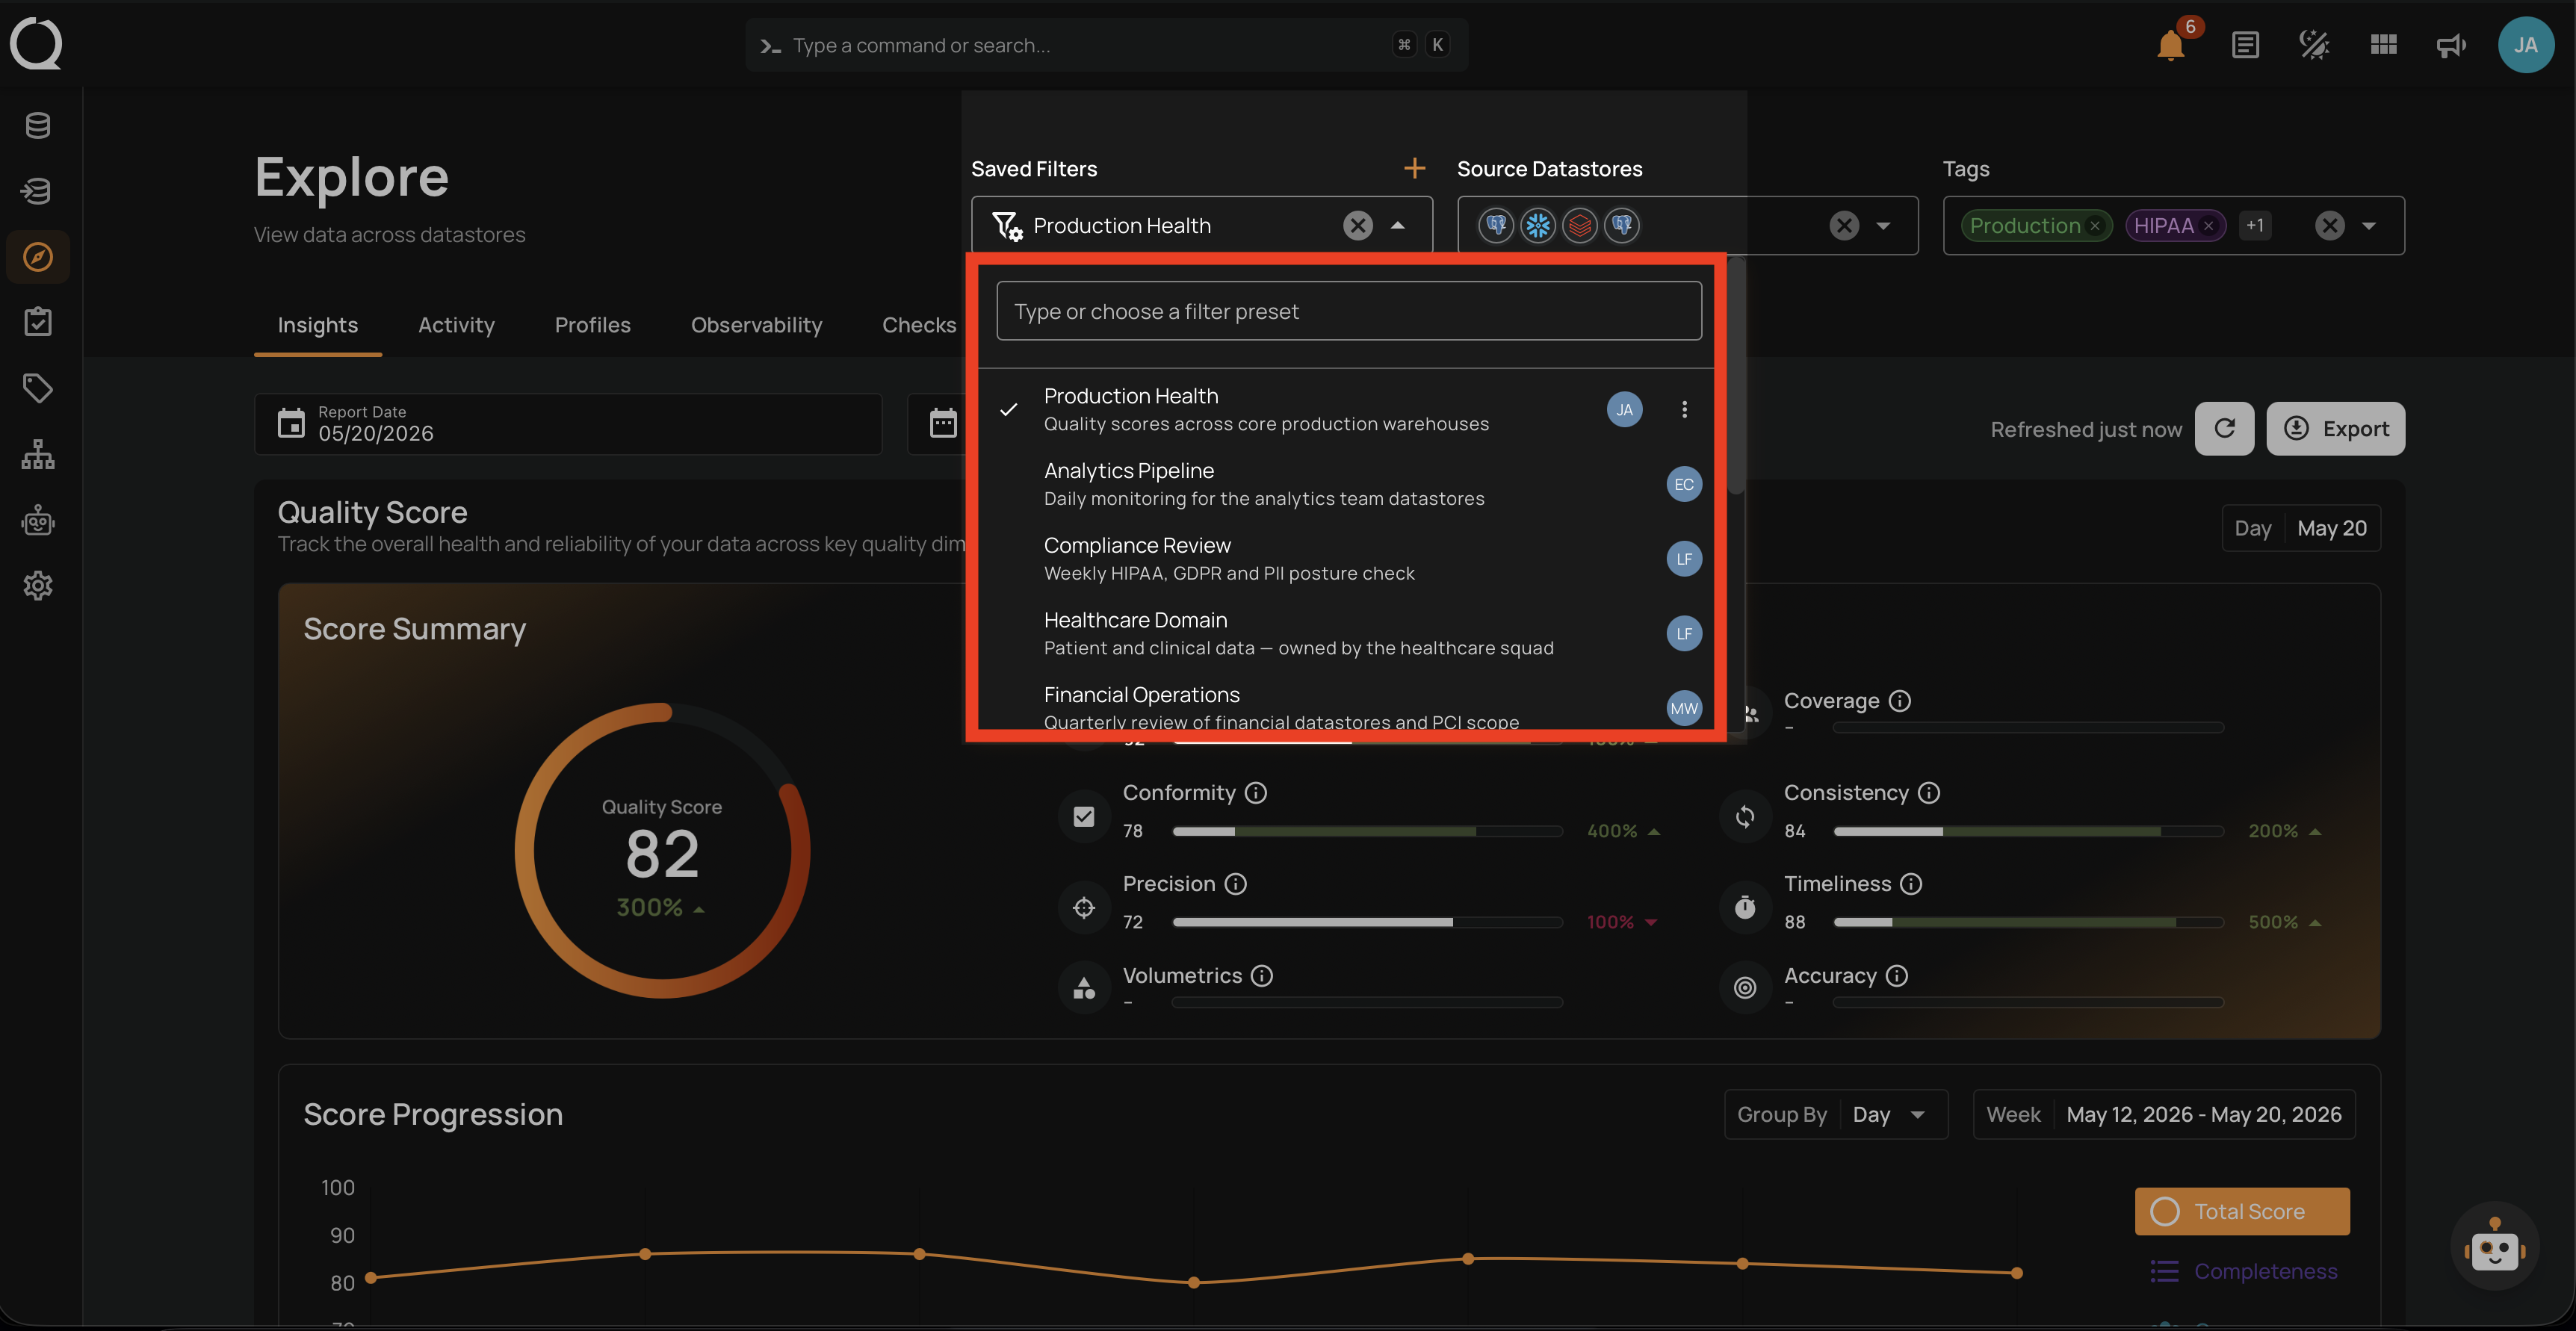
Step 3: Click Add filter preset at the bottom of the dropdown.
Step 4: The Add Filter Preset dialog opens.
Step 5: Enter a Name and an optional Description, then click Save.
Step 6: A success message appears, and the new preset is selected in the Saved Filters dropdown.