Mask a Field
Masking a field hides its actual values across the platform while keeping the field fully operational. This is useful for fields that contain sensitive data (e.g., PII, financial data) that should be protected but still monitored for quality.
Only fields with Active status can be masked. This includes both regular fields and computed fields.
Tip
For a detailed explanation of how masking works, where it is applied, audit logging, and which fields cannot be masked, see Field Masking.
Mask a Field from the Container View
- Navigate to the container's field listing.
- Locate the field you want to mask.
-
Click the vertical ellipsis menu (⋮) on the field row.

-
Click the Mask option from the menu.

-
Confirm the masking in the dialog.

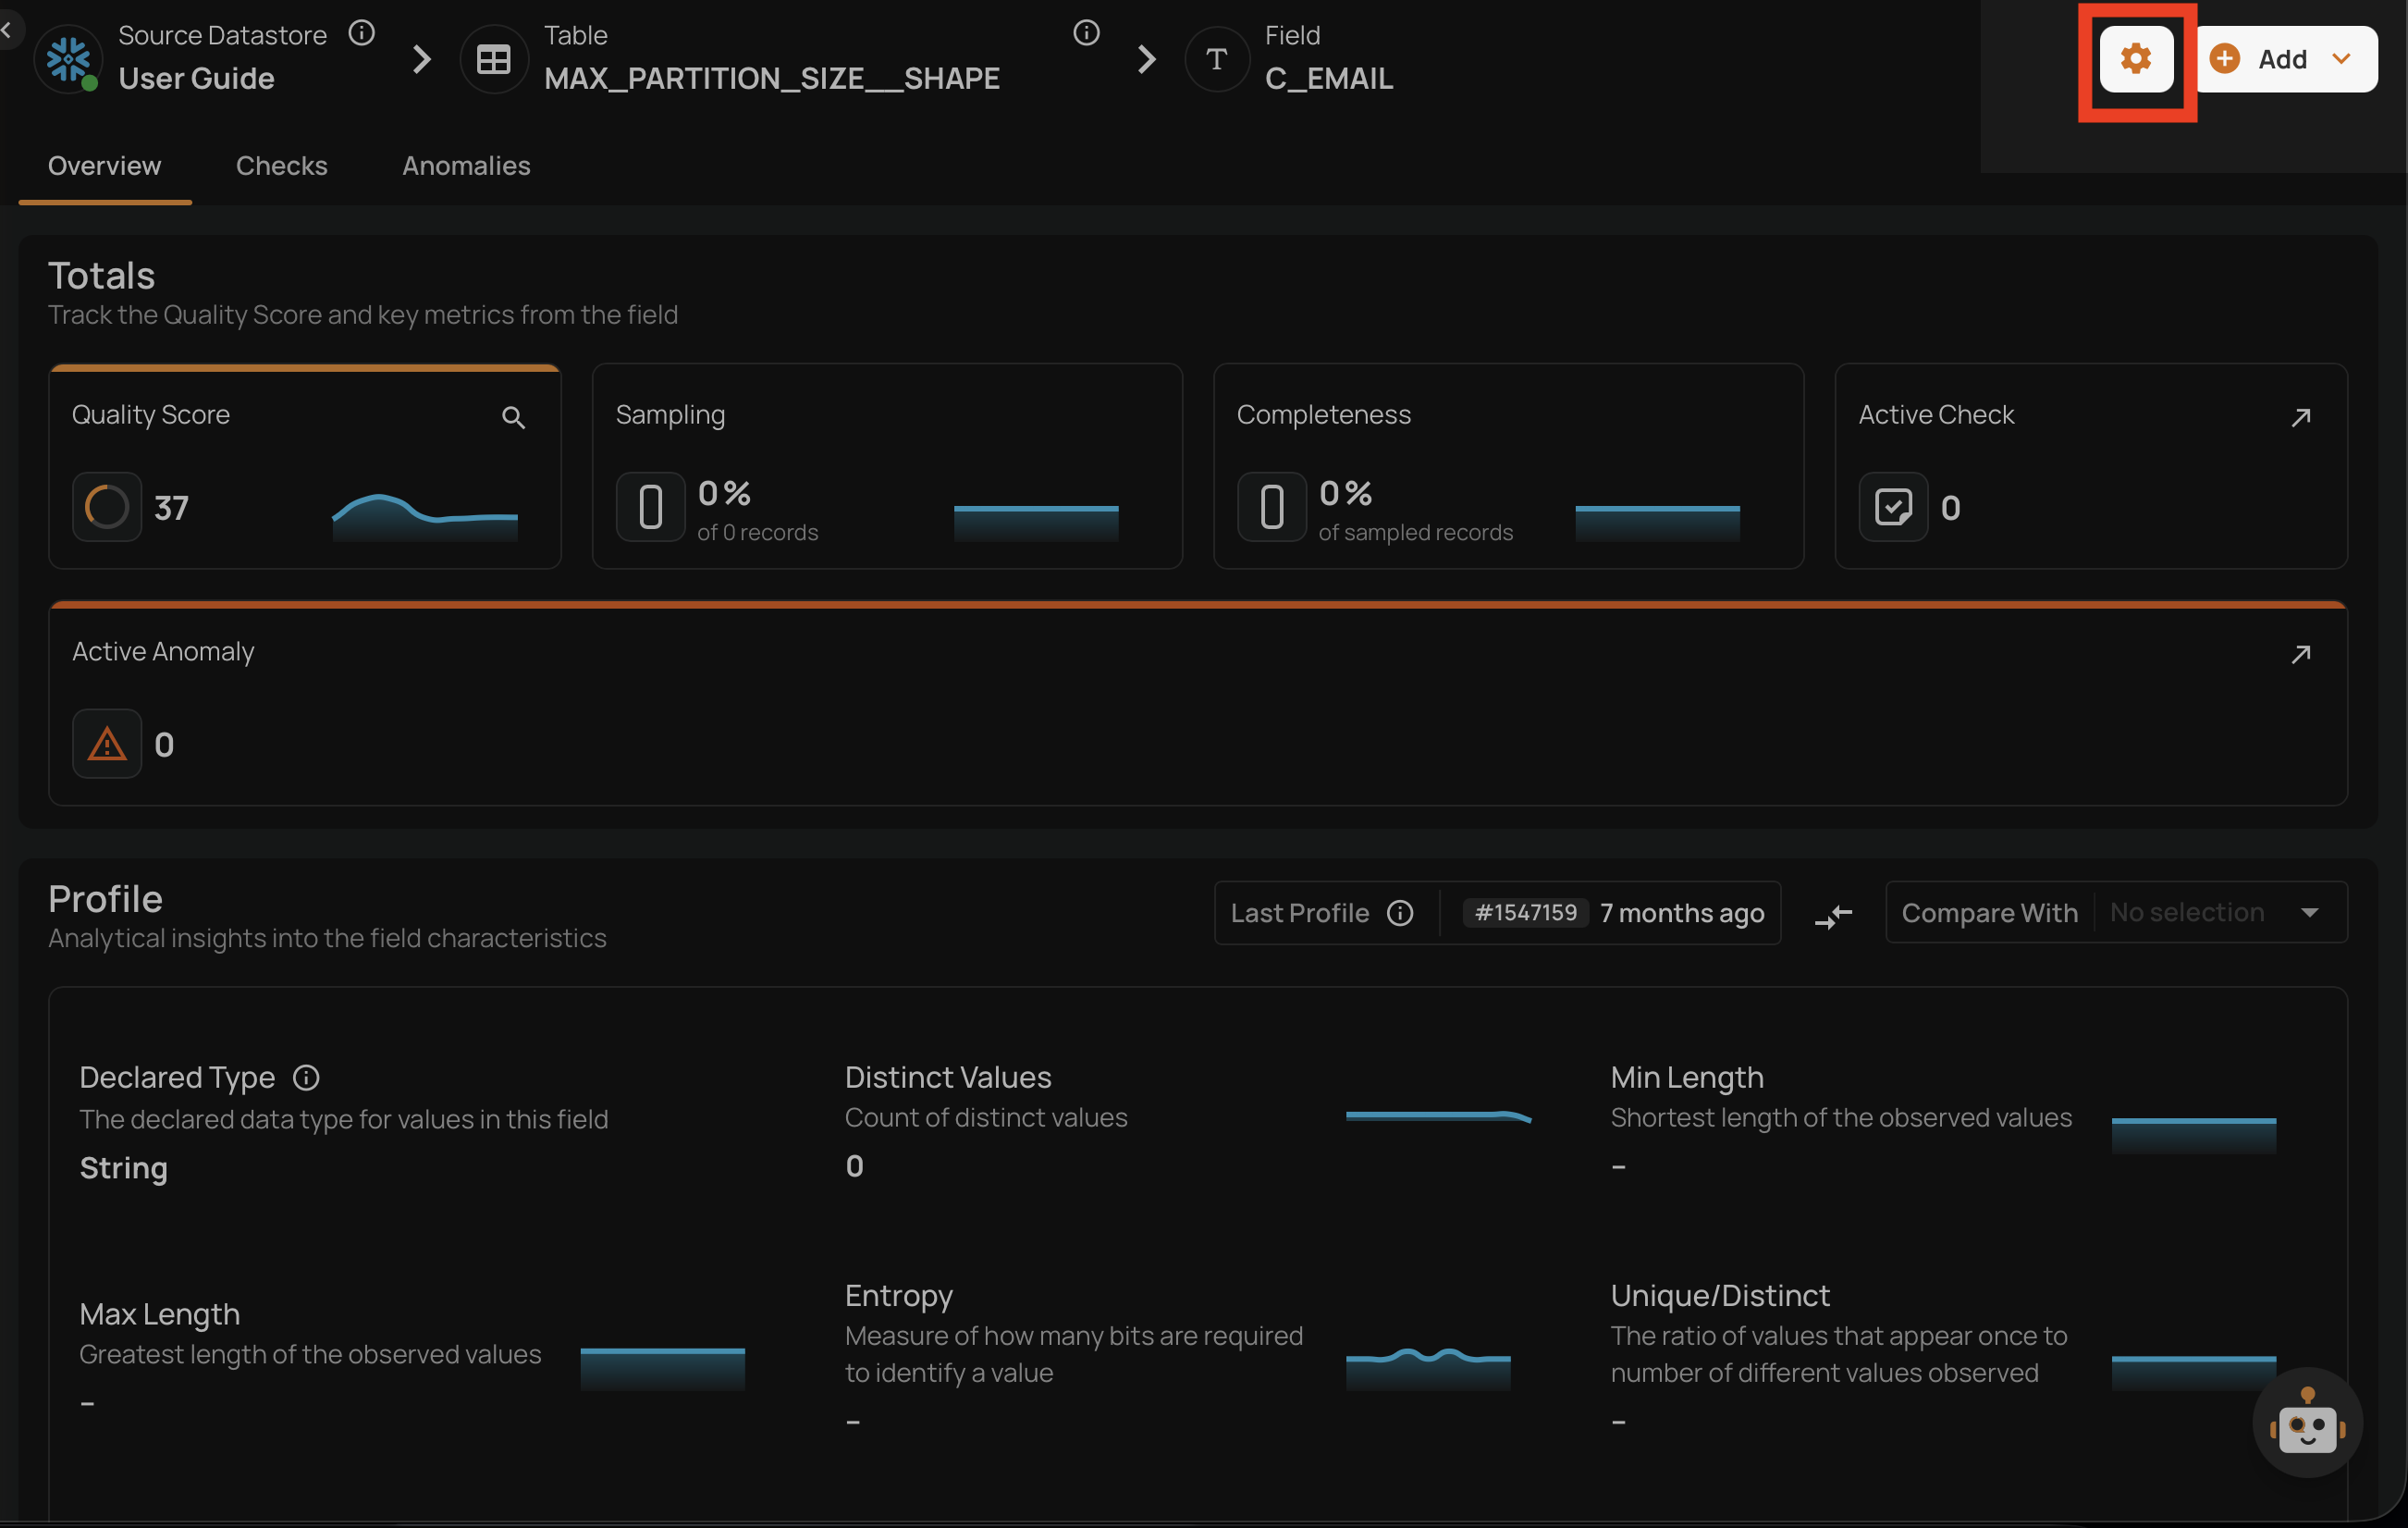
Mask a Field from the Field View
You can also mask a field directly from its detail page.
- Navigate to the field's detail page by clicking on the field name in the container's field listing.
-
Click the settings icon (gear icon) in the top-right corner of the field page.
-
Click the Mask option from the dropdown menu.

-
Confirm the masking in the dialog.

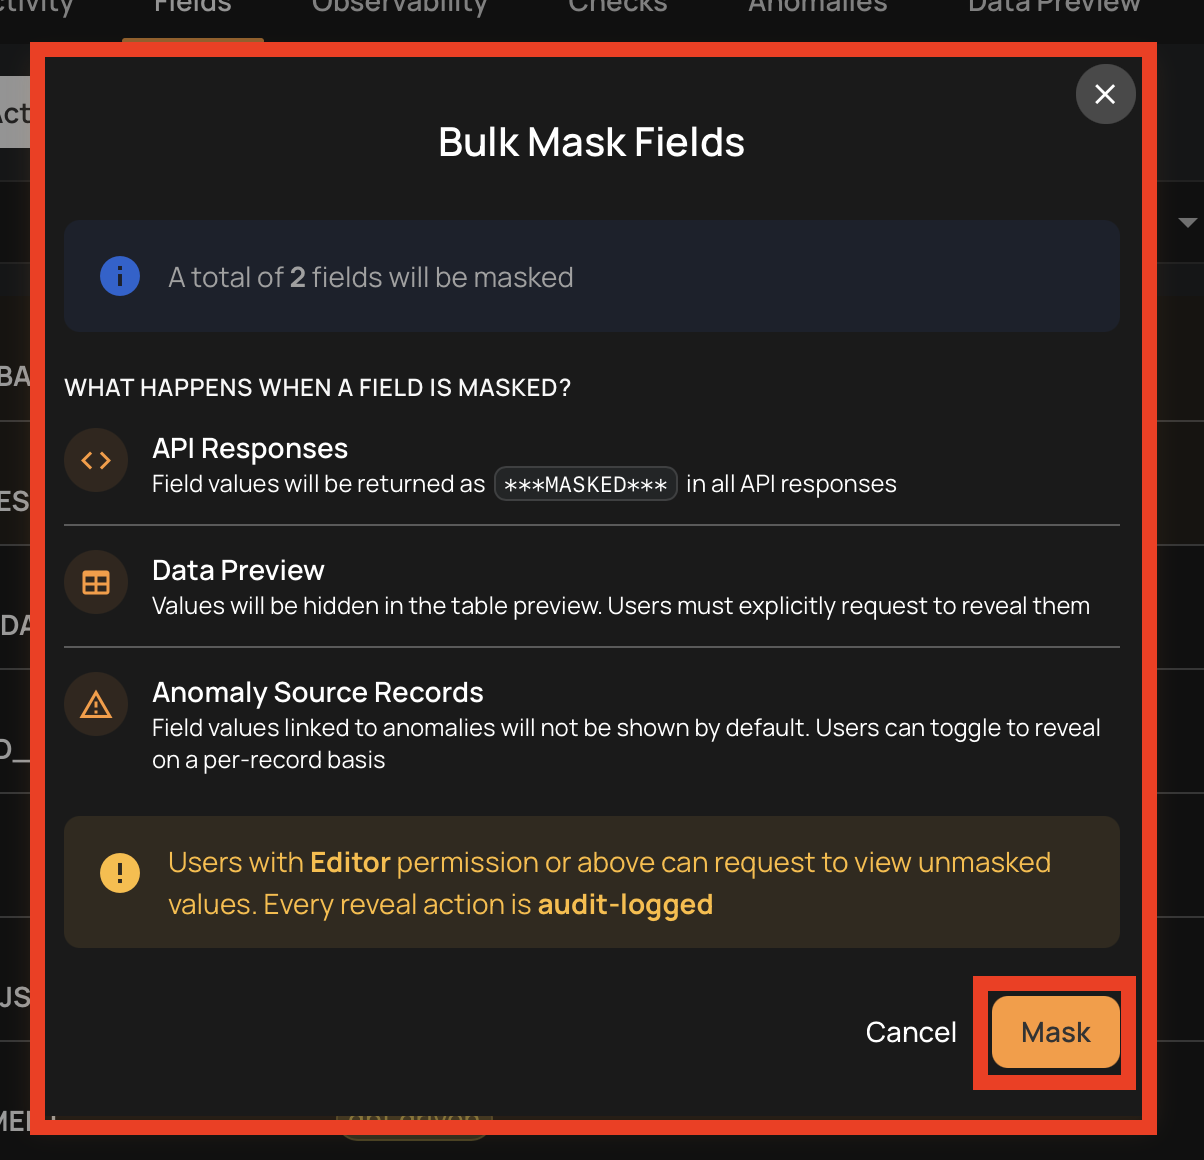
Bulk Mask
You can mask multiple fields at once from the container's field listing.
- Navigate to the container's field listing.
-
Select the fields you want to mask by clicking the checkbox on each field row.

-
Click the Mask action in the selection toolbar that appears at the top.

-
Confirm the bulk masking in the dialog.