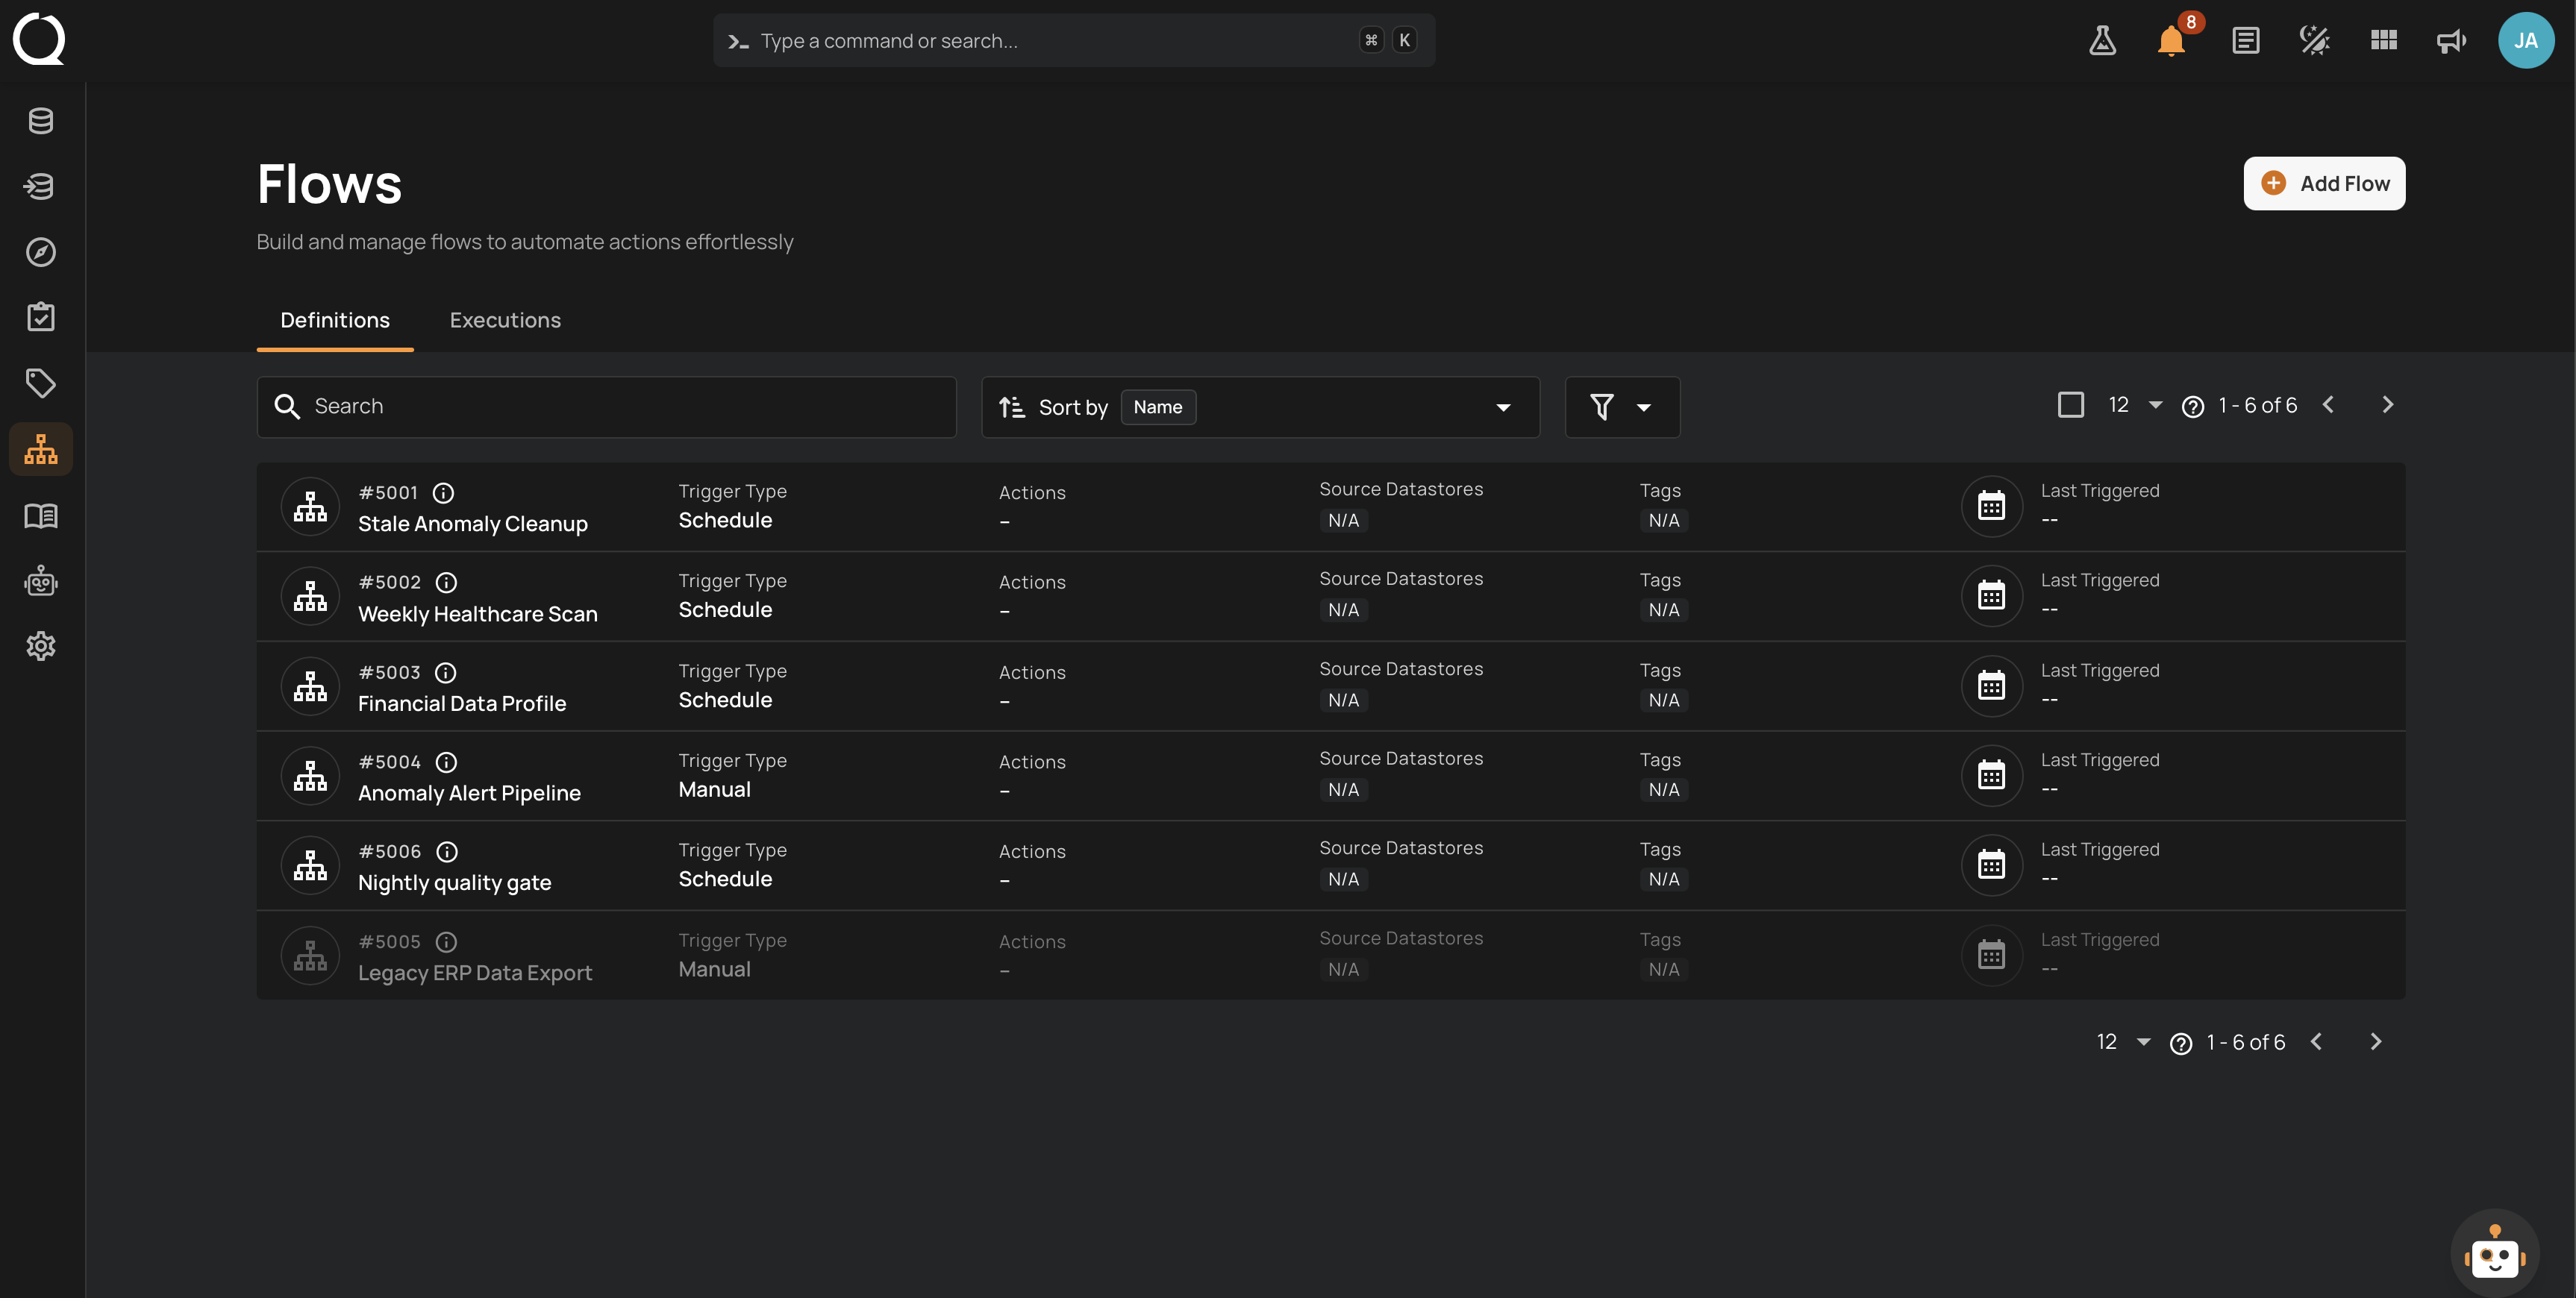
Flows
Flows connect one supported trigger to the actions you choose. A Flow can start on a schedule, after a supported operation or anomaly event, or when a user runs it manually. Its actions then run in the configured order. Use the Executions tab to review each run's status and timestamps.
Why Use Flows
Data quality work often includes repeated operations, notifications, and handoffs. A Flow coordinates supported steps when its configured trigger conditions are met.
Use Flows to:
- Run selected operations: Start a supported operation after a schedule or matching event.
- Share quality signals: Send configured notifications or hand an event to a connected external system.
- Coordinate investigation: Create or update tickets from compatible anomaly triggers.
- Review execution: Track the status and timing of Flow runs from one place.
How Flows Work
Every Flow has a Flow node, one Trigger node, and one or more Action nodes.
Flow Node
Defines the Flow's name, description, and activation state.
Trigger Node
Defines when the Flow starts. Supported triggers are:
- Schedule: Starts on the configured schedule.
- Operation Completed: Starts when a matching Sync, Profile, or Scan operation finishes.
- Anomalous Table or File Detected: Starts when a Scan produces anomalies for a matching table or file.
- Anomaly Detected: Starts when a matching anomaly is created.
- Anomaly Status Changed: Starts when a matching anomaly moves to a selected status.
- Manual: Starts when a user runs the Flow.
Trigger filters determine which datastores, assets, operations, anomalies, or statuses qualify. See Trigger for the filters available to each trigger.
Action Node(s)
Defines what happens after the trigger fires. Select actions from the categories supported by the trigger:
- Operation: Run Sync, Profile, Scan, Export, or Materialize.
- Anomaly: Archive or delete inactive anomalies returned by the trigger.
- Notification: Send an In-App, Email, Slack, Microsoft Teams, or PagerDuty notification.
- Workflow: Send the event through Webhook, HTTP Action, or n8n.
- Ticketing: Create or update a ticket from a compatible anomaly trigger.
Actions run from the Trigger through each Action node in order. Some action and trigger combinations are unavailable, and Notification or Workflow must be the final action. Connected services must be configured for their actions to complete. See Action Node Overview for compatibility and limits.
Example
Imagine you manage a retail company's product datastore and want the team to investigate higher-severity anomalies.
You can create a Flow like this:
- Trigger: Anomaly Detected, filtered to the product datastore and a minimum severity.
- Action 1: Create a ticket in a configured ticketing integration.
- Action 2: Send a Slack notification to the selected channel.
When a new anomaly matches the trigger filters, the Flow runs these actions in order. The ticket and notification carry the event into the team's configured investigation channels. Team members still review the failed checks and business context before deciding how to resolve the potential issue.
Navigation to Flows
Step 1: Log in to your Qualytics account and click on Flows on the left side panel of the interface.

You will navigate to the Flows interface, where you can add and manage flows. At the top, you will see two tabs:
- Definitions: Displays a list of all flows along with details like triggers, actions, tags, and the last triggered time.

- Executions: Provides the execution history of flows, including their status and timestamps.

Add Flow
Allows users to create a new Flow, starting with default nodes to define triggers and actions.
Step 1: Click on the Add Flow button from the top right corner.
Note
For more detailed information, review the add flow documentation.
Flow Node
Defines the core of a Flow, including its name, description, and activation status.
Step 1: Click on the Flow node.
Note
For more detailed information, review the flow entry documentation.
Trigger Node
Determines when the Flow should start, based on events, conditions, or manual activation.
Step 1: After completing the "Flow" node setup, users can click on the "Trigger" node.
Note
For more detailed information, review the trigger node documentation.
Actions Node
Actions define the specific steps the system will execute after a flow is triggered. They allow users to automate tasks, send notifications, or interact with external systems.
Note
For more detailed information, review the action node overview documentation.
View and Track Flow Execution
Once a flow is added, it will be visible in the Definitions tab, where you can view all the created flows.
Note
For more detailed information, review the view and track flow execution documentation.
Execution Tab
The Executions tab shows the execution history, current status, and timestamps for Flow runs. Use these details to confirm whether the configured actions completed and to investigate failed runs.
Note
For more detailed information, review the execution tab documentation.