Jira Configuration
Complete these steps in your Jira account to generate an API token and gather the values needed to connect the integration in Qualytics.
Prerequisites
Before starting, review the Jira Integration Requirements to ensure you have everything you need.
Permissions
These steps are performed in your Jira account, not in Qualytics. Any Jira user with permission to manage their own API tokens and access to the target project can complete this configuration. To connect the integration in Qualytics afterward, you'll need the Manager or Admin role in Qualytics.
Steps
Step 1: Access Account Settings
- Log in to your Jira account
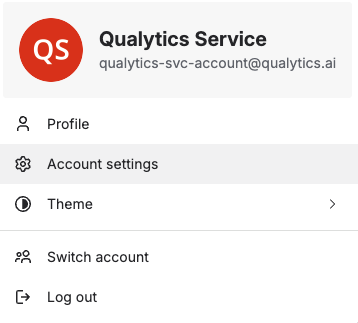
- Click on your profile icon in the top-right corner
- Select Account settings (or Manage account)
Step 2: Navigate to Security Settings
- In your account settings, click on the Security tab

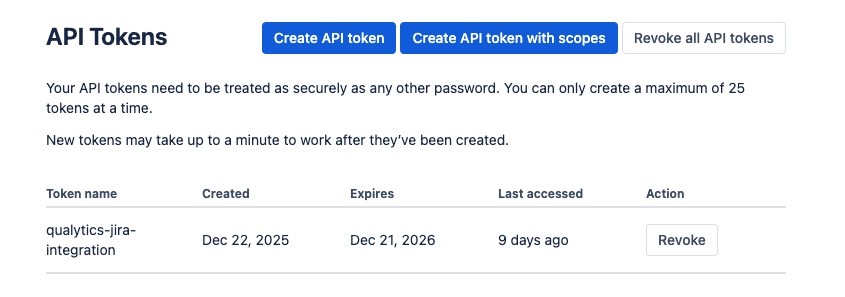
Step 3: Create an API Token
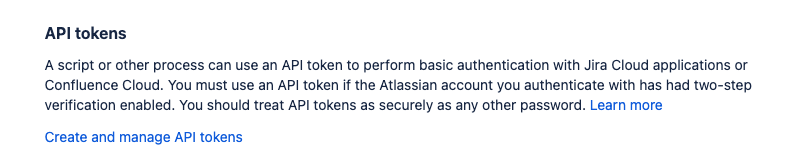
- Scroll down to find the API token section
- Click on Create and manage API tokens
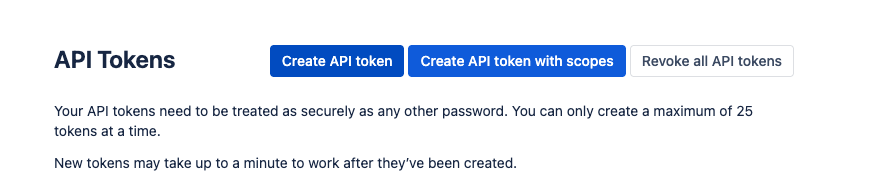
- Click on Create API token
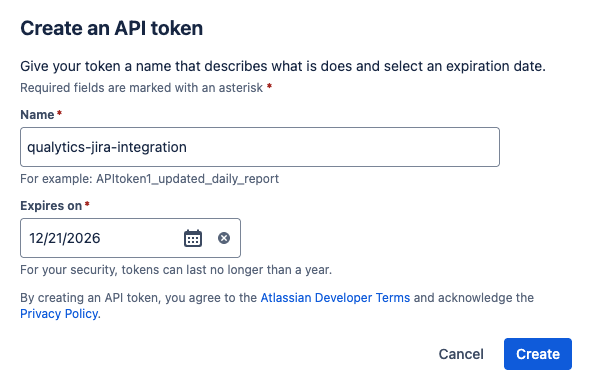
- Enter a label for your token (e.g.,
Qualytics Integration) - Click Create
- Copy the generated API token from the modal.
Warning
Copy the generated API token immediately and store it securely (e.g., in a password manager or secrets vault). You won't be able to see it again, because Atlassian shows the token only once.
Step 4: Gather Configuration Values
Collect the following values needed for Qualytics configuration:
| Value | How to Find | Example |
|---|---|---|
| Instance URL | Your Jira instance URL | https://your-domain.atlassian.net |
| Credentials | Email and API token combined with a colon | user@company.com:your_api_token |
| Projects | Nothing to copy here. Qualytics reads the project list from Jira with the credentials above, and you pick which ones it may use while connecting. Just decide beforehand which projects should receive tickets. | Data Quality (DATAQ) |