Configure ServiceNow
Complete these steps in your ServiceNow instance to create a service account and gather the values needed to connect the integration in Qualytics. With those in hand, the connection itself is made on the Qualytics side. See Add ServiceNow Connection.
Prerequisites
Before starting, review the ServiceNow instance requirements, service account requirements, and required roles.
Permissions
These steps are performed in your ServiceNow instance, not in Qualytics. Any ServiceNow user who can create a user account and assign roles can complete them. To connect the integration in Qualytics afterward, you need the Manager or Admin role there.
Steps
Step 1: Create the Service Account
- Navigate to User Administration → Users
- Click New to create a new user

- Enter the User ID (e.g.,
qualytics_integration) - Set a secure password
- Check "Web service access only" if the account should not have UI access
- Save the user record
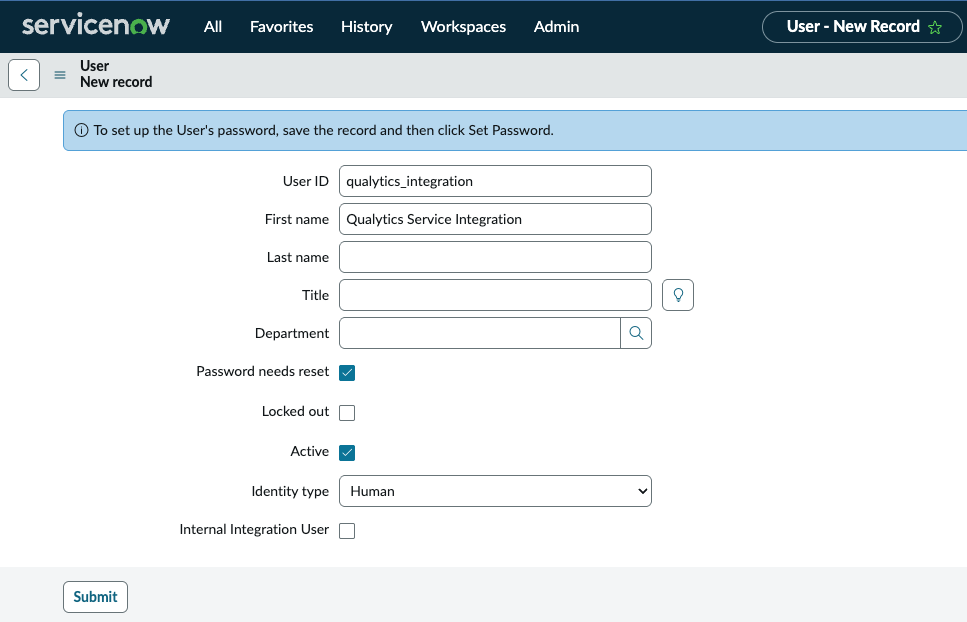
- Navigate to the Roles tab and assign the
itilrole
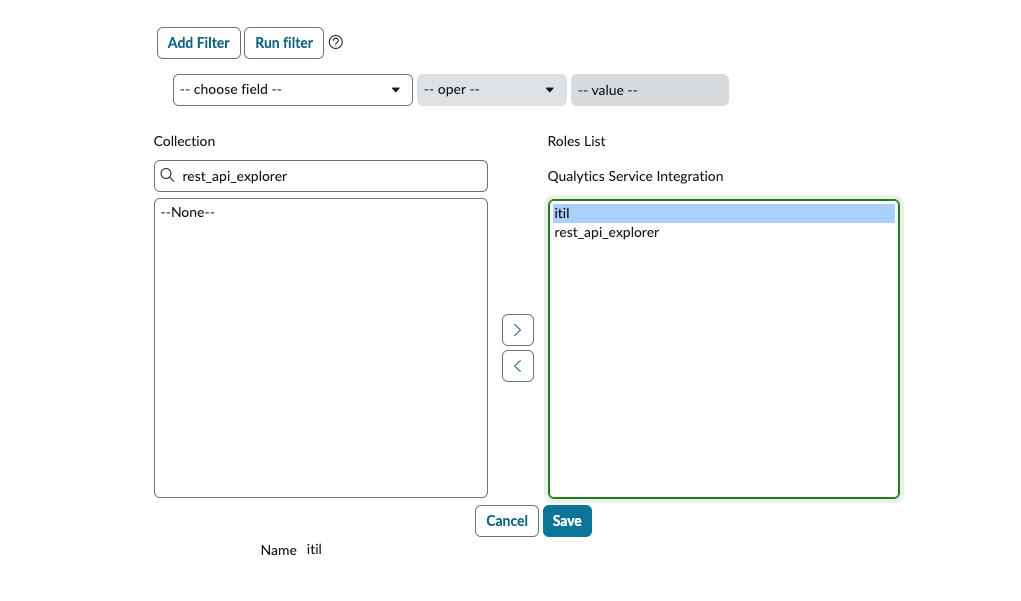
Step 2: Verify API Access
Confirm that the REST API is enabled for your instance:
- Navigate to System Web Services → REST API Explorer
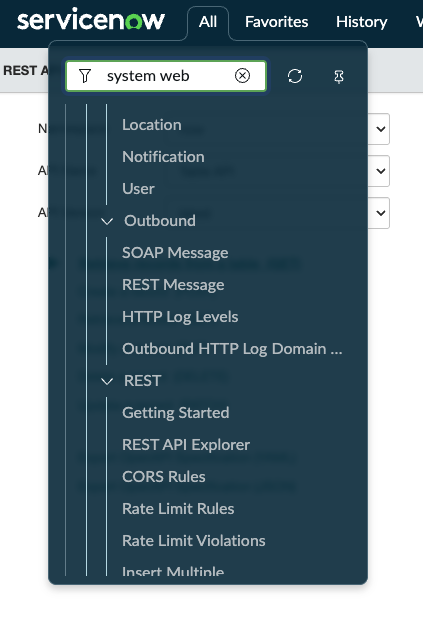
- Verify you can access the Incident table API
- Test a simple GET request to confirm connectivity
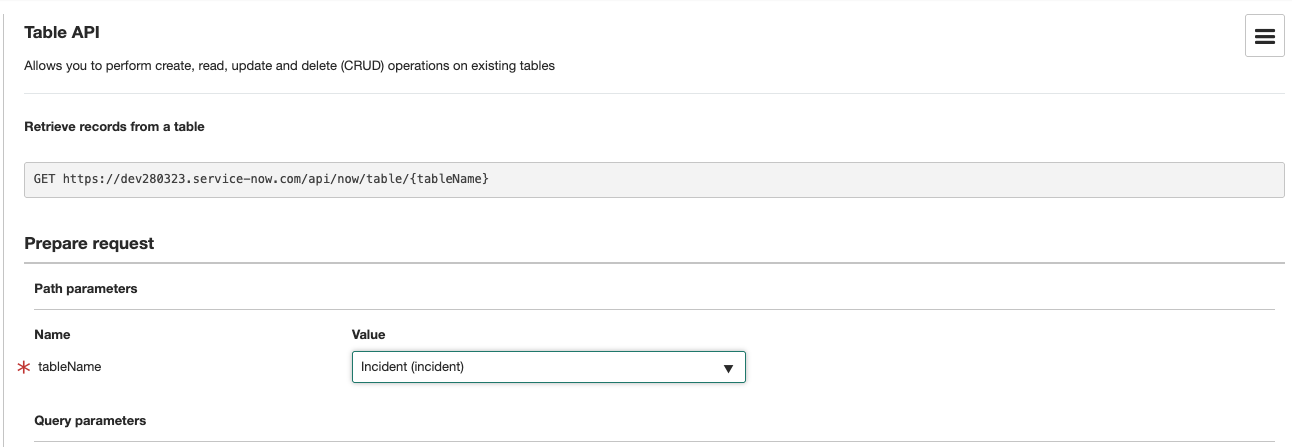
- Verify the response returns successfully

Step 3: Network/Firewall Configuration
If your ServiceNow instance has IP restrictions, you may need to allowlist Qualytics IP addresses. Contact Qualytics support for the current list of egress IPs used by the Qualytics cloud platform.
Step 4: Gather Configuration Values
Collect the following values needed for Qualytics configuration:
| Value | How to Find | Example |
|---|---|---|
| Instance URL | Your ServiceNow URL | https://your-instance.service-now.com |
| Credentials | Service account username and password combined with a colon | qualytics_integration:YourPassword |
| Category Names | Incident → Right-click Category → Show choice list | Software, Network |
| Subcategory Names | Same process, filter by Category | Email, Database |
| Assignment Group SysID | User Administration → Groups → Copy sys_id | a1b2c3d4e5f6... |