Invite a User
Use the Invite User action to add a new person to Qualytics. The recipient follows an invitation link and sets a password; their Personal Account is created when they activate it. Qualytics sends the link by email when delivery is configured, or lets you copy it for secure manual delivery if sending fails.
See Revoke an Invitation, How Sign-In Works, and the Invitations API for related actions.
Requires an Email & Password provider
Invitations are part of email and password sign-in. The Invitations tab and the Invite User action appear only when an Email & Password sign-in provider is enabled. If your deployment signs in exclusively through an identity provider, users are added on their first sign-in or through Directory Sync instead.
Permissions
Only users with the Admin role can invite users. See the Permissions page for details.
Fields
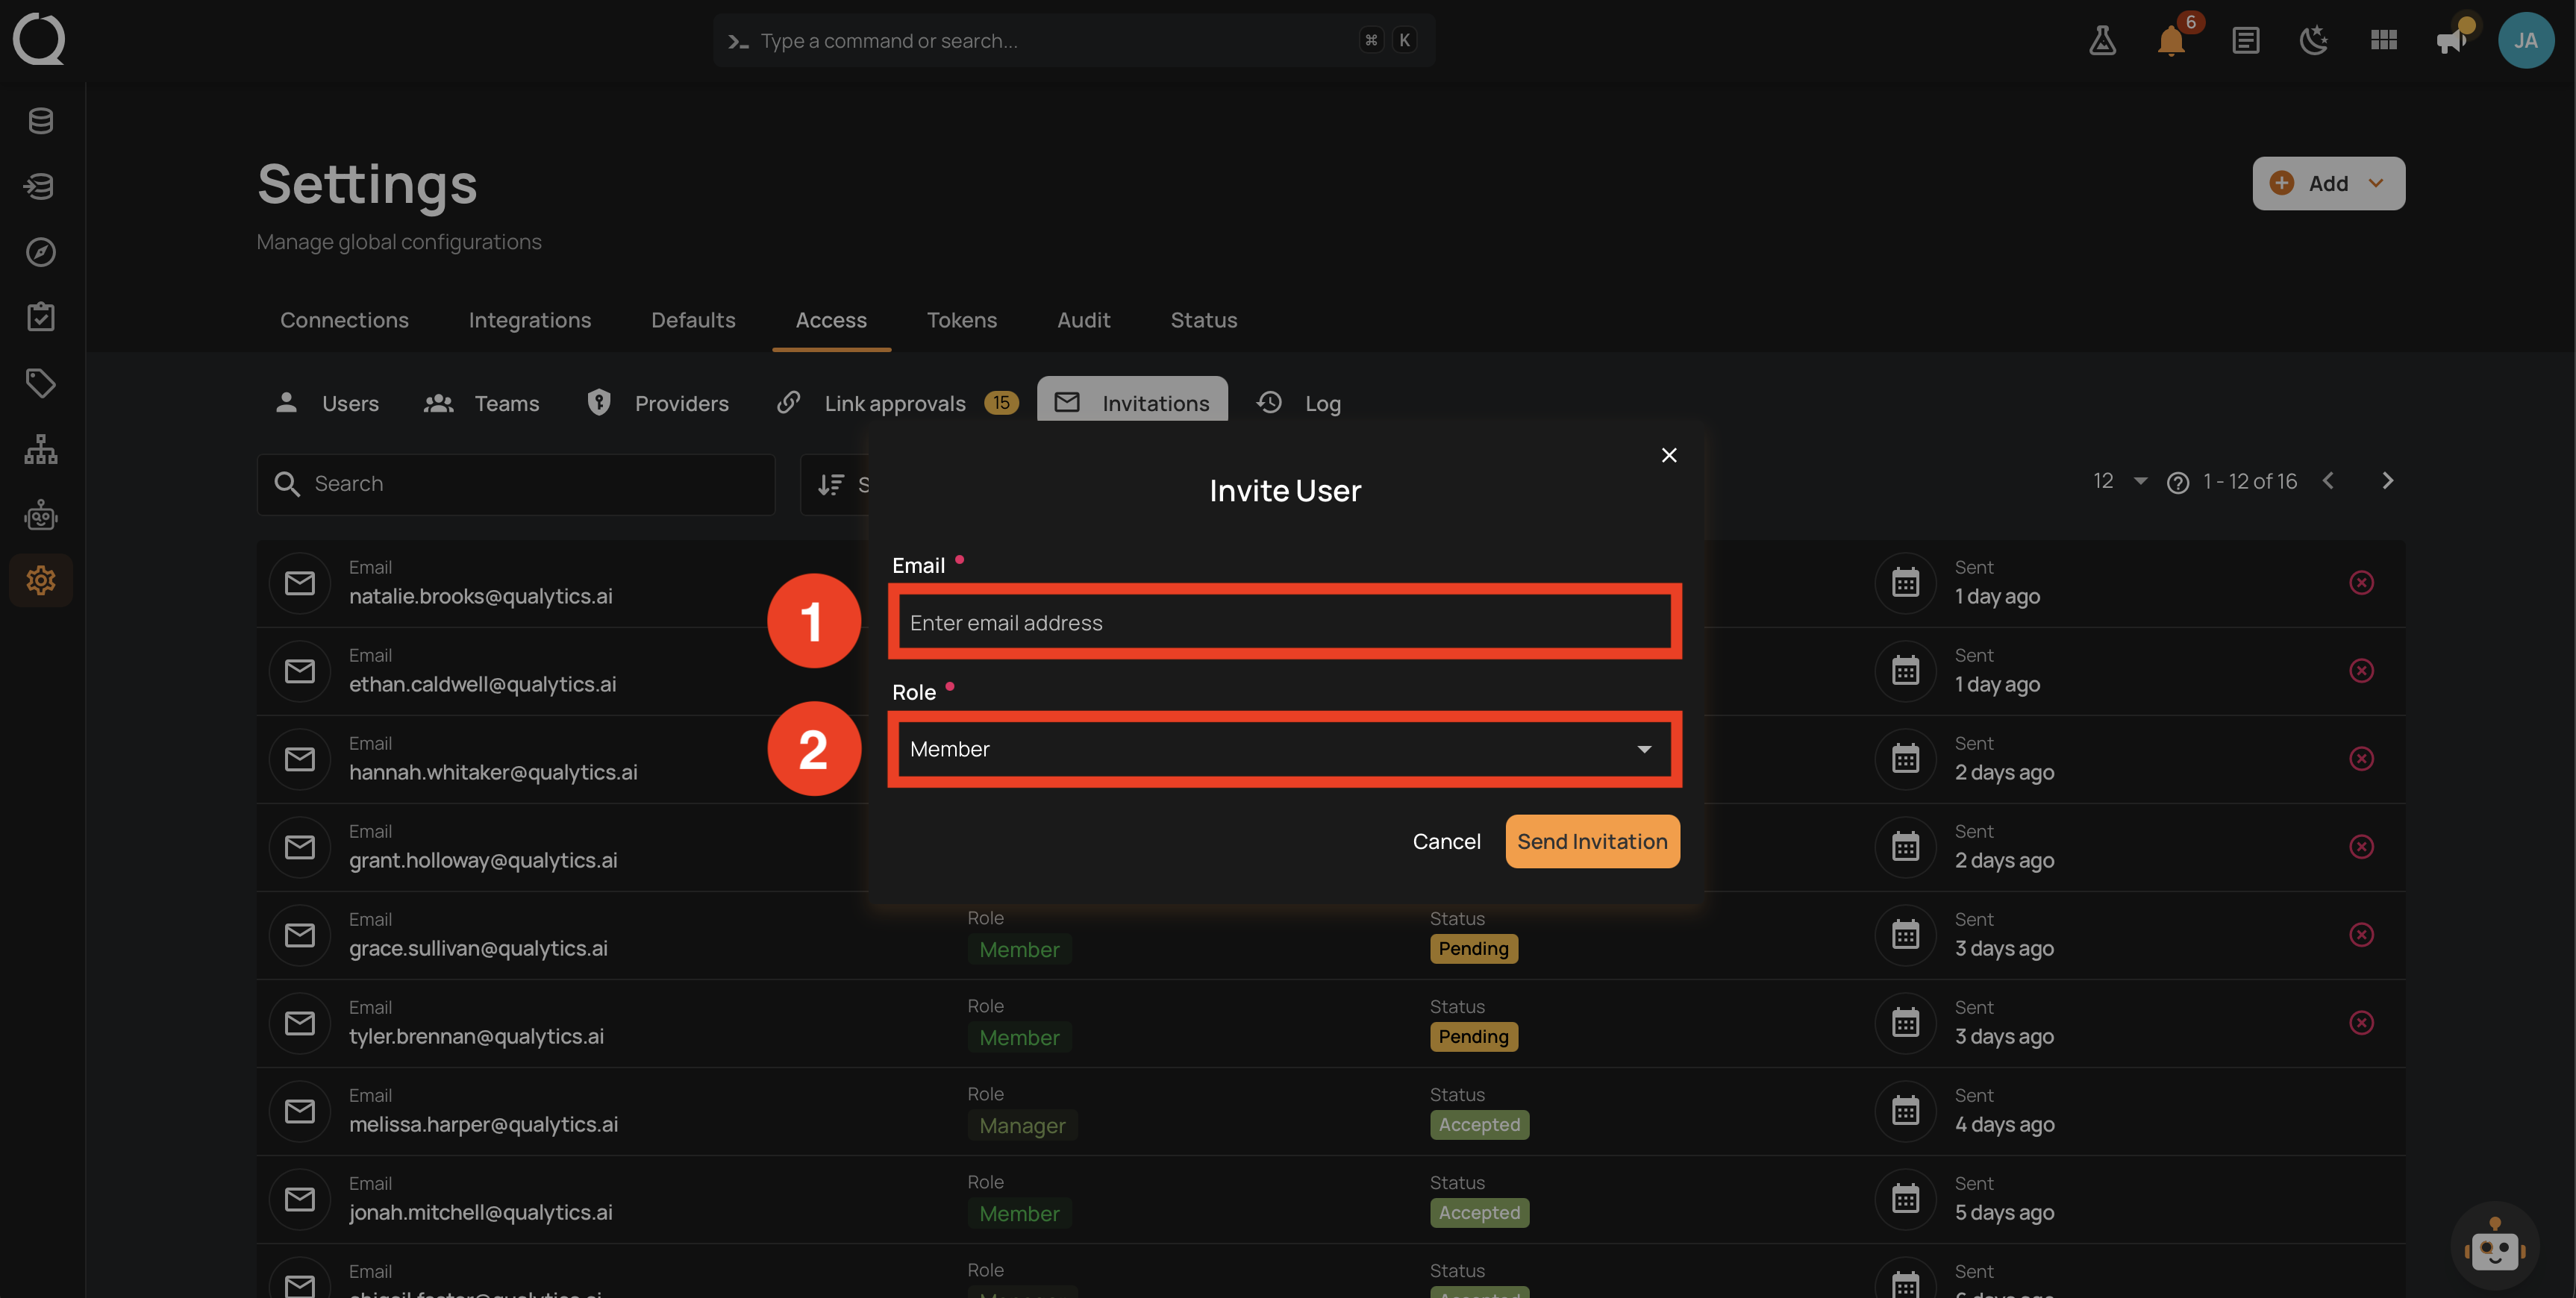
| REF. | Field | Description |
|---|---|---|
| 1 | Required. The email address that receives the invitation. The invitation link is tied to this address. | |
| 2 | Role | Required. The role the new user receives when they activate the account: Admin, Manager, or Member. Defaults to Member. |
Note
Teams are not assigned during the invitation. New users join the Public team automatically; after the account is activated, assign additional teams through the Edit User action.
Steps
Step 1: Click the Invite User button in the Invitations tab.
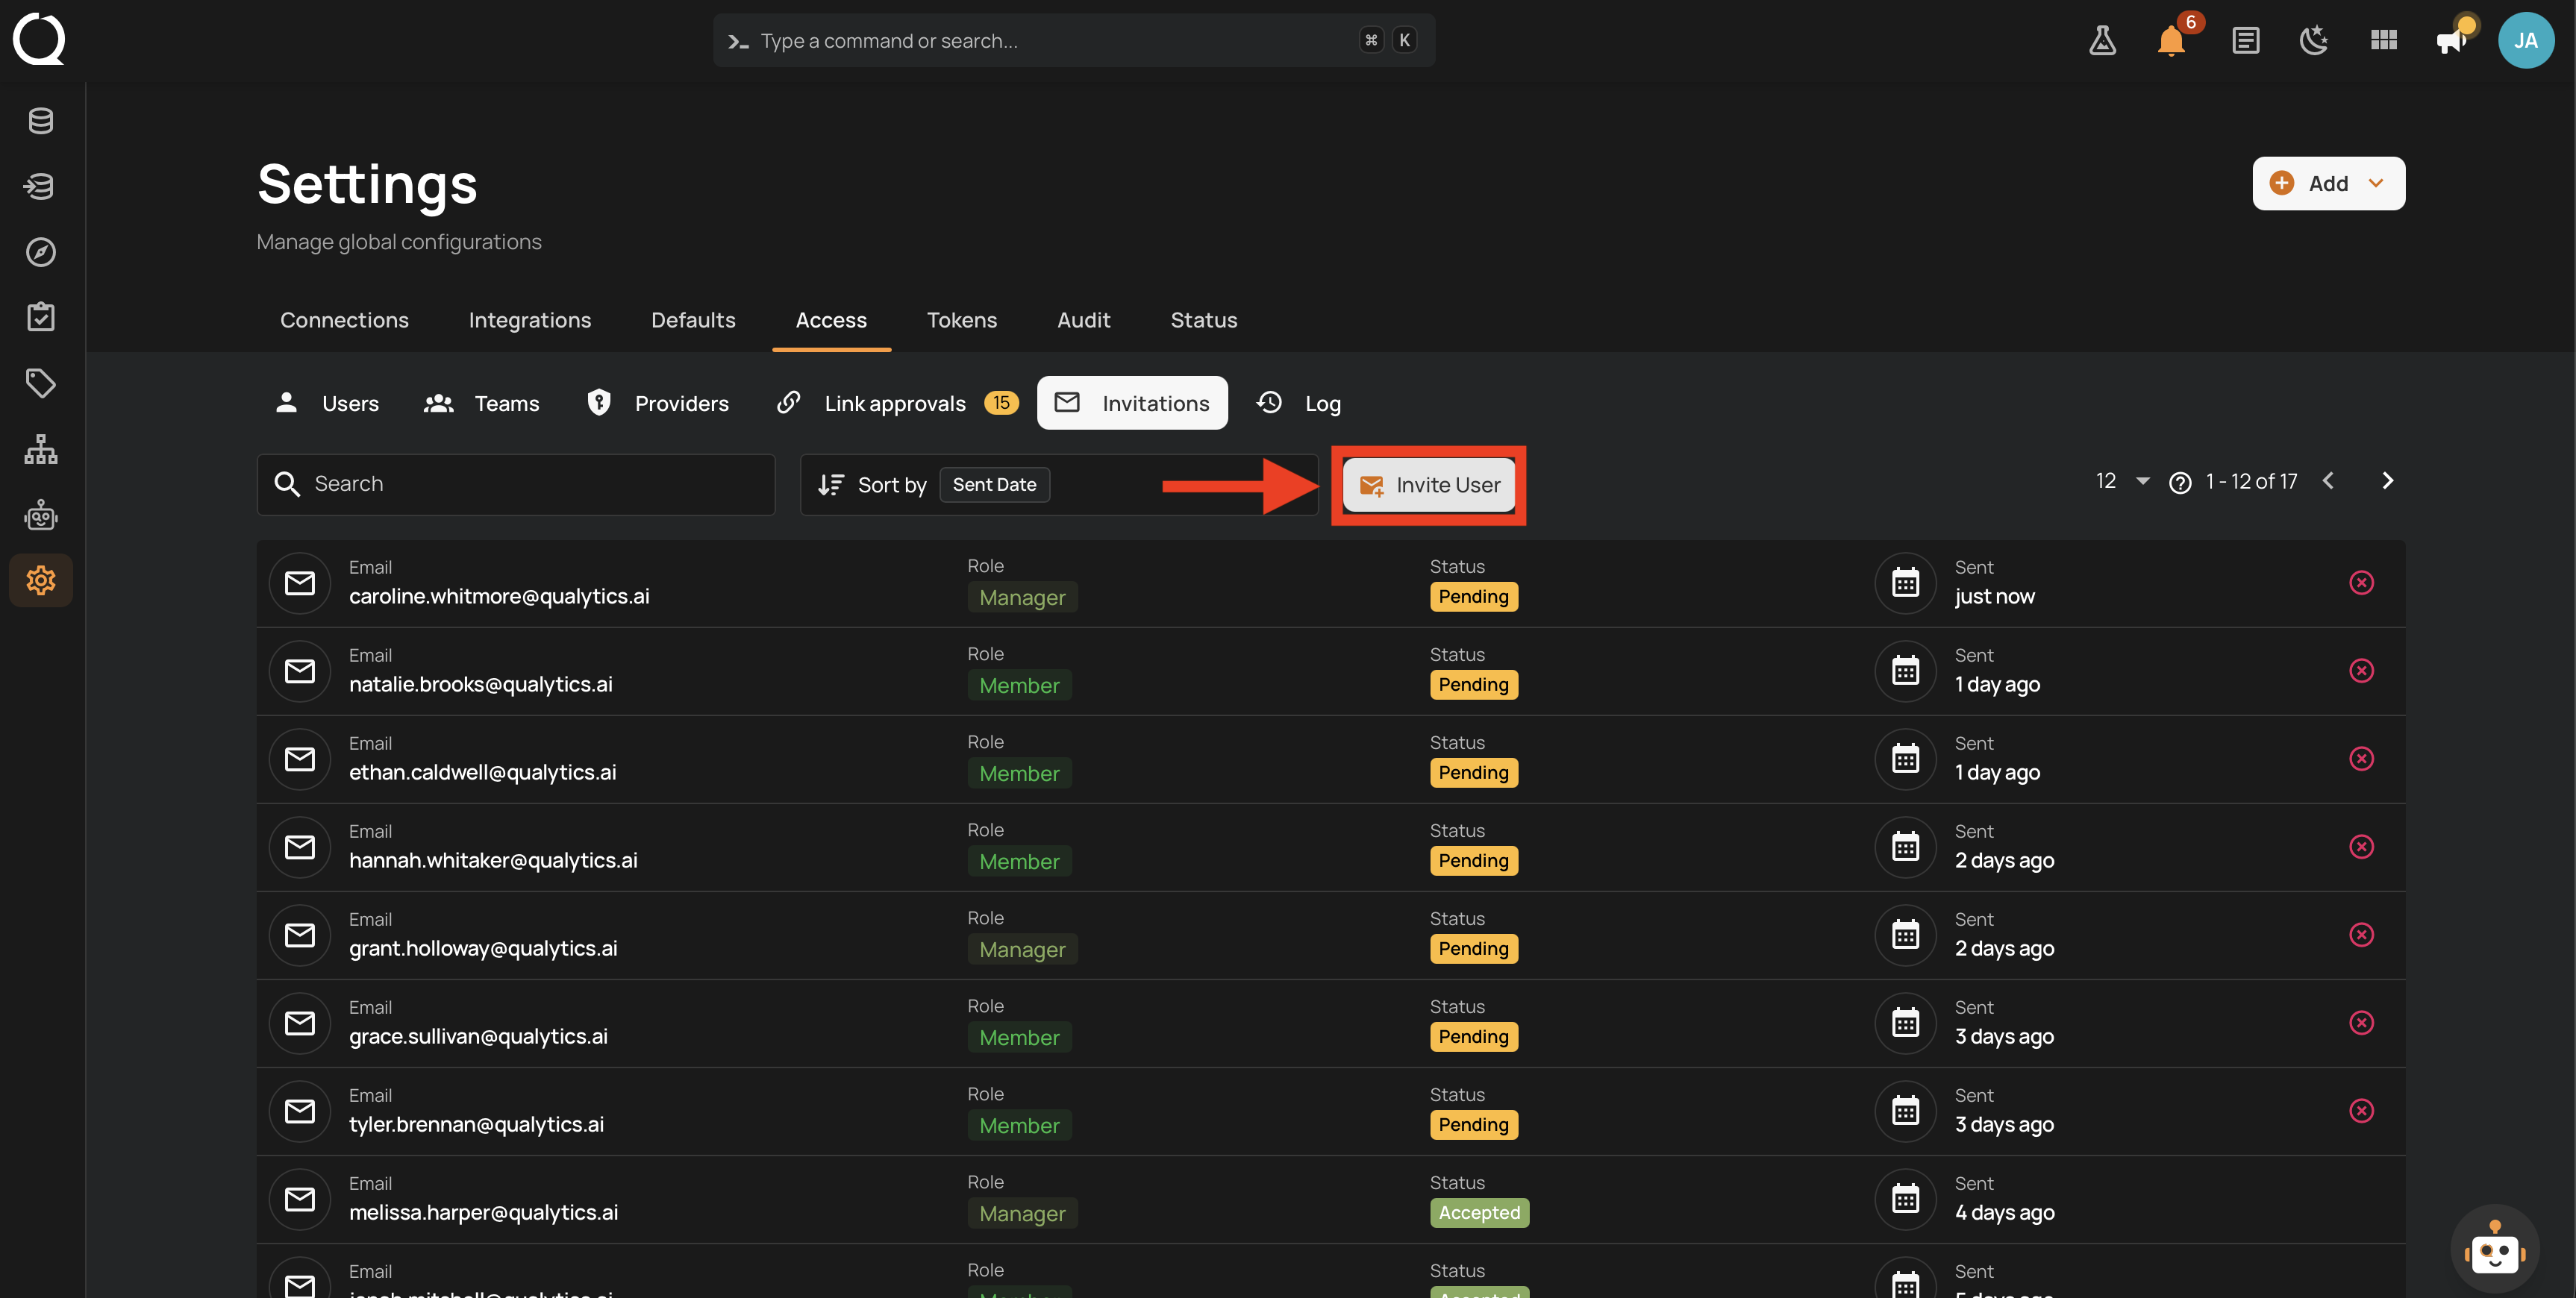
Step 2: The Invite User modal appears.
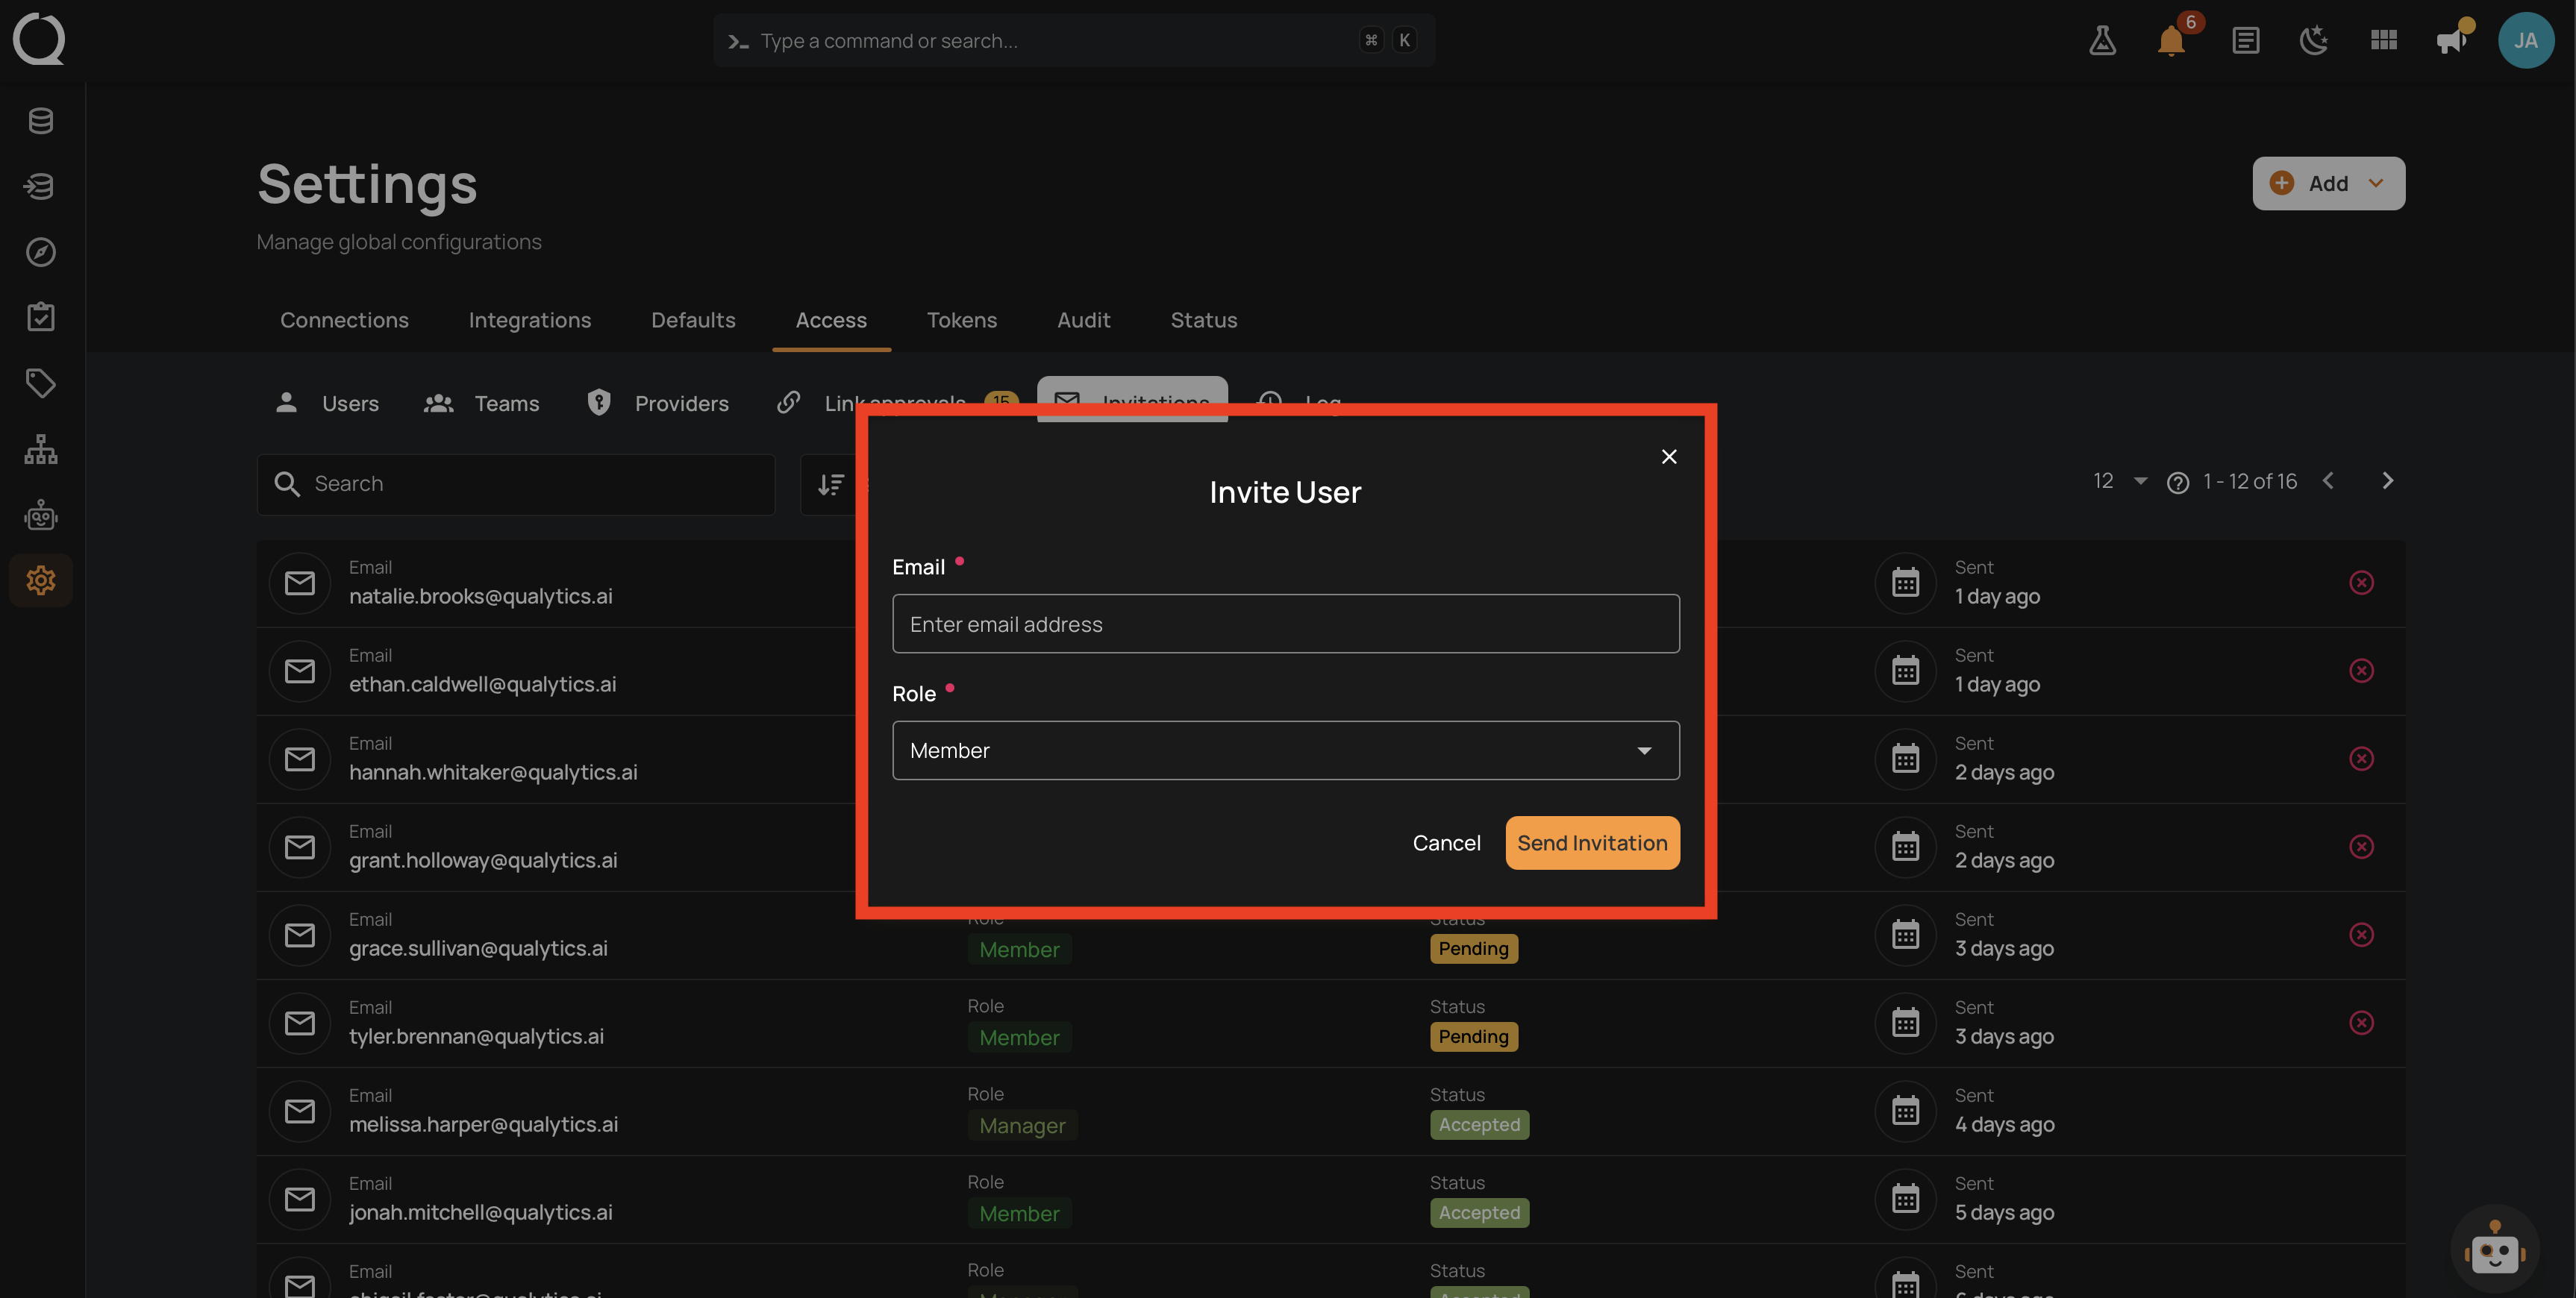
Step 3: Fill in the fields (see Fields above) and click the Send Invitation button.
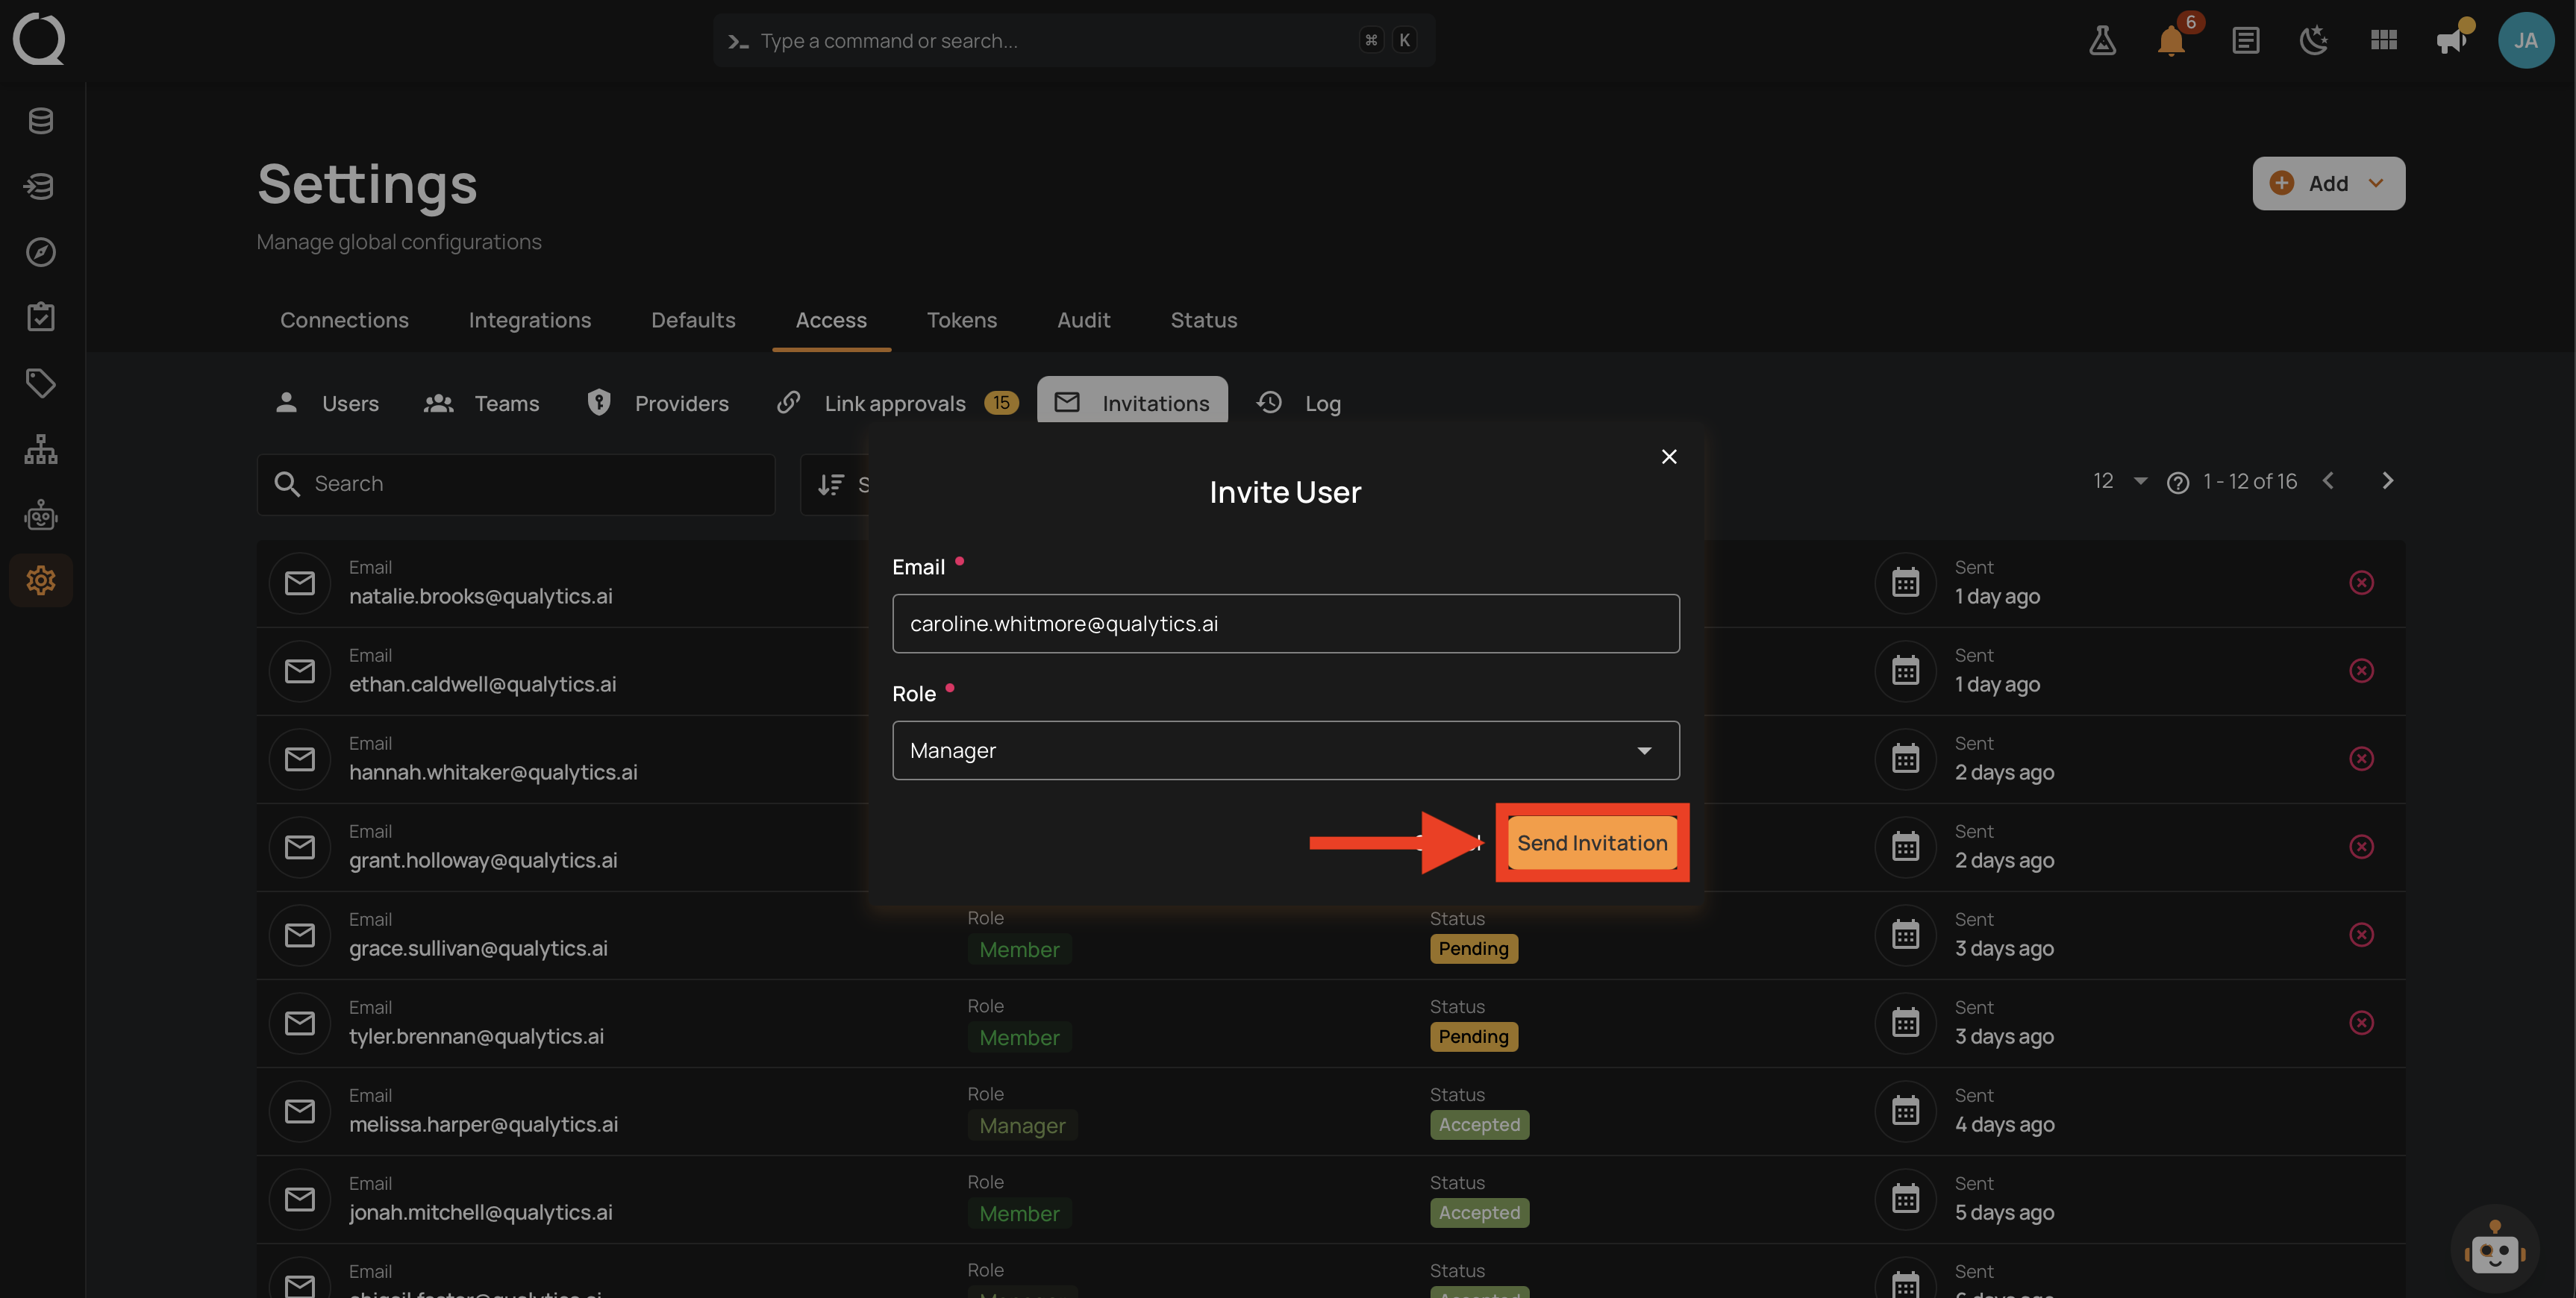
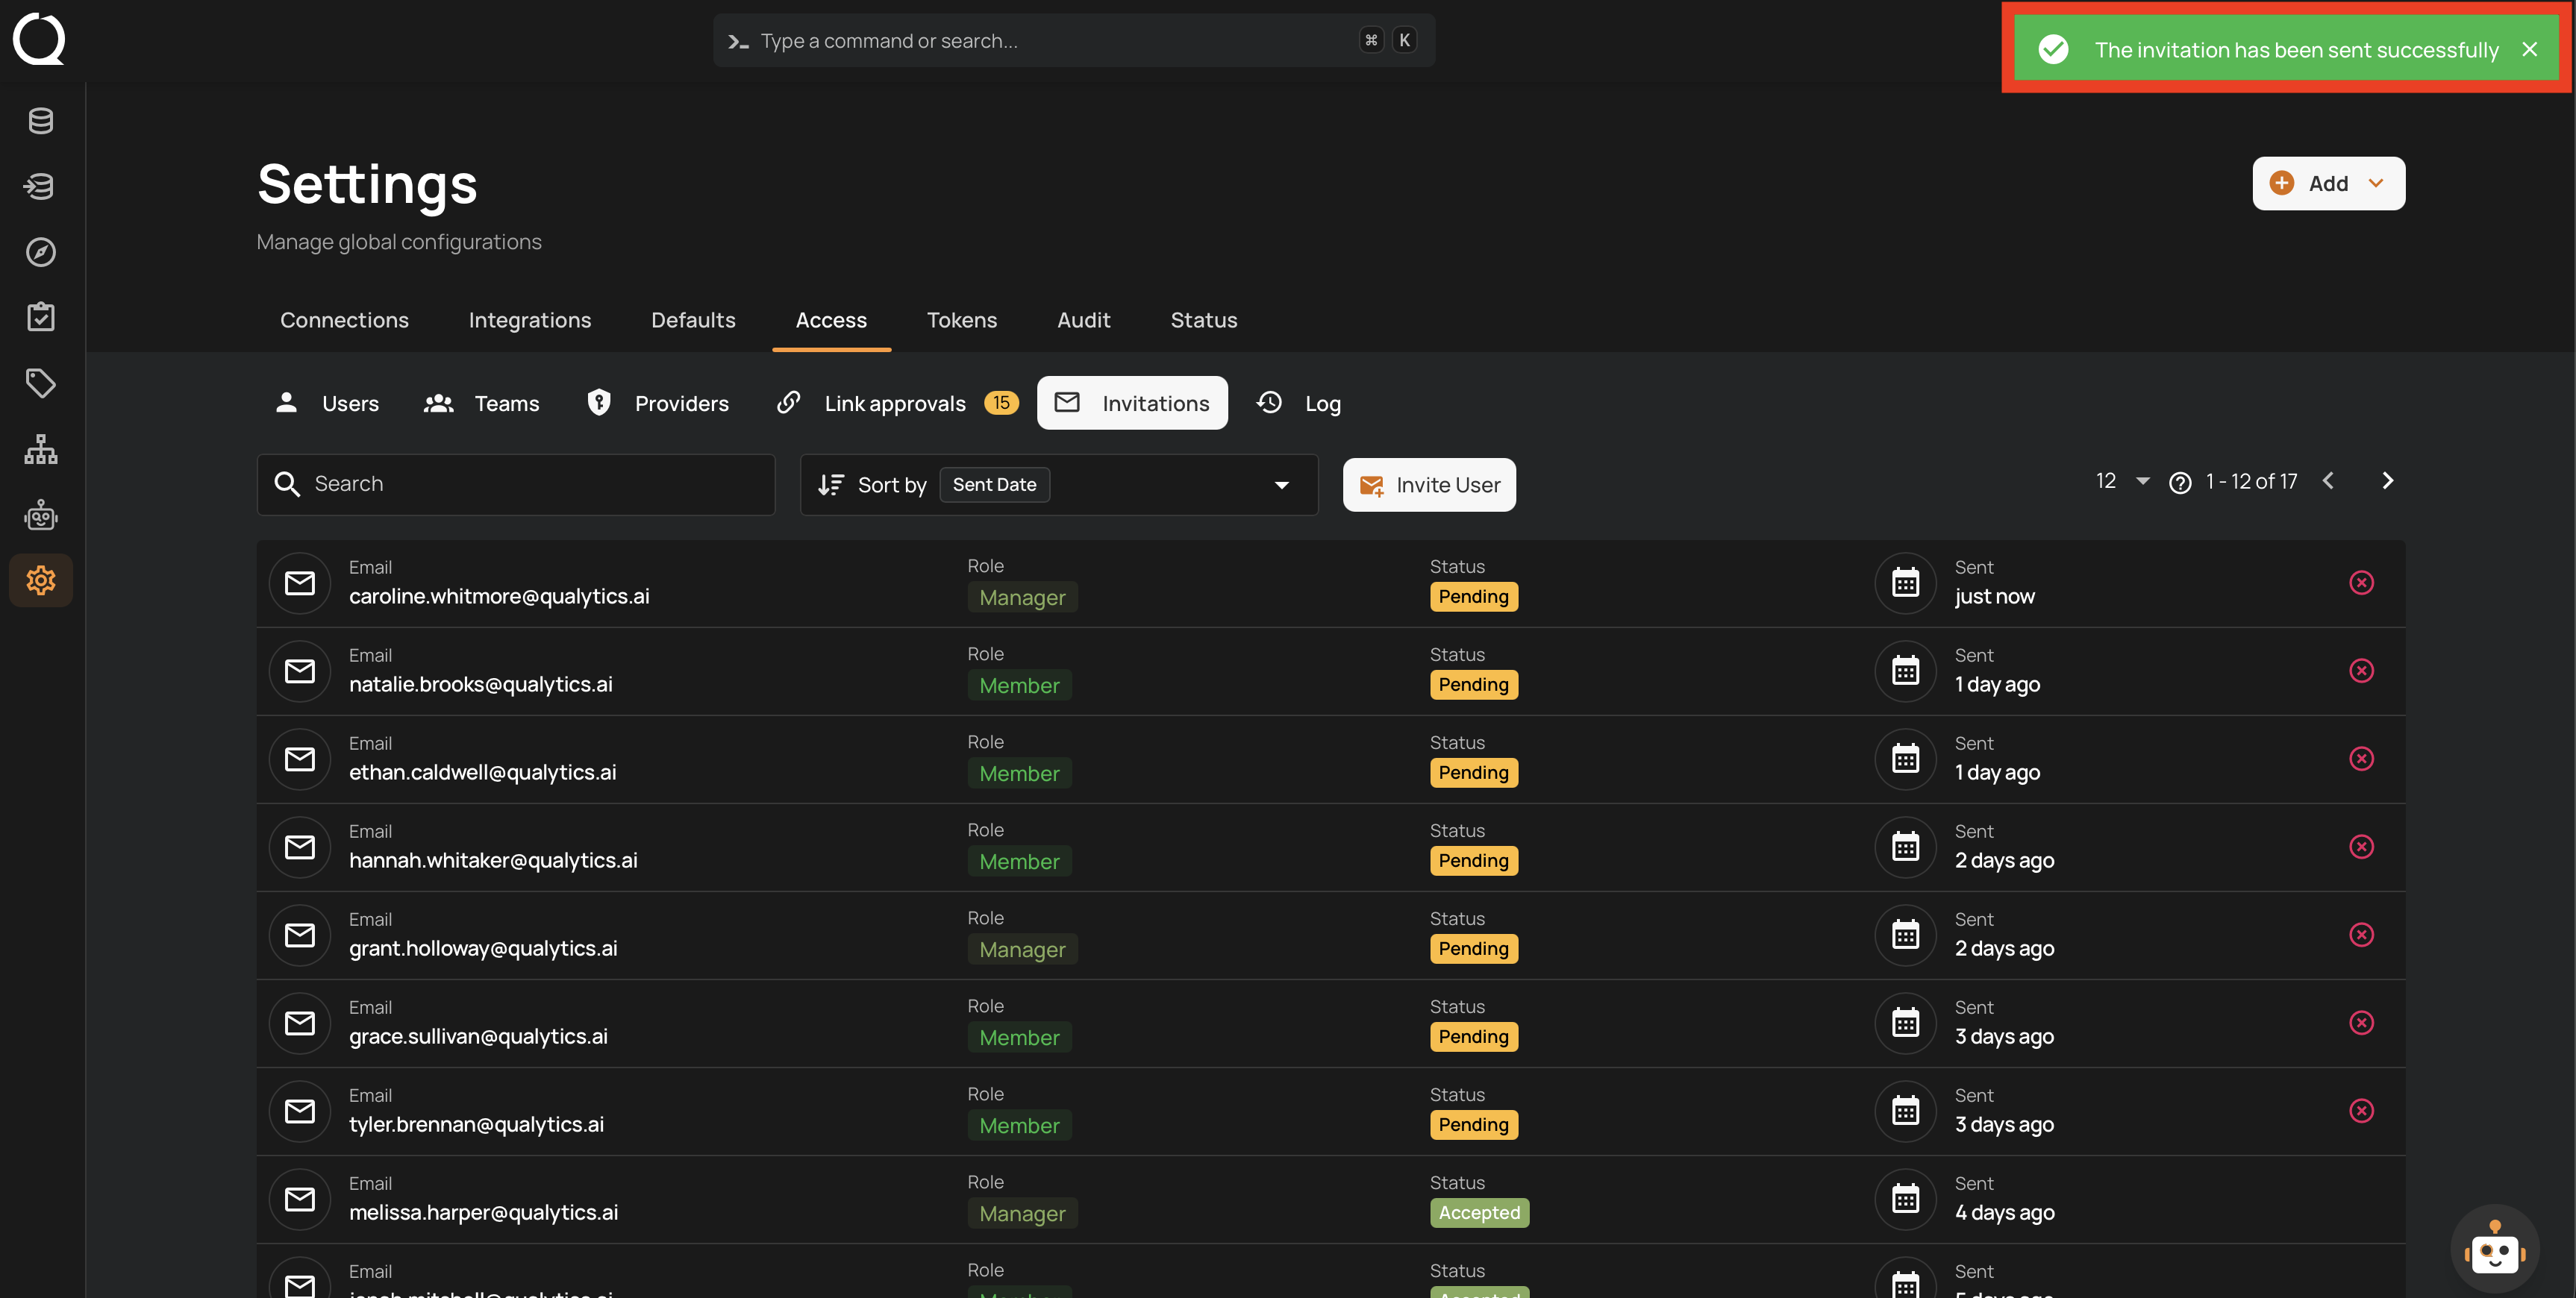
Step 4: A success message appears and the invitation is listed with the Pending status.
Tip
You can also start an invitation from any Access tab by clicking the Add button in the top right corner and selecting Invite User from the menu.
Note
Each administrator can send up to 20 invitations per hour. Past that, the platform asks you to wait before sending more.
What the Recipient Sees
The invited person receives an email with a link to activate their account:
- The link opens a Set Your Password page on your Qualytics deployment.
- The page shows the password requirements configured for your deployment, and checks them as the person types.
- After choosing a password, the person clicks Activate Account. A confirmation appears and they continue to the sign-in page to sign in with their new password.
Once the account is activated, the new user appears in the Users tab with the invited role. The used invitation is normally removed from the Invitations list; its acceptance remains recorded as Invitation Accepted in Log.
Invitation Lifecycle
Track sent invitations in the Invitations tab. You can search invitations by email and sort them by email, status, or sent date.
| Status | Meaning |
|---|---|
| Pending | The invitation was created and has not been accepted. Pending invitations can be revoked. This status does not confirm email delivery. |
| Accepted | The person activated the account. Accepted invitations are normally removed from this list; use Log to review the acceptance. |
| Expired | An activation attempt was made after the invitation's validity period. Send a new invitation if the person still needs access. |
| Revoked | An administrator canceled the invitation. Its link no longer works, and it is hidden from the default list. Revoked records can be retrieved through the API. |
Note
Invitations expire after the period configured on the Email & Password provider (72 hours by default). A stale invitation can still be listed as Pending; it changes to Expired when someone attempts activation. There is no resend action. Send a new invitation to issue another link, and revoke any older pending invitation you no longer want used. Creating a new invitation does not revoke the old one.
Inviting an Existing User
An invitation sets up email and password sign-in. When the email already belongs to an existing account (for example, one created by signing in through an identity provider), what happens depends on that account:
- The existing account keeps its current role; the role selected in the invitation is not applied.
- When the account already has password sign-in, the invitation simply sets a new password for it.
- Adding password sign-in to an account that does not have it yet depends on the Email & Password provider's account-linking policy, which does not allow it by default and is not offered on the provider form. When it is not allowed, the activation fails and the person is asked to contact an administrator. The policy can be changed through the Sign-In Providers API.
- When the invited email matches more than one active account, the activation is refused until an administrator resolves the duplicate accounts.
If the Email Cannot Be Sent
If email delivery is missing or fails, the invitation is still created. The dialog shows the invitation link under Share this invite link manually, with a copy button so you can send it securely to the intended recipient. Copy it before closing the dialog; the invitation list does not offer a copy-link action. Treat the link as a credential because it lets the recipient choose a password for the invited email.