Manage Providers
This page covers the day-to-day management of sign-in providers in the Providers tab: testing, editing, enabling, disabling, and deleting them. You can search providers by name and sort them by name or created date.
Permissions
Only users with the Admin role can manage sign-in providers. See the Permissions page for details.
Test a Provider
The Test button at the bottom of the provider form runs connection diagnostics for OIDC and SAML providers, against the values currently in the form (or the saved configuration when nothing was changed).
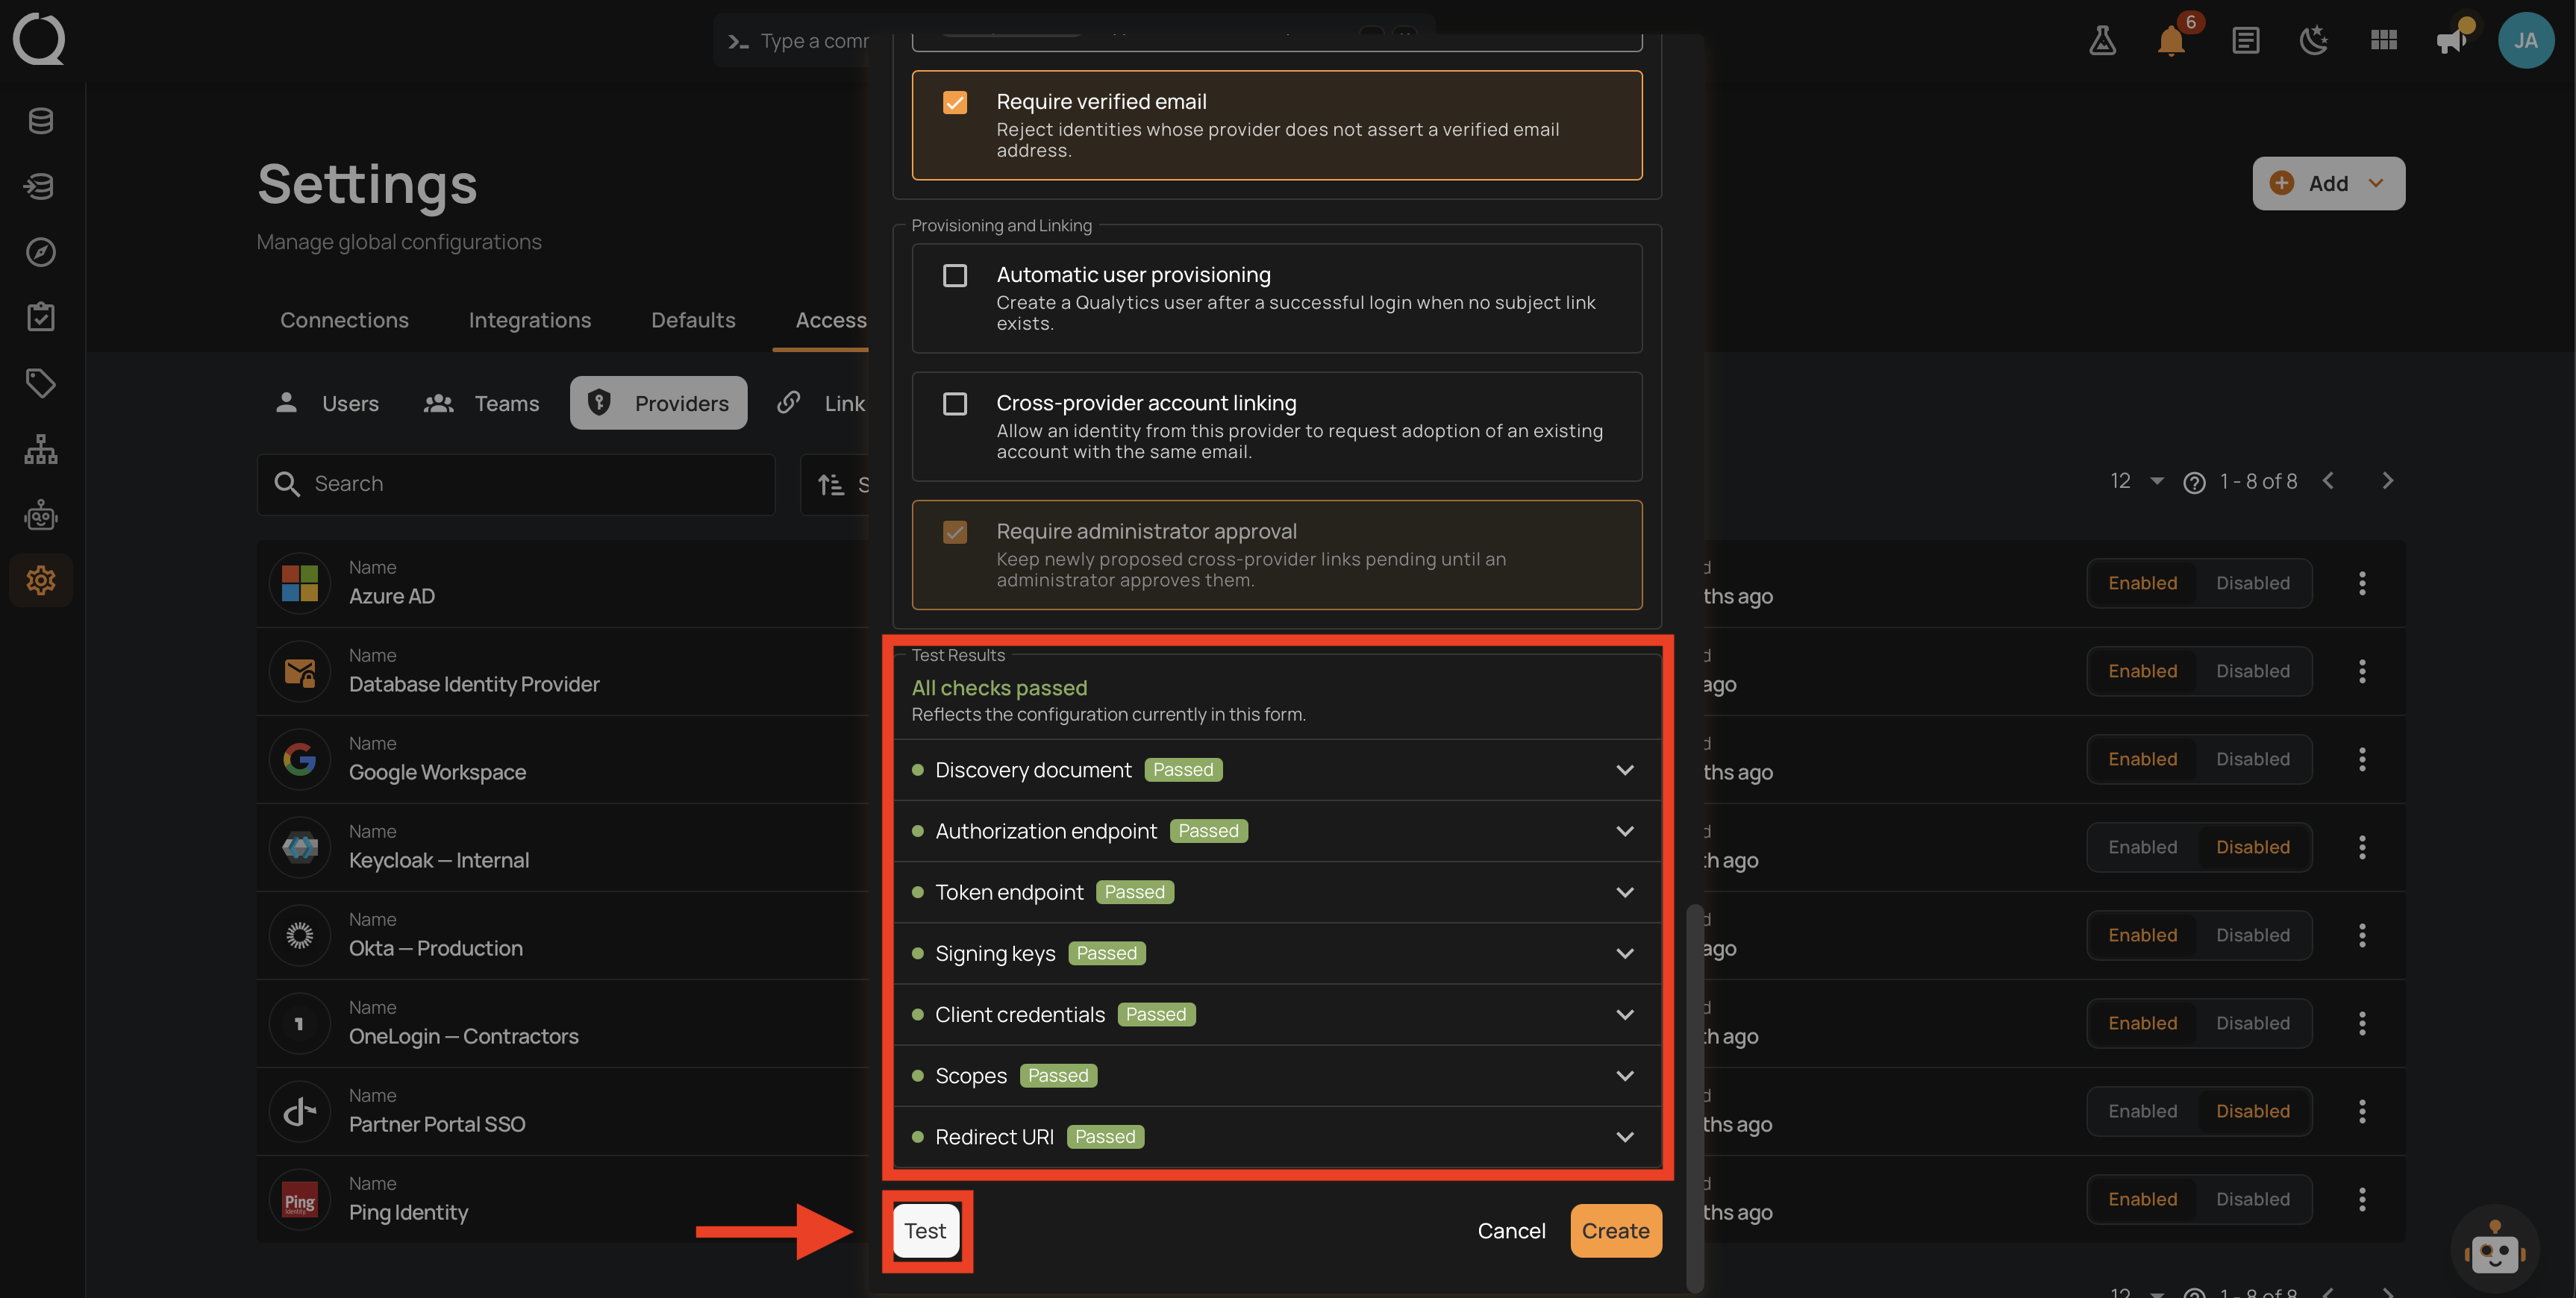
The Test Results panel opens with a summary line ("All checks passed", "N of M checks failed", or "N of M checks need review") and a scope line telling you what was tested: "Reflects the configuration currently in this form." or "Reflects the saved configuration." Each check shows a Passed, Failed, Warning, or Skipped badge; expand a check to read the details.
Which checks run depends on the provider type. An OIDC provider is tested for its Discovery URL, Authorization Endpoint, Token Endpoint, UserInfo Endpoint, JWKS URI, Issuer, Redirect URI, Client Credentials, Groups Claim, Scopes, Claim Mapping, Email Claim, and Login Flow. A SAML provider is tested for its IdP Metadata URL, X.509 Certificate, SP Metadata, SSO URL, Attribute Mapping, Groups Claim, and Login Flow.
Two OIDC checks deserve a closer look:
- JWKS URI fails when no JWKS URI is configured, when the document is unreachable, or when it contains no keys. It passes with "JWKS is reachable and publishes N signing key(s)".
- Issuer compares the configured Issuer against the discovery document character for character, so even a trailing slash difference fails it, and the failure message warns that every ID token would be rejected at sign-in. Without a discovery URL the check passes with a note that the value could not be cross-checked, and when the discovery document is unreachable it comes back as a Warning instead.
Tip
Test a provider before enabling it, and again after any change to its endpoints or certificates. Diagnostics do not apply to the Email & Password provider, which has no external connection to test.
Edit a Provider
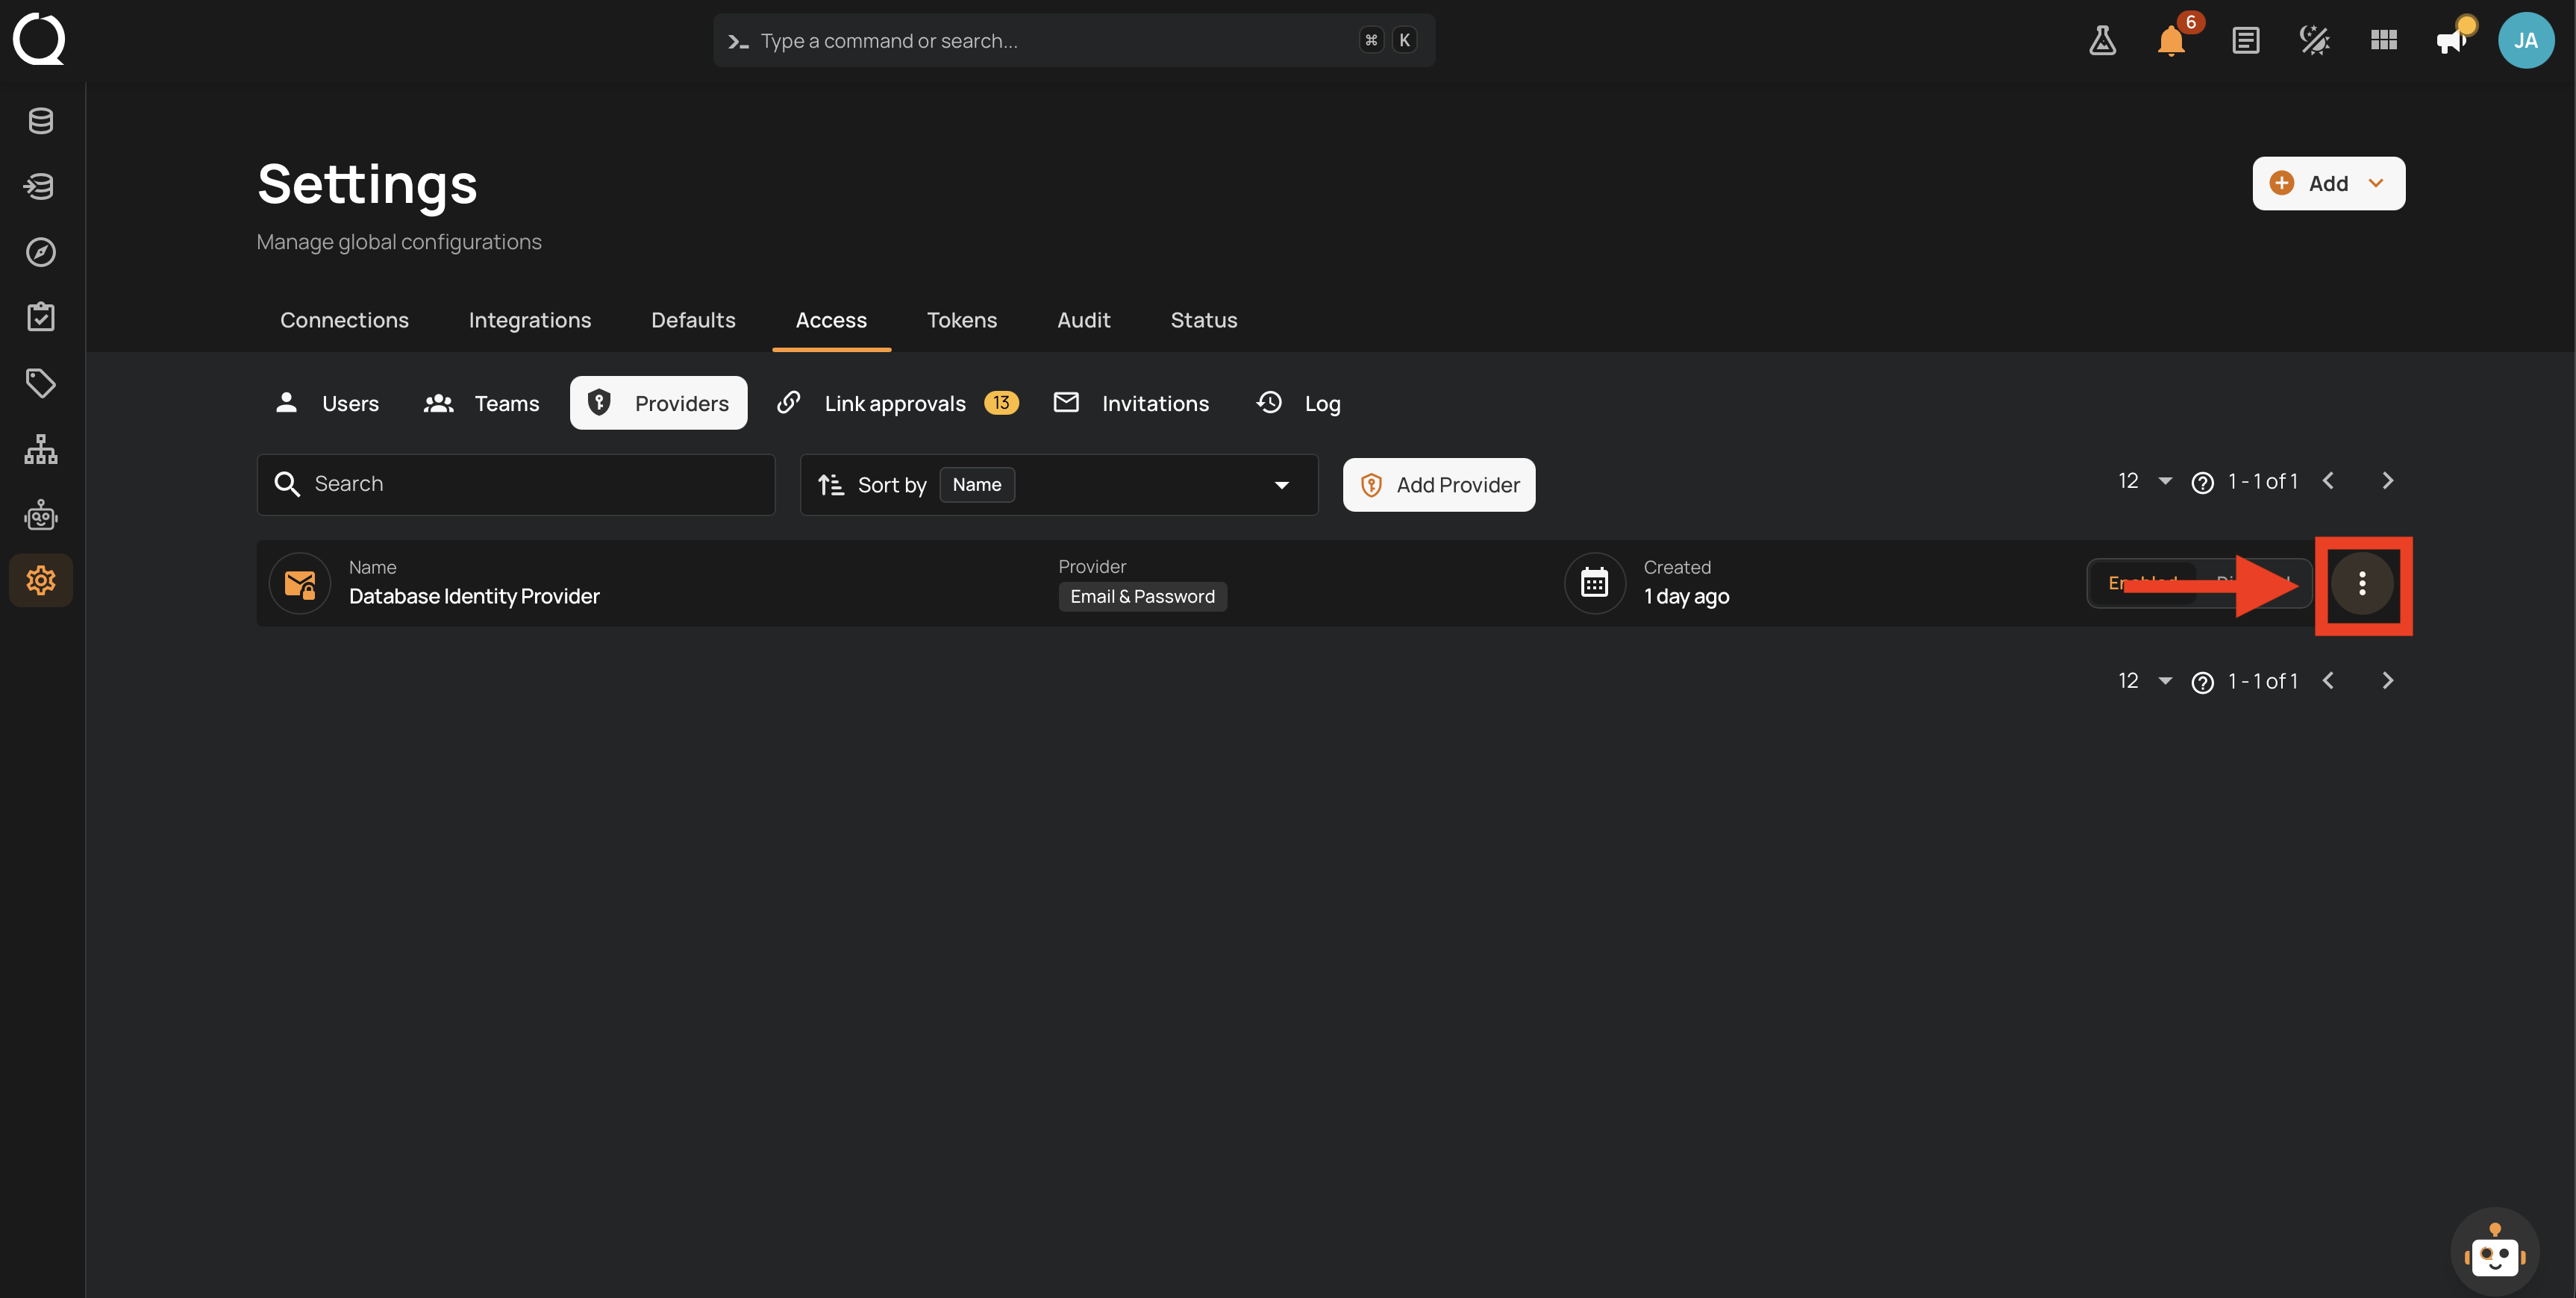
Step 1: Click the vertical ellipsis next to the provider you want to edit.
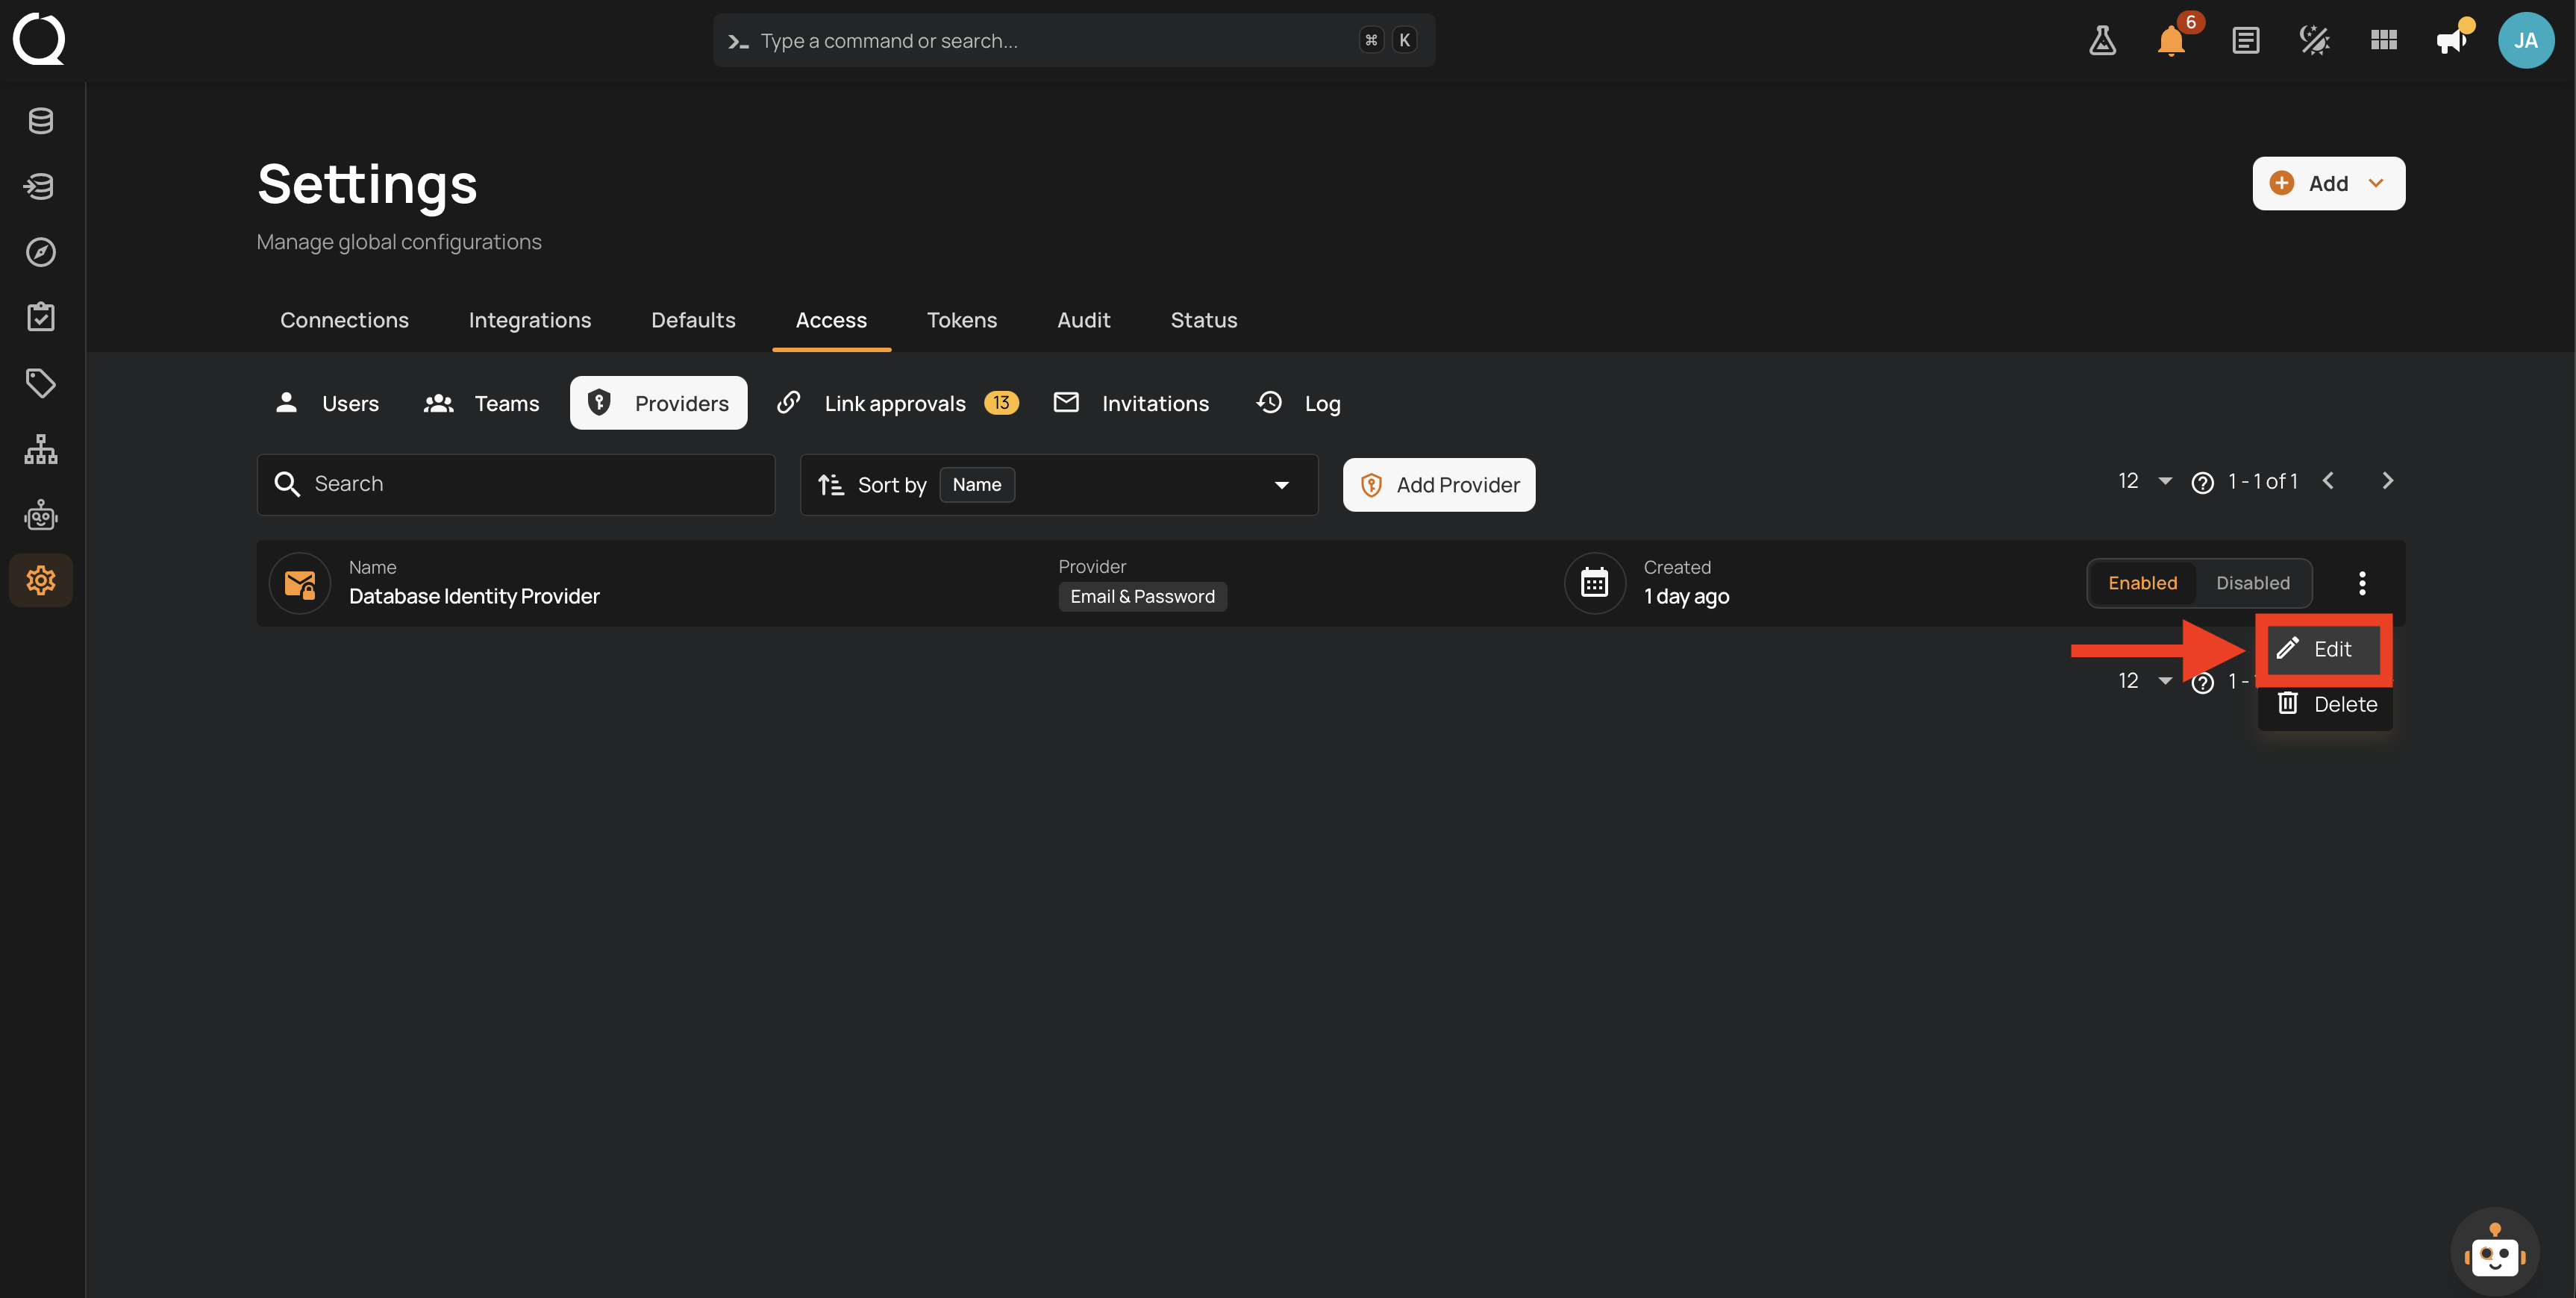
Step 2: A menu appears with the available actions. Click Edit .
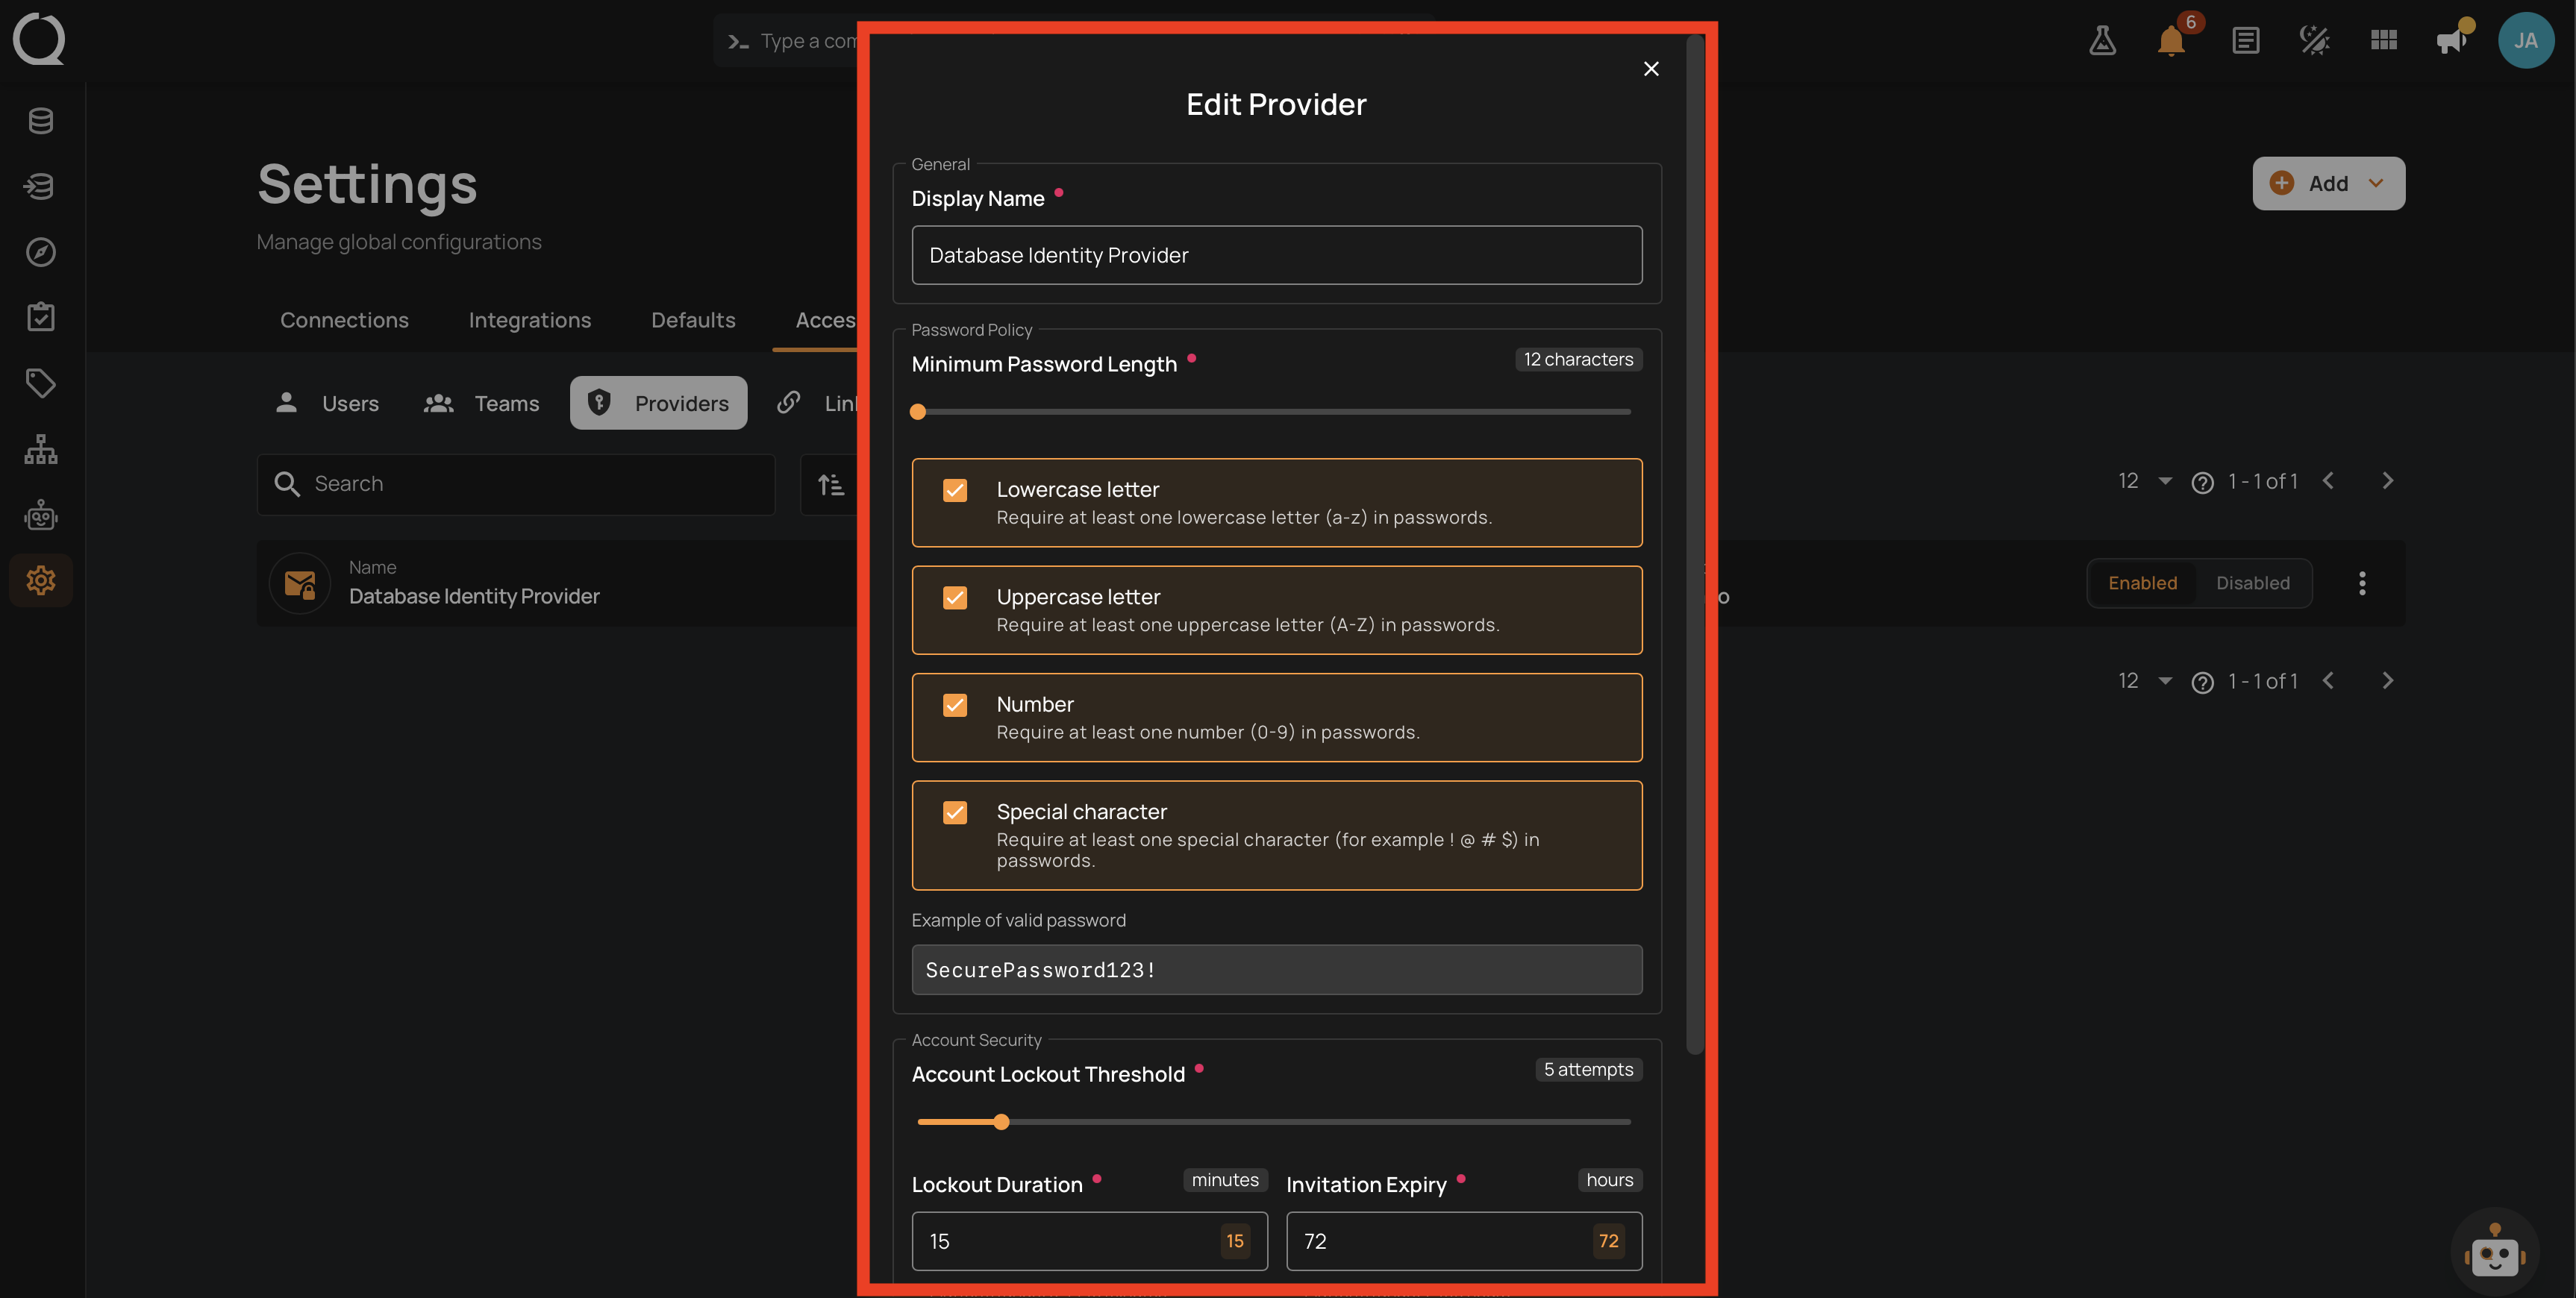
Step 3: Update the fields as needed. Secrets (client secret, certificate) are never displayed; enter a new value only to replace the stored one.
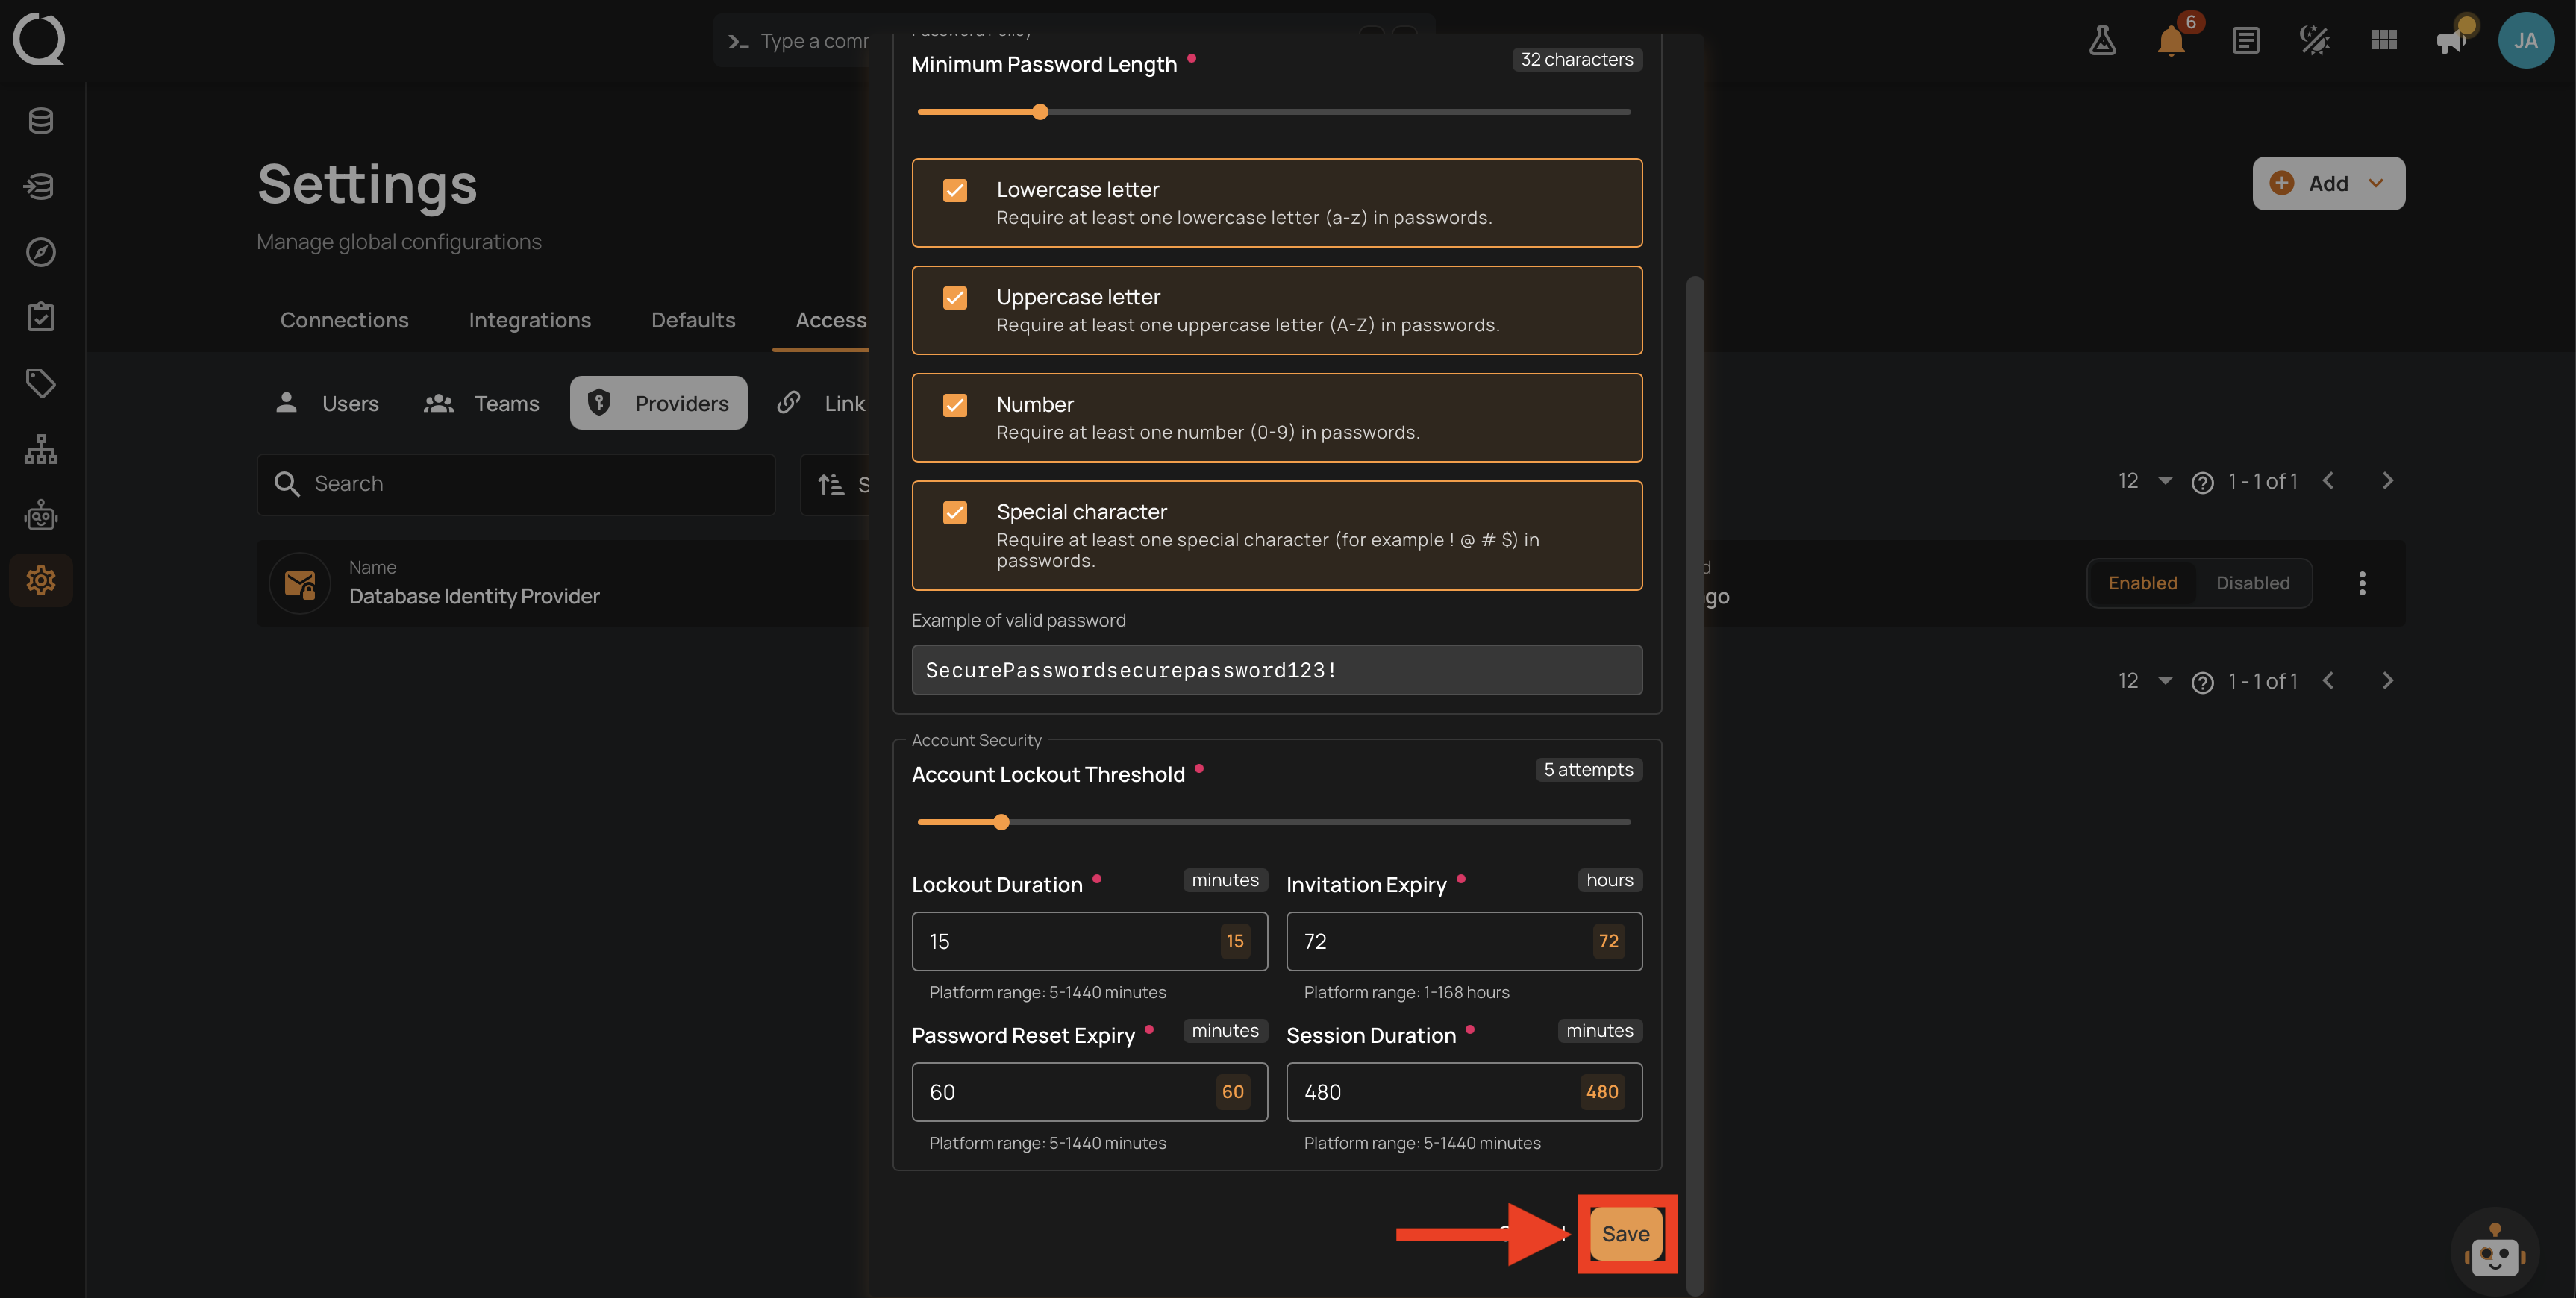
Step 4: Click the Save button.
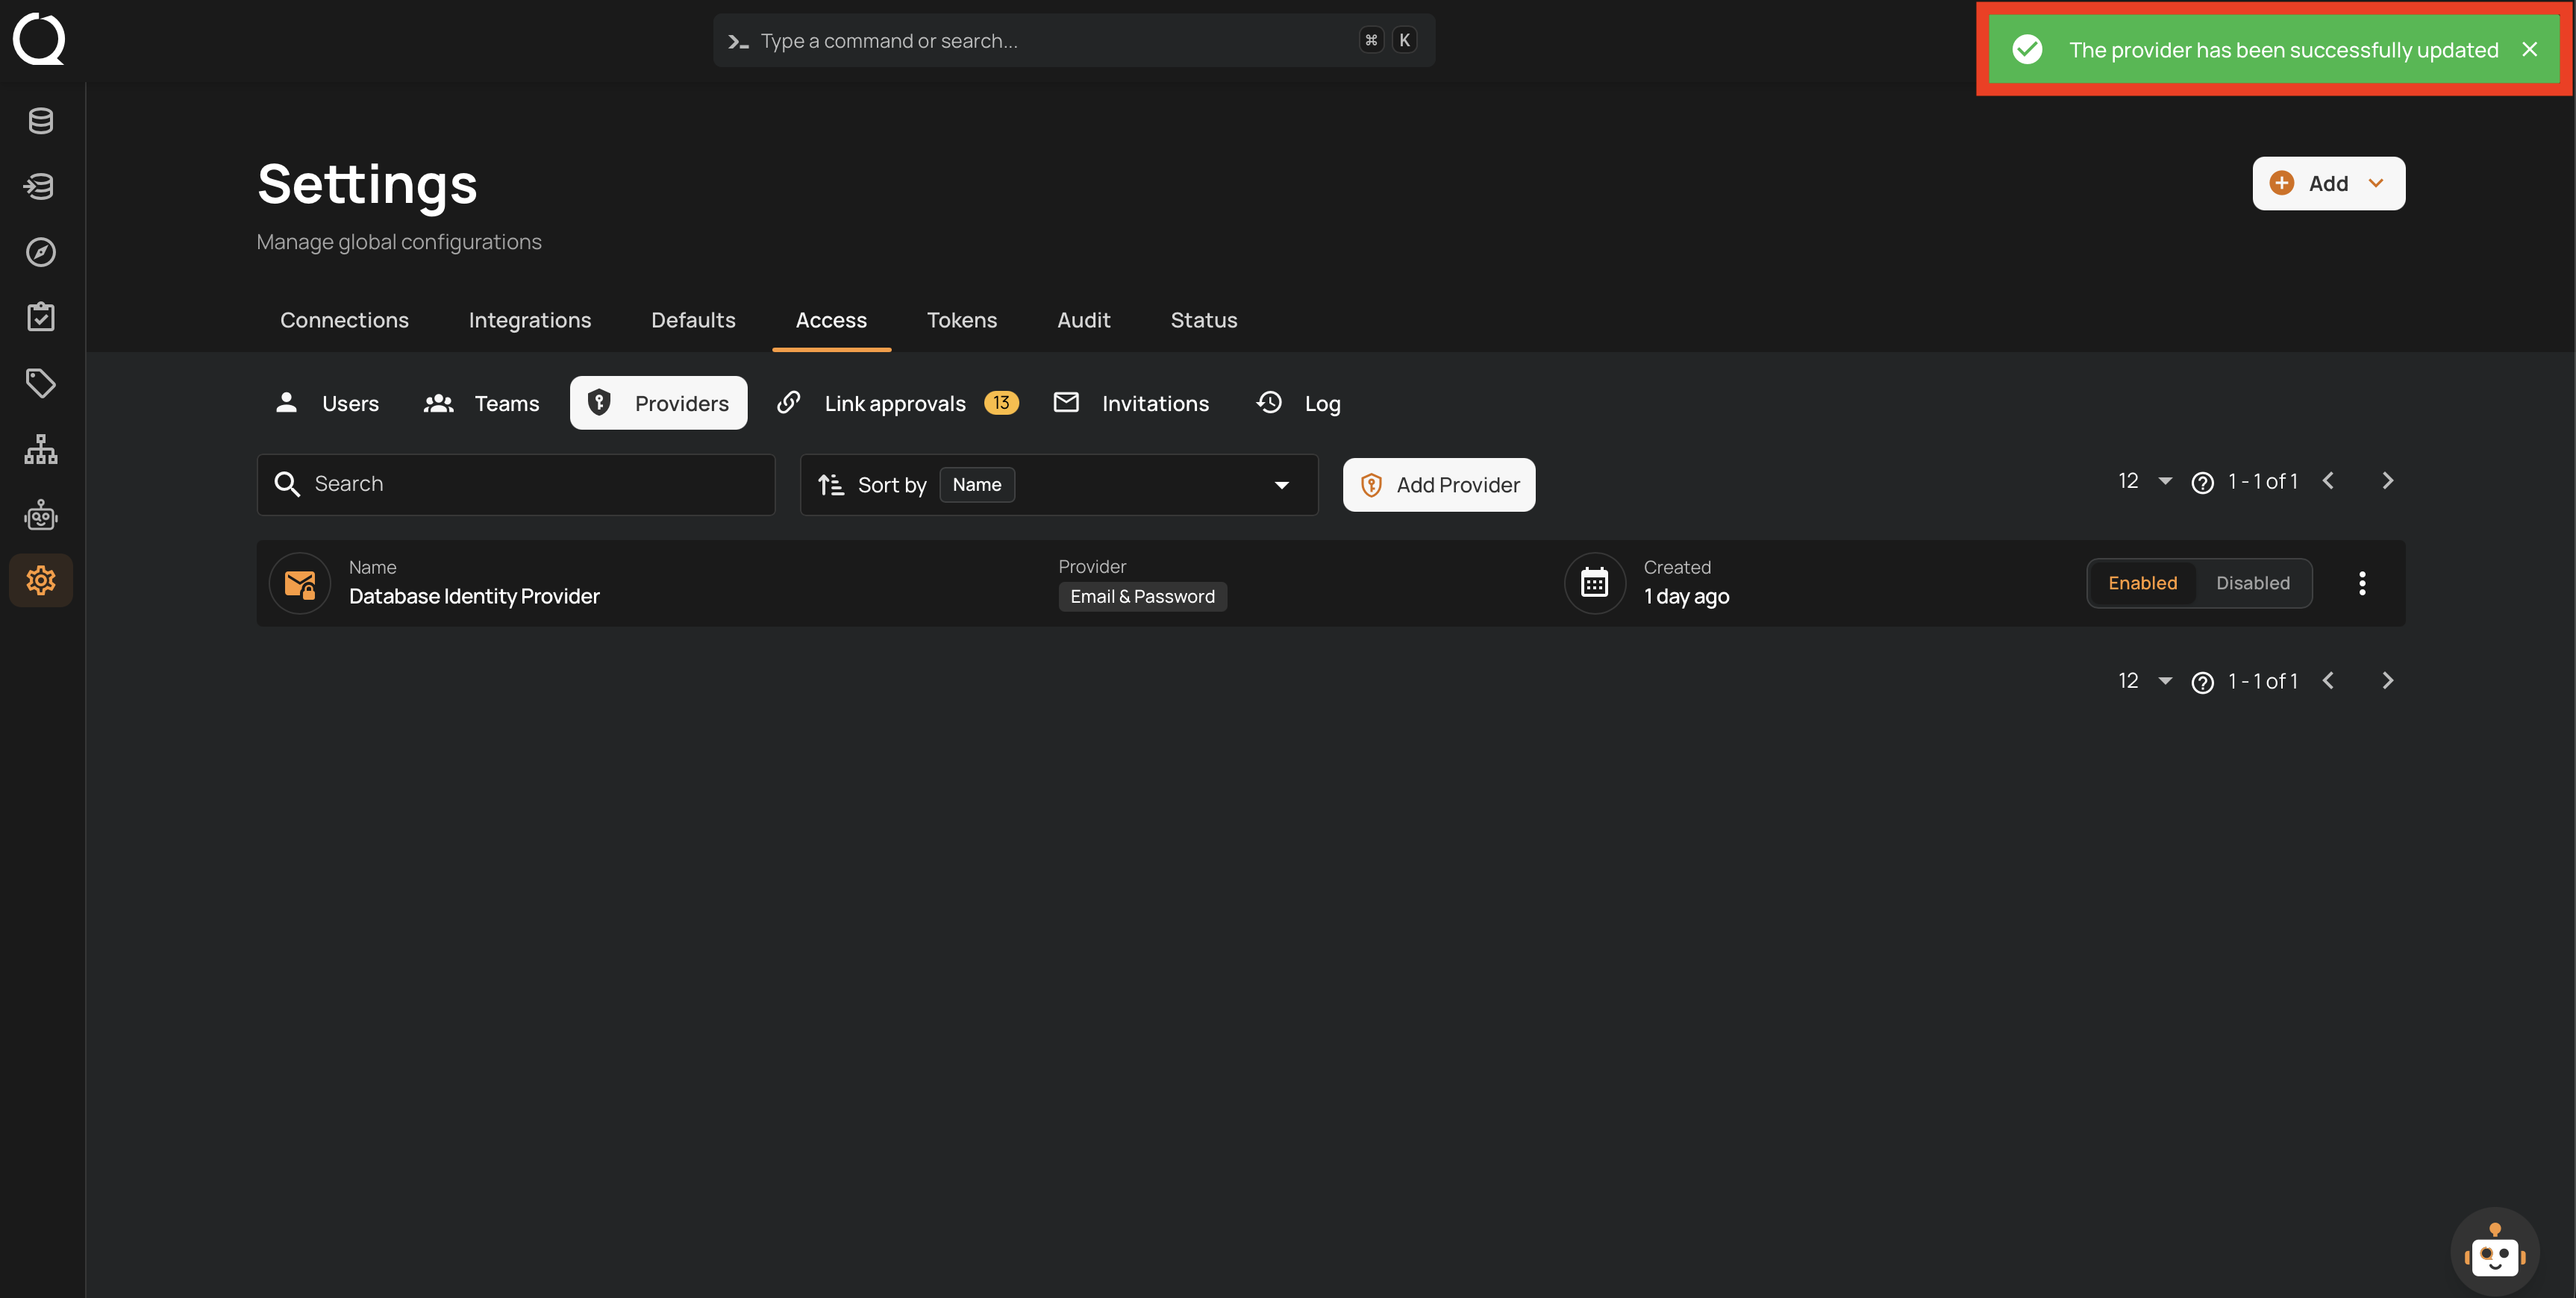
Step 5: A success message appears.
Some changes sign users out
Saving a security-sensitive change (credentials, certificates, or a more restrictive domain or group policy) ends every active session issued by the provider, including your own if you signed in with it. The form warns you first, lists the changes that caused it, and asks you to confirm with Save and Sign Everyone Out.
Changes that affect sign-in are verified before saving
On any enabled OIDC or SAML provider, a change that affects sign-in is saved only after the connection diagnostics pass, and the same applies when you enable a provider. That covers the endpoints and metadata, certificates and client credentials, scopes, the claim or attribute mapping, and the groups claim. Checks that come back as warnings do not stand in the way; a check that fails does, and the form names the failing checks so you can correct the values and try again. Saving a provider that stays disabled is never gated, which is what lets you correct a configuration while its identity provider is unreachable.
Independently of the diagnostics, the form refuses to save an OIDC provider that is missing a required connection or endpoint value, the JWKS URI and the Issuer among them. The error message names the fields that are missing.
Enable or Disable a Provider
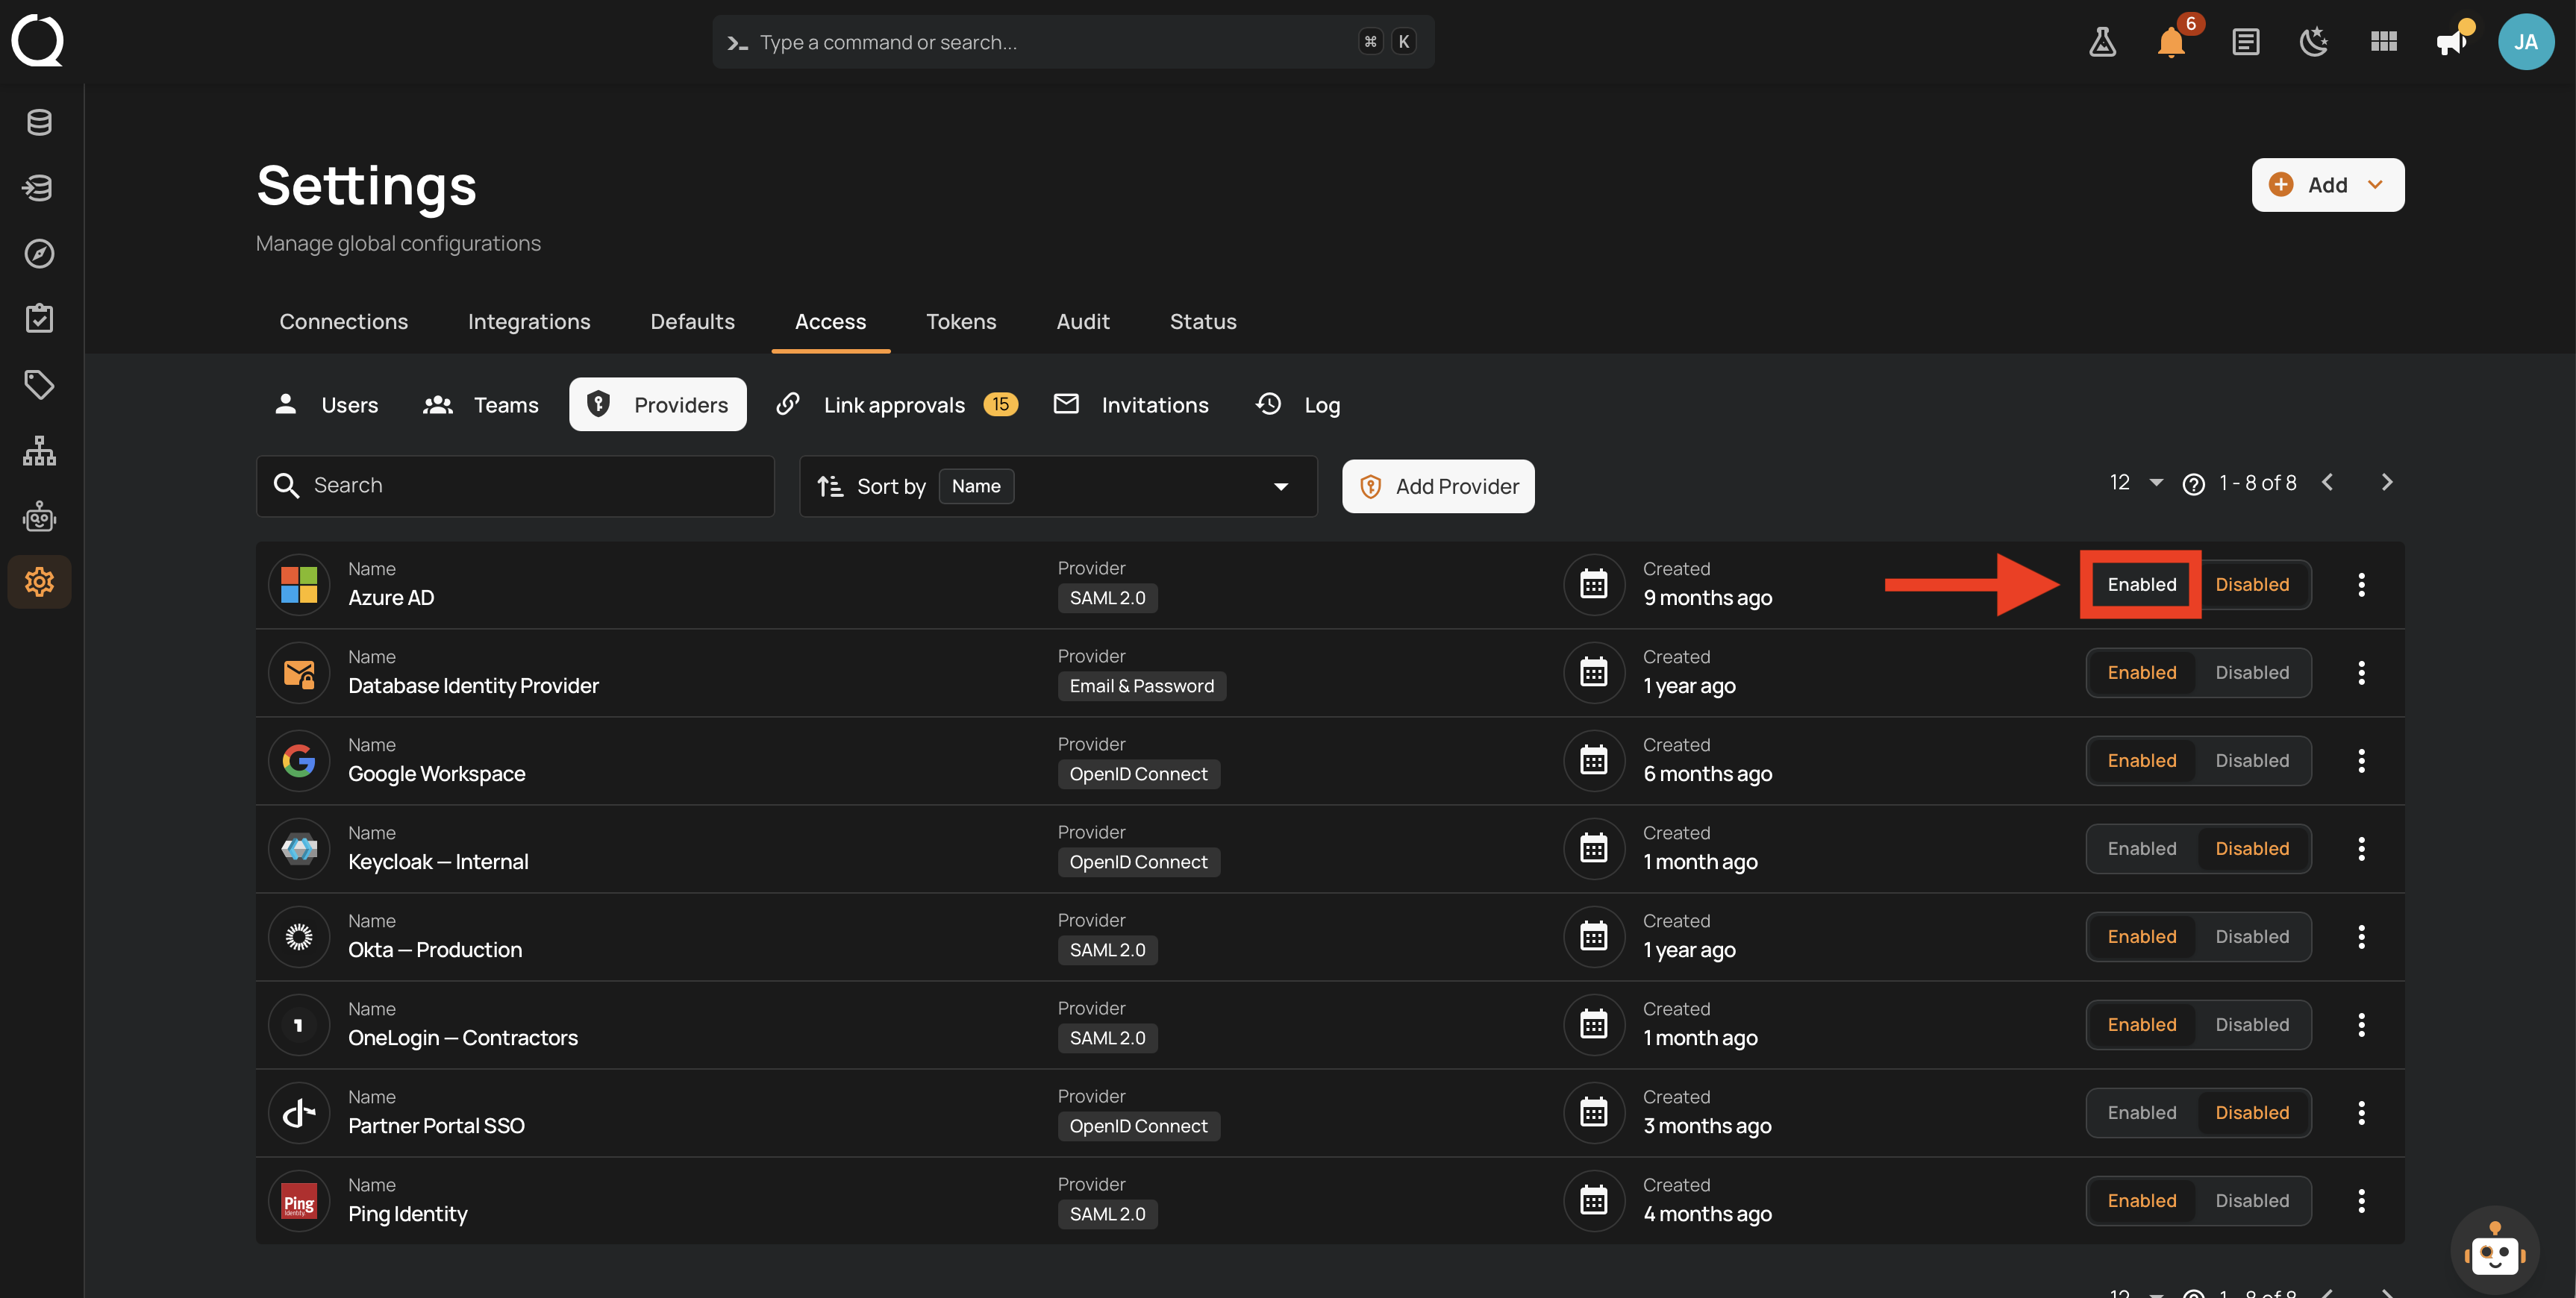
Each provider row has an Enabled / Disabled control:
- Enable makes the provider available on the sign-in page.
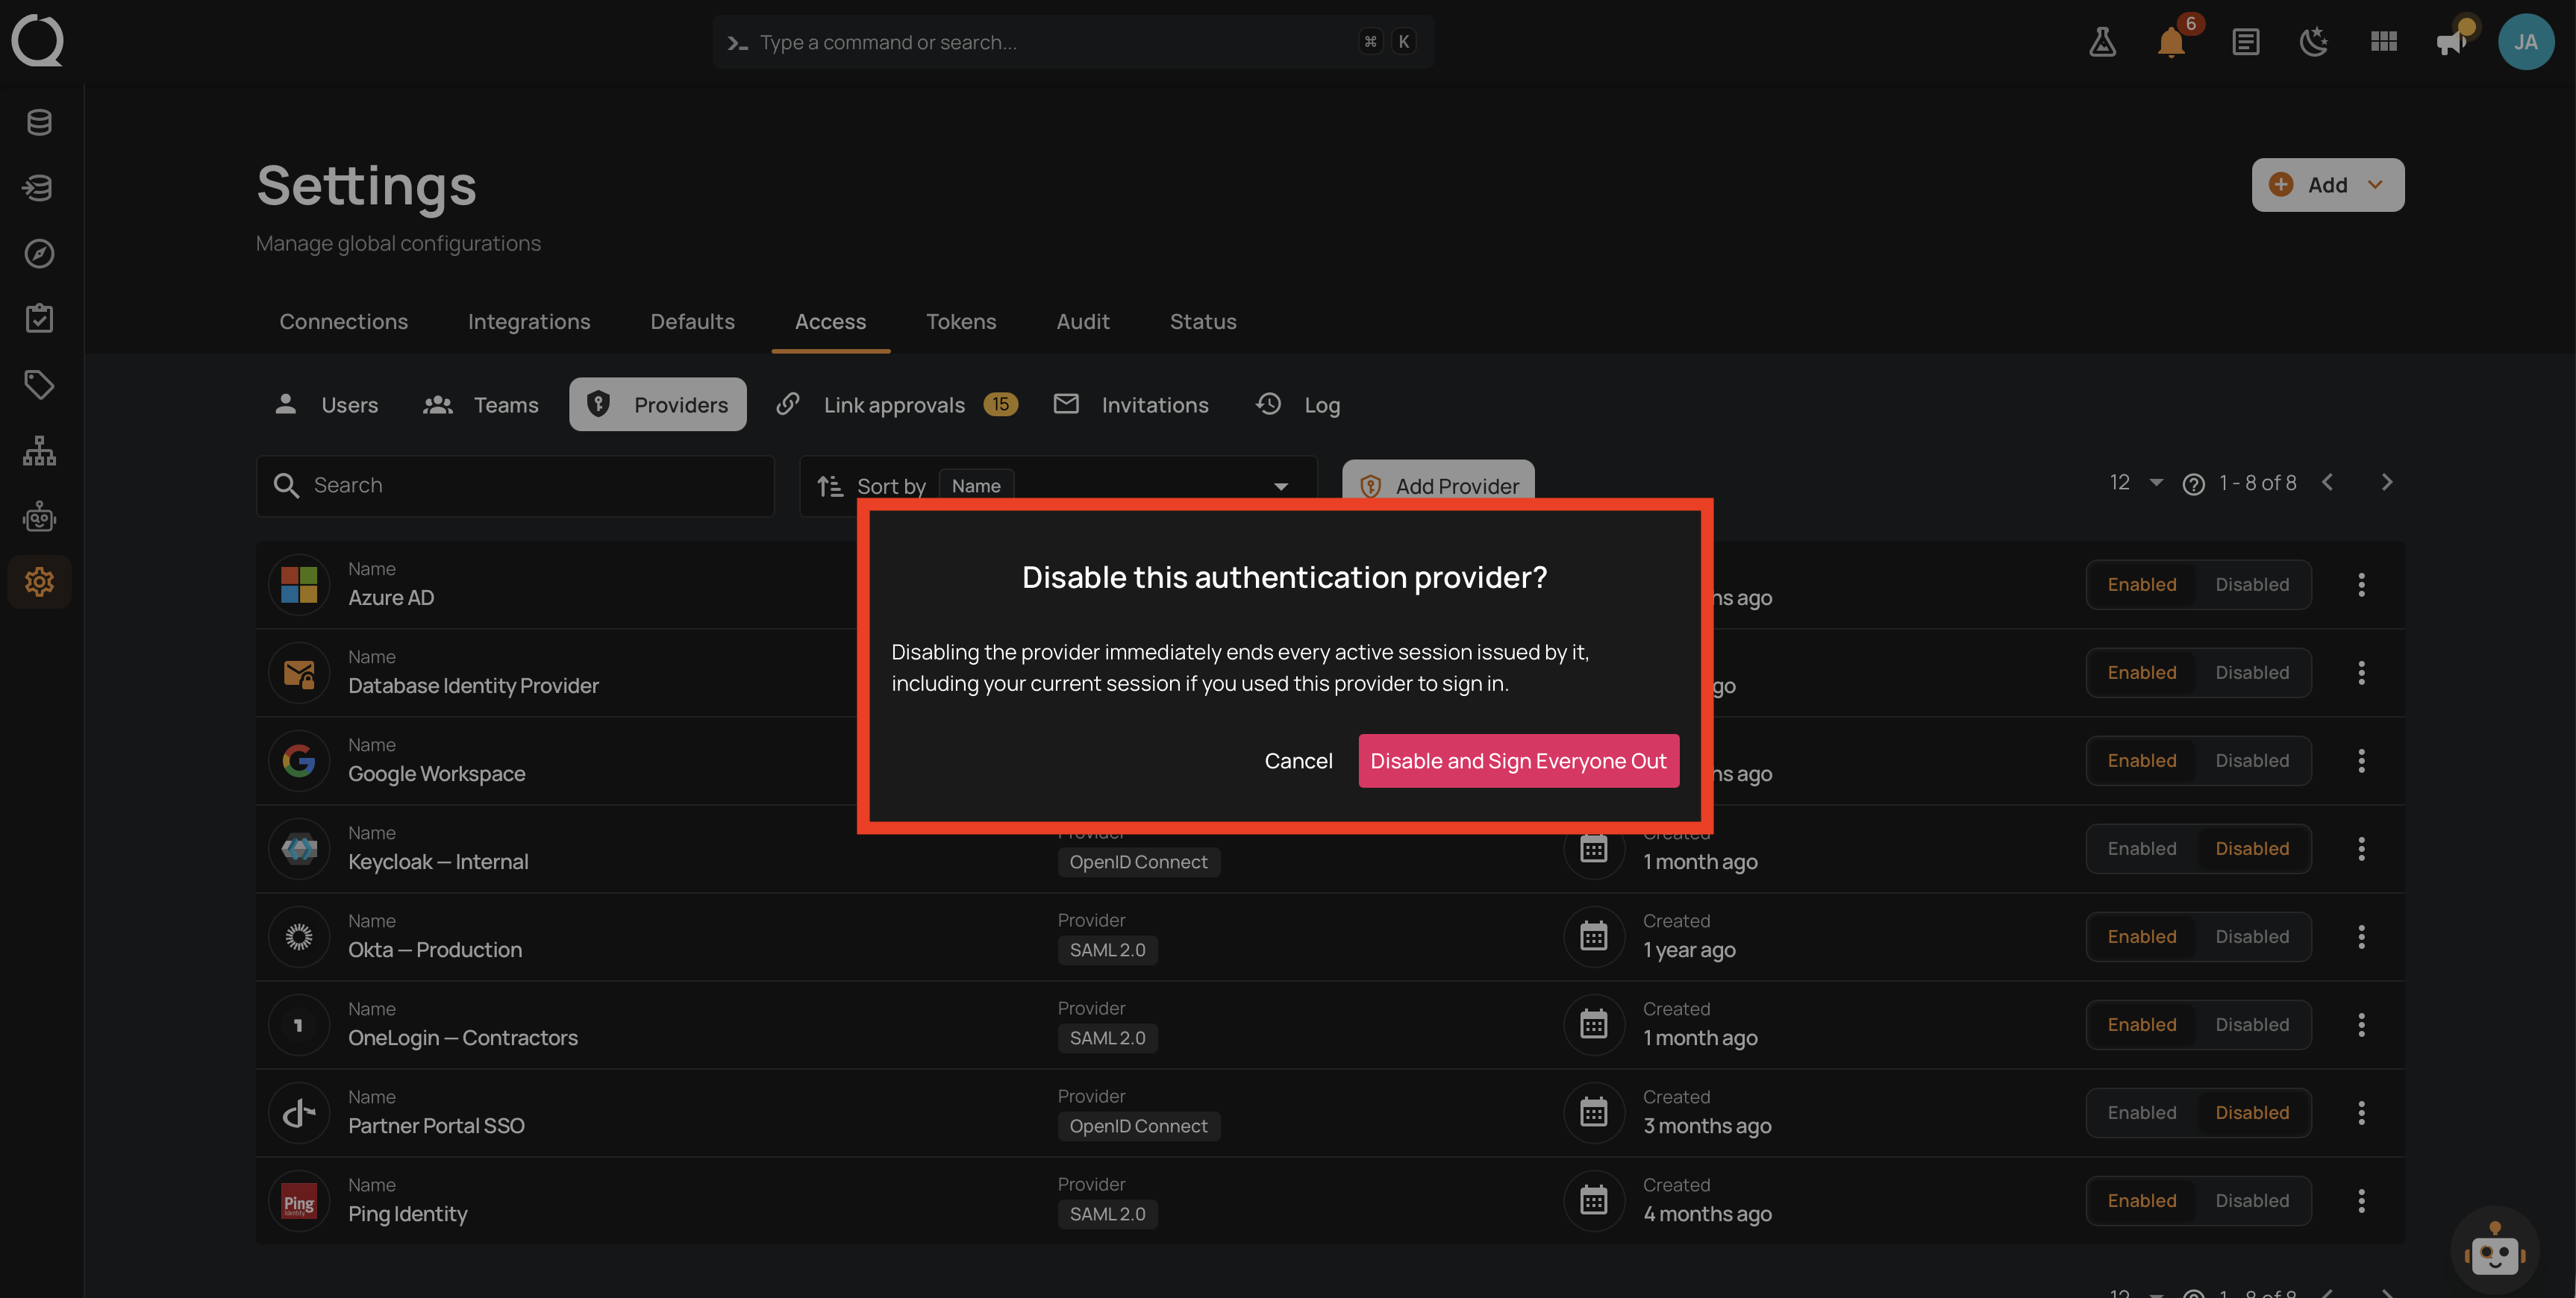
- Disable immediately ends every active session issued by the provider. Sign in through a different provider before disabling it.
Step 1: Click Enabled on the provider's row.
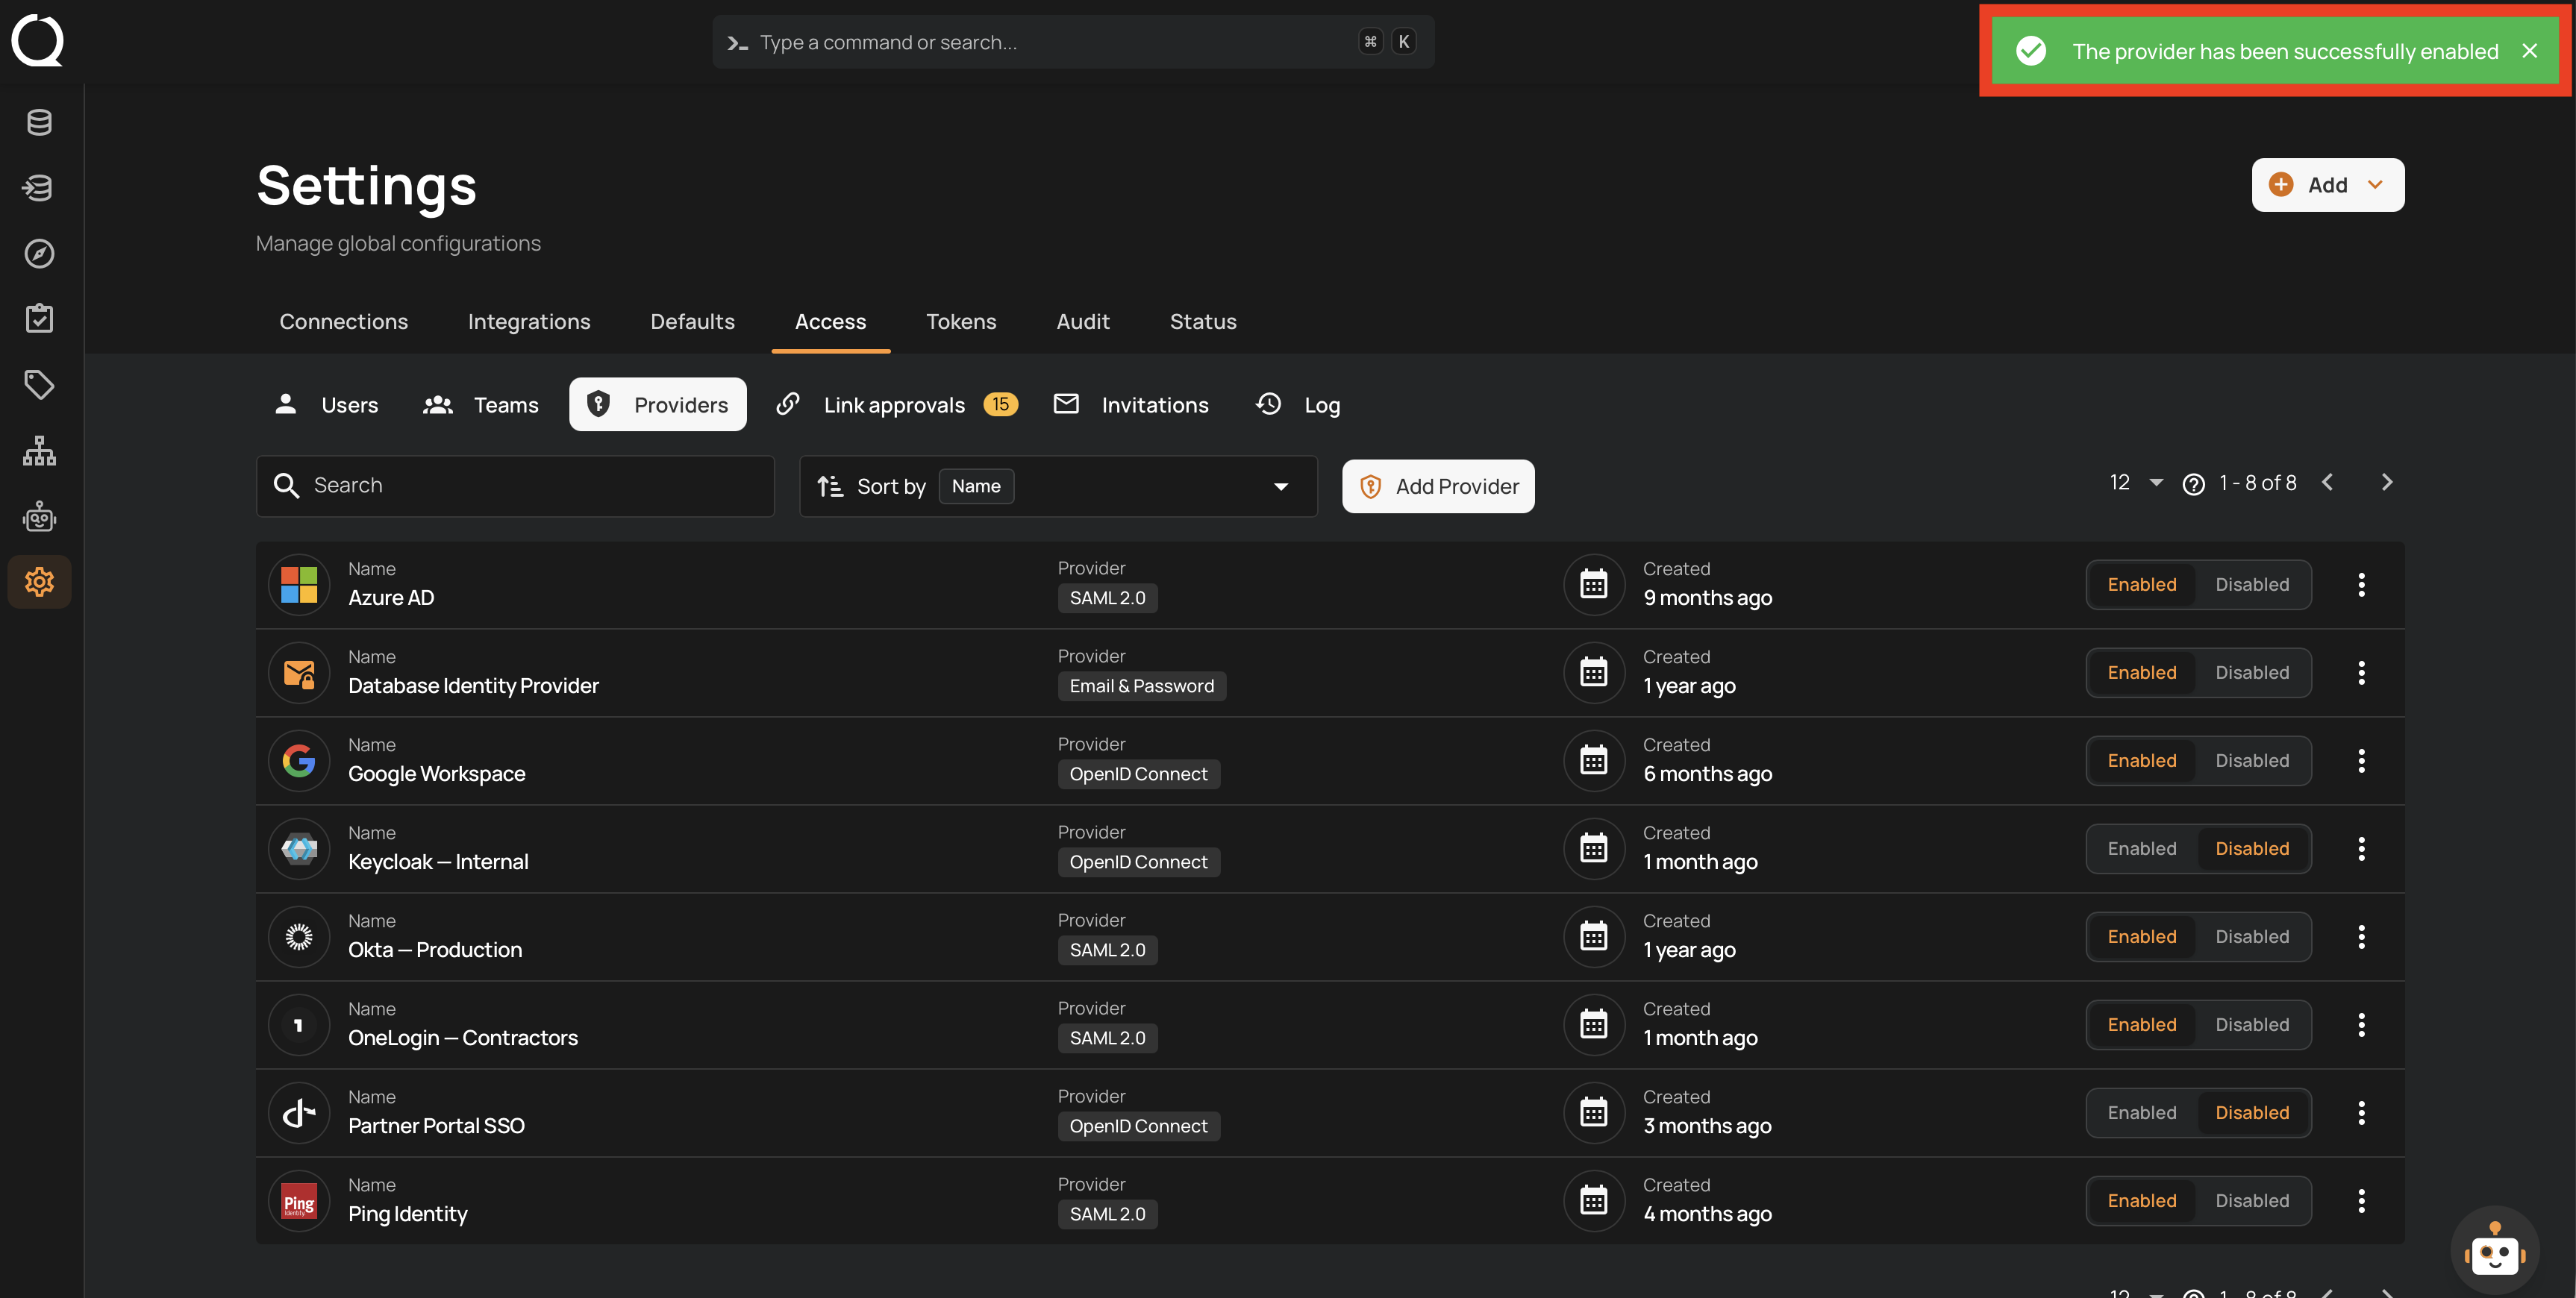
Step 2: A success message appears.
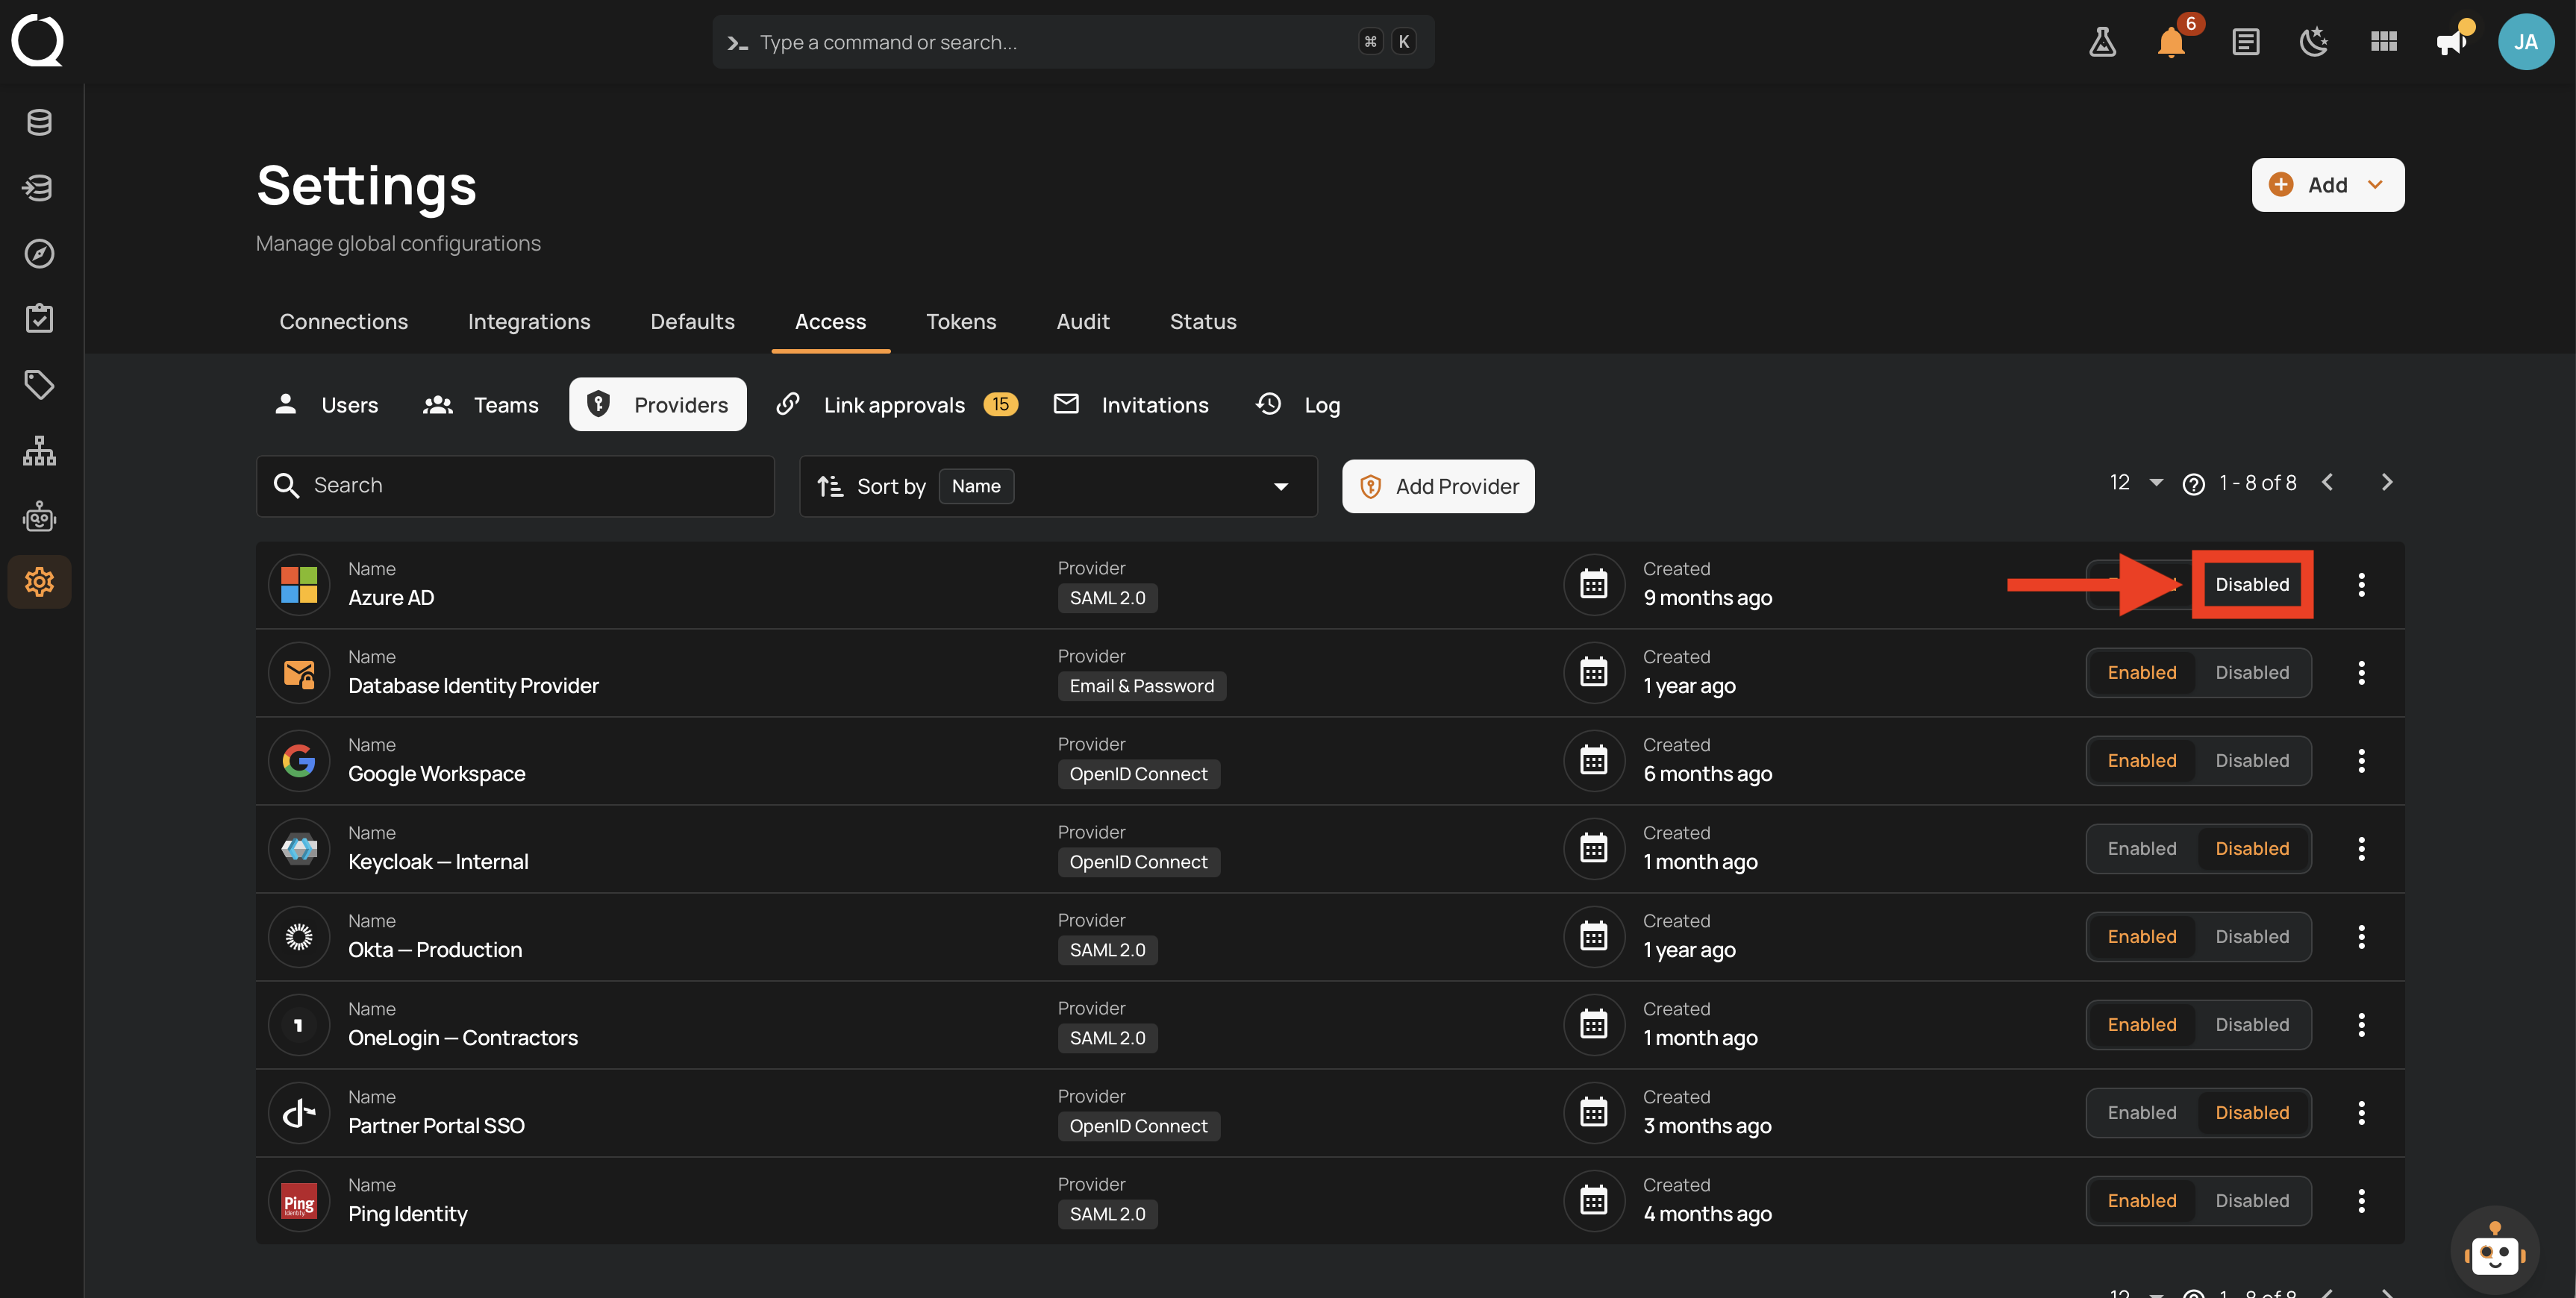
Step 1: Click Disabled on the provider's row.
Step 2: A confirmation dialog explains that every active session issued by the provider ends. Click Disable and Sign Everyone Out to proceed.
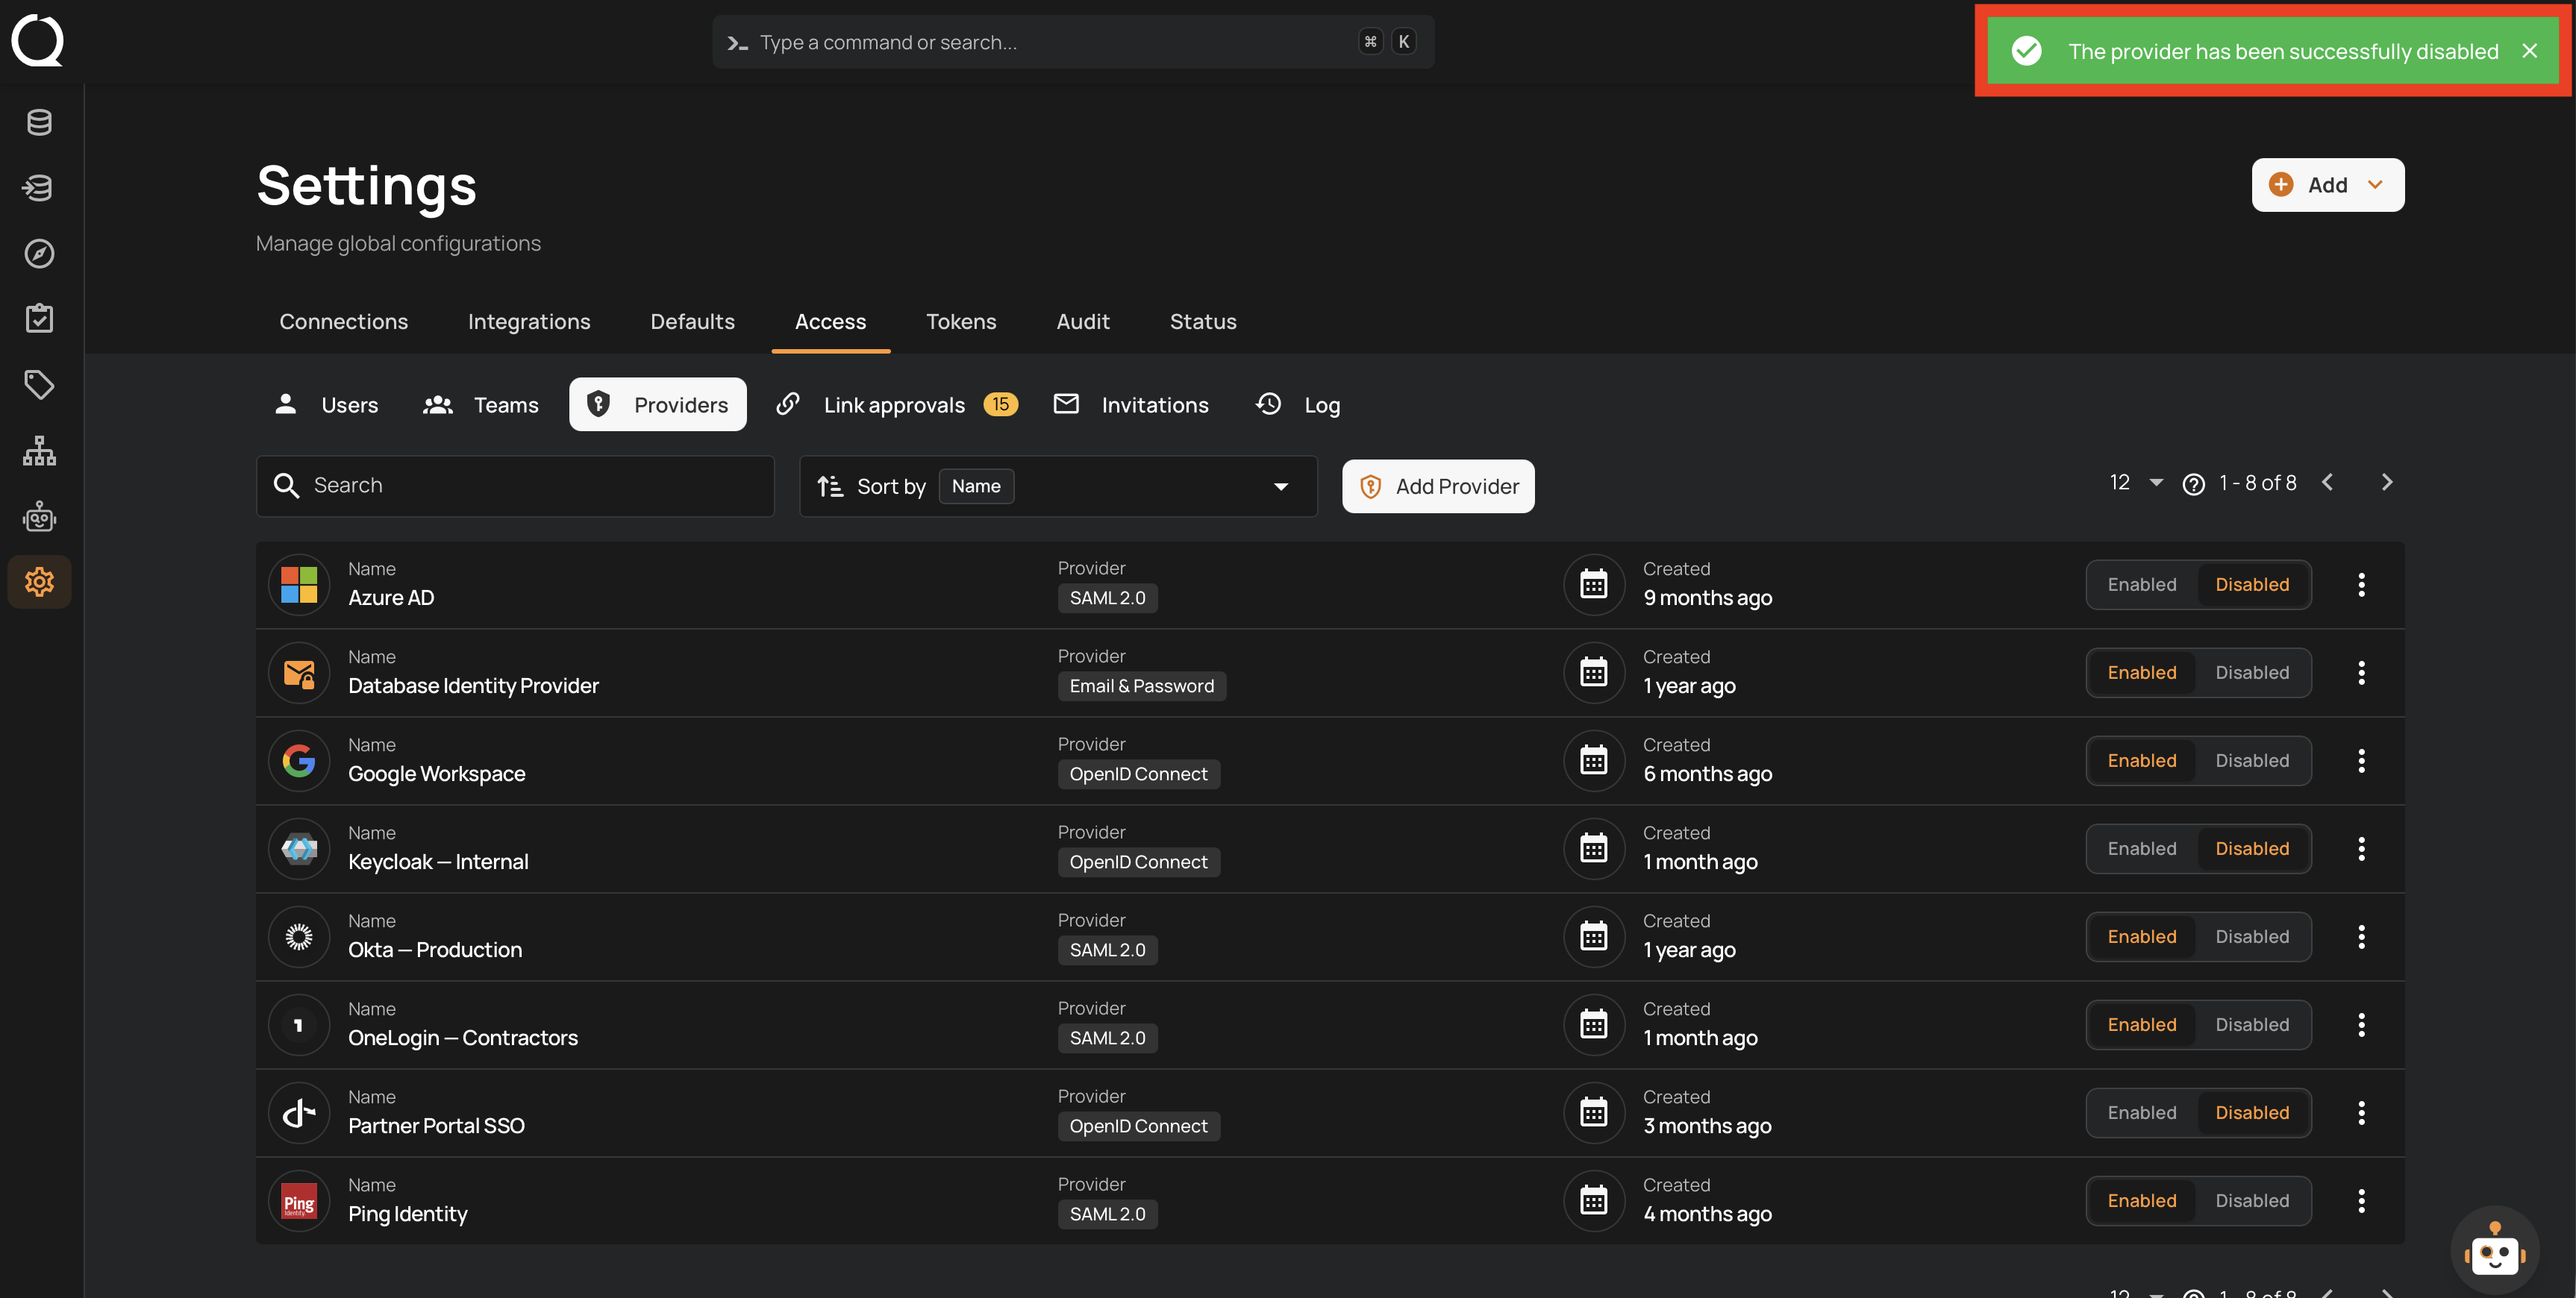
Step 3: A success message appears.
Note
The last enabled customer sign-in provider cannot be disabled, and you cannot disable the provider your current session signed in with. This keeps you from locking everyone (or yourself) out.
Delete a Provider
Step 1: Click the vertical ellipsis next to the provider you want to delete.
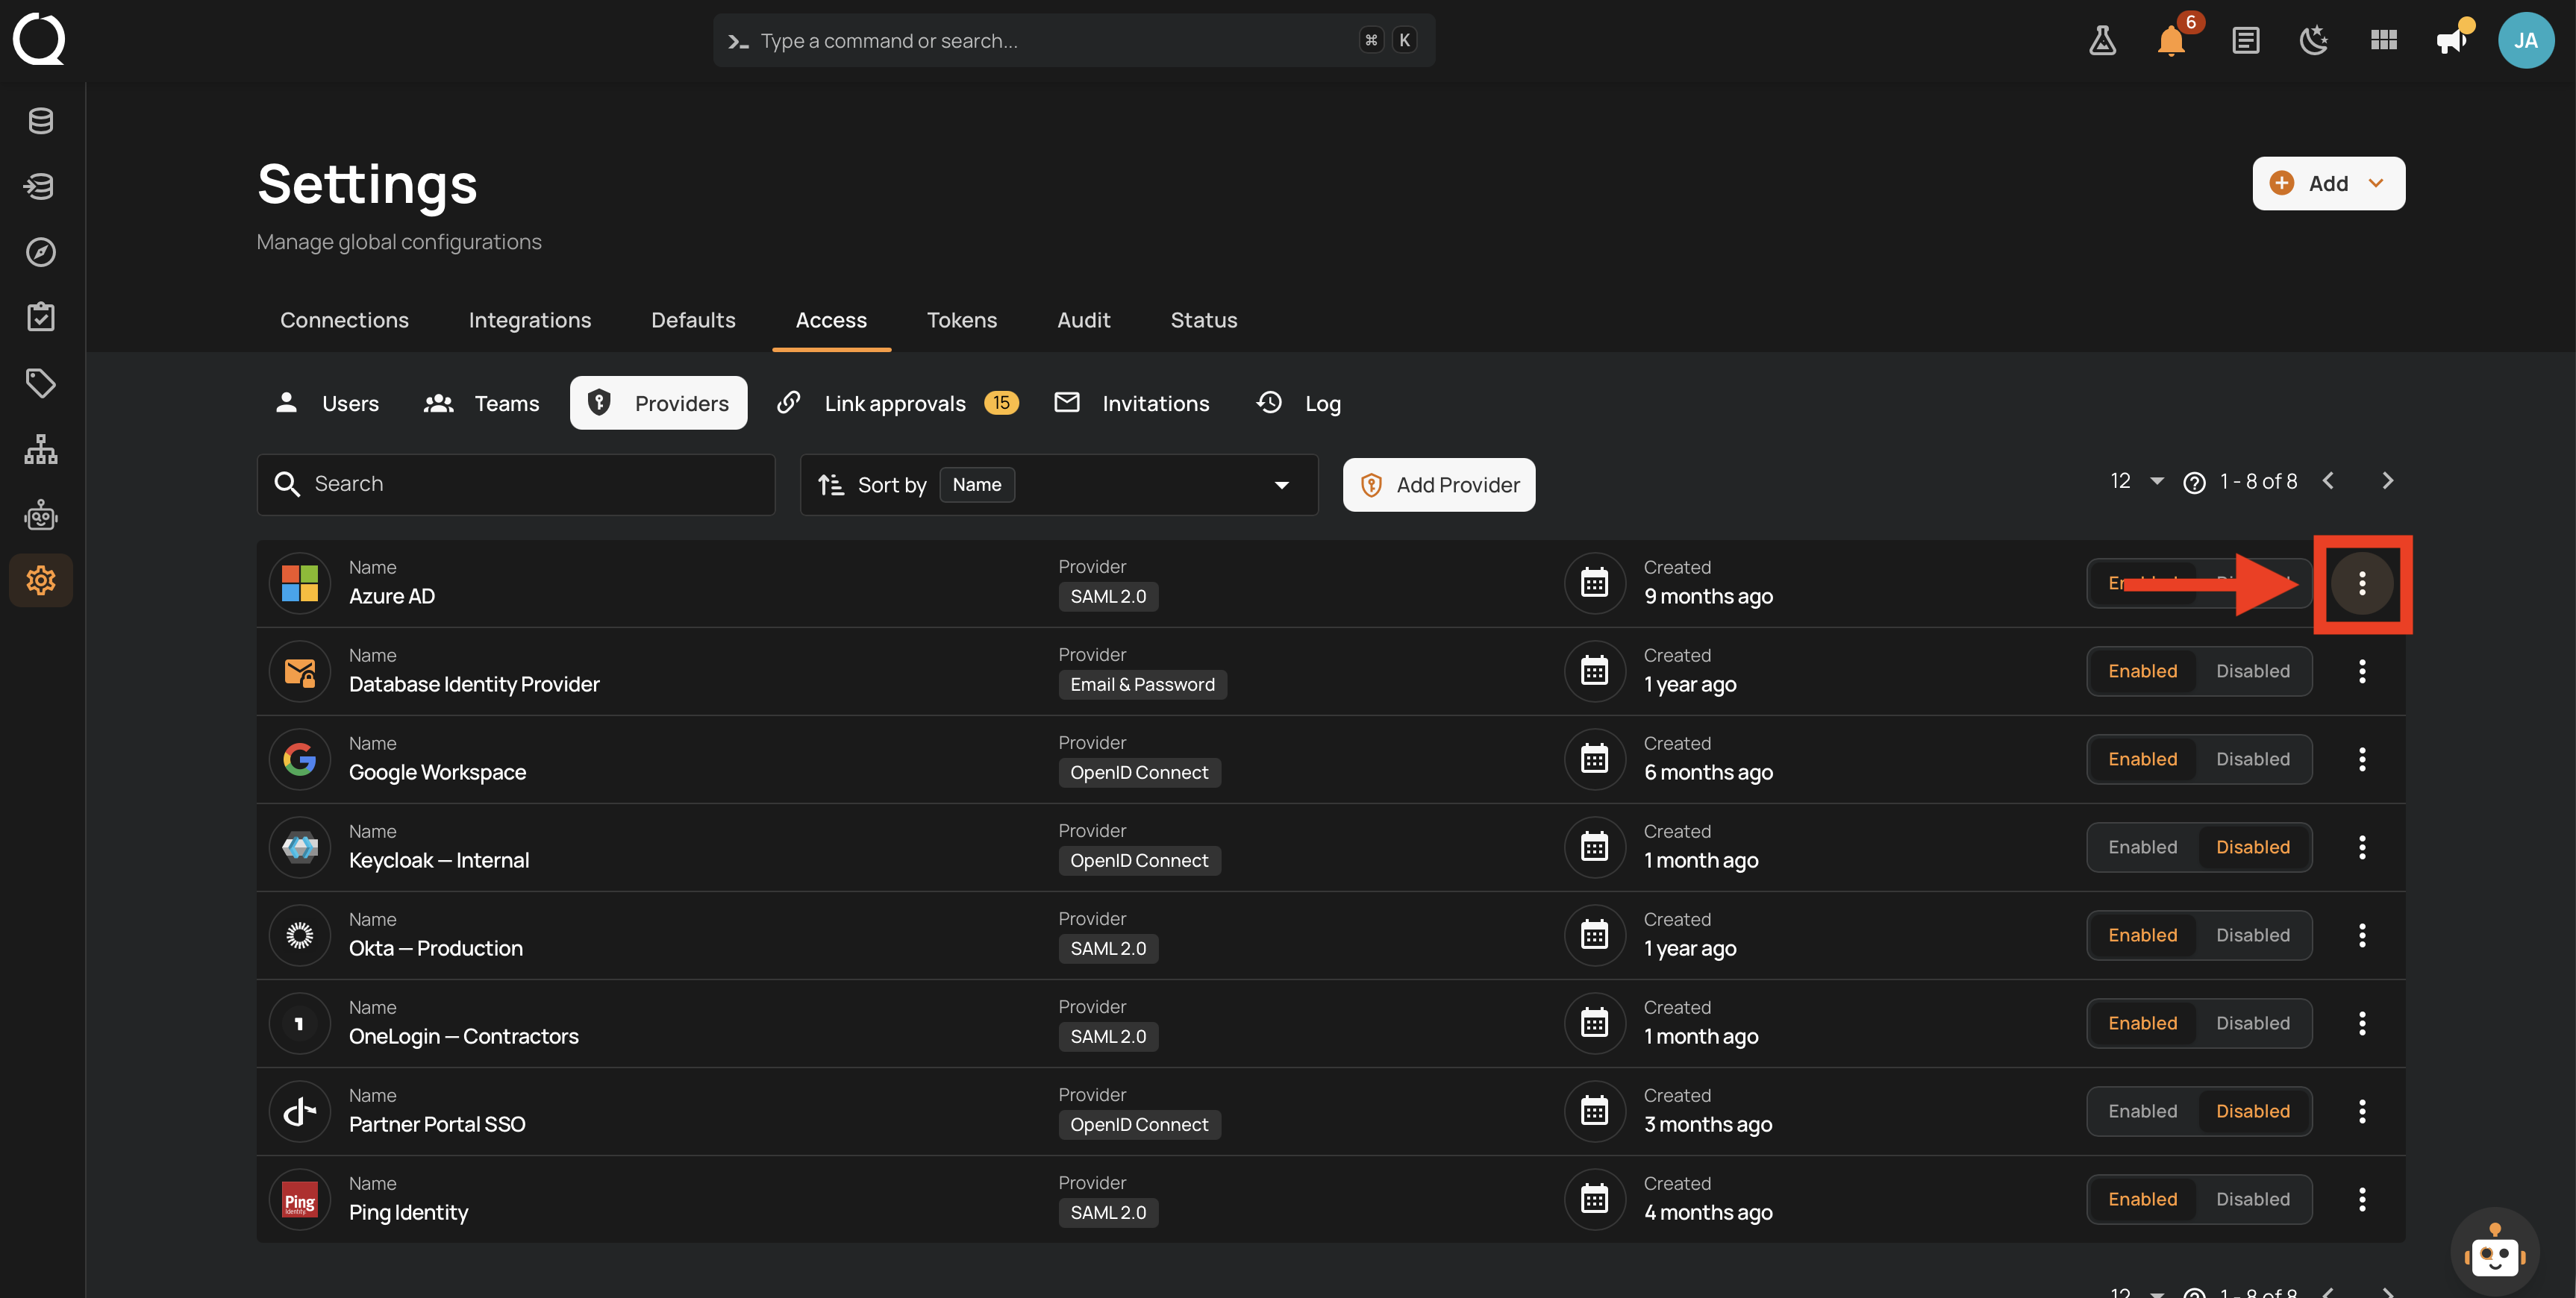
Step 2: A menu appears with the available actions. Click Delete .
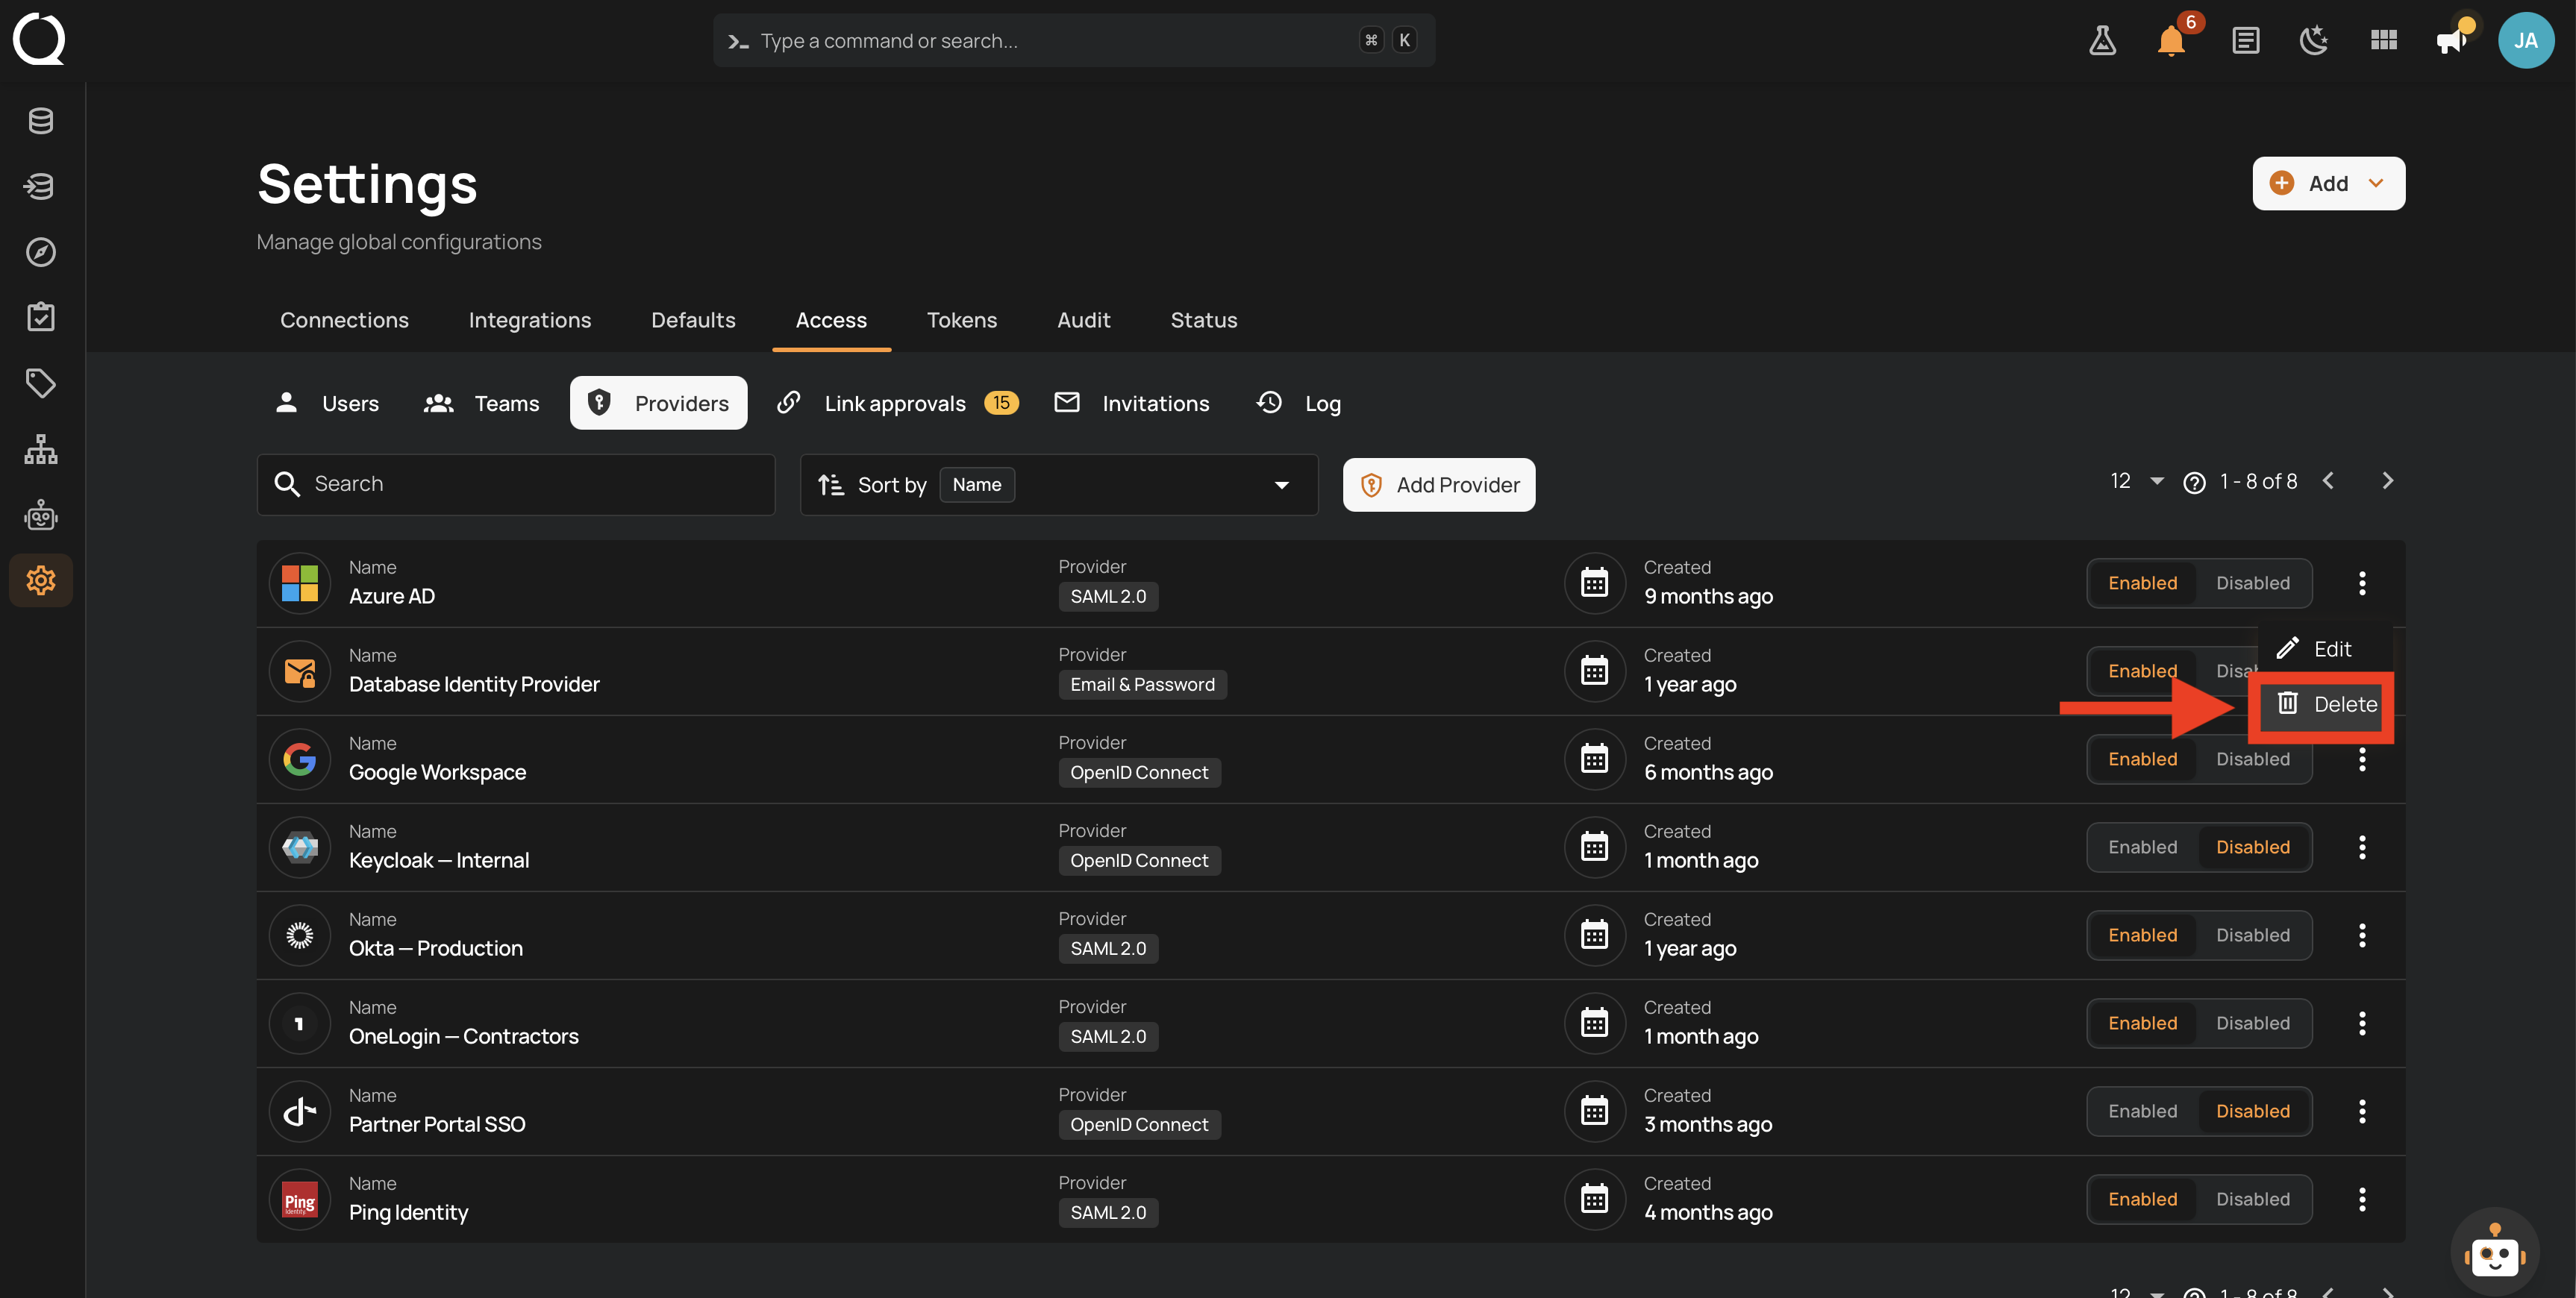
Step 3: A confirmation modal appears showing the provider's name and type. Deleting a provider removes all of its configuration and cannot be undone.
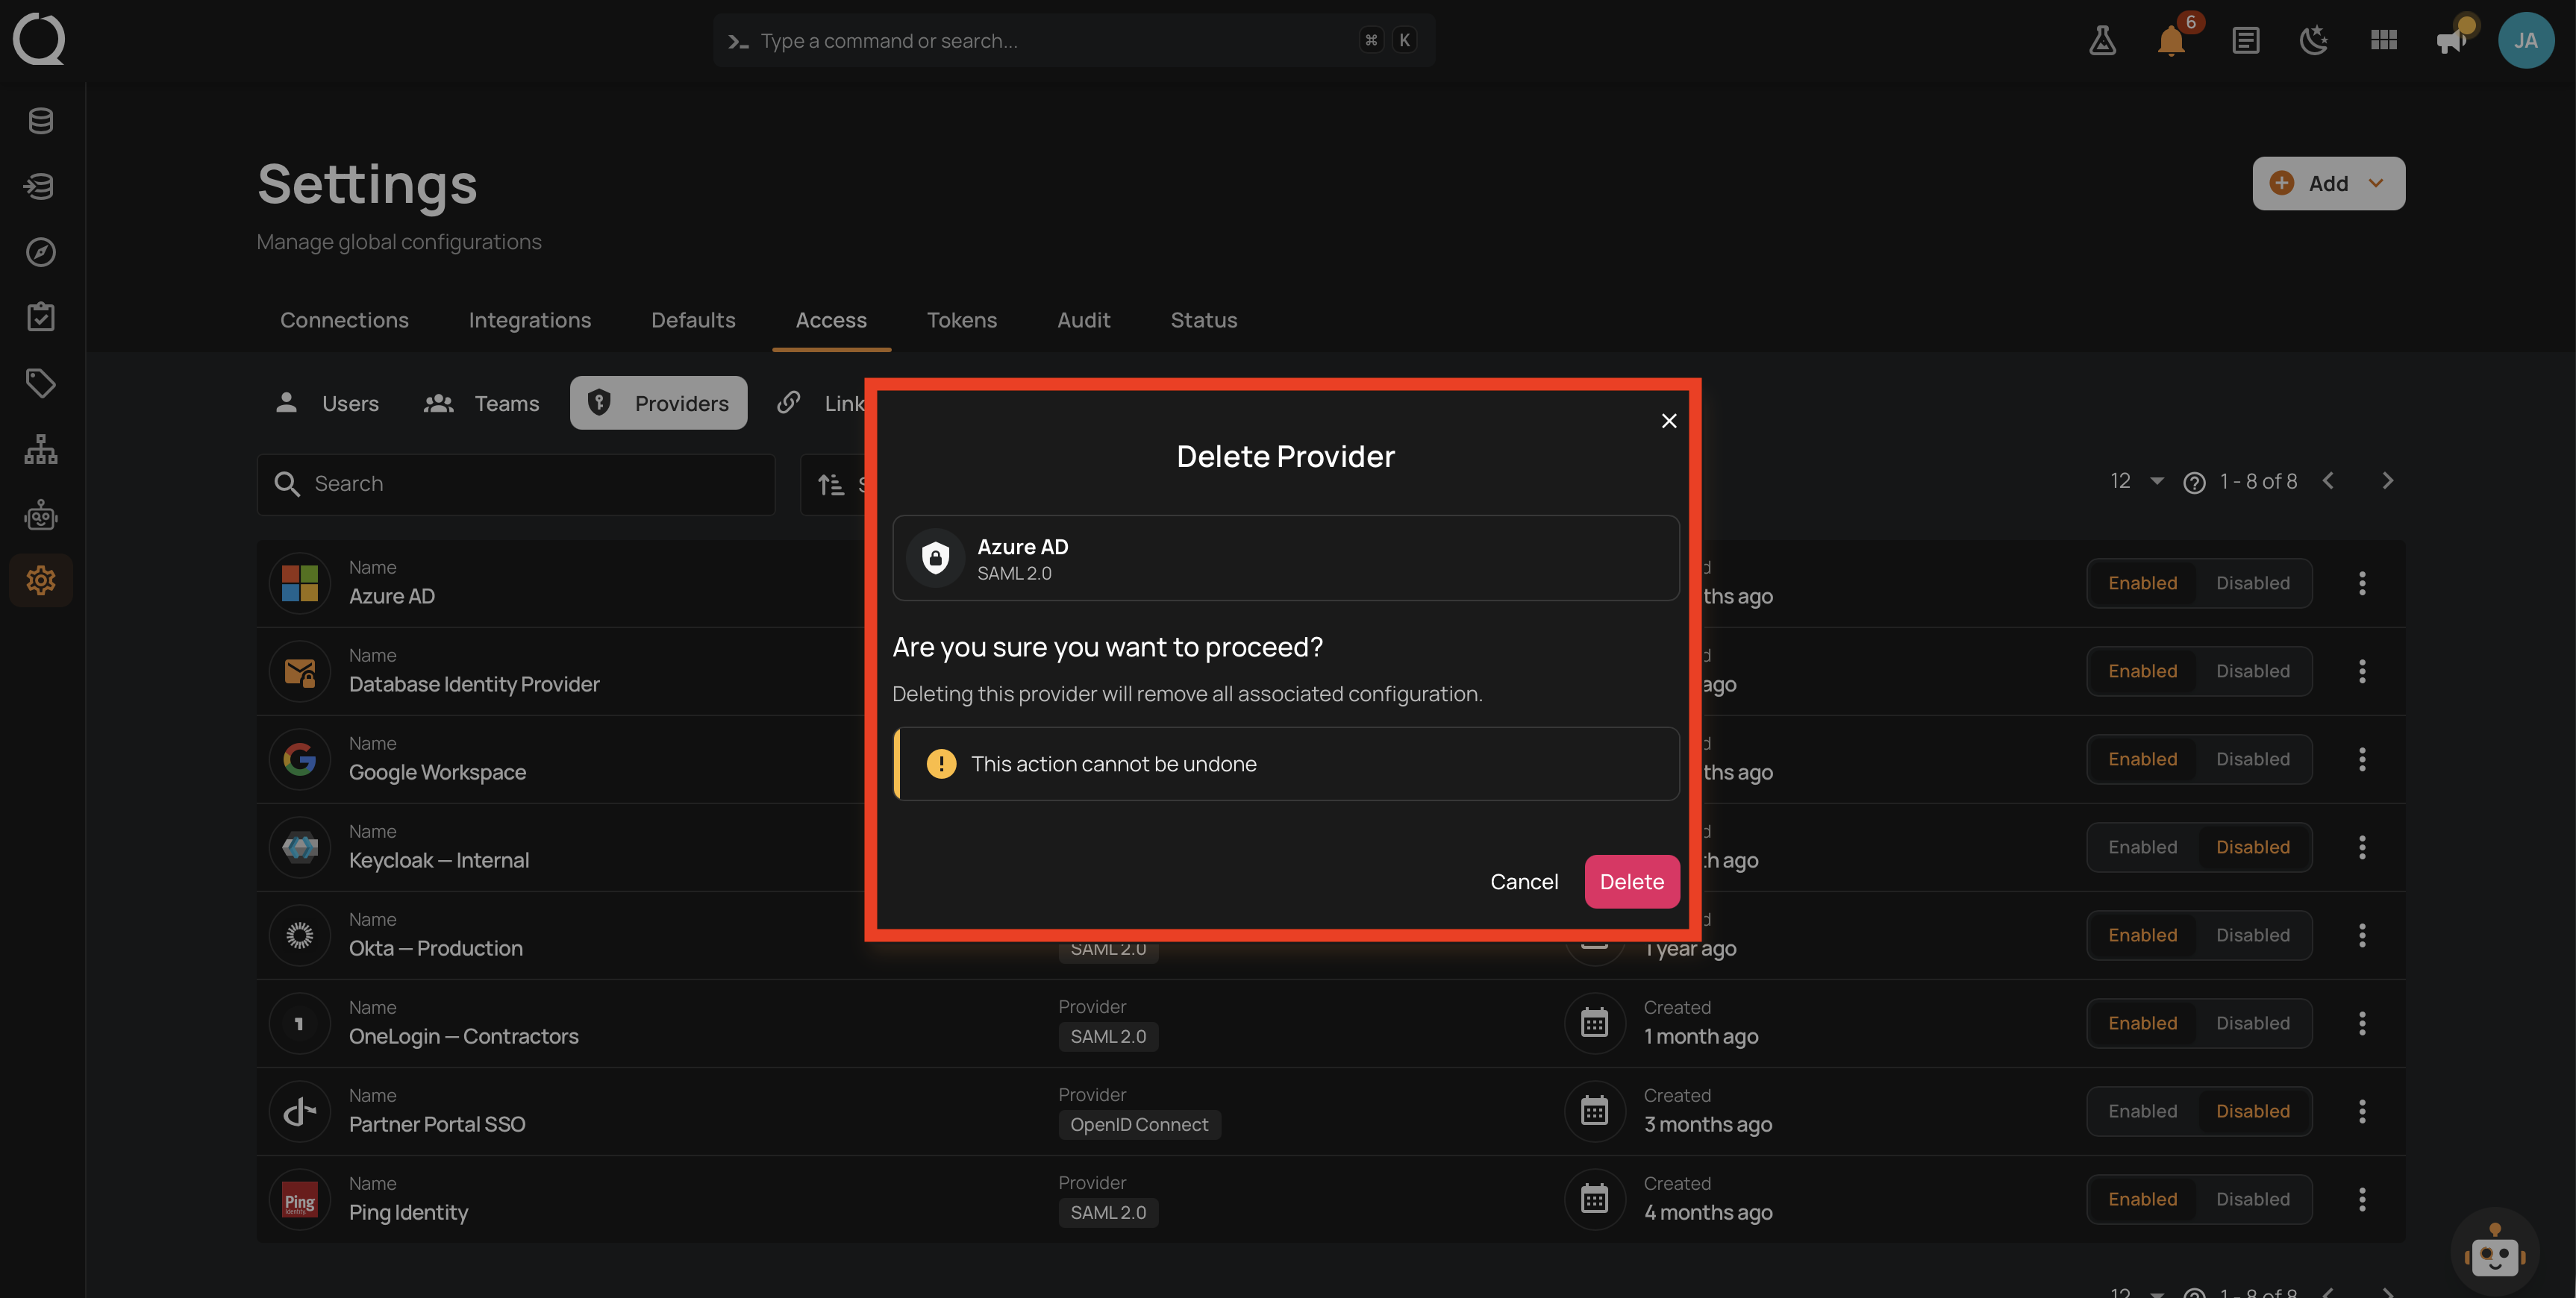
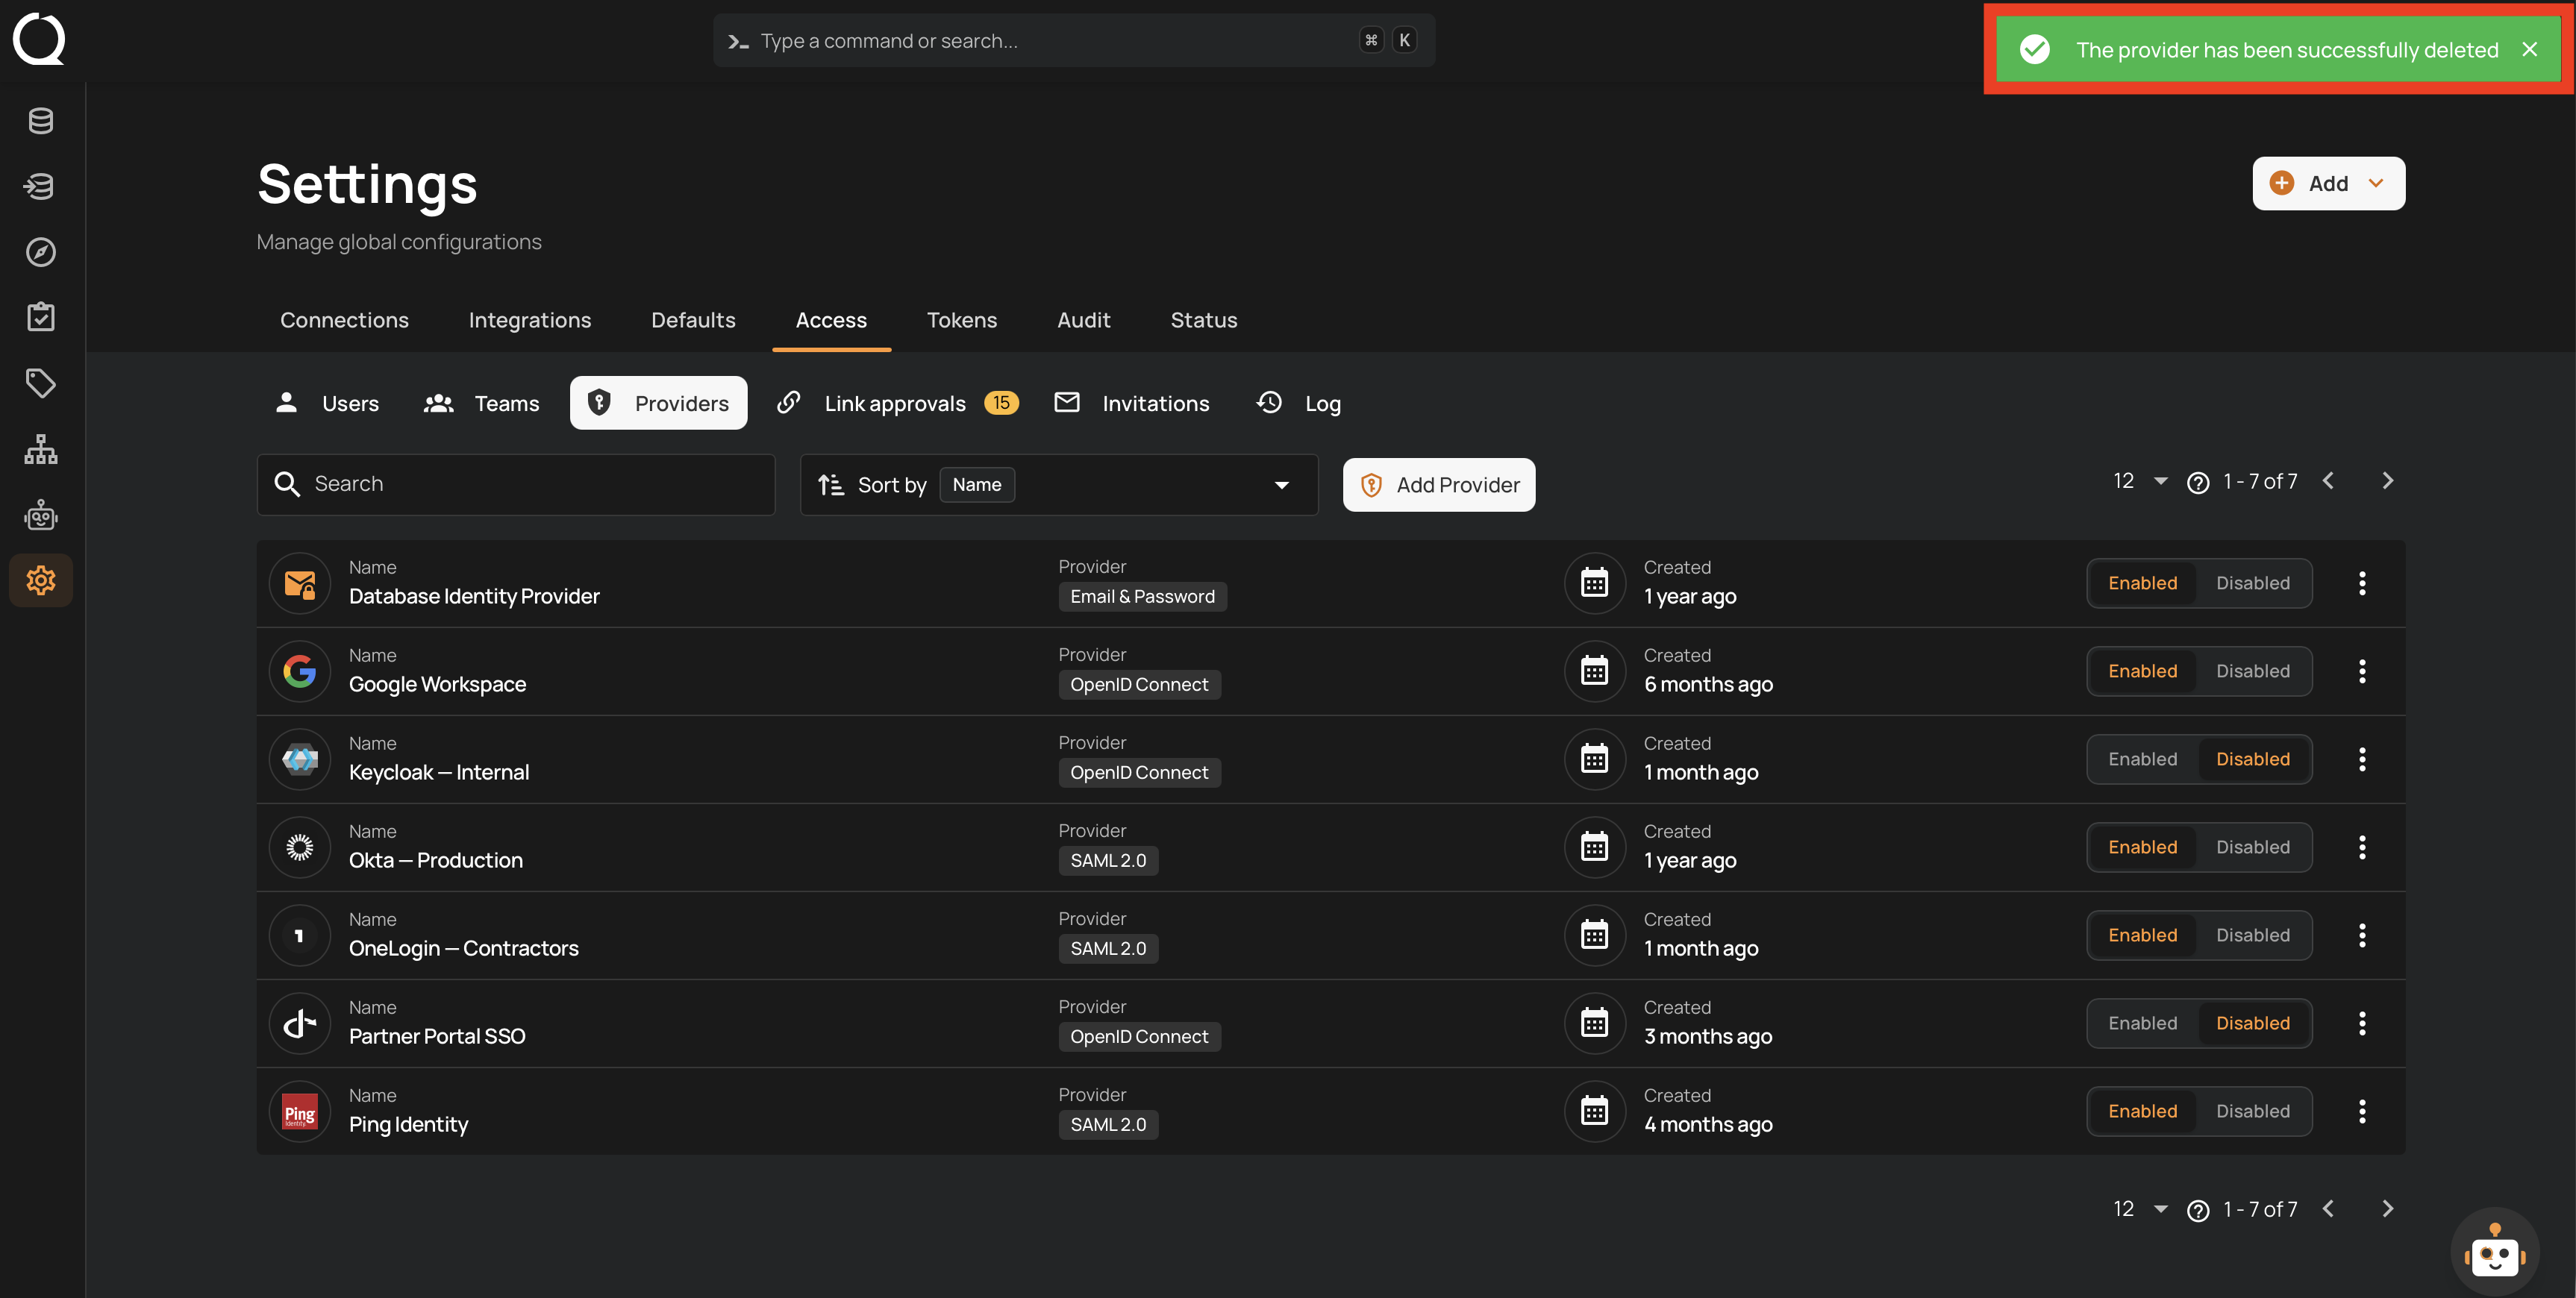
Step 4: Click the Delete button to confirm. A success message appears and the provider leaves the list.
Note
A provider with users still associated to it cannot be deleted. Disable it instead. The last enabled customer sign-in provider cannot be deleted either. Deletion is permanent, so prefer disabling when you may need the configuration again.