OneLogin
This guide walks you through setting up Directory Sync with OneLogin using SCIM provisioning.
Setting up the OAuth Client in OneLogin
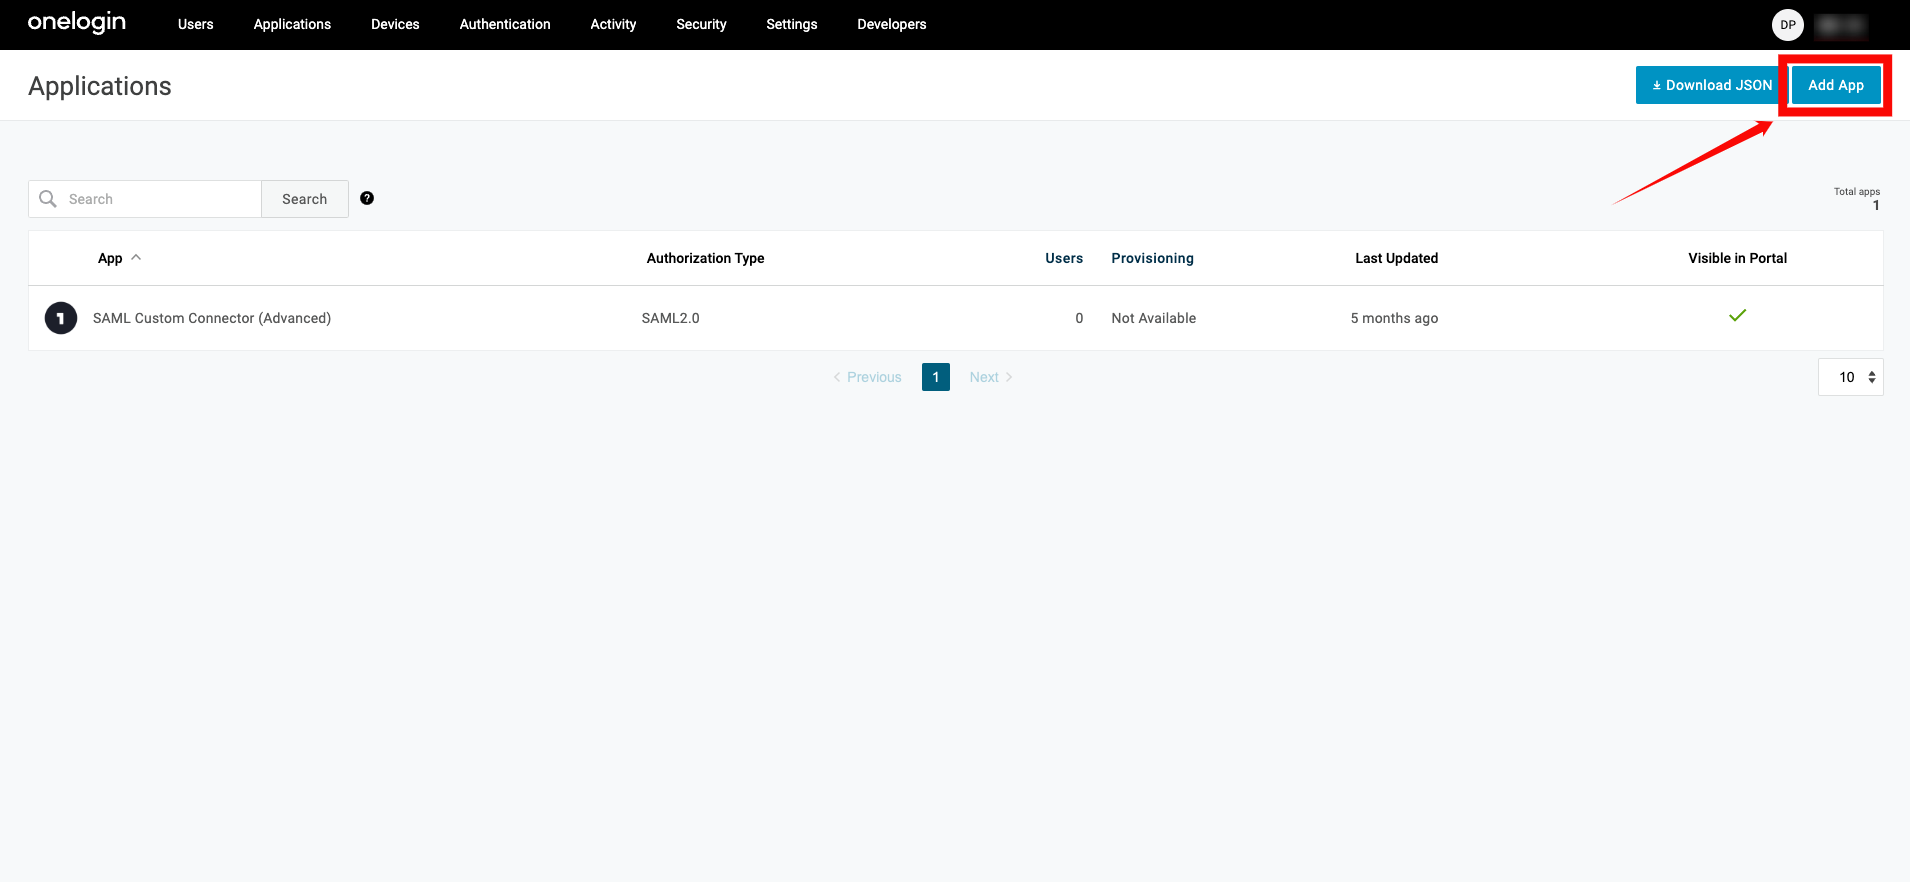
Step 1: Log in to your OneLogin account using your administrator credentials. From the top navigation menu, click Applications, then select Add App.
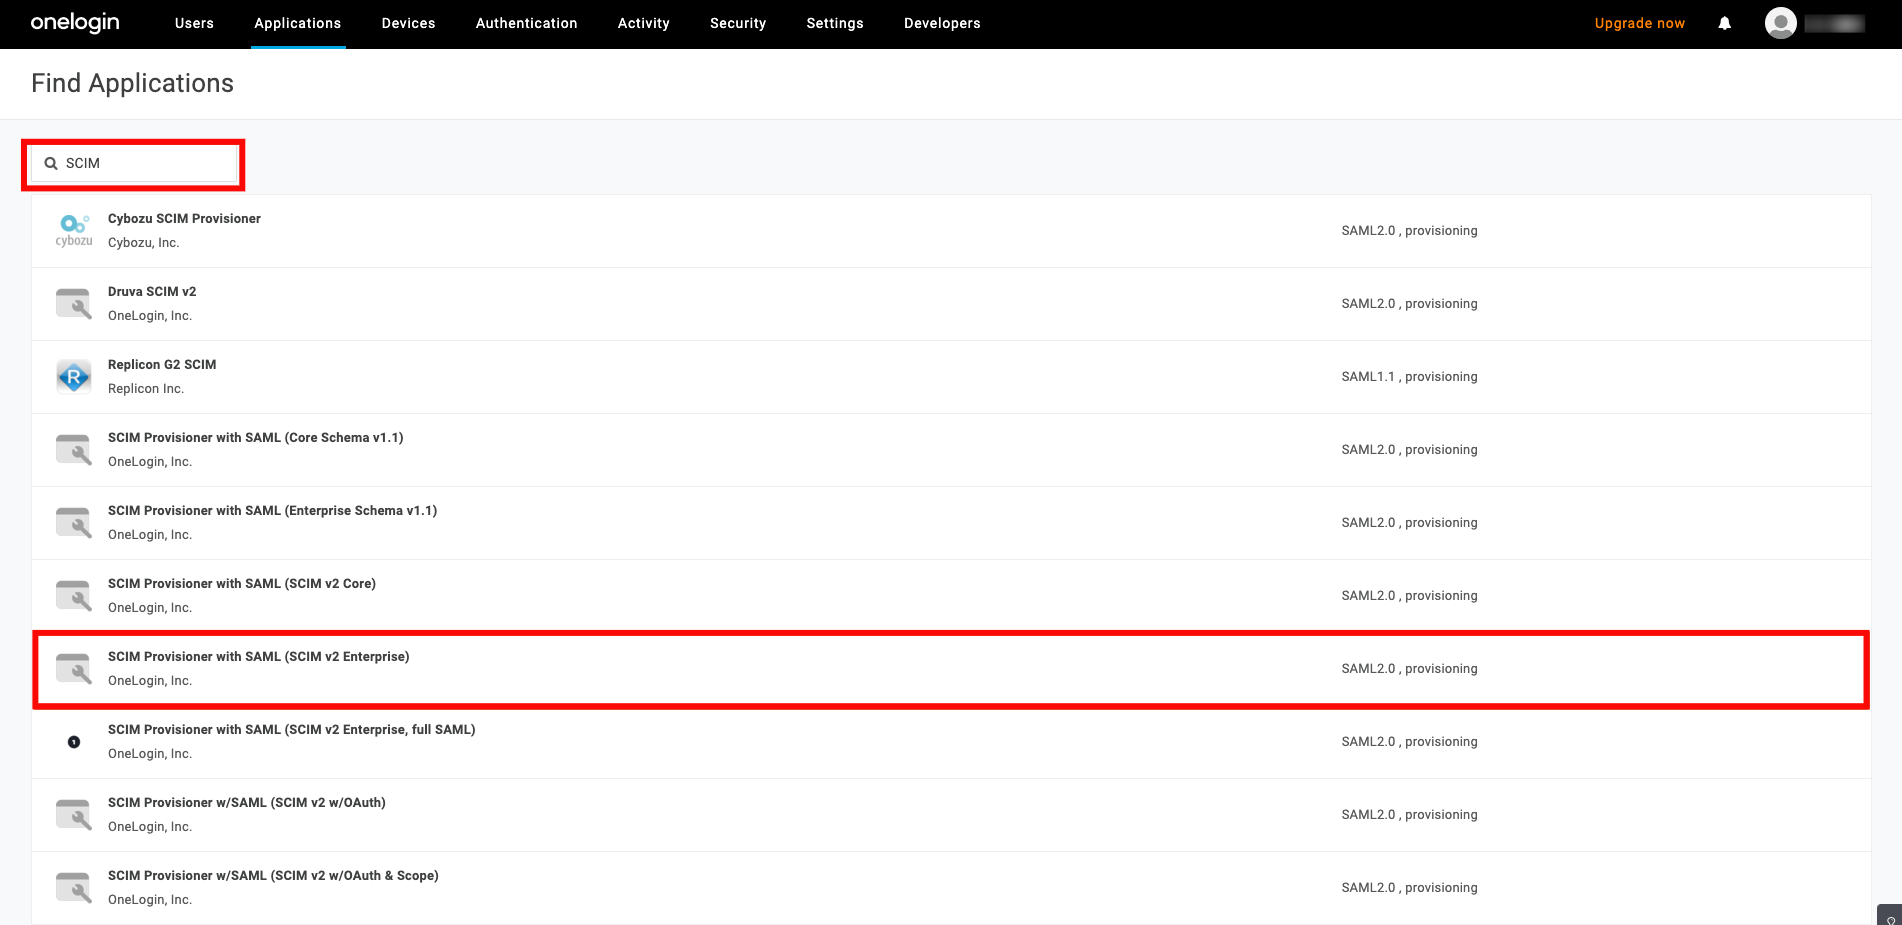
Step 2: In the search bar, type SCIM and select the app called SCIM Provisioner with SAML (SCIM V2 Enterprise) from the list of apps.
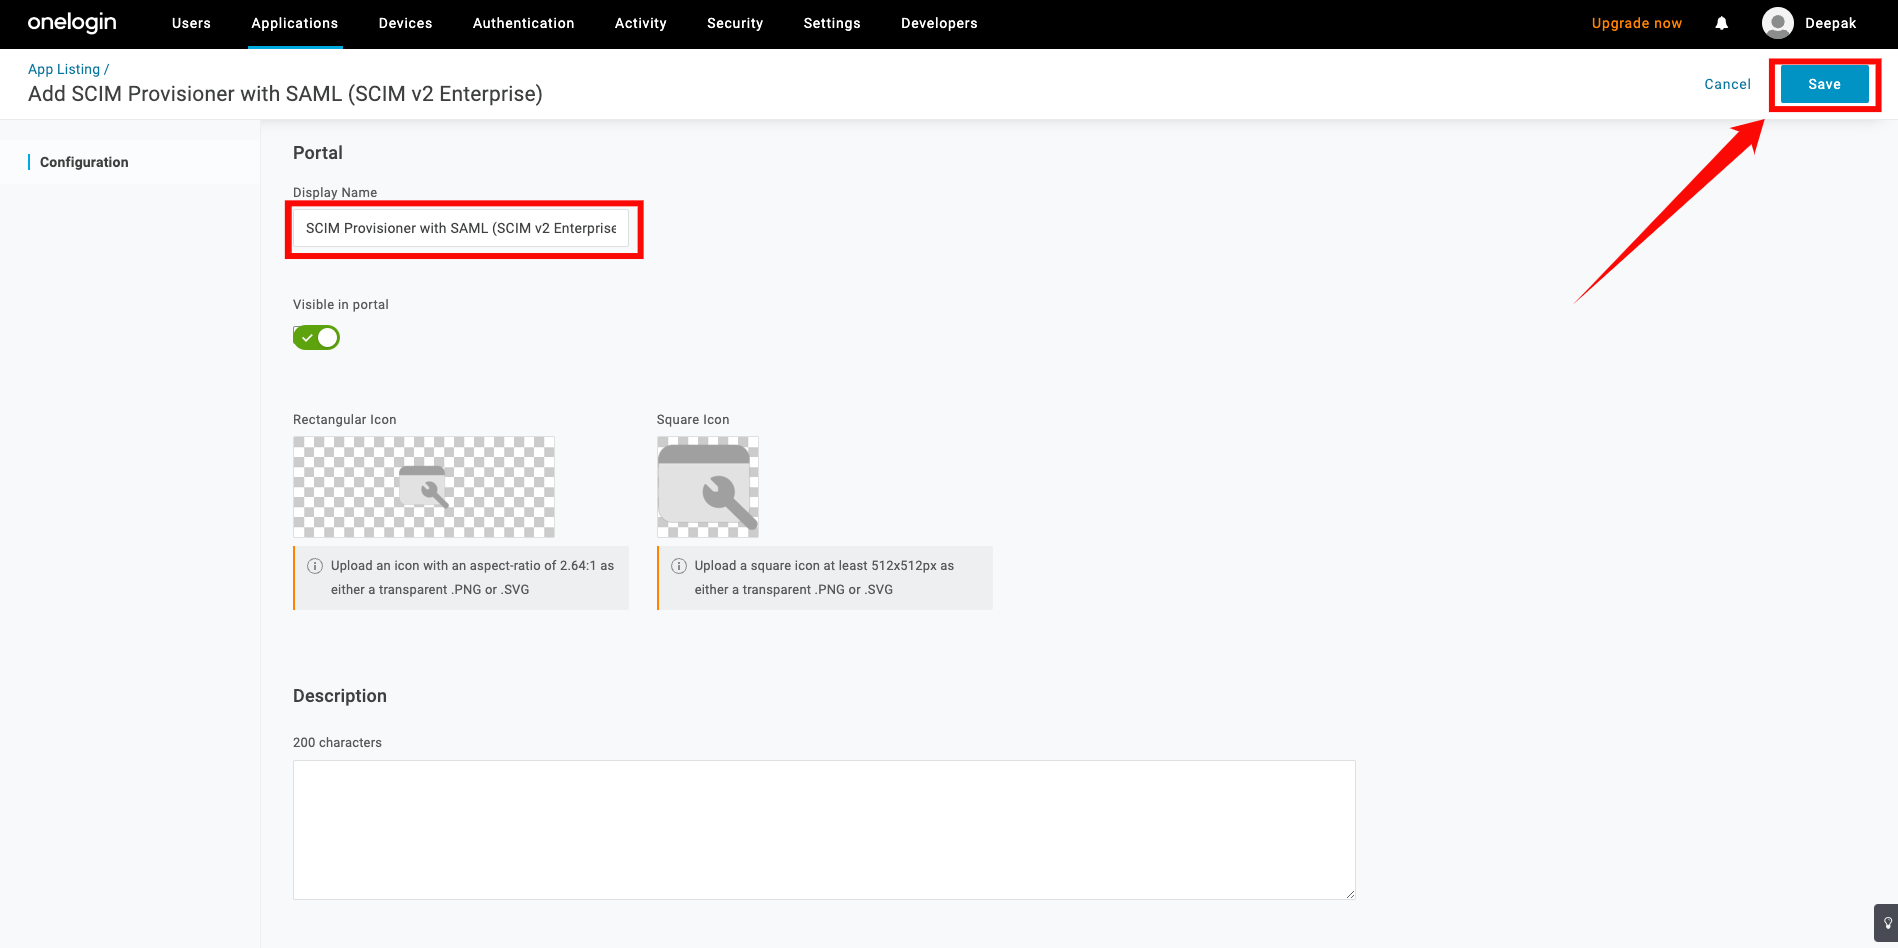
Step 3: Enter a name for your app, then click Save. You have successfully created the SCIM app in OneLogin.
Configuring SCIM Endpoints
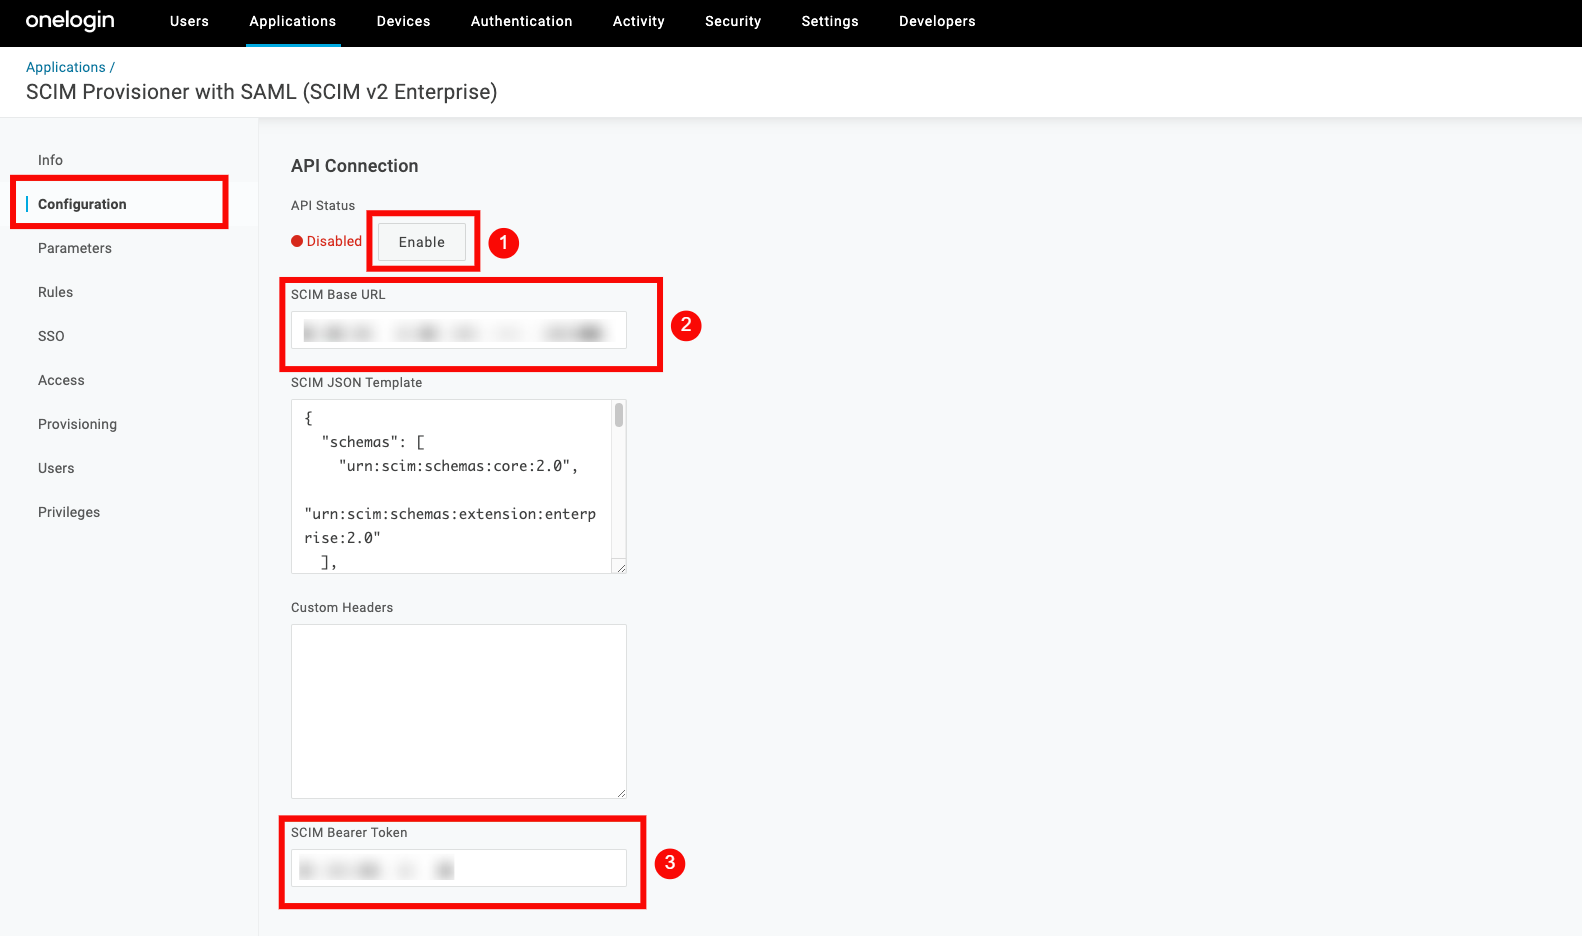
Step 1: In your created application, navigate to the Configuration tab on the left and enter the following information:
-
API Status: Enable the API status for the integration to work properly.
-
SCIM Base URL:
https://your-domain.qualytics.io/api/scim/v2 -
SCIM Bearer Token: Generate this token from the Qualytics UI when logged in as an admin user. For more information on how to generate tokens in Qualytics, refer to the documentation on Tokens.
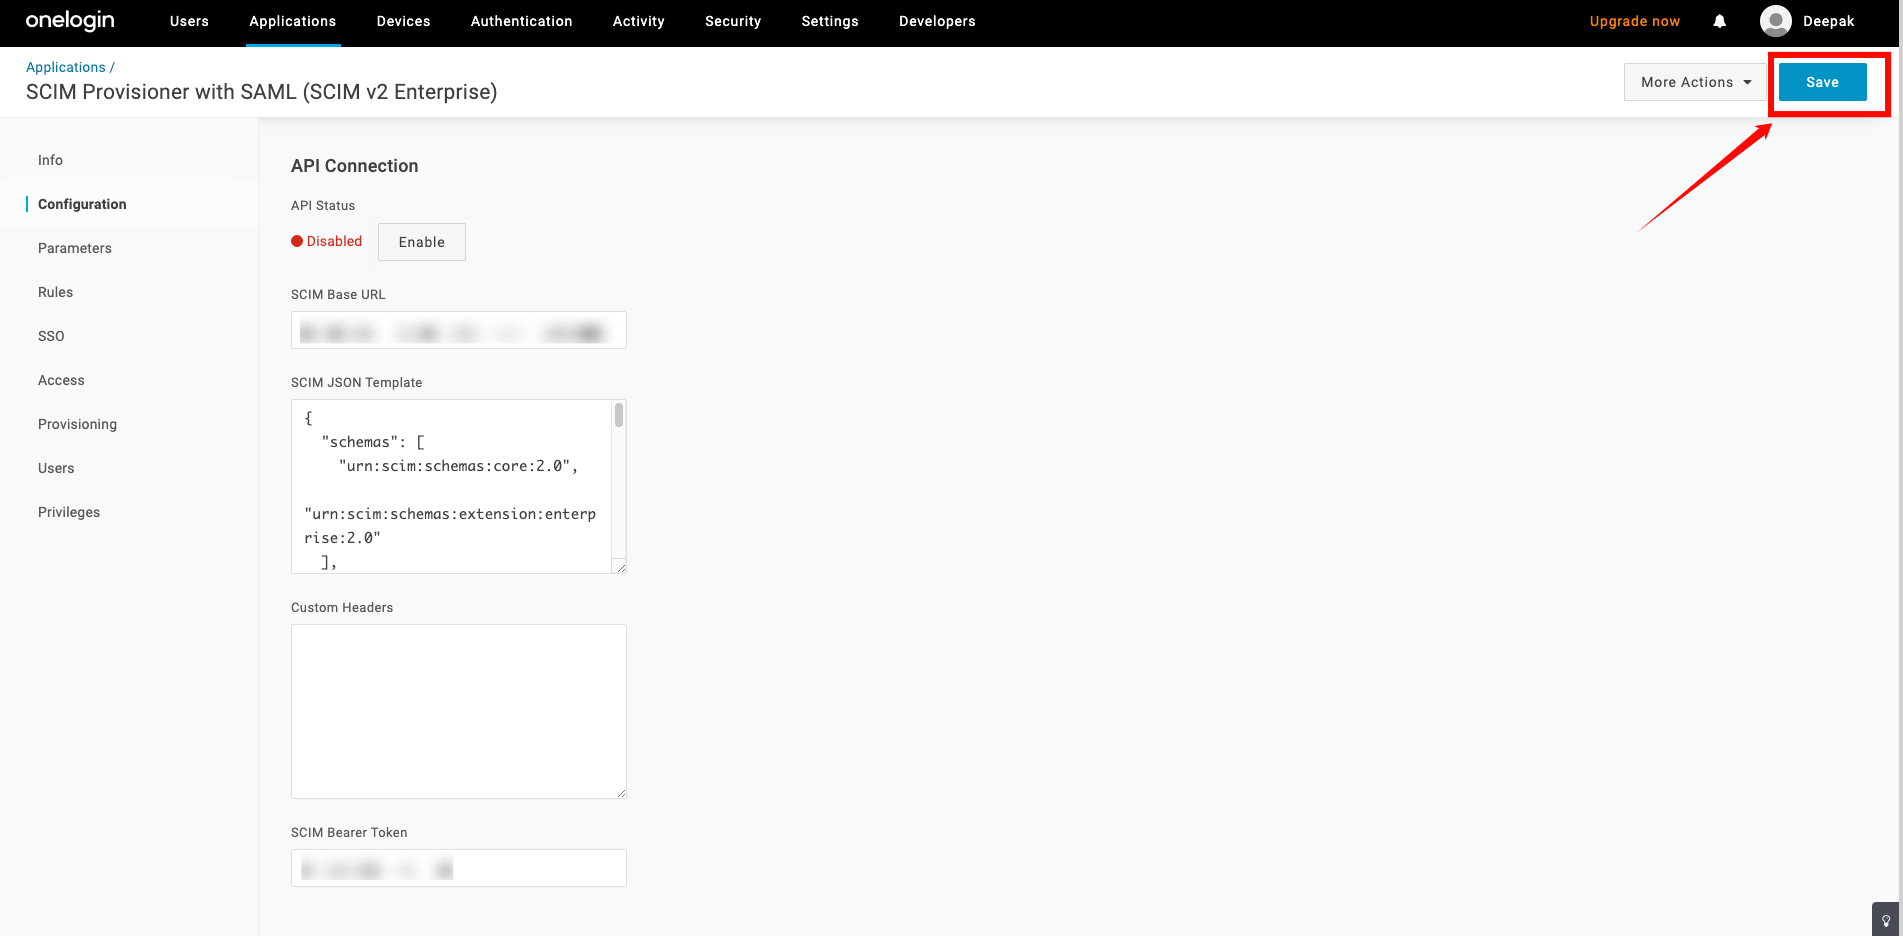
Step 2: Click on the Save button to store the credentials.
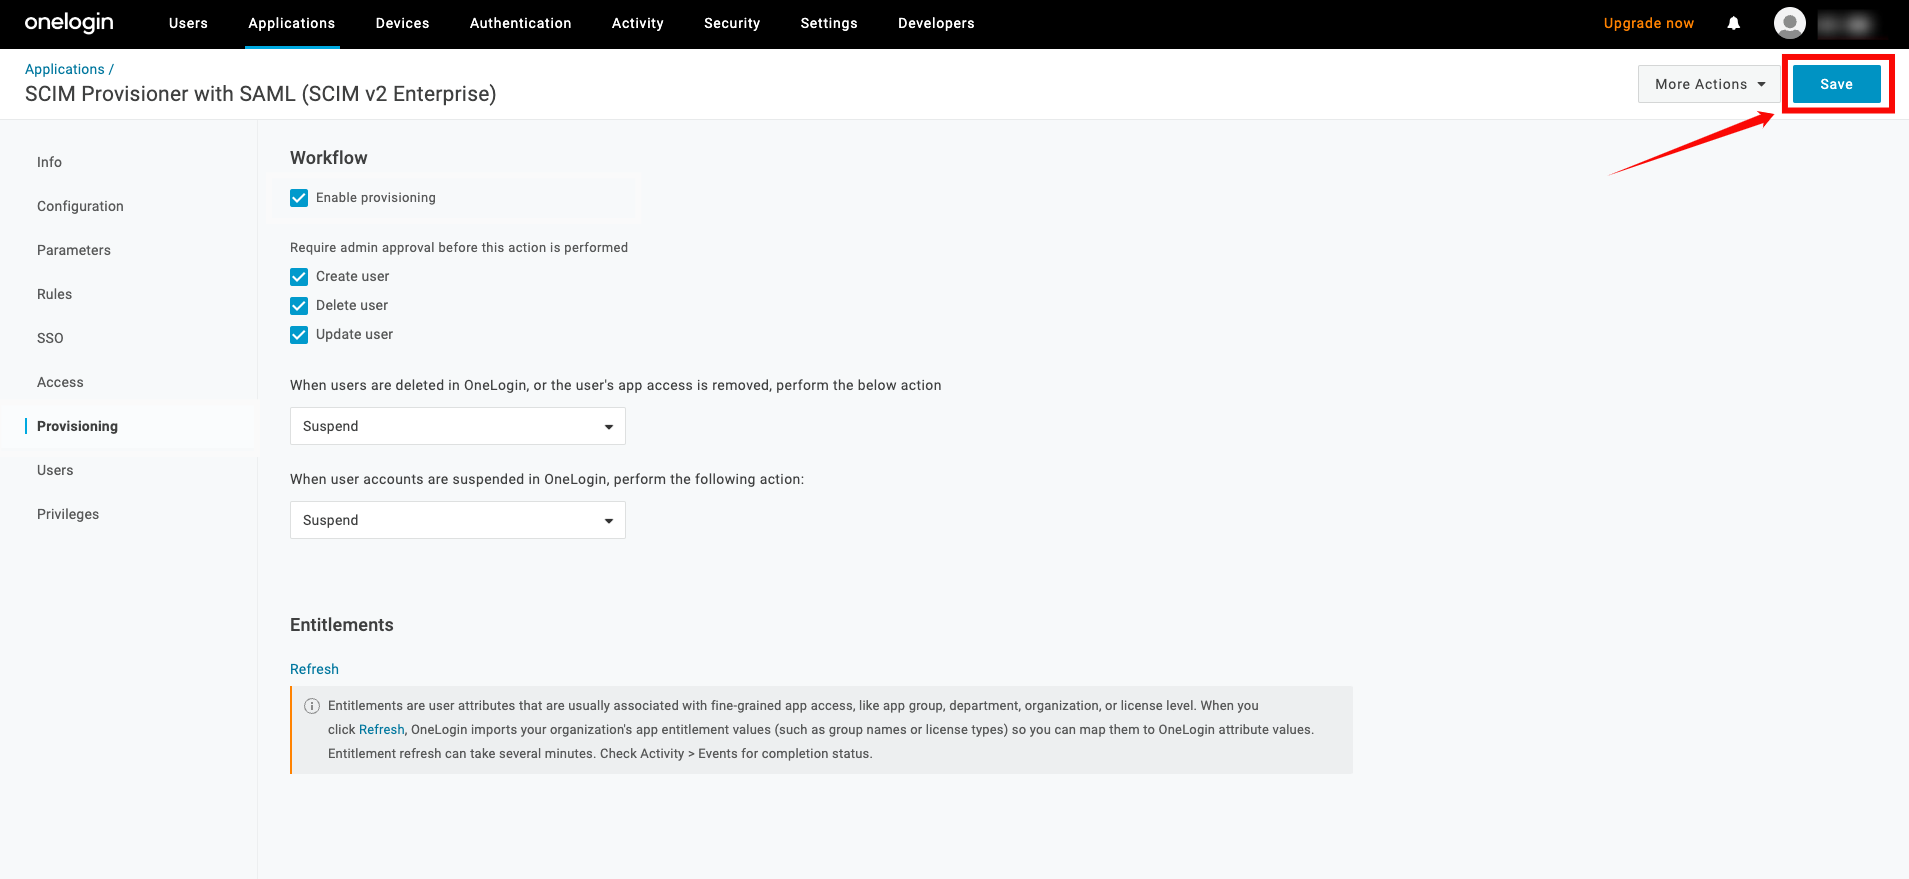
Step 3: Navigate to the Provisioning tab, and check the box labeled Enable Provisioning.
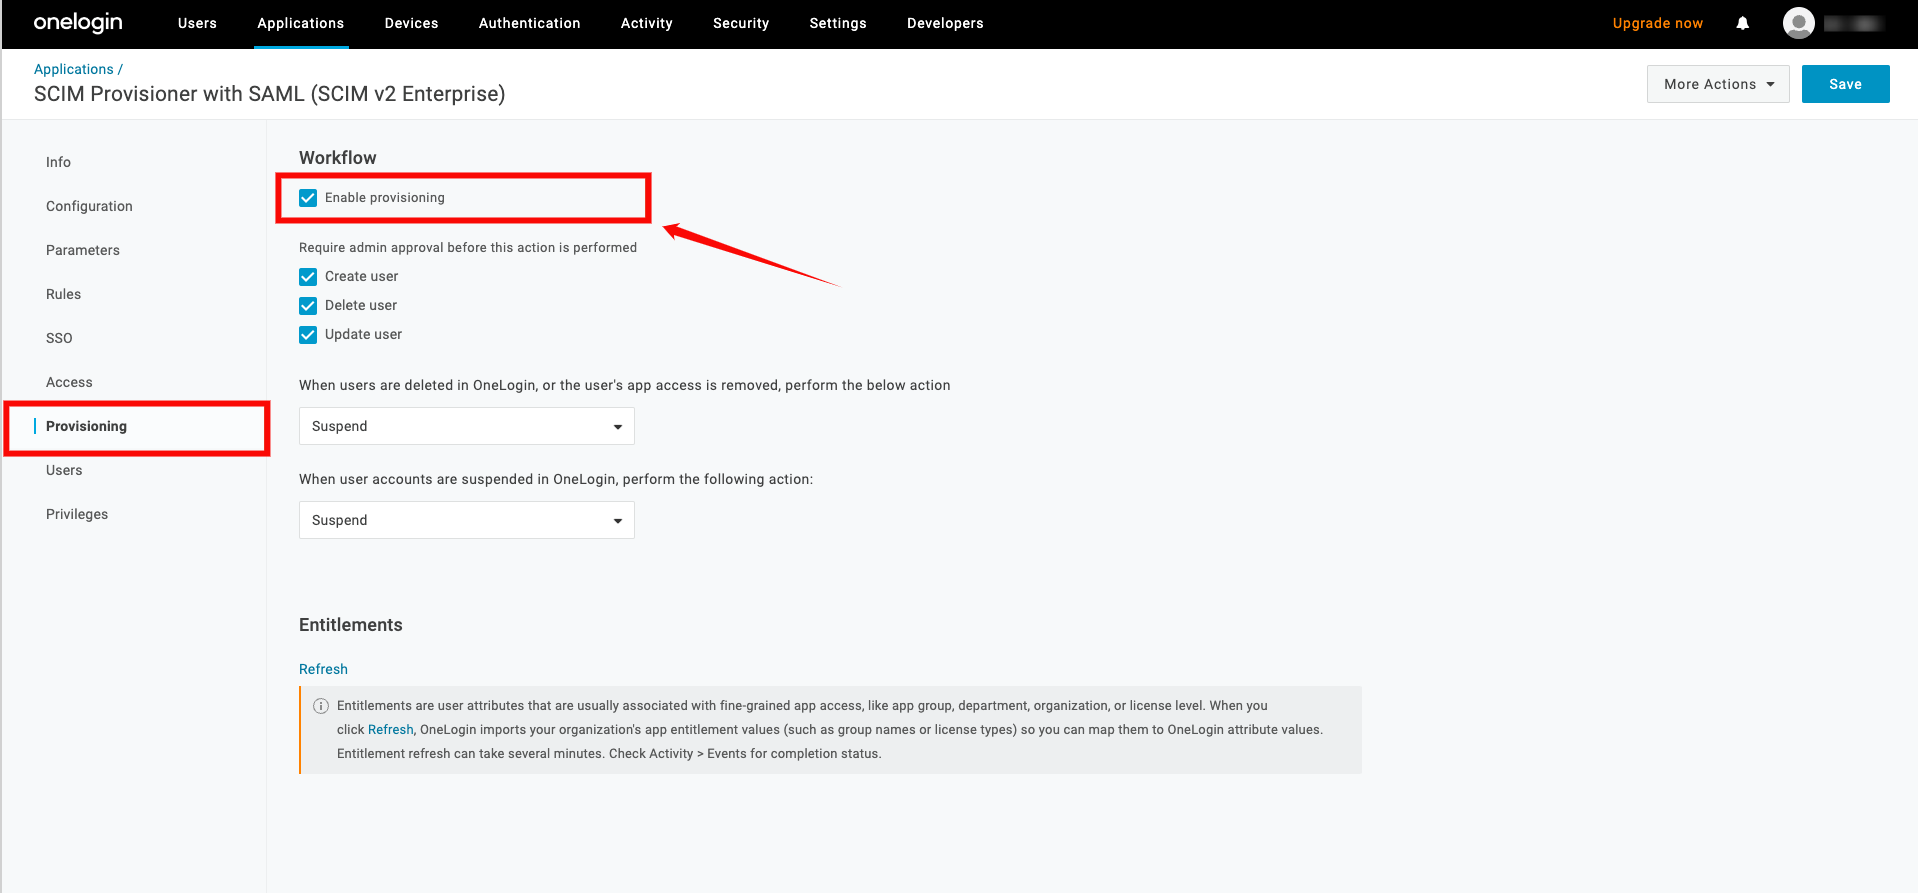
Step 4: Click on Save to apply the changes.
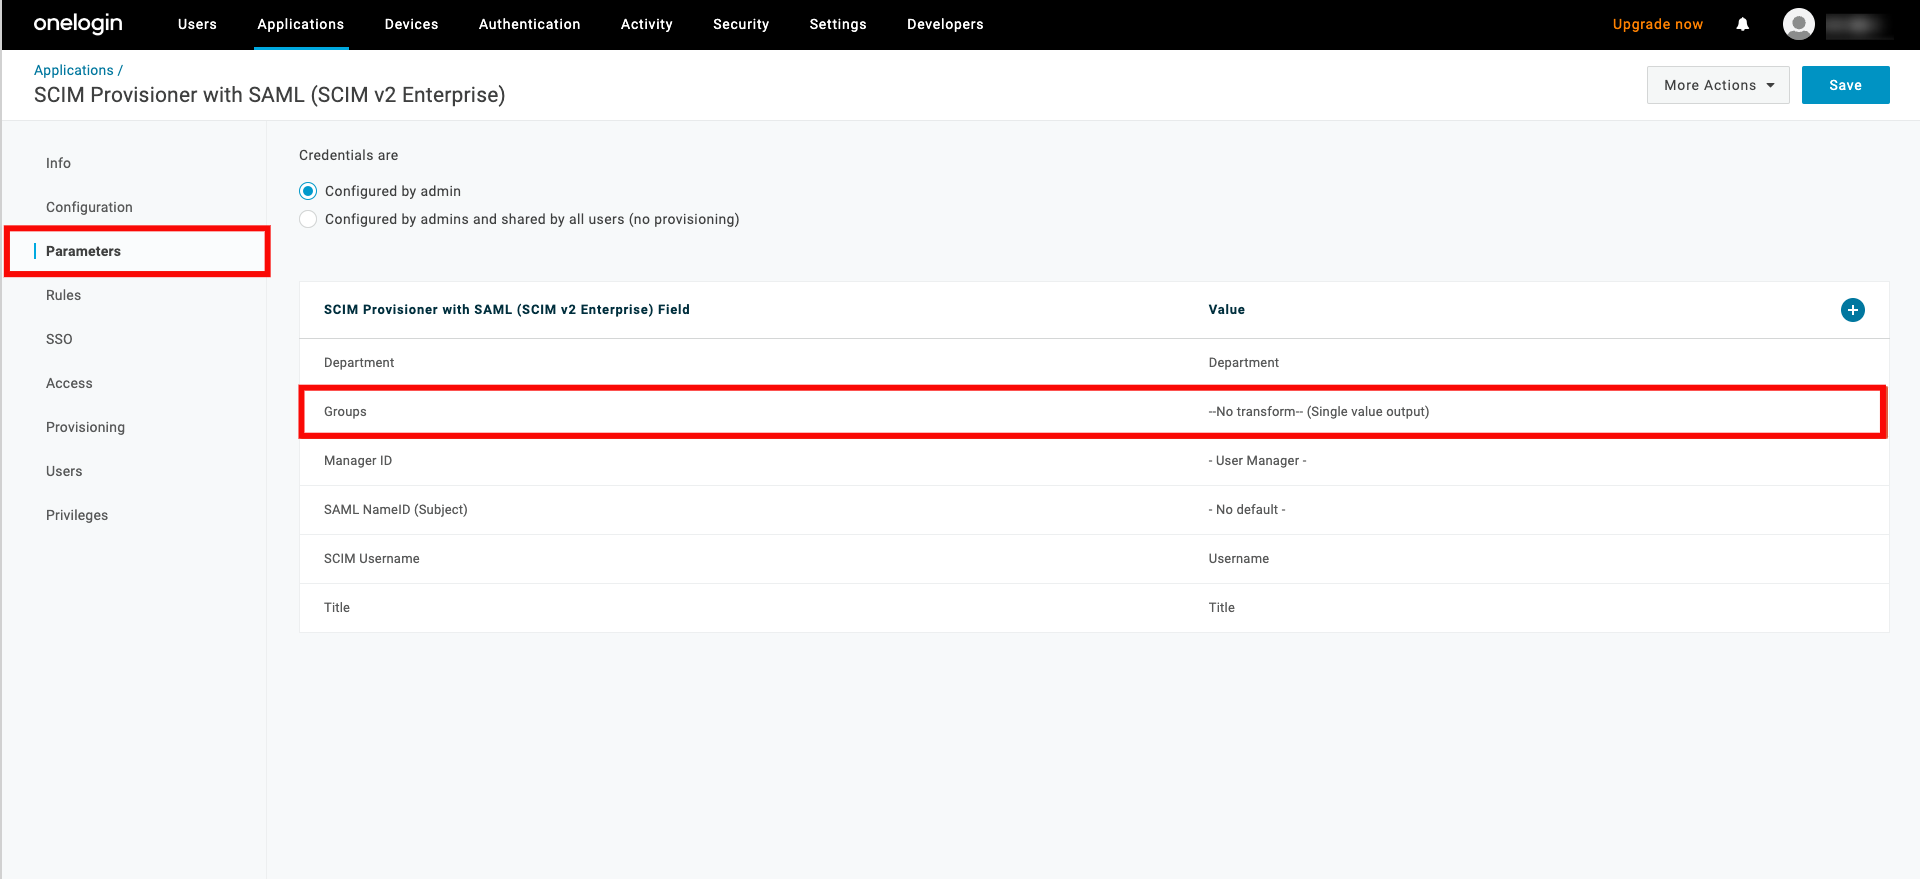
Step 5: Navigate to the Parameters tab and select the row for Groups.
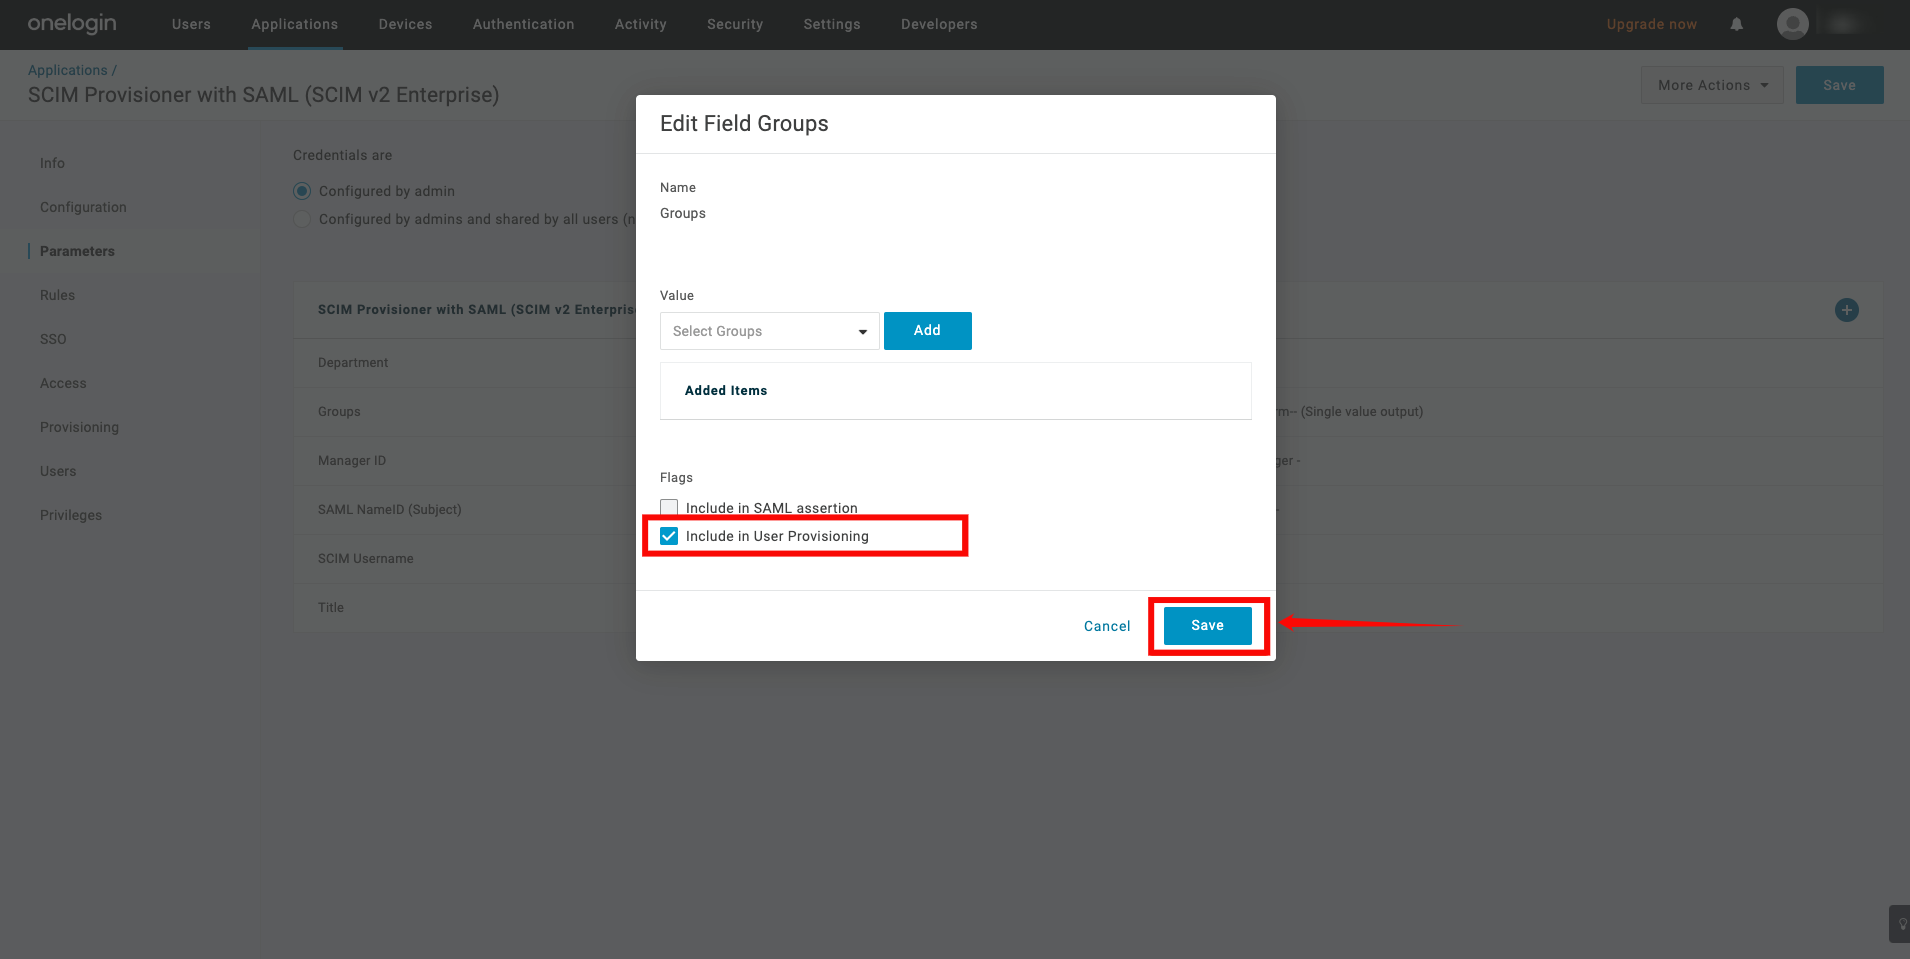
Step 6: A popup window will appear, check the box Include in User Provisioning, then click the Save button.
Assigning Users for Provisioning
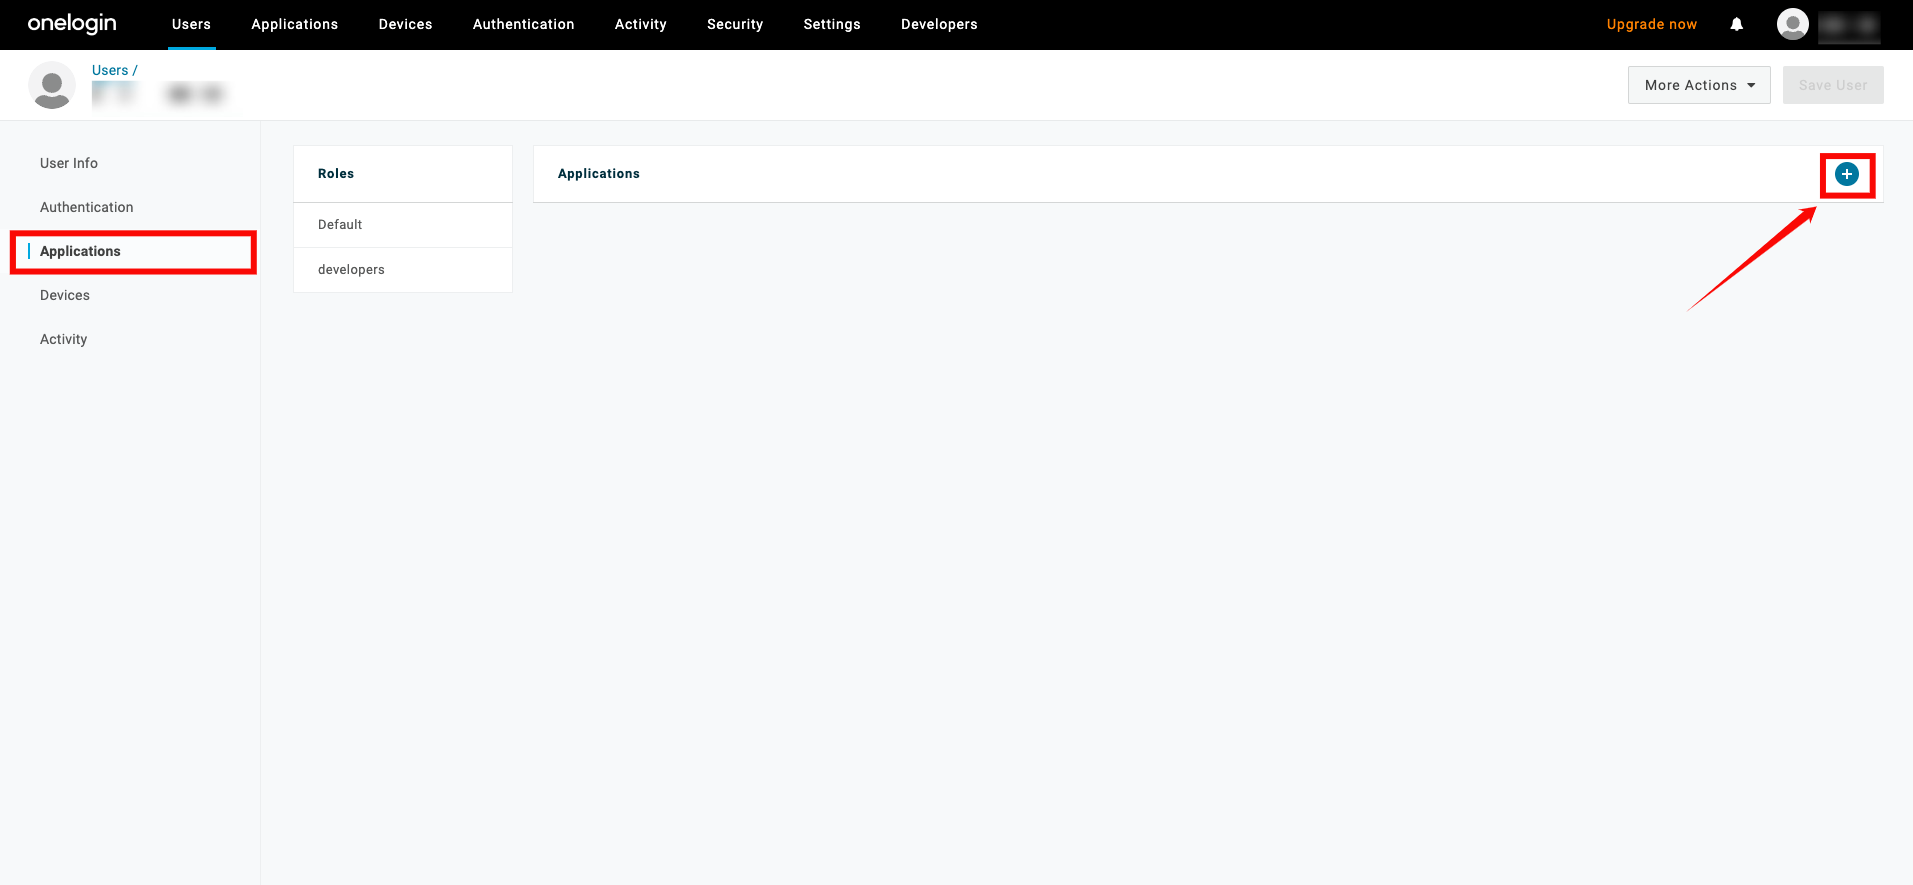
Step 1: To assign users to your app, go to Users from the top navigation menu, and select the user you want to assign to the app.
From the User page, click the Applications tab on the left, and click the + (plus) sign.
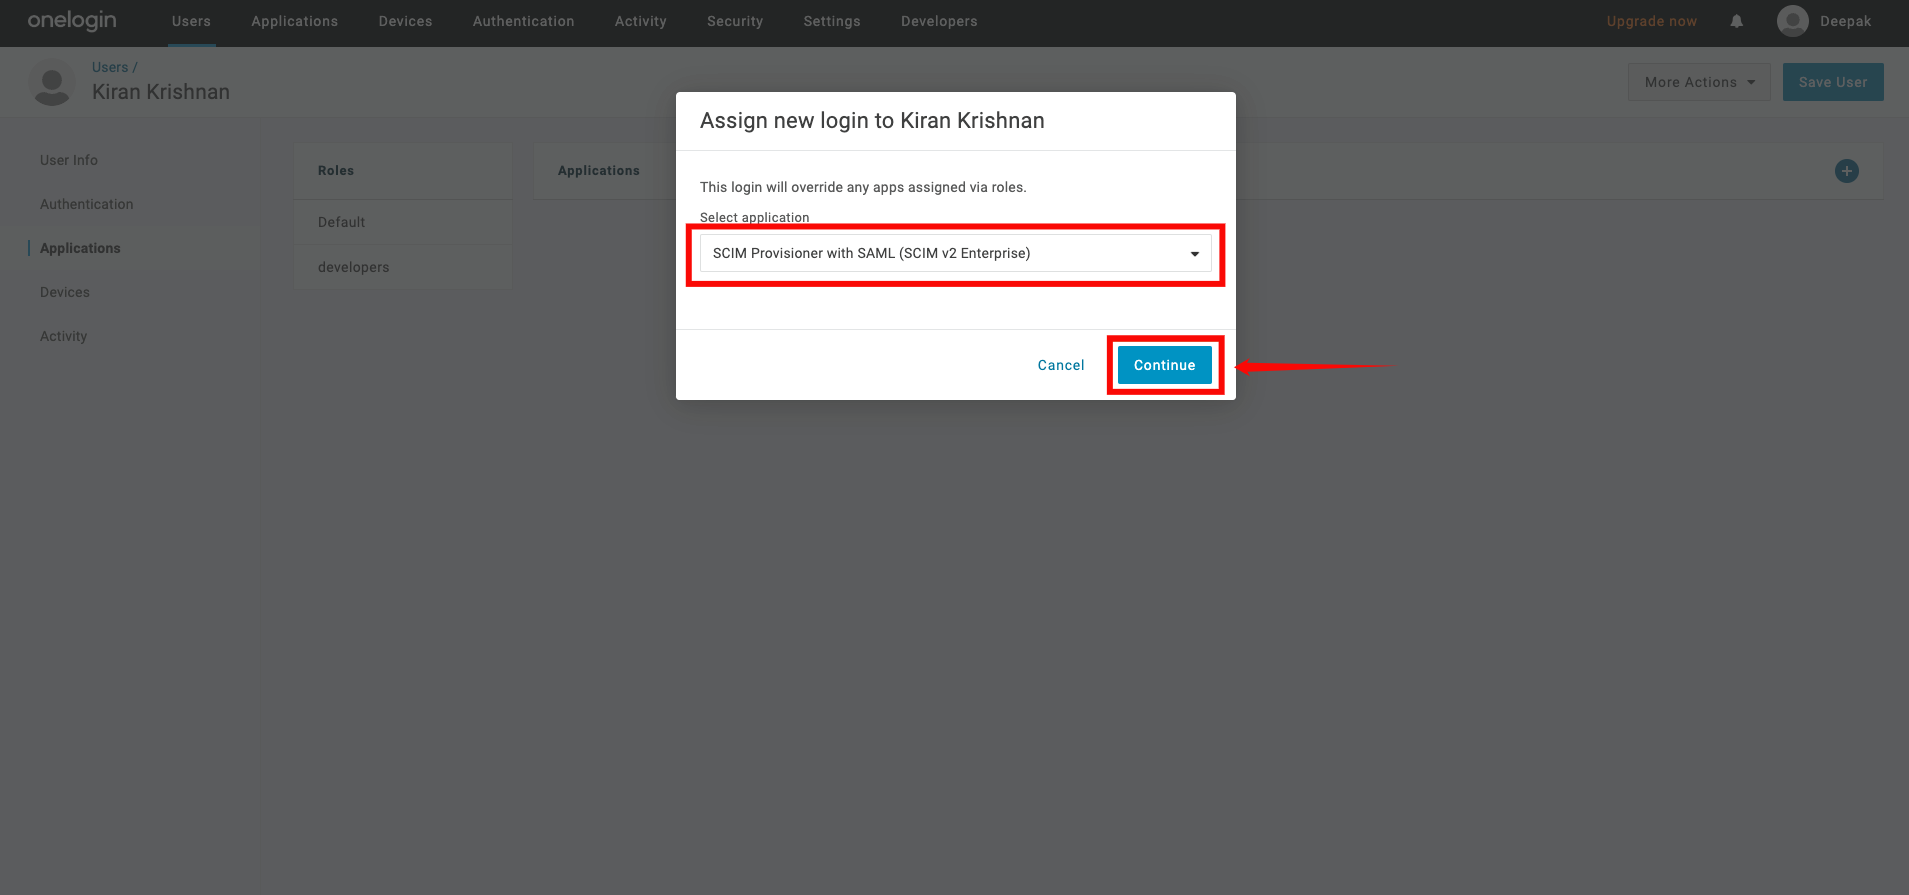
Step 2: A popup window will show a list of apps. Select the app you created earlier and click Continue.
Step 3: A new modal window will appear, click on the Save to confirm the assignment.
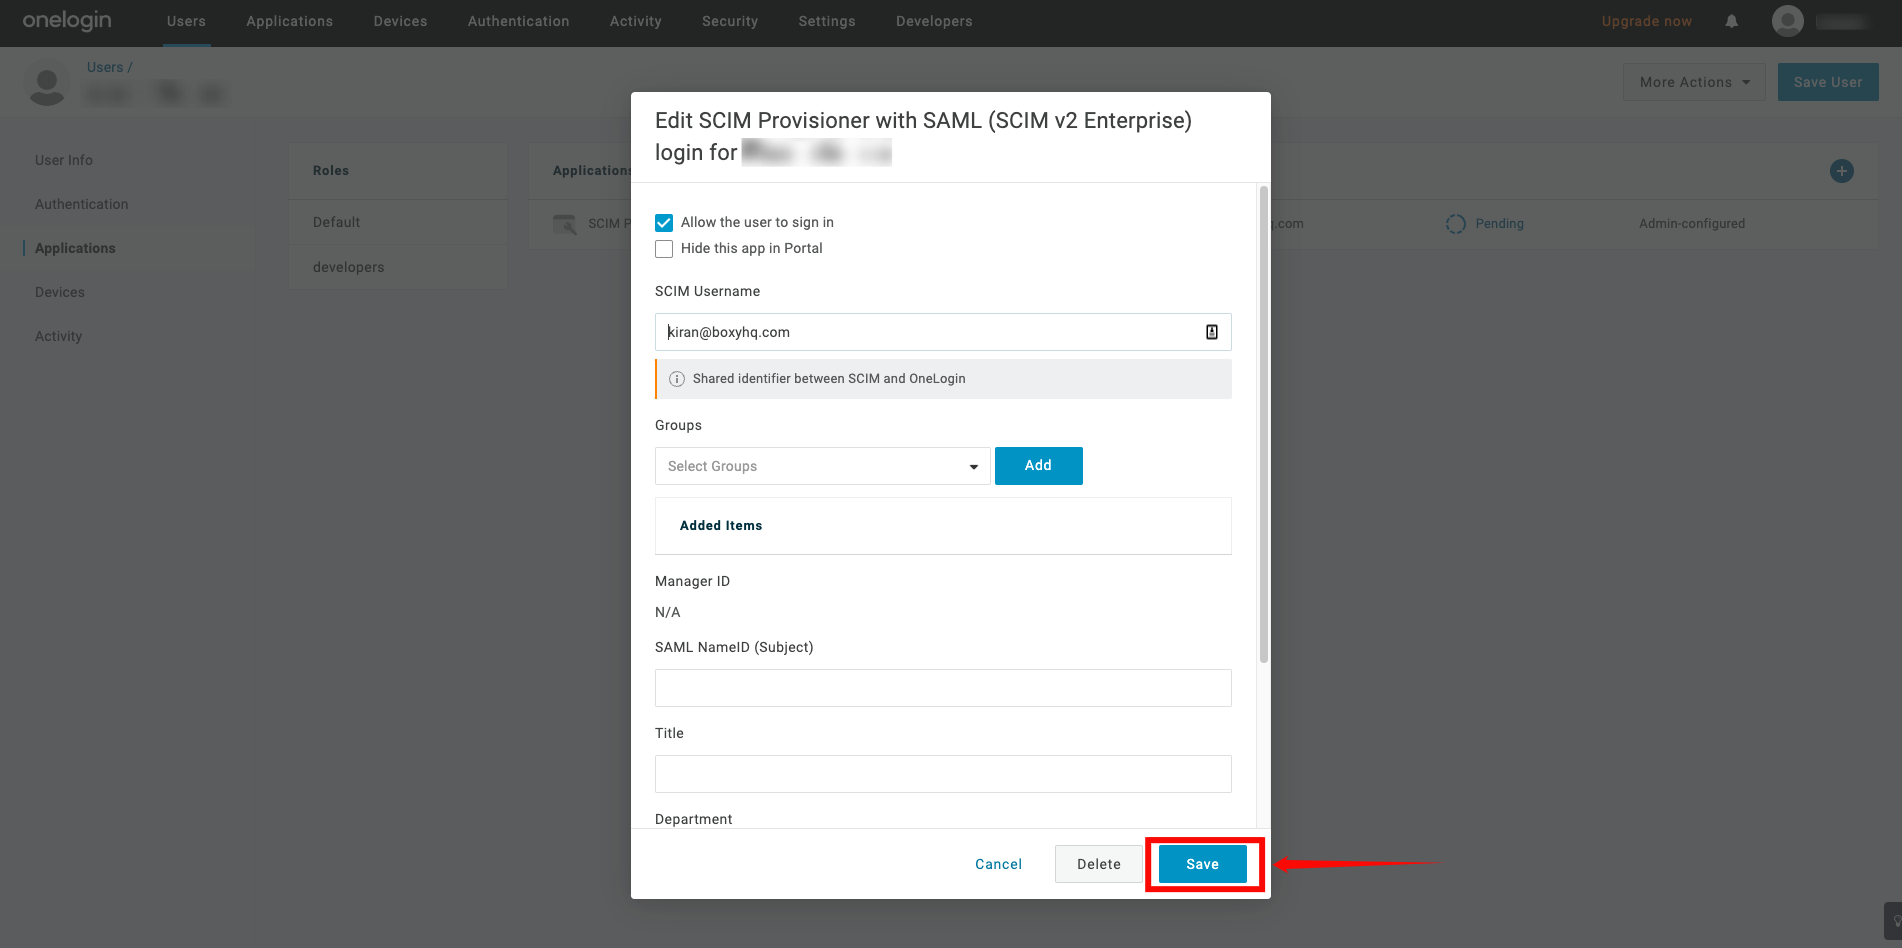
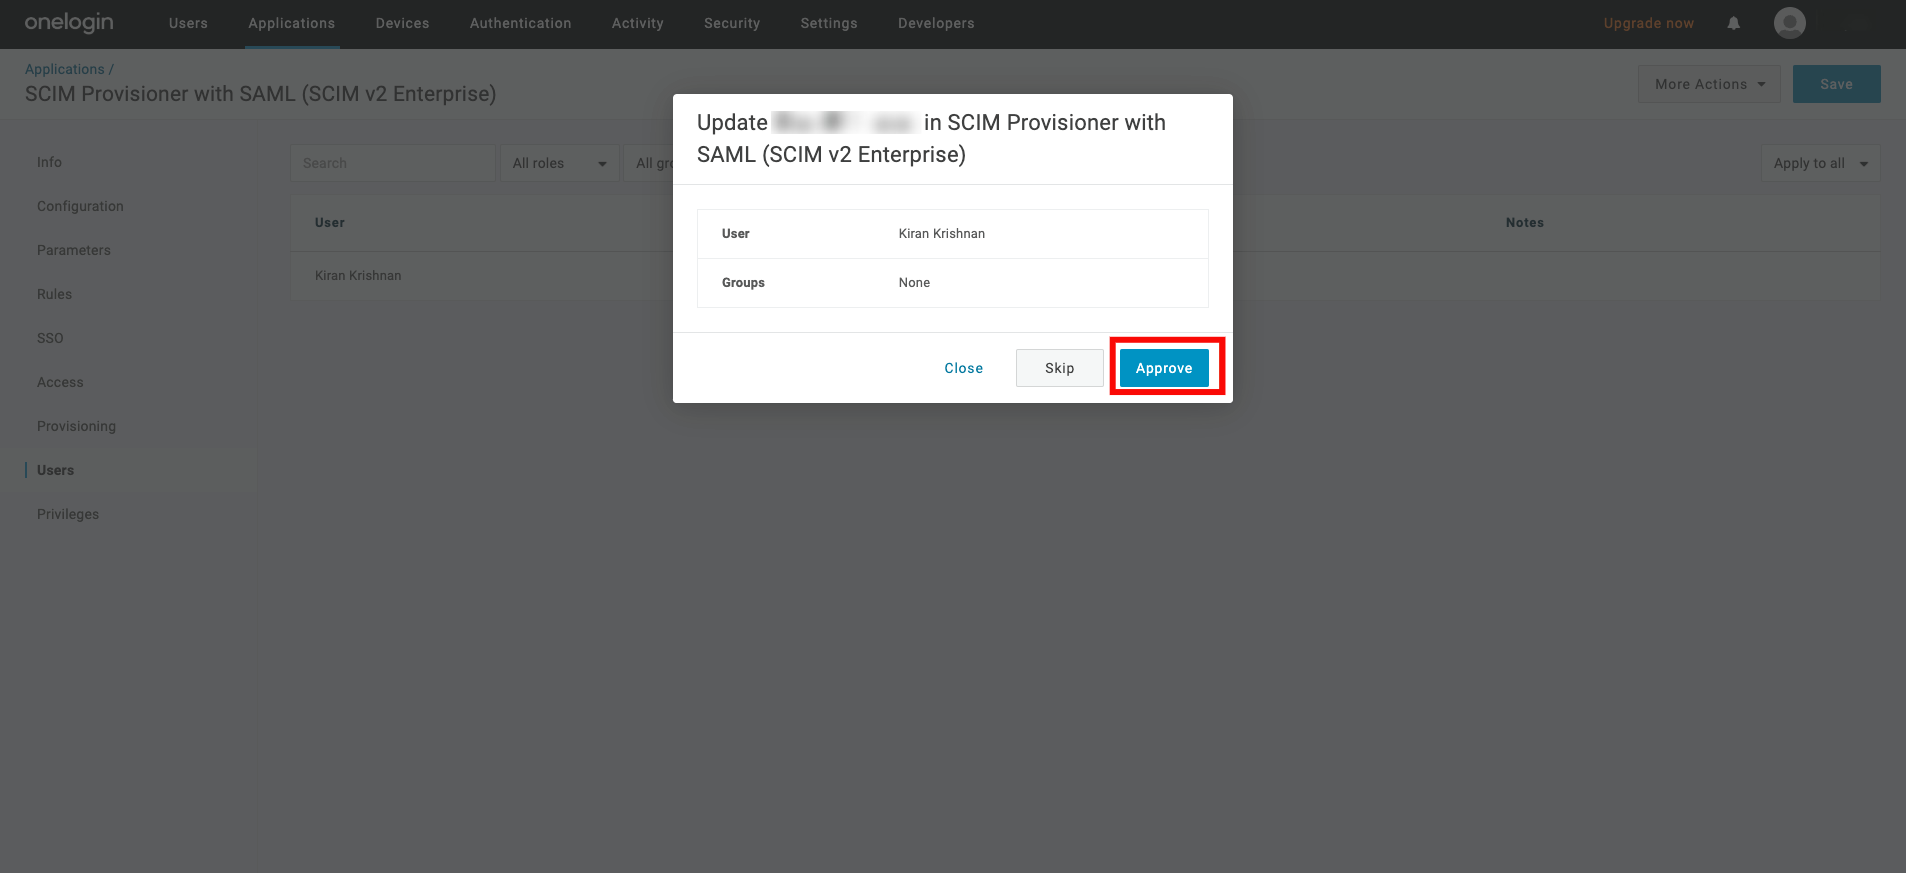
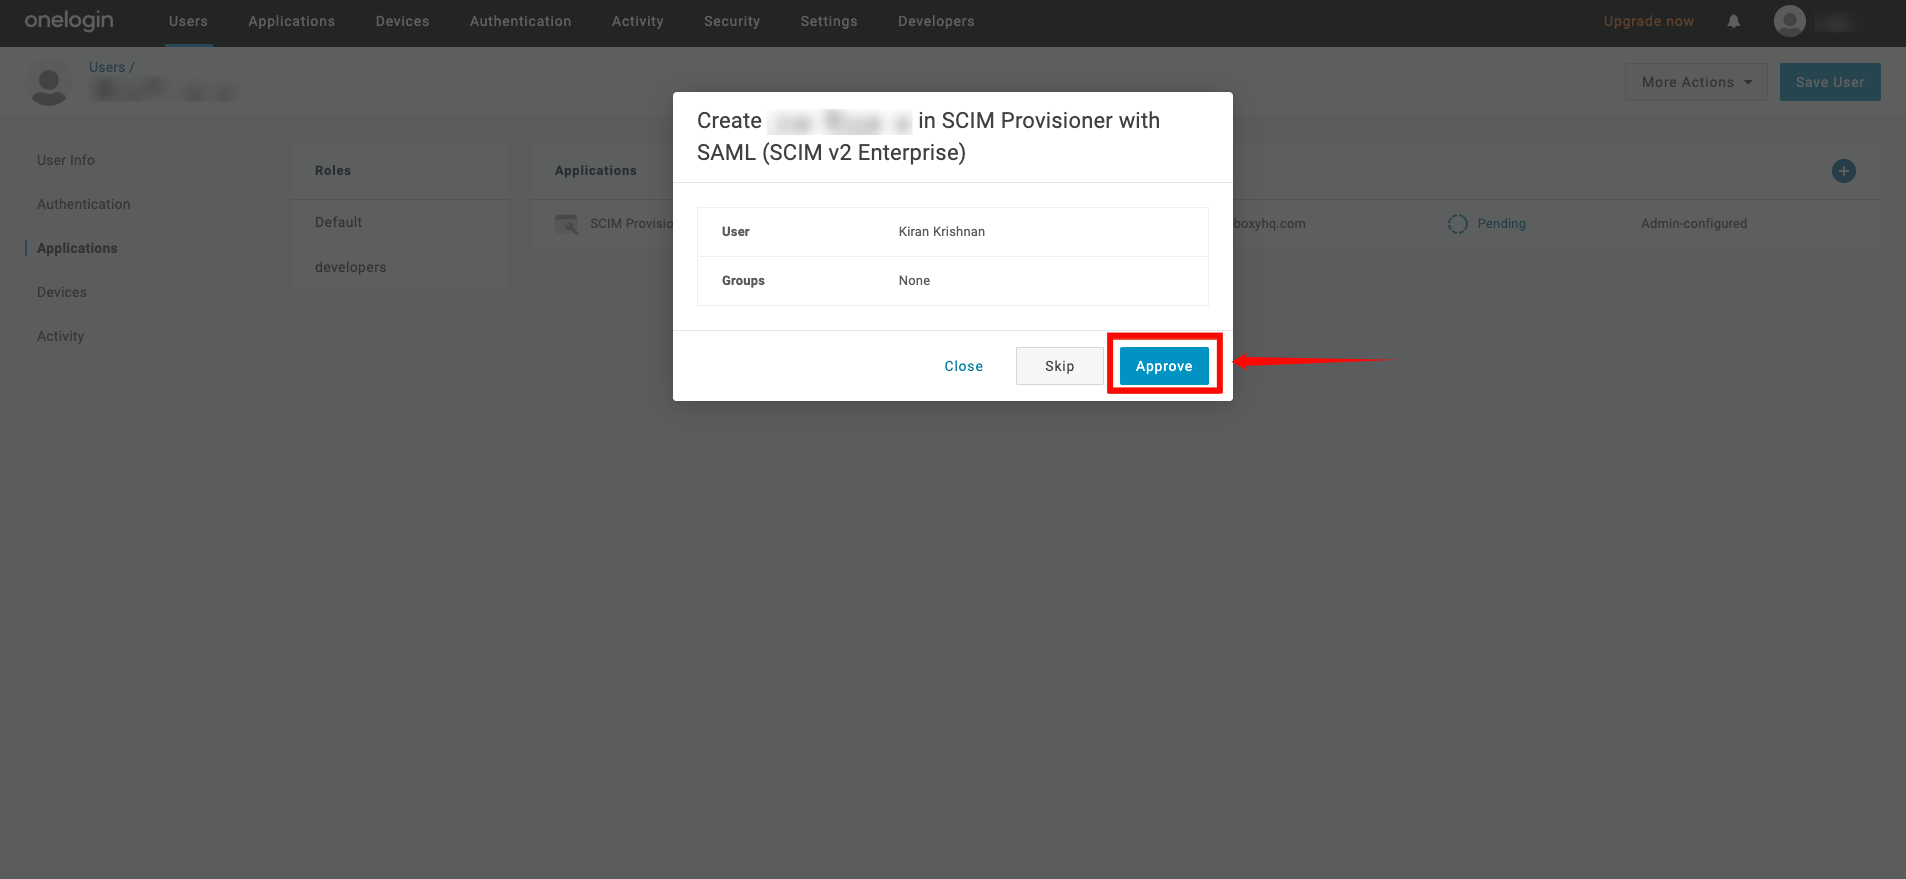
Step 4: If you see the status Pending in the table, click that text. A modal window will appear, where you can click Approve to confirm the assignment.
Assigning Groups for Provisioning
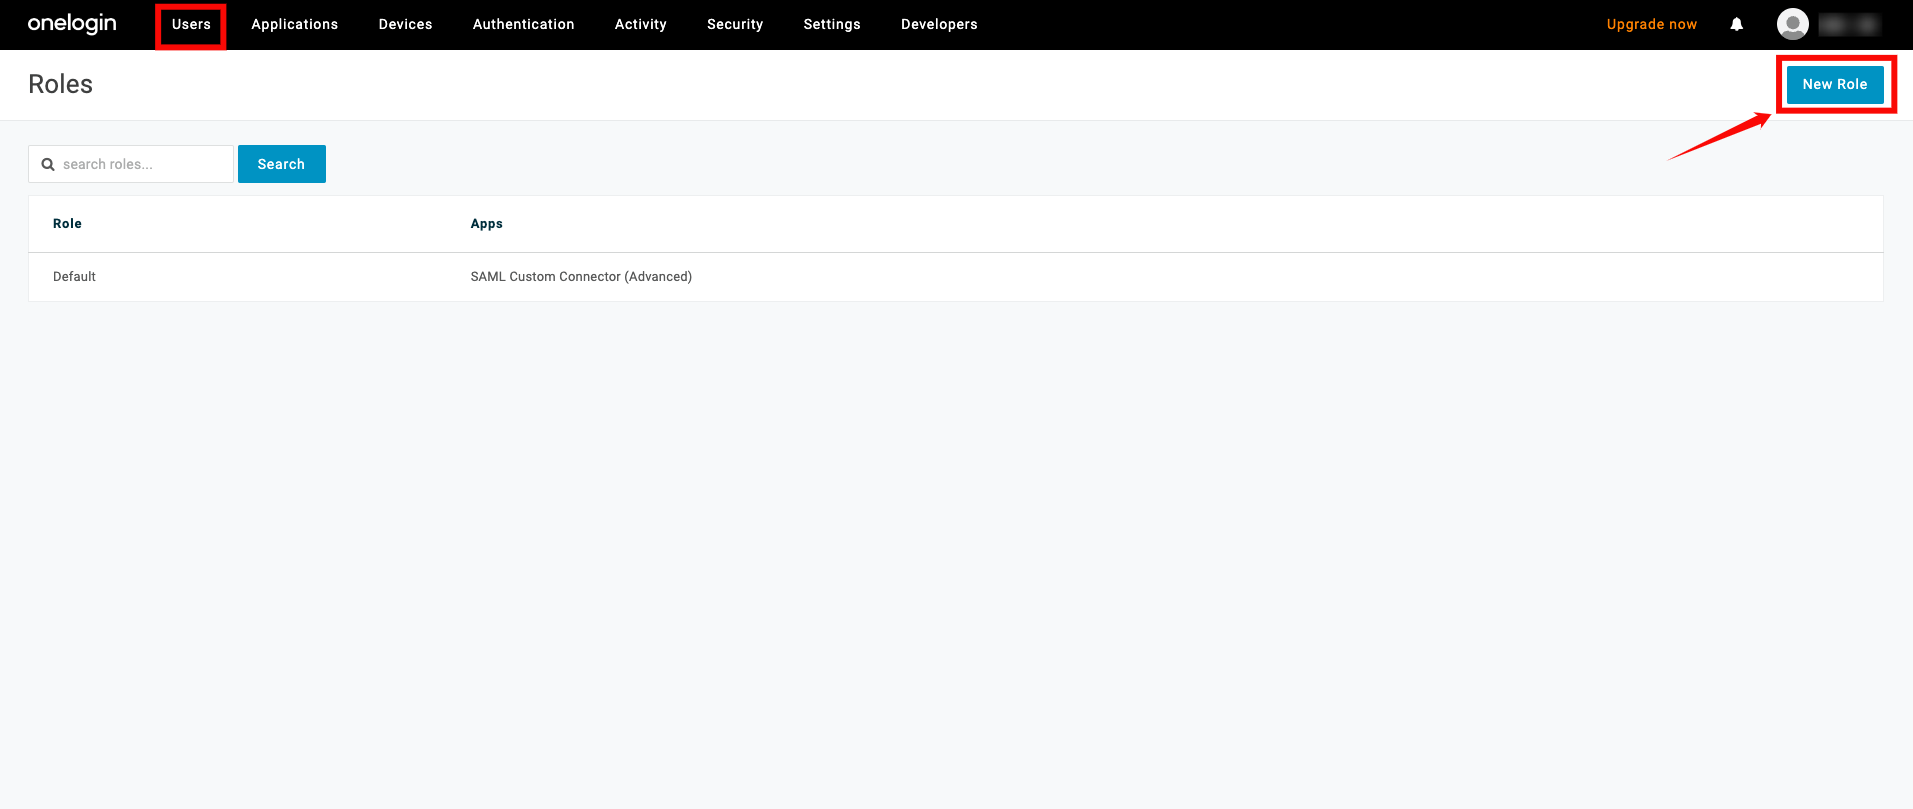
Step 1: To push groups to your app, go to the top navigation menu, click Users, select Roles from the dropdown, and click New Role to create the role.
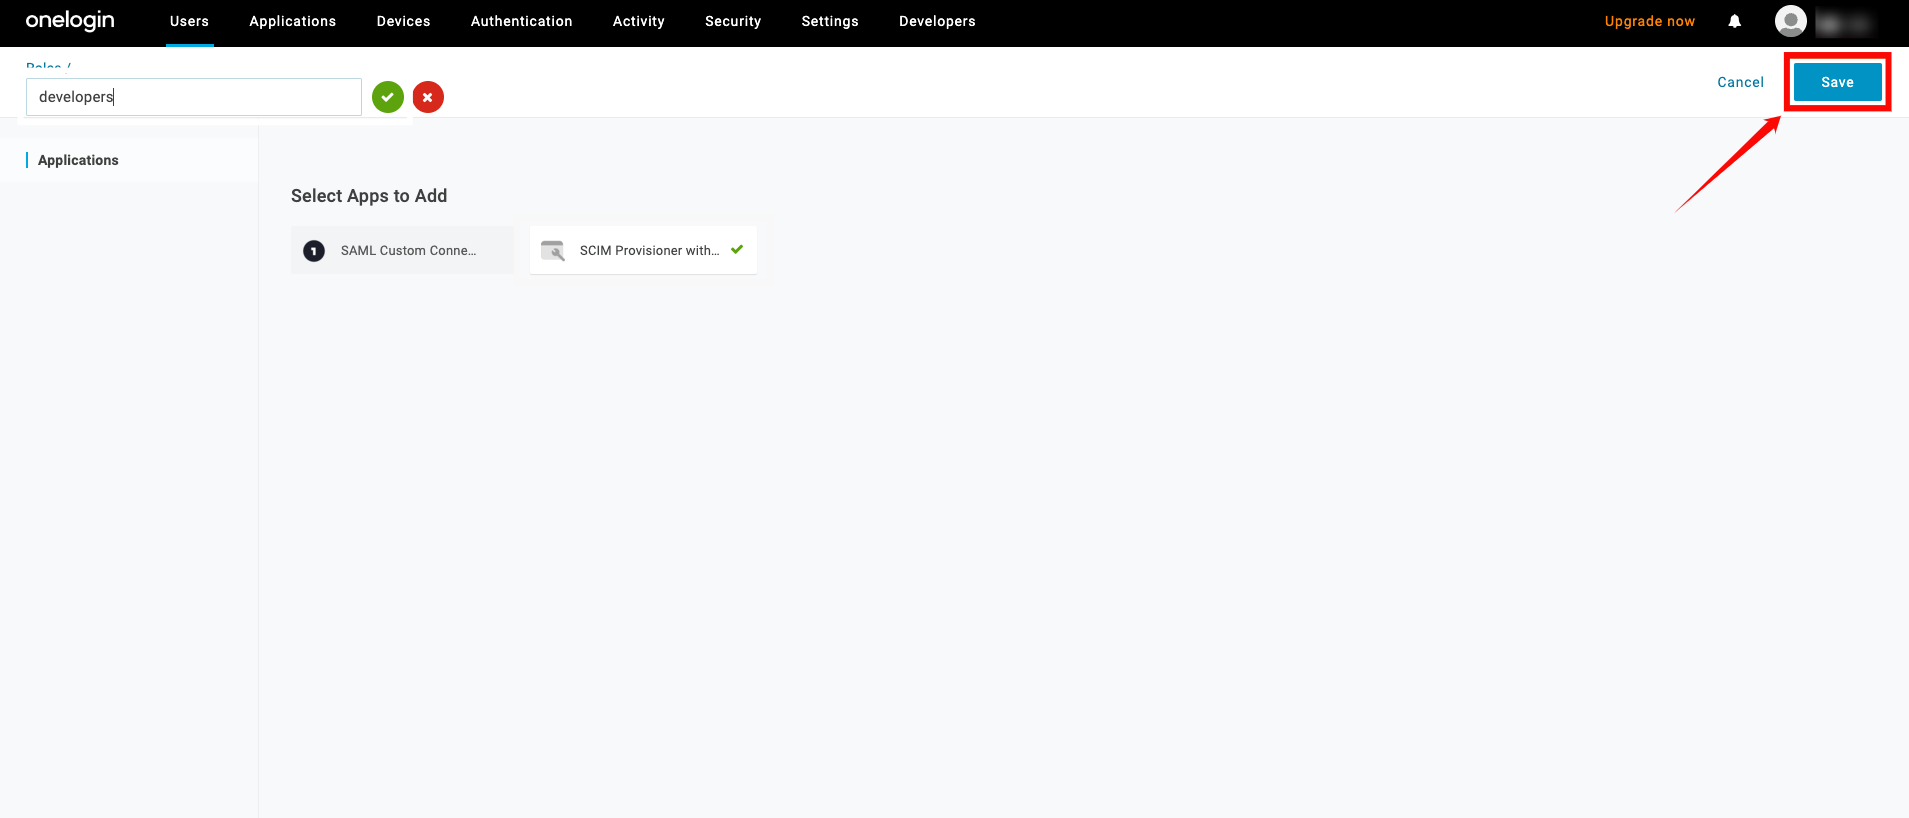
Step 2: Enter a name for the role, select the app you created earlier
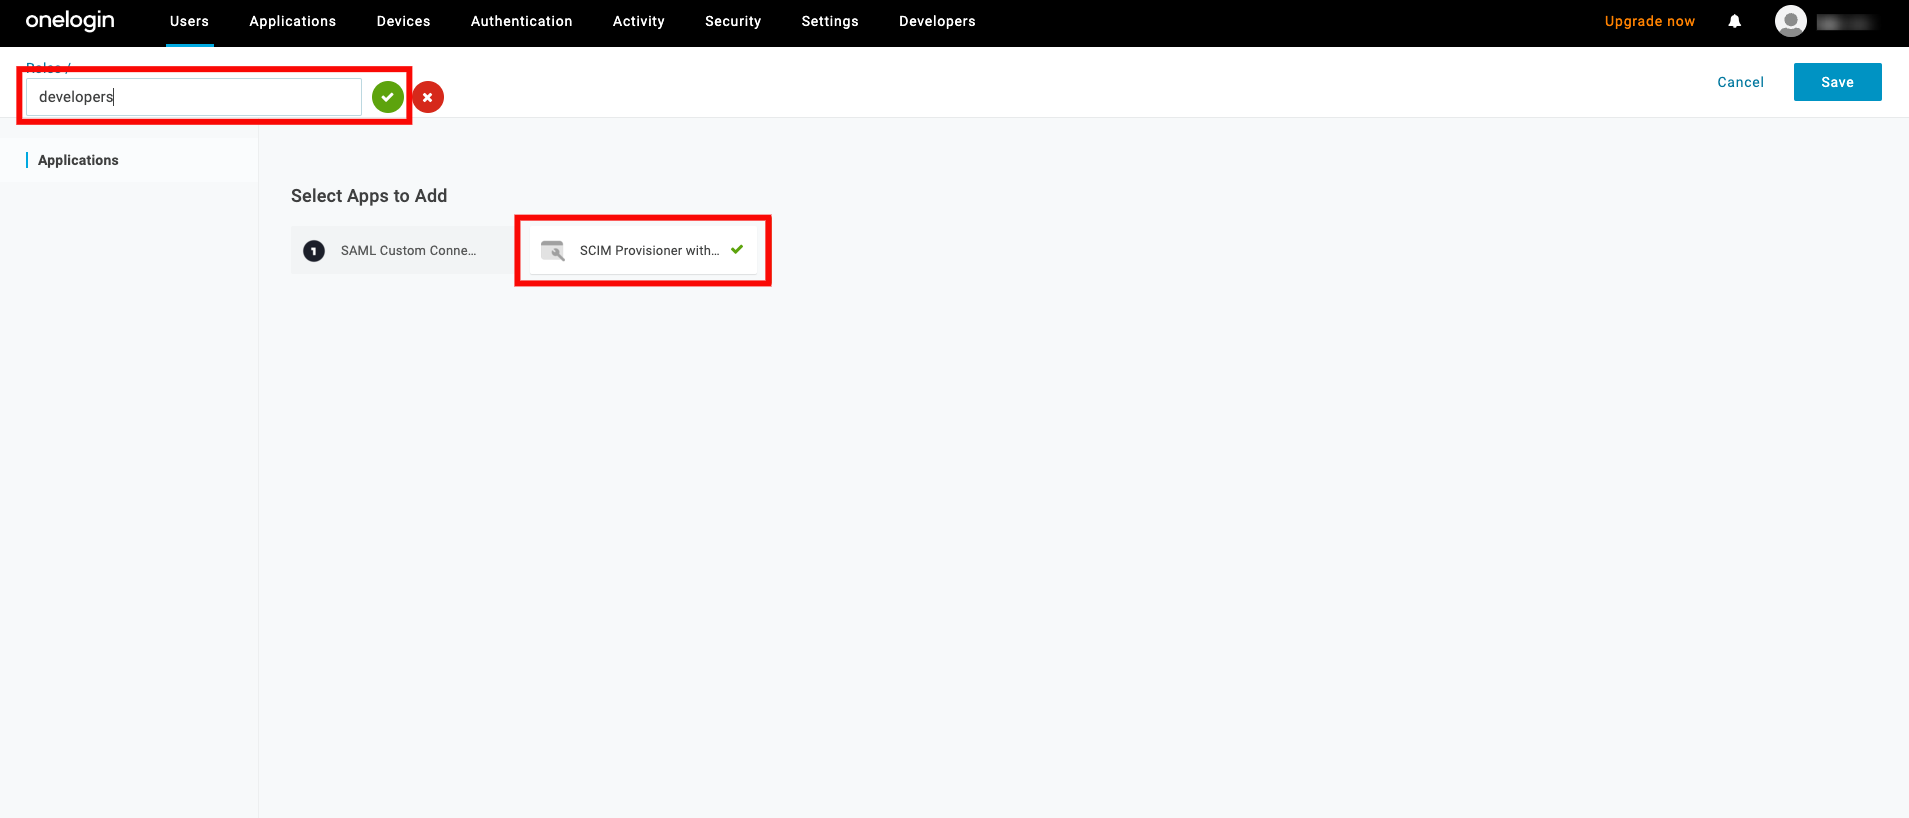
Step 3: Click on the "Save" button.
Step 4: Click the Users tab for the role and search for the user you want to assign to the role.
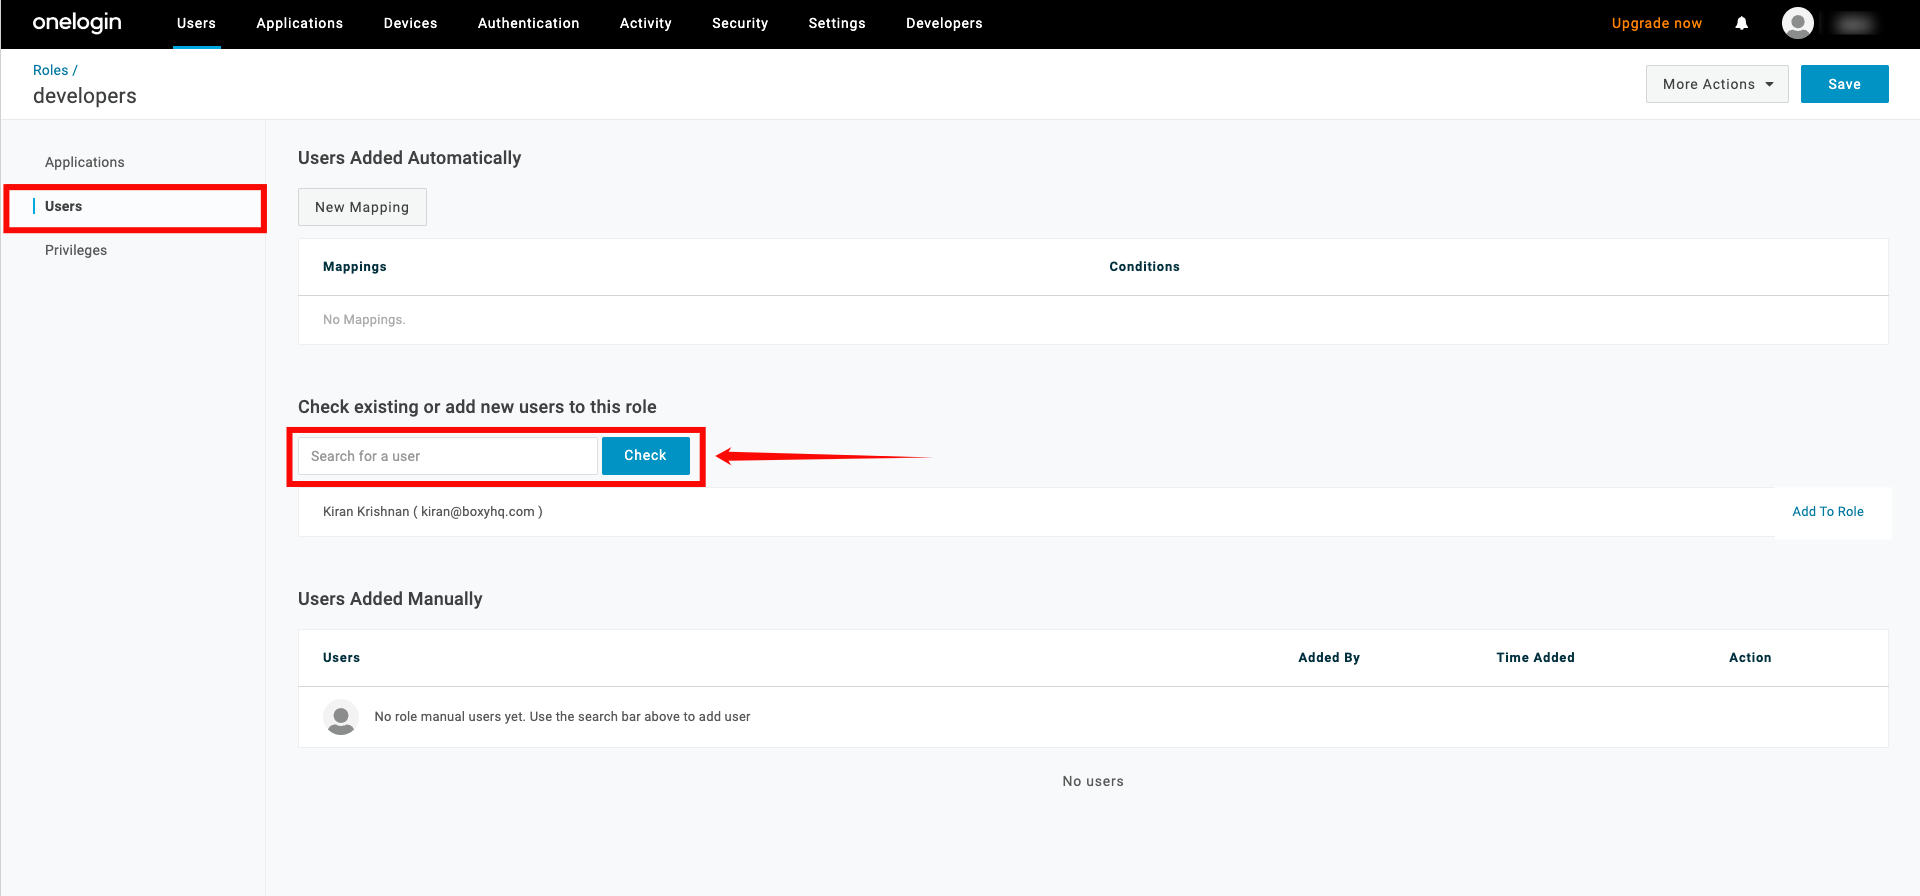
Step 5: Click the Add To Role button to assign the user, then click Save to confirm the assignment.

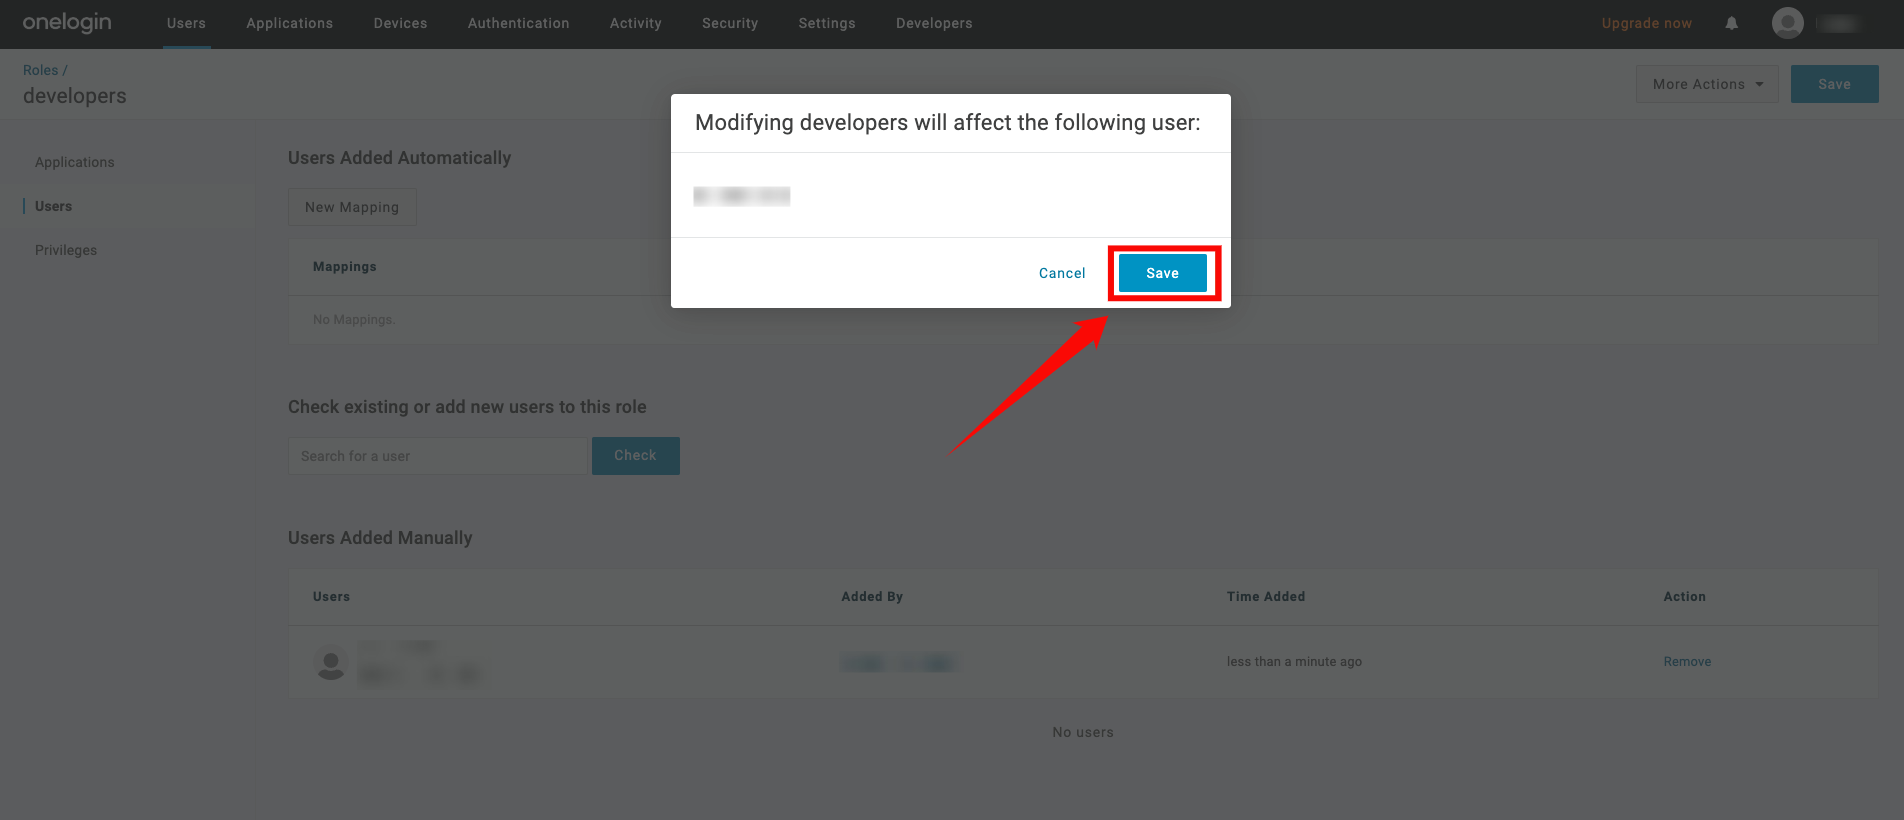
Step 6: A modal window will appear, click on the "Save" button to confirm the assignment.
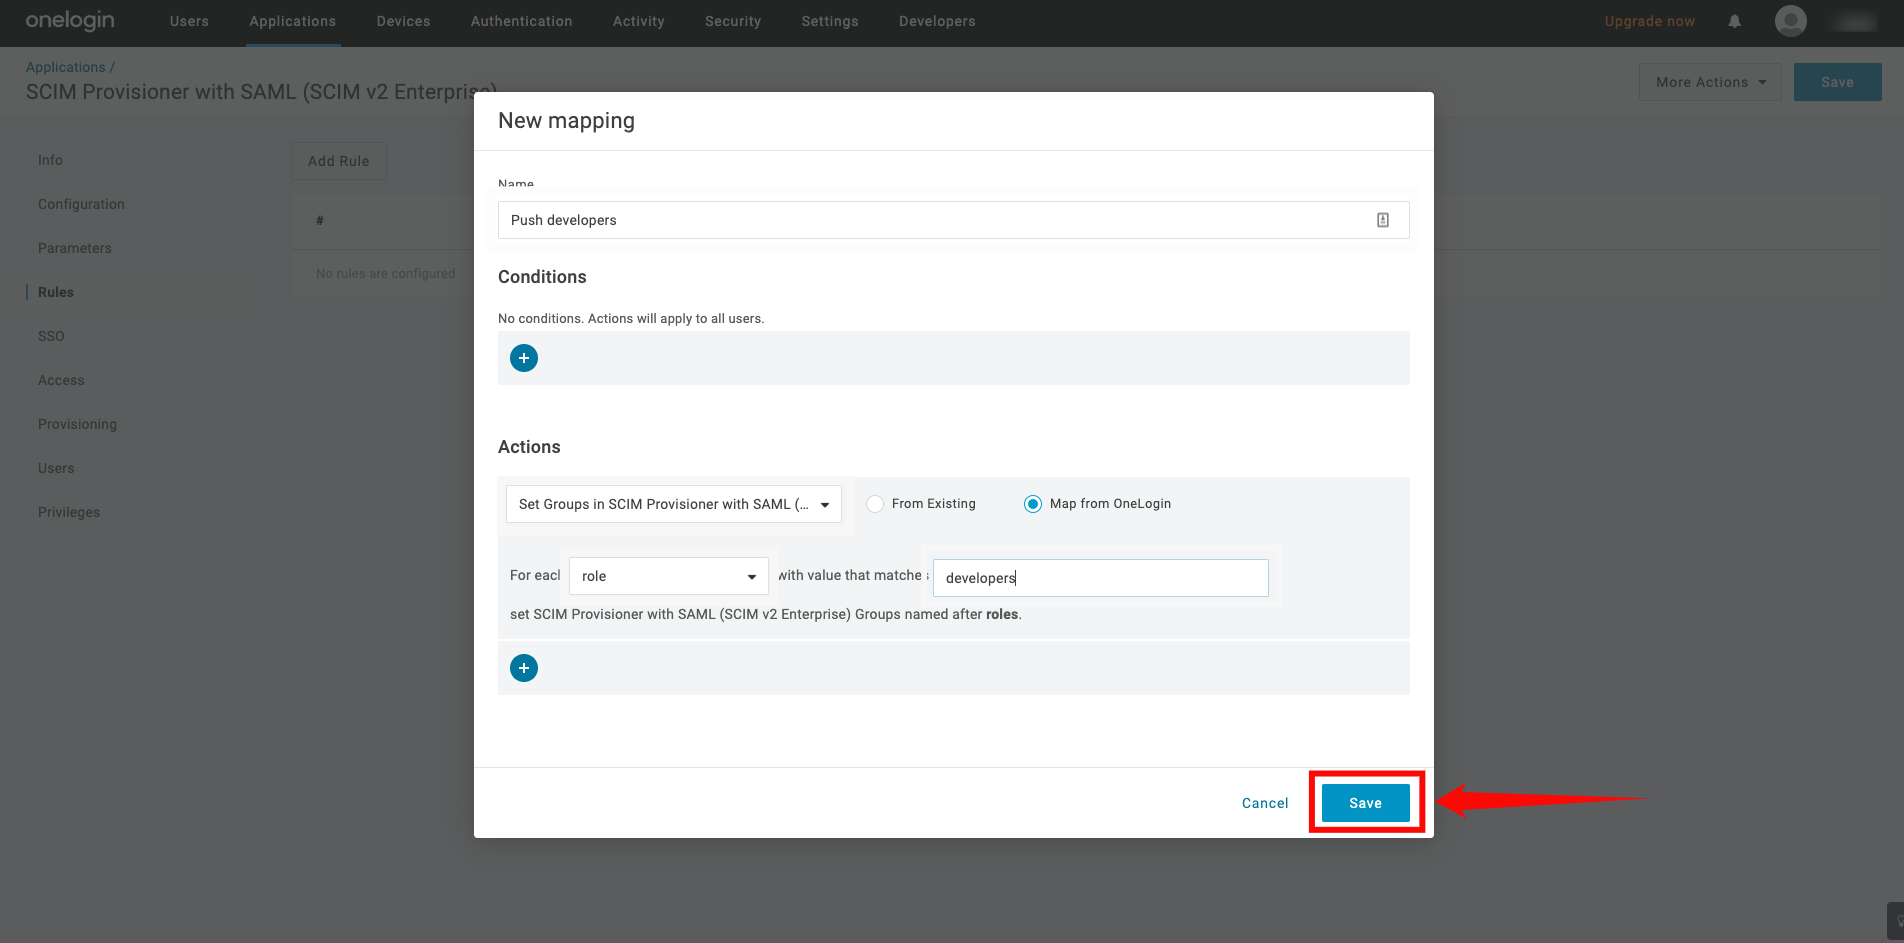
Step 7: Go back to your app and click the Rule tab on the left and click the Add Rule button.
Give the rule a name. Under the Actions, select the Set Groups in your-app-name from the dropdown, then select each role with values that match your-app-name.
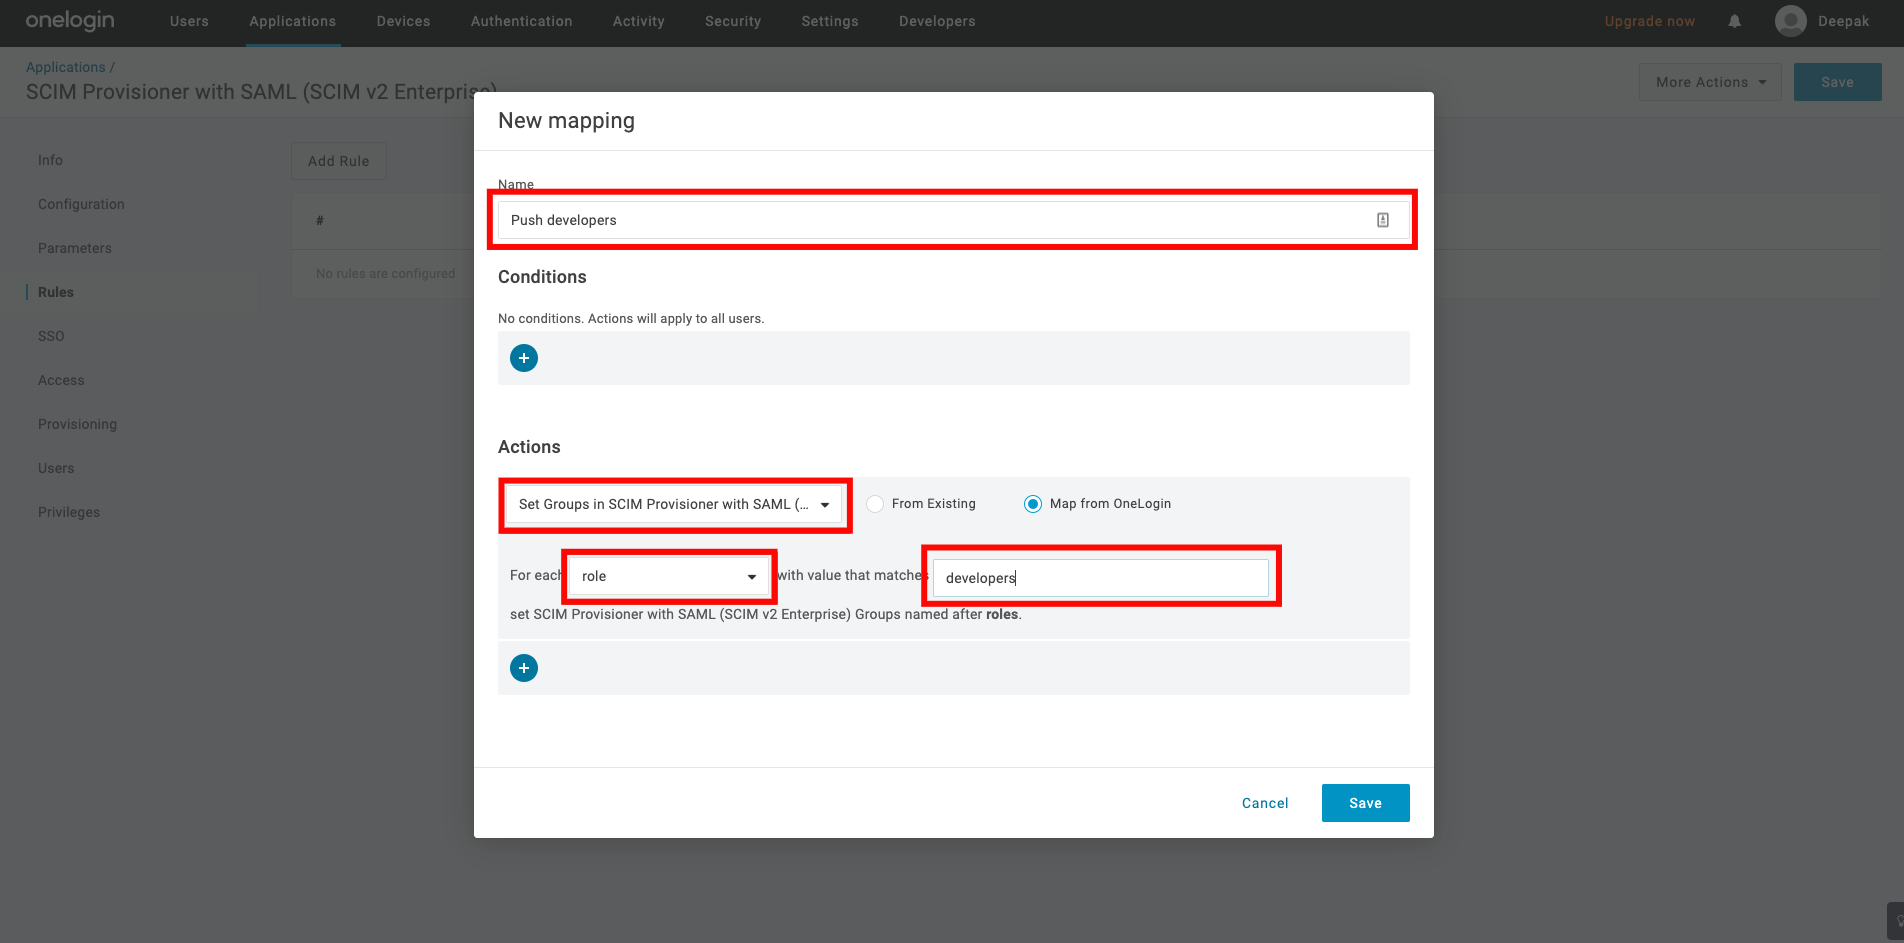
Step 8: Click on the Save button.
Step 9: Click on the Users tab on the left, you may see Pending under the provisions state. Click on it to approve the assignment.
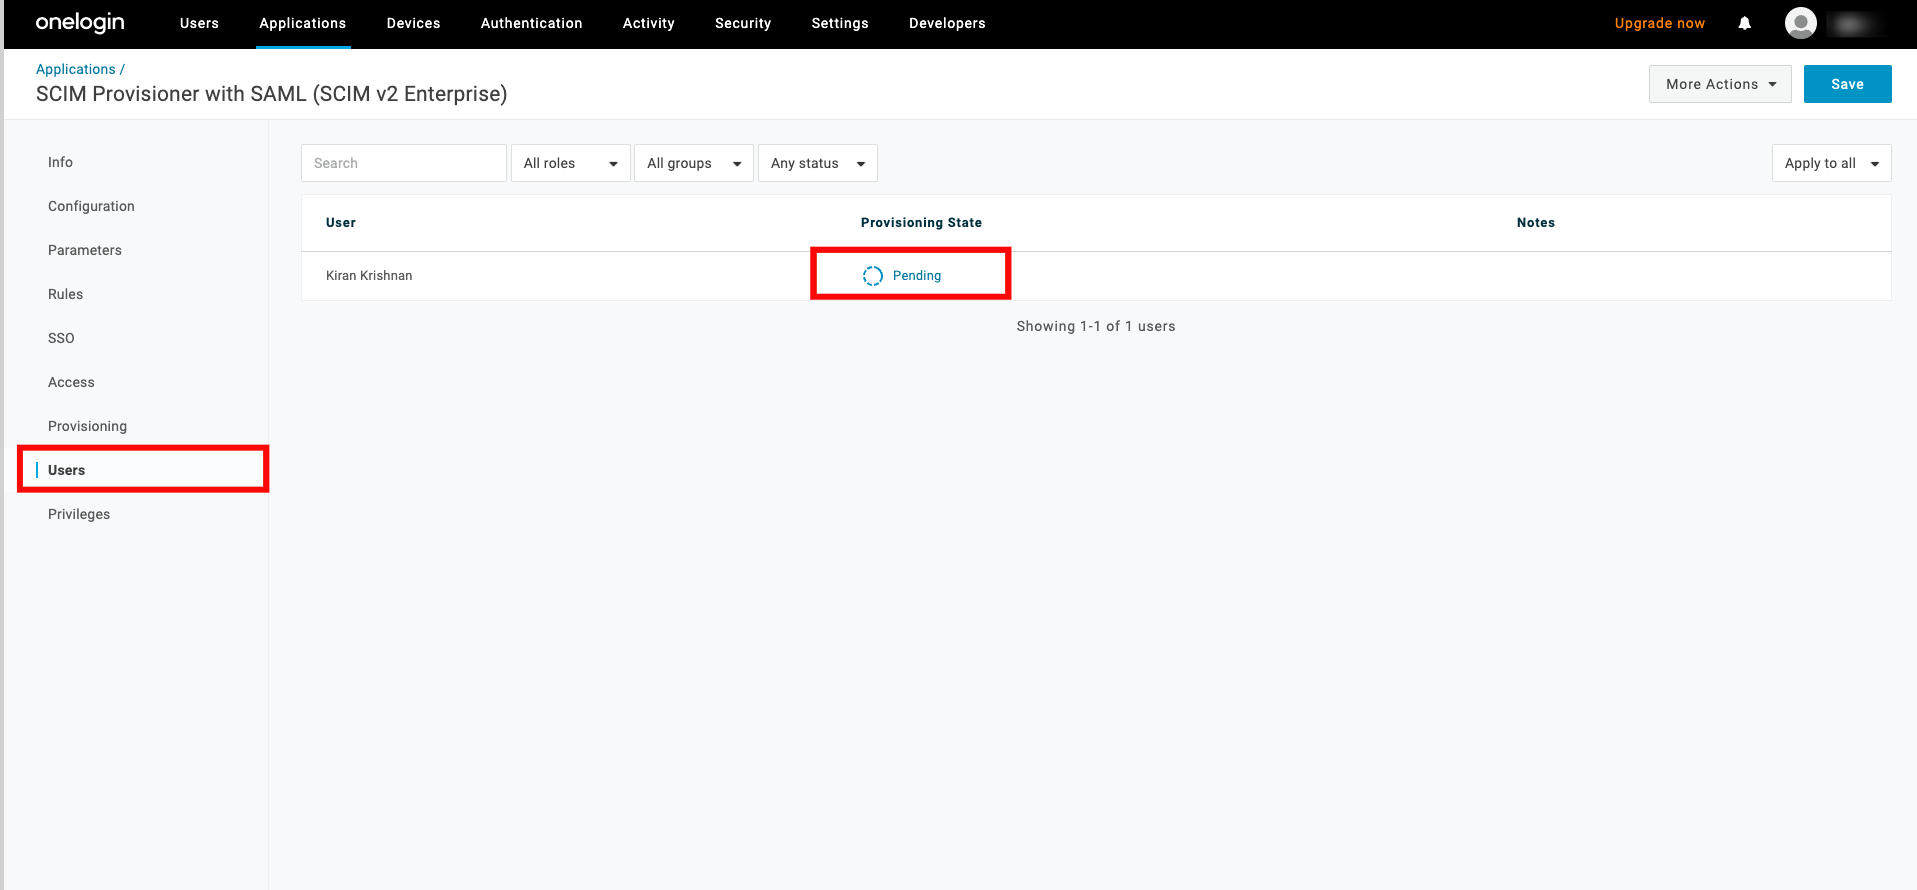
Step 10: A modal window will appear, click on the Approve to finalize the assignment.