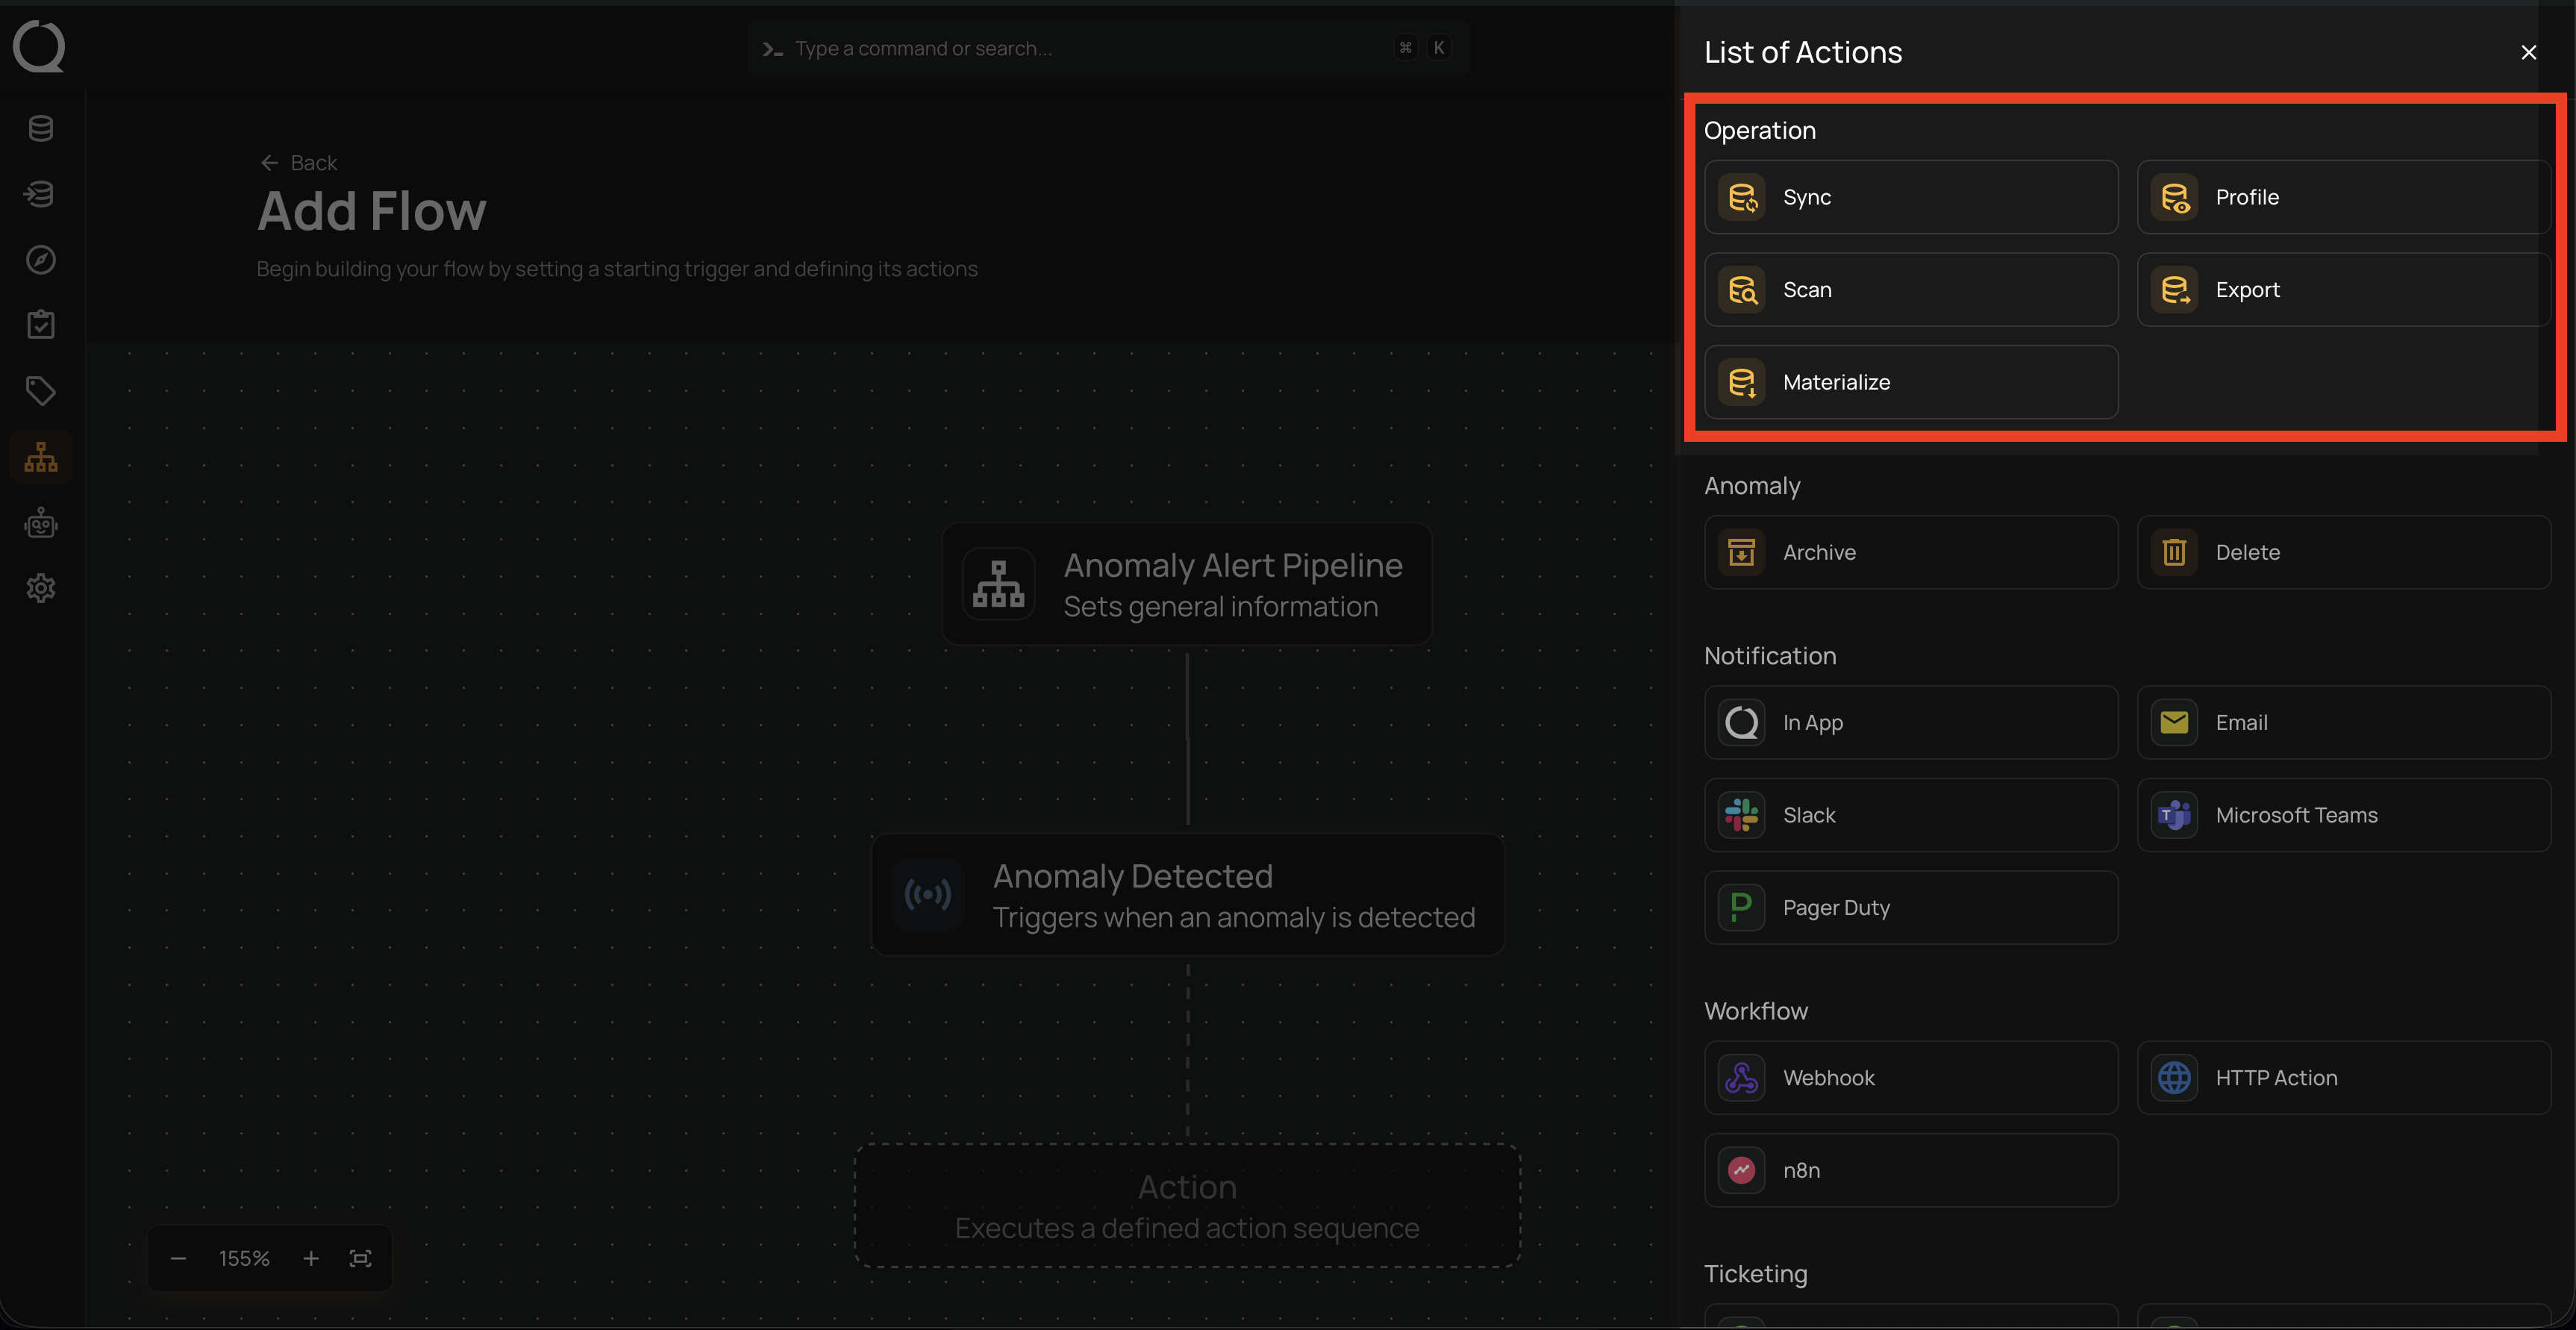
Operation
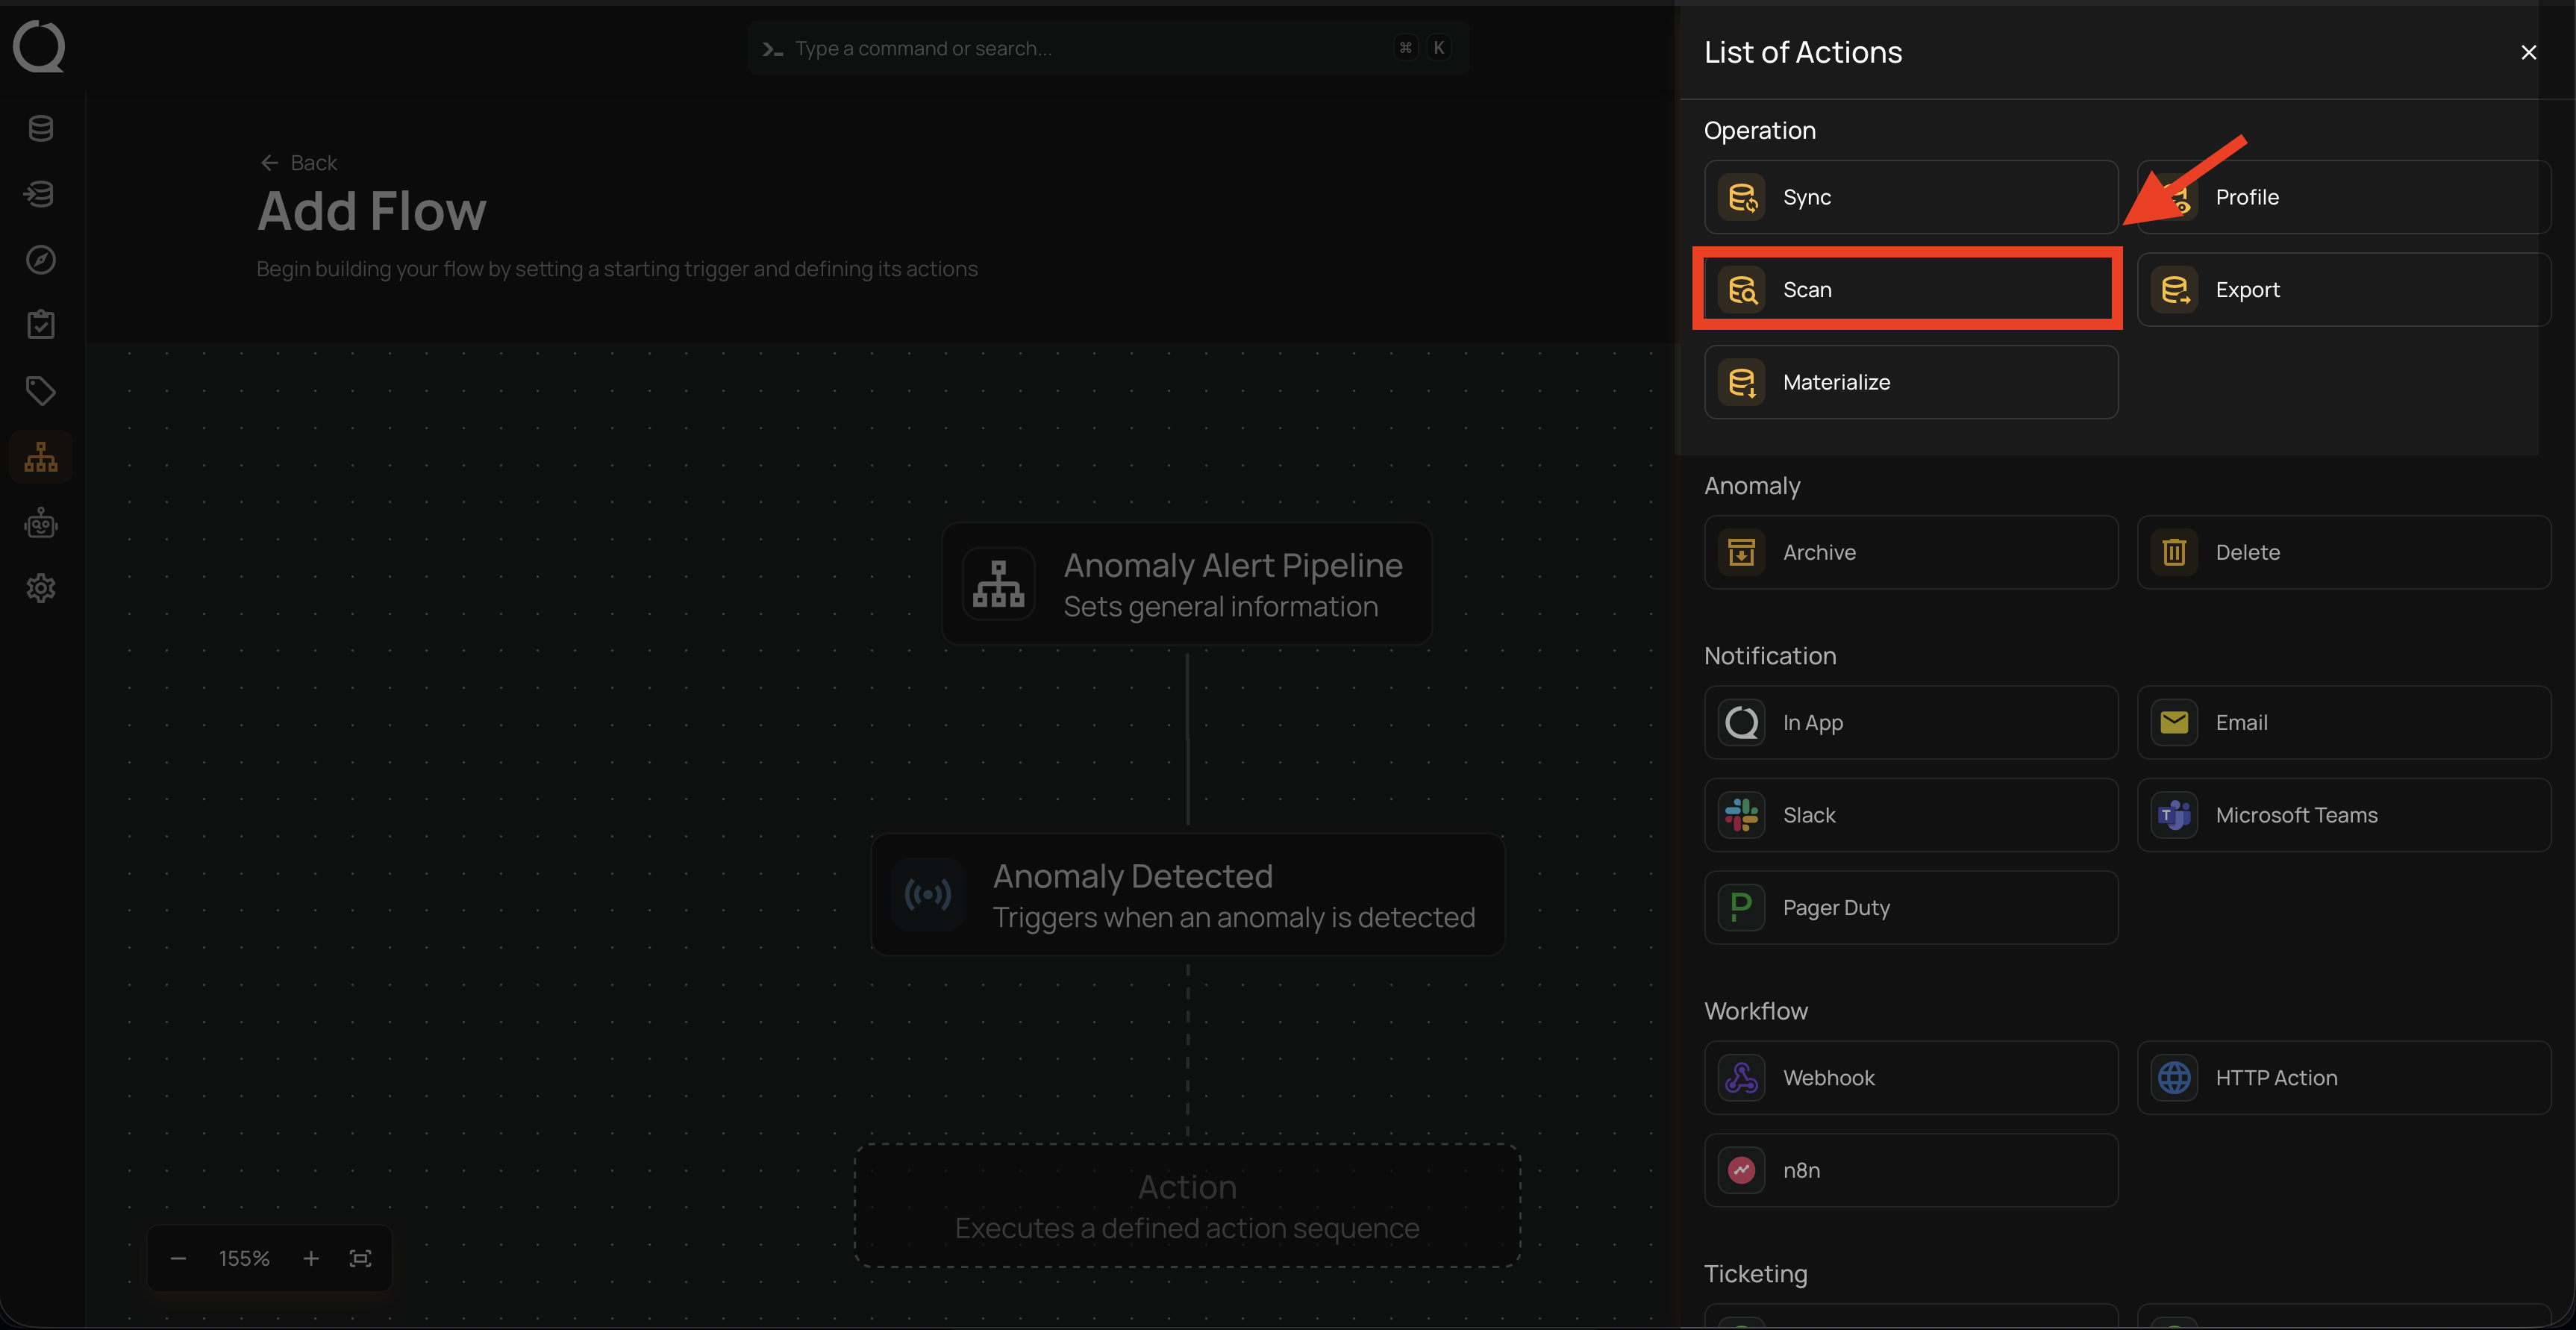
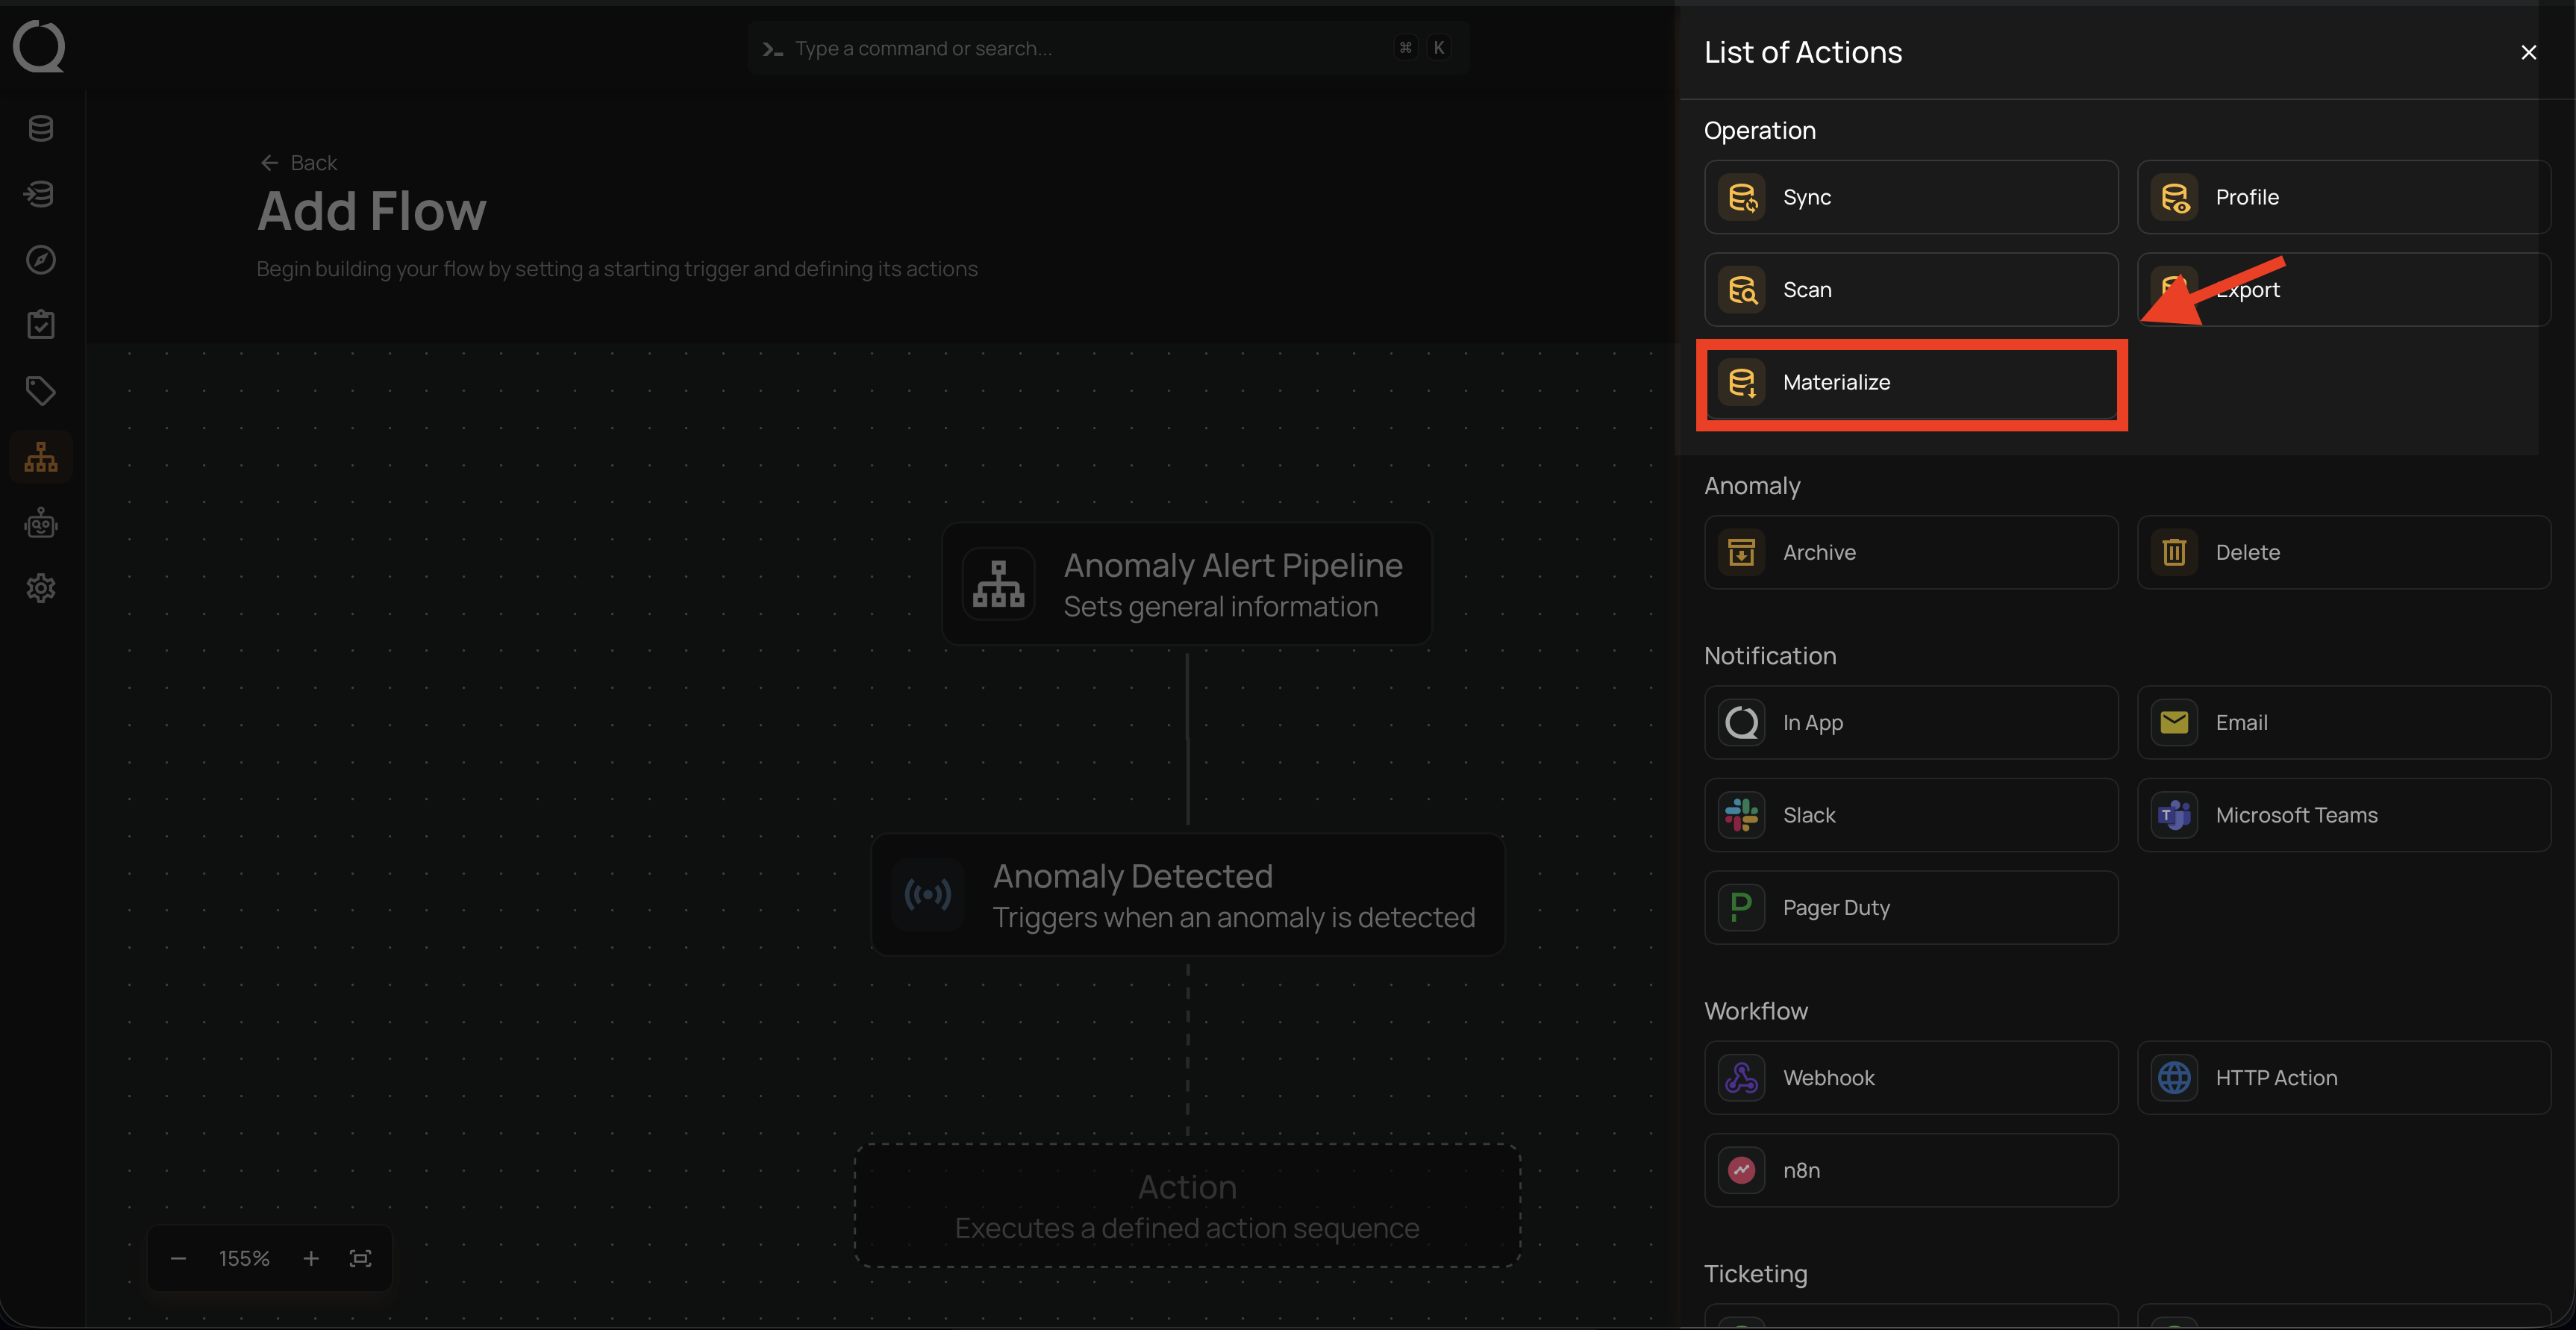
Users can execute specific operations when the trigger activates. They can choose from the following options:
-
Sync.
-
Profile.
-
Scan.
-
Export.
-
Materialize.
Warning
Only initialized datastores appear in the Source Datastore dropdown across all operation types. A datastore becomes initialized after it has successfully completed Sync, Profile, and Scan runs at least once within the Action Node Operation section while setting up your flow.

Sync
Step 1: Click on Sync.
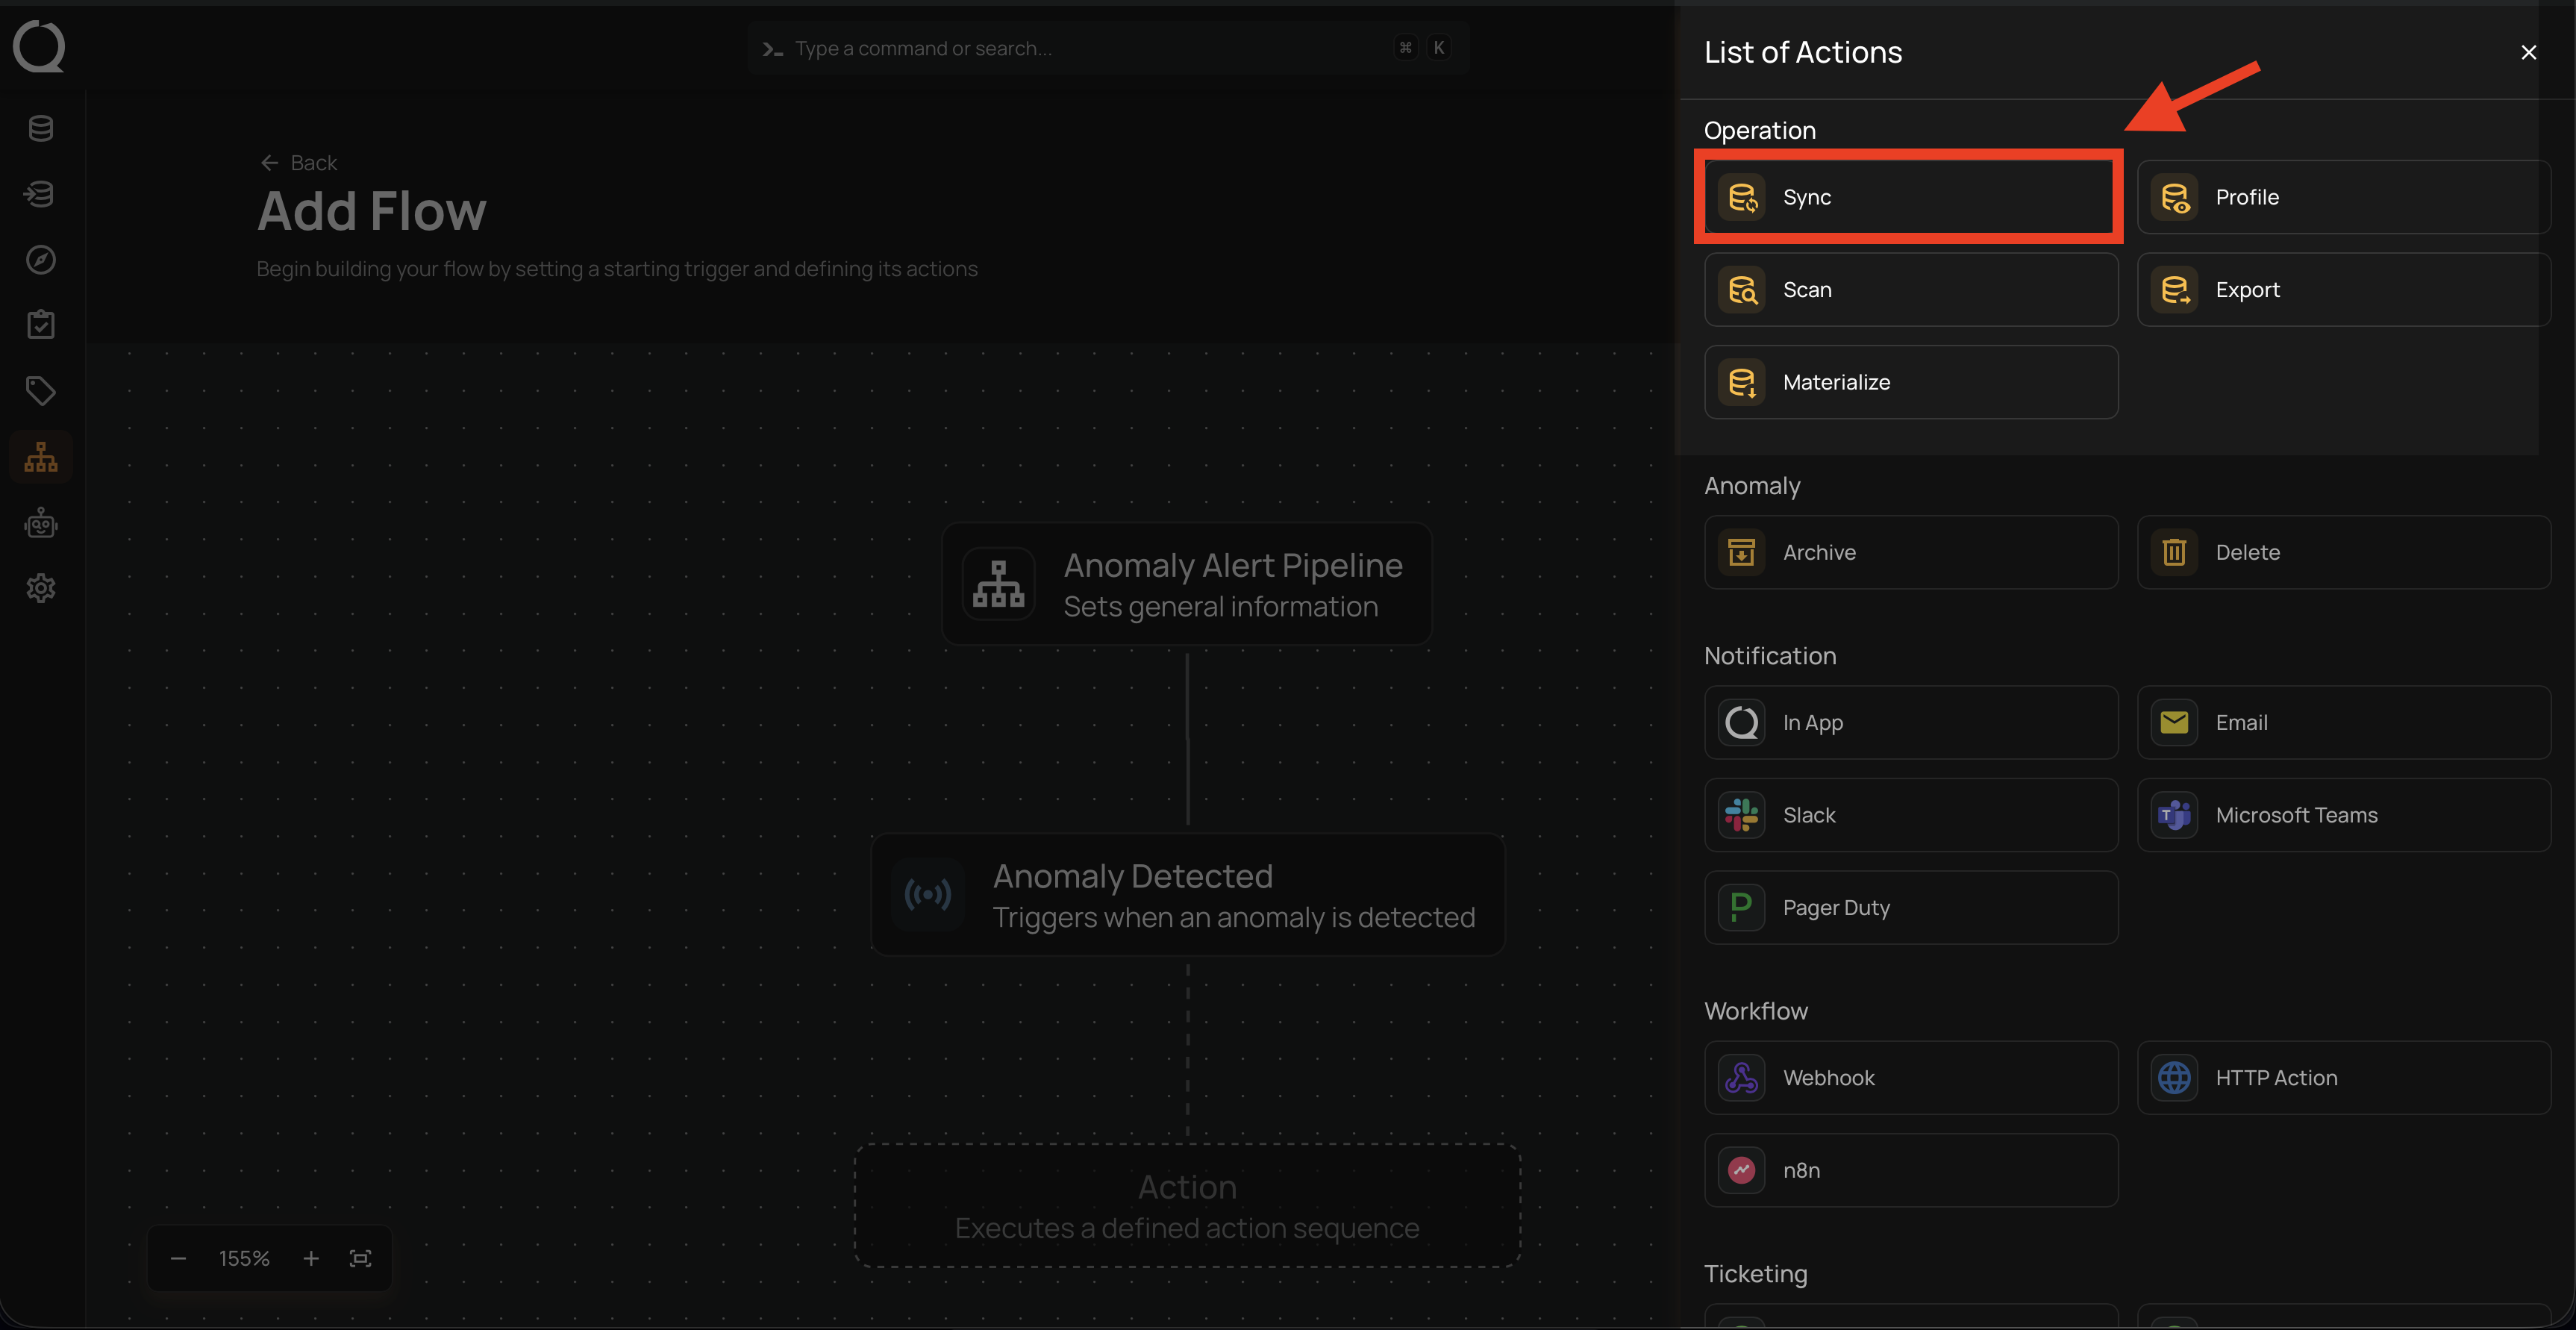
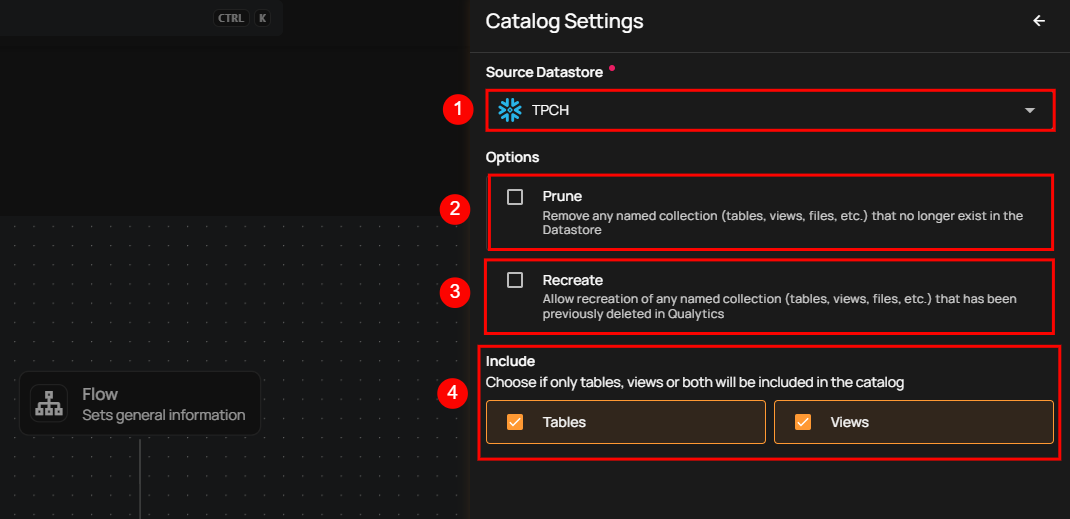
A panel Sync Settings will appear on the right-hand side. This window allows you to configure the sync operation.
| No. | Field | Description |
|---|---|---|
| 1. | Source Datastore | Select the source datastore to sync. |
| 2. | Prune | Checkbox to enable or disable the removal of named collections (tables, views, files, etc.) that no longer exist in the datastore. |
| 3. | Recreate | Checkbox to enable or disable the recreation of previously deleted named collections in Qualytics. |
| 4. | Include | Checkboxes to select Tables, Views, or both, specifying the resources to include in the sync. |
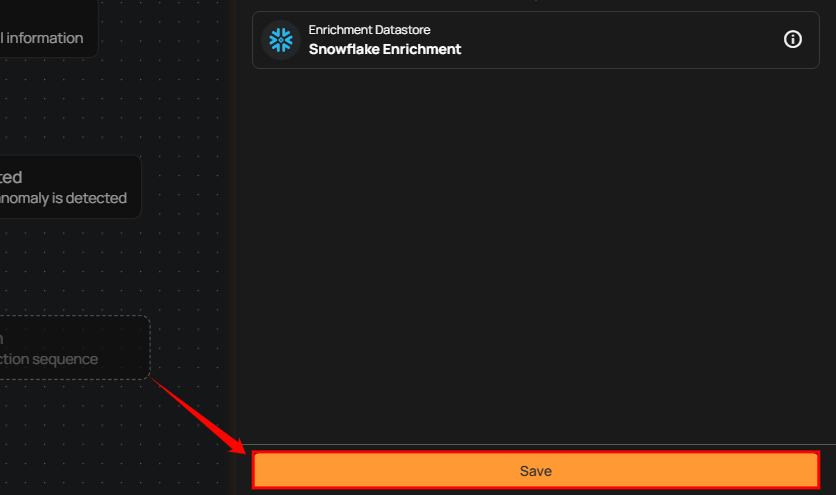
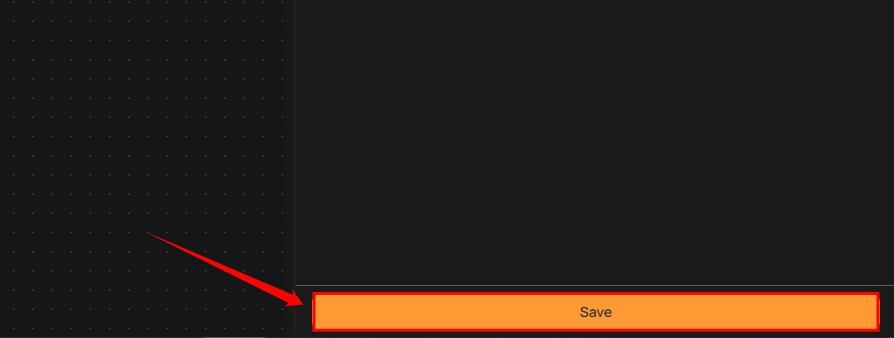
Step 2: After configuring the settings, click Save to apply and proceed with the sync operation.
Profile
Step 1: Click on Profile.
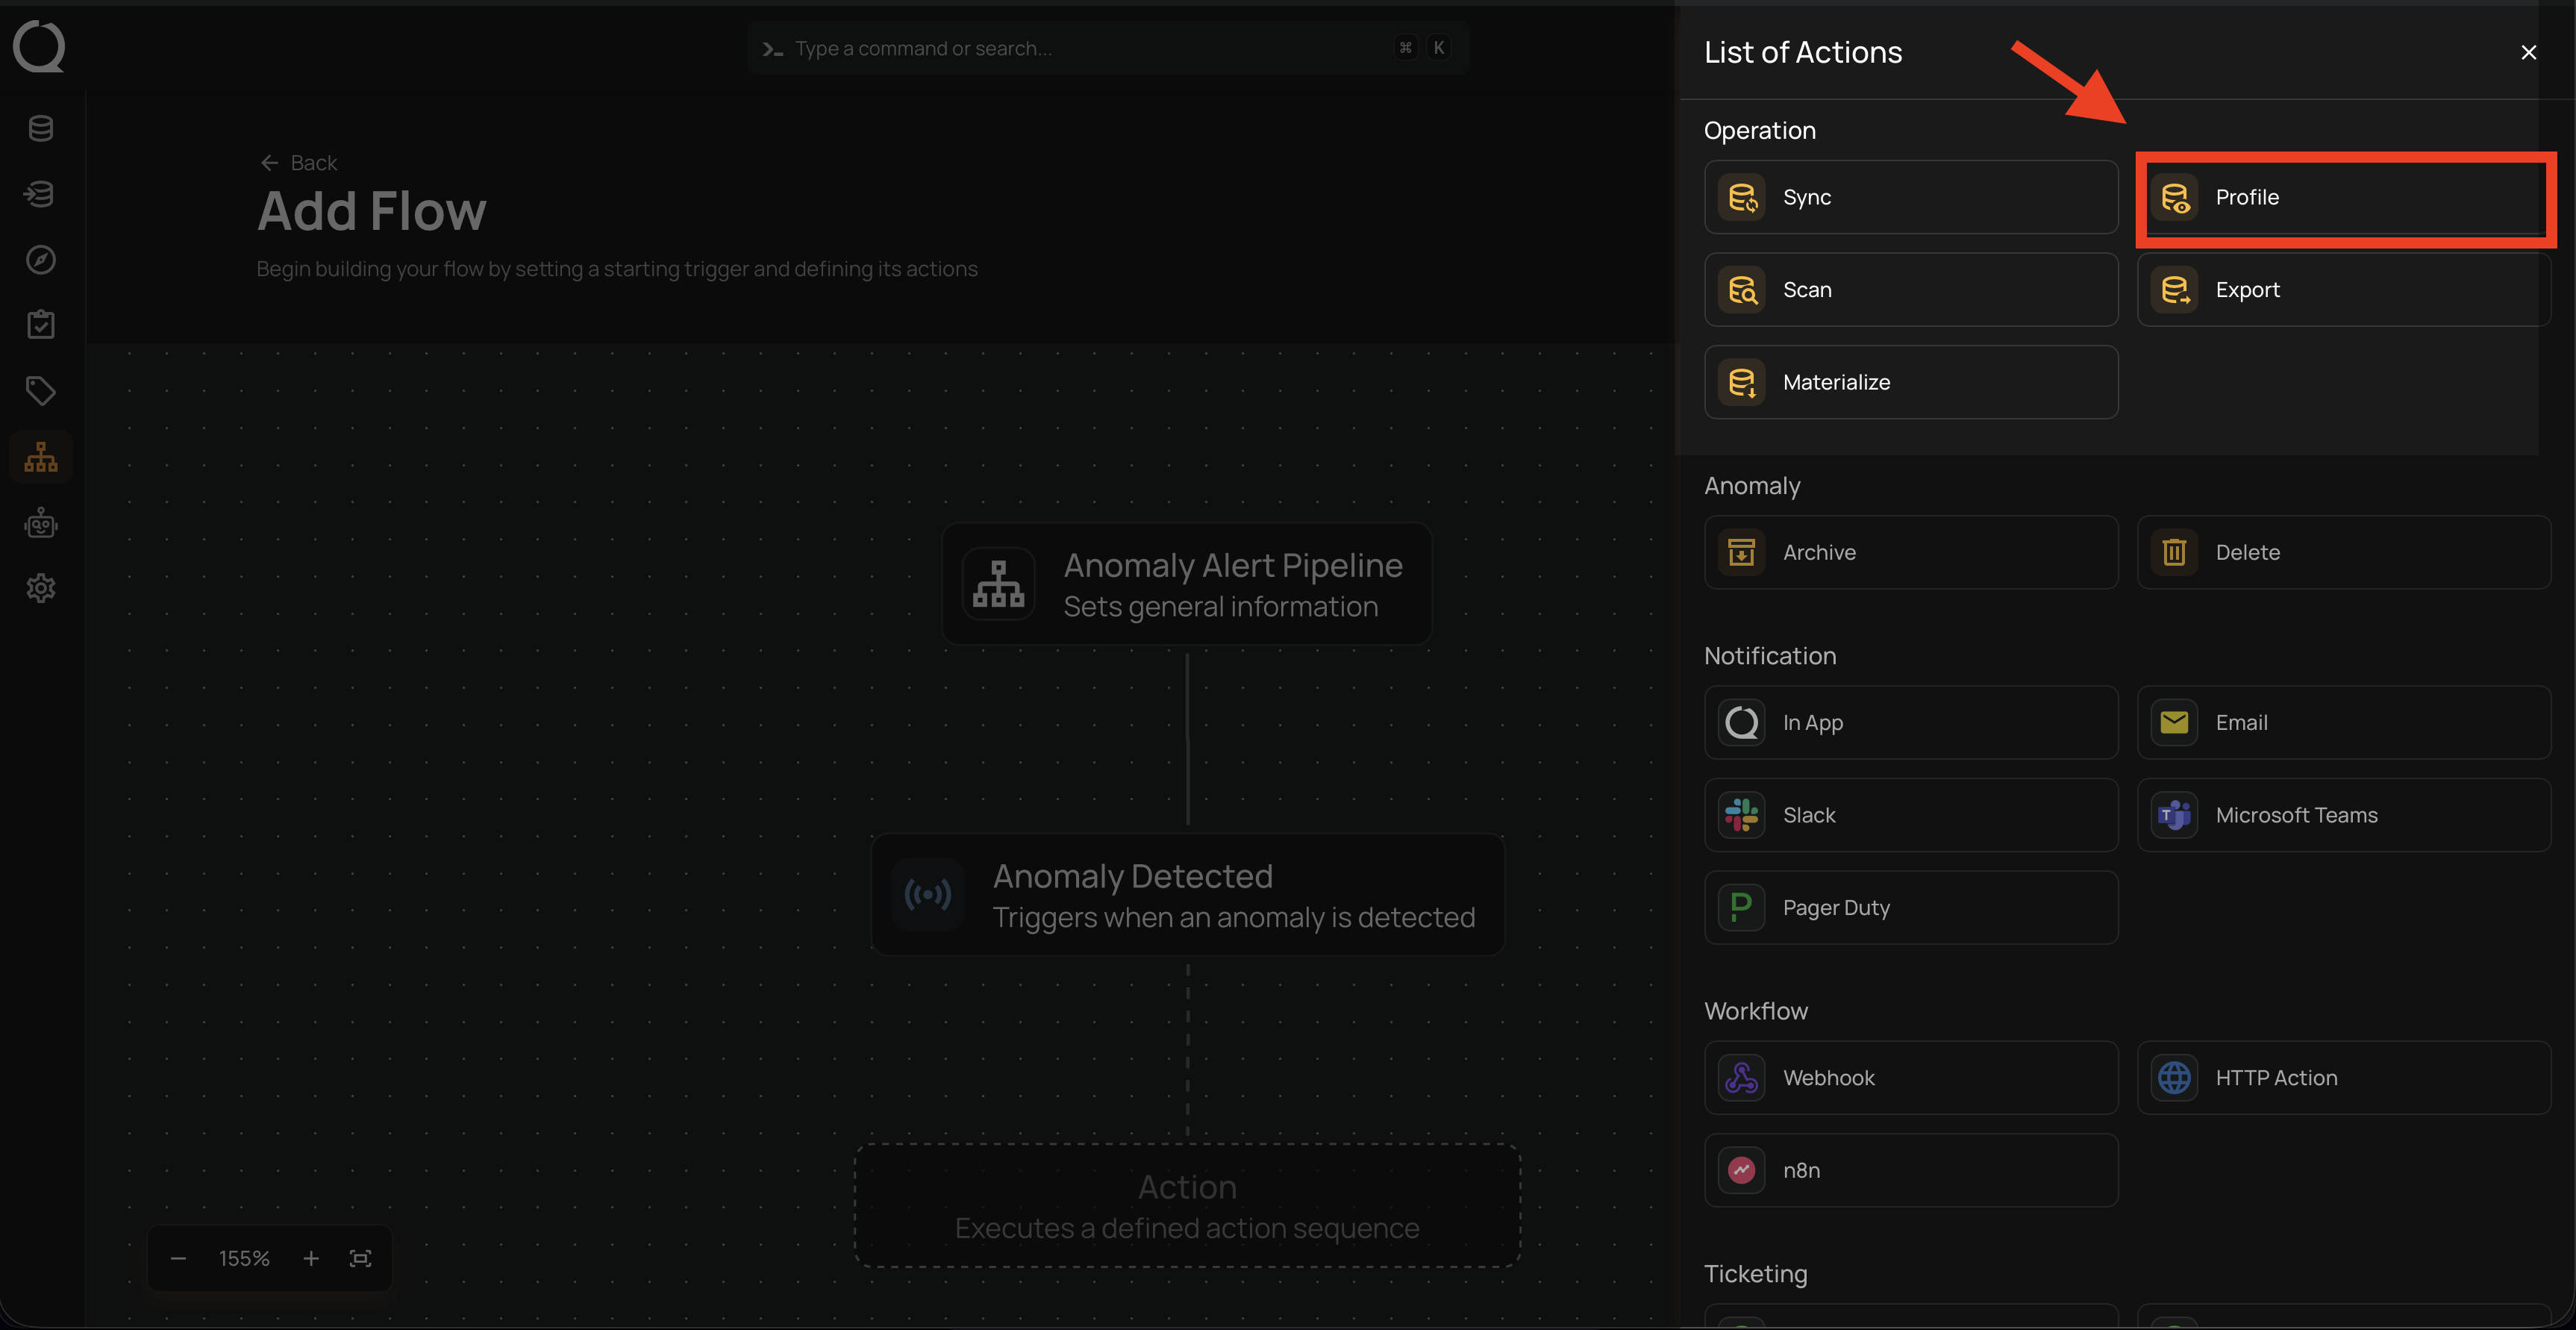
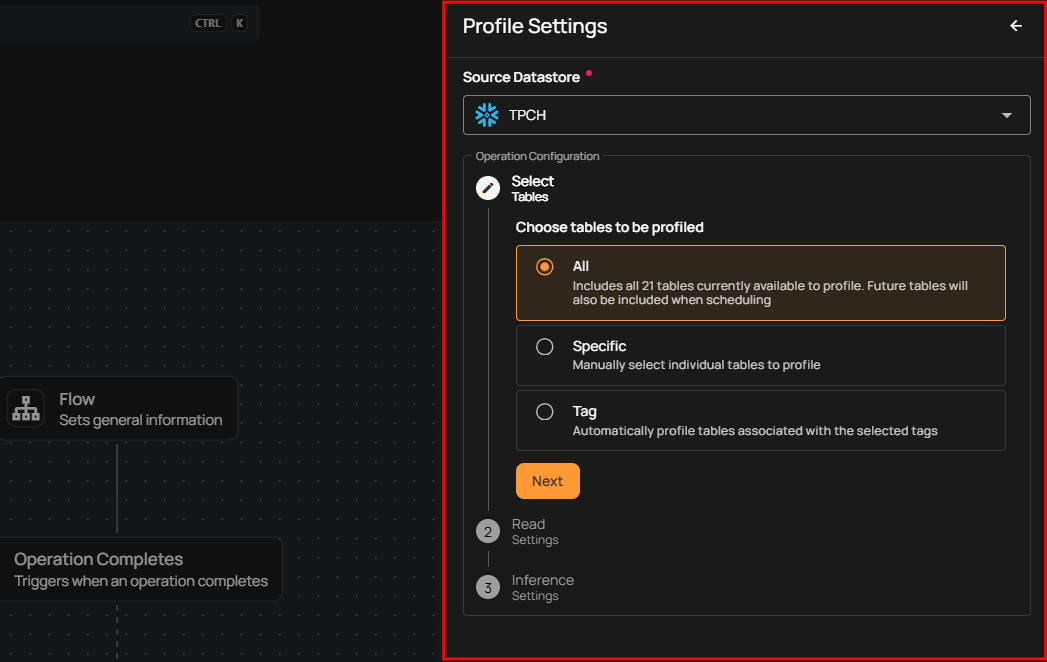
A panel Profile Settings will appear on the right-hand side. This window allows you to configure the Profile operation.
| No. | Field | Description |
|---|---|---|
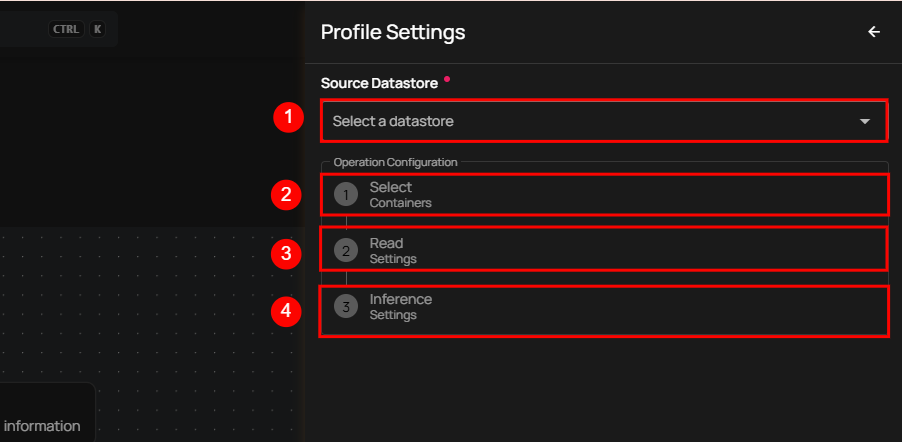
| 1. | Source Datastore | Select the source datastore to profile. |
| 2. | Select Tables | Allows users to select all tables, specific tables, or tables associated with selected tags to profile. |
| 3. | Read Settings | Configure the starting point for profiling and set a maximum record limit per table for profiling. |
| 4. | Inference Settings | Set the level of automated checks and decide whether inferred checks should be saved in draft mode. |
Step 2: Click Save to finalize the profile configuration.
Scan
Step 1: Click on Scan.
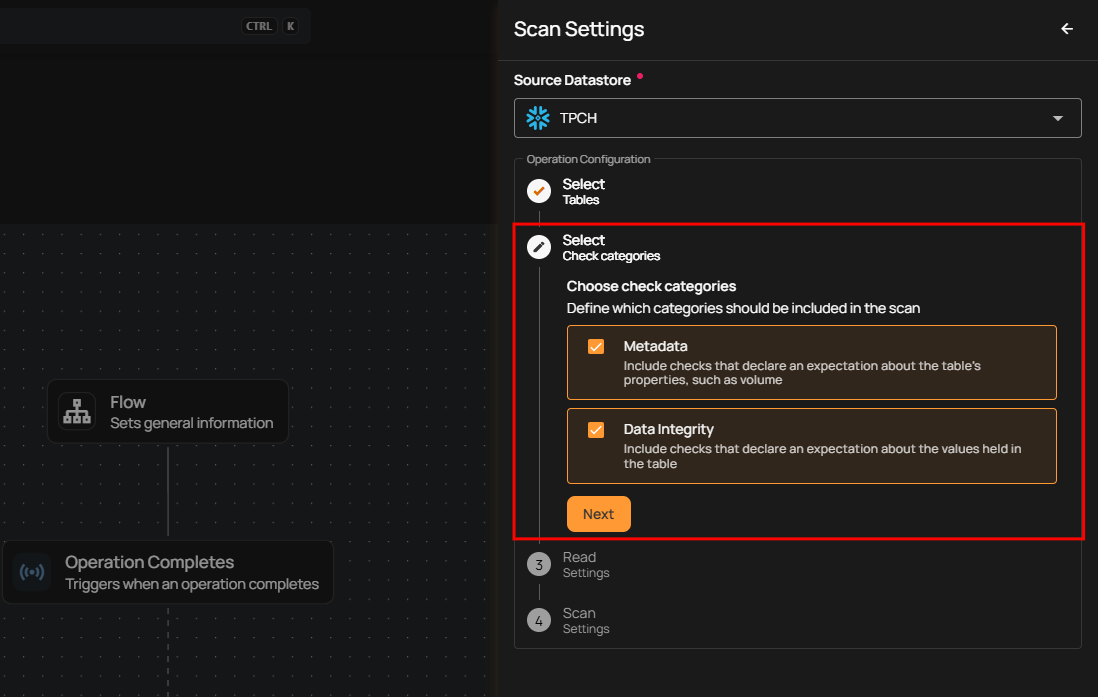
A panel Scan Settings will appear on the right-hand side. This window allows you to configure the Scan operation.
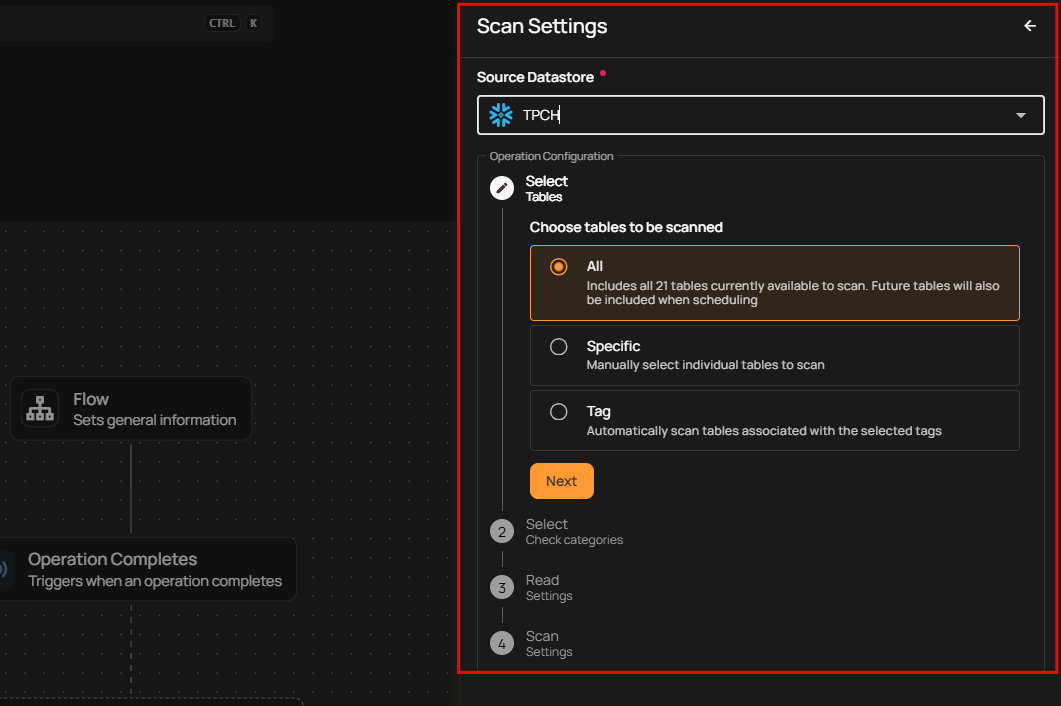
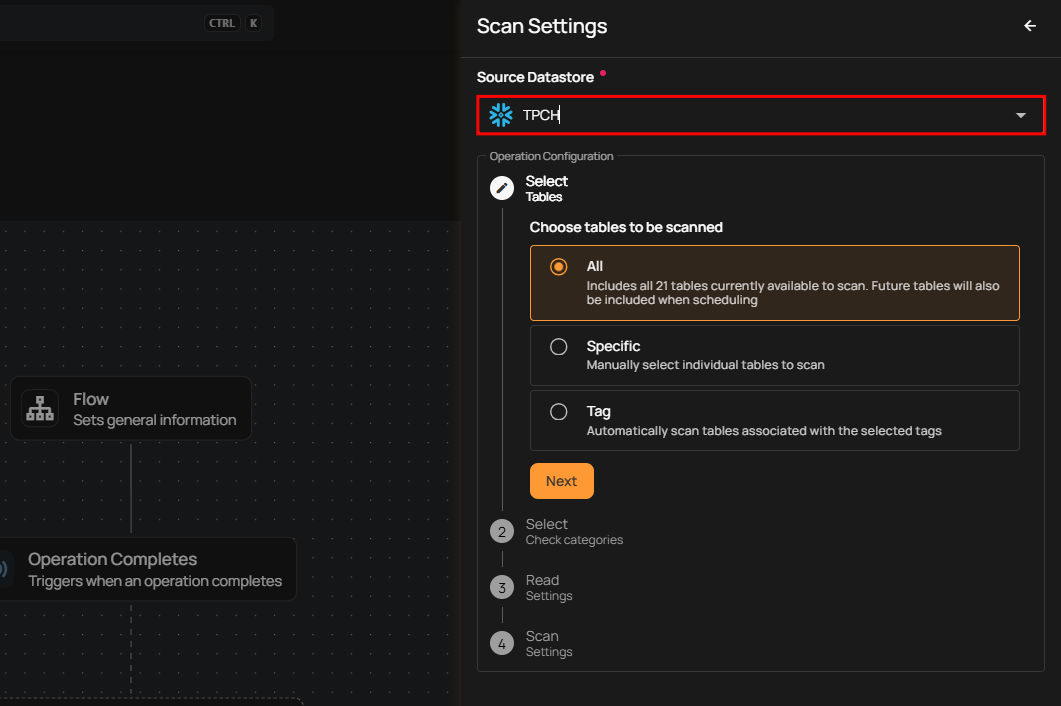
Source Datastore: Select the datastore to be scanned.
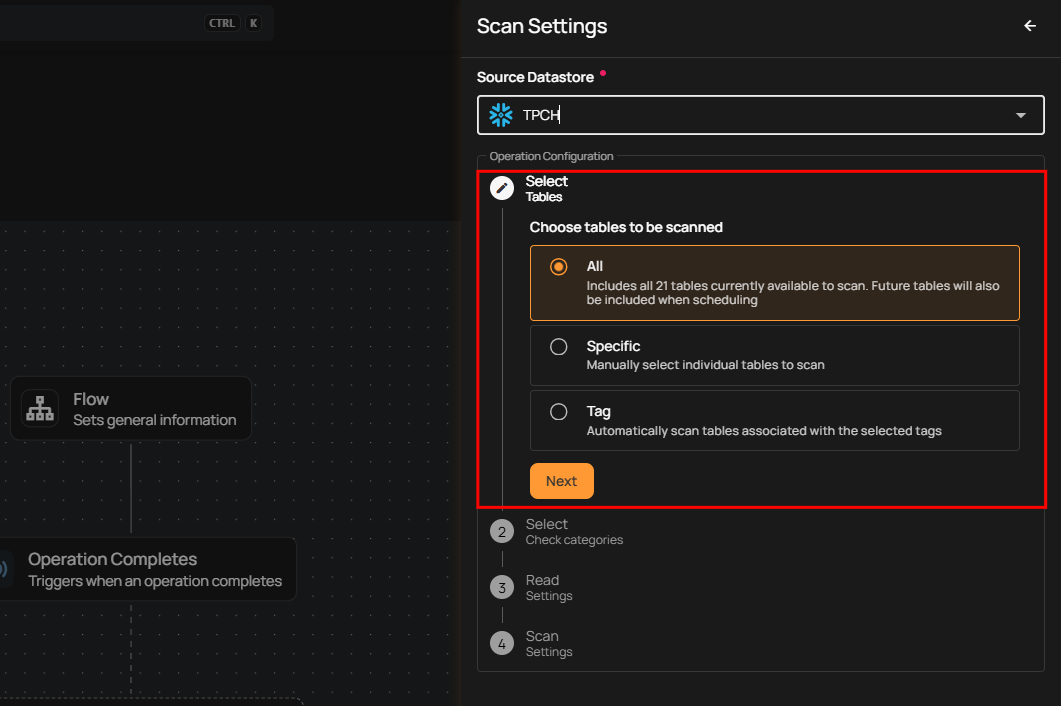
Select Tables: Choose all tables, specific tables, or tables associated with selected tags to include in the scan.
Select Check Categories: Select categories of checks to include, such as table properties (Metadata) or value checks (Data Integrity).
Read Settings: Define the scan strategy: incremental scans updated records; full scans process all records.
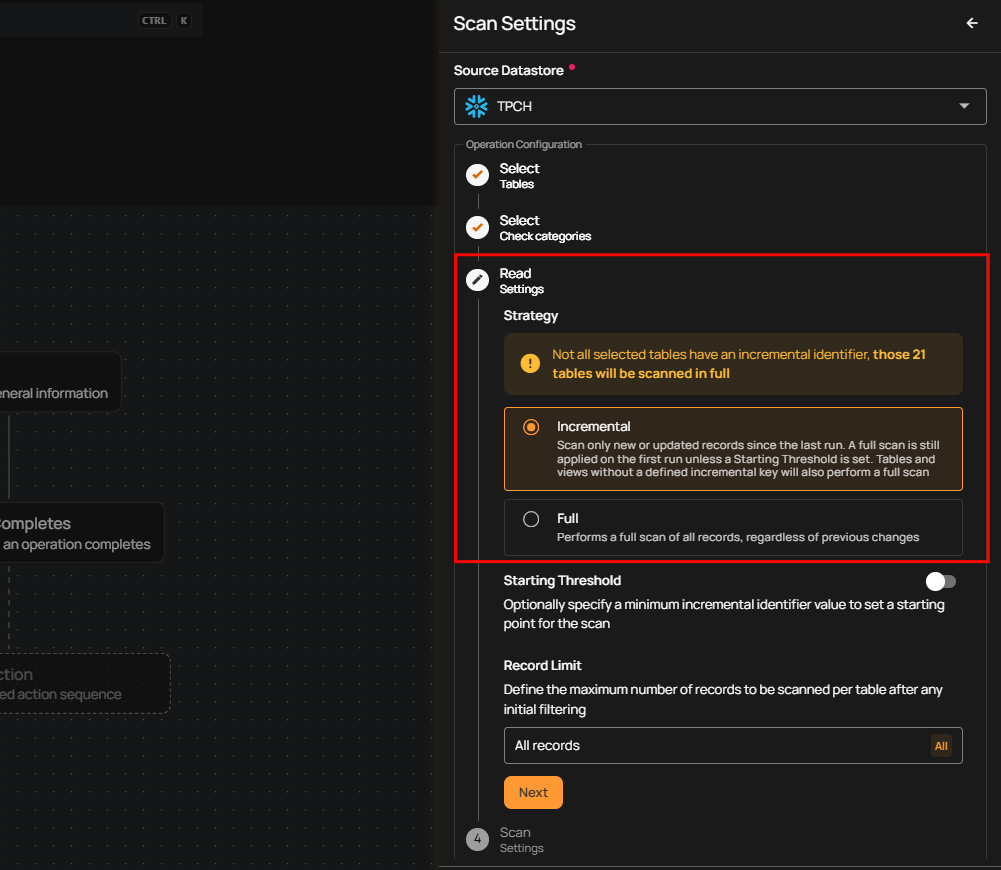
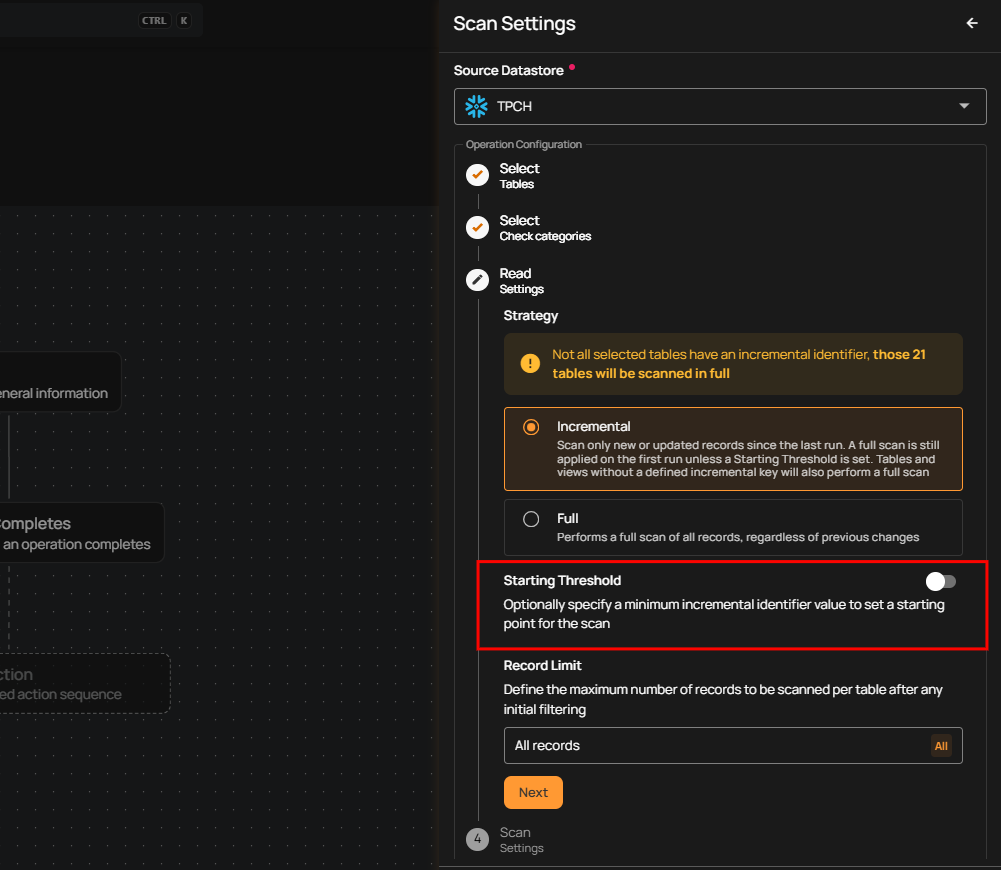
Starting Threshold: Set a starting point for scanning based on an incremental identifier.
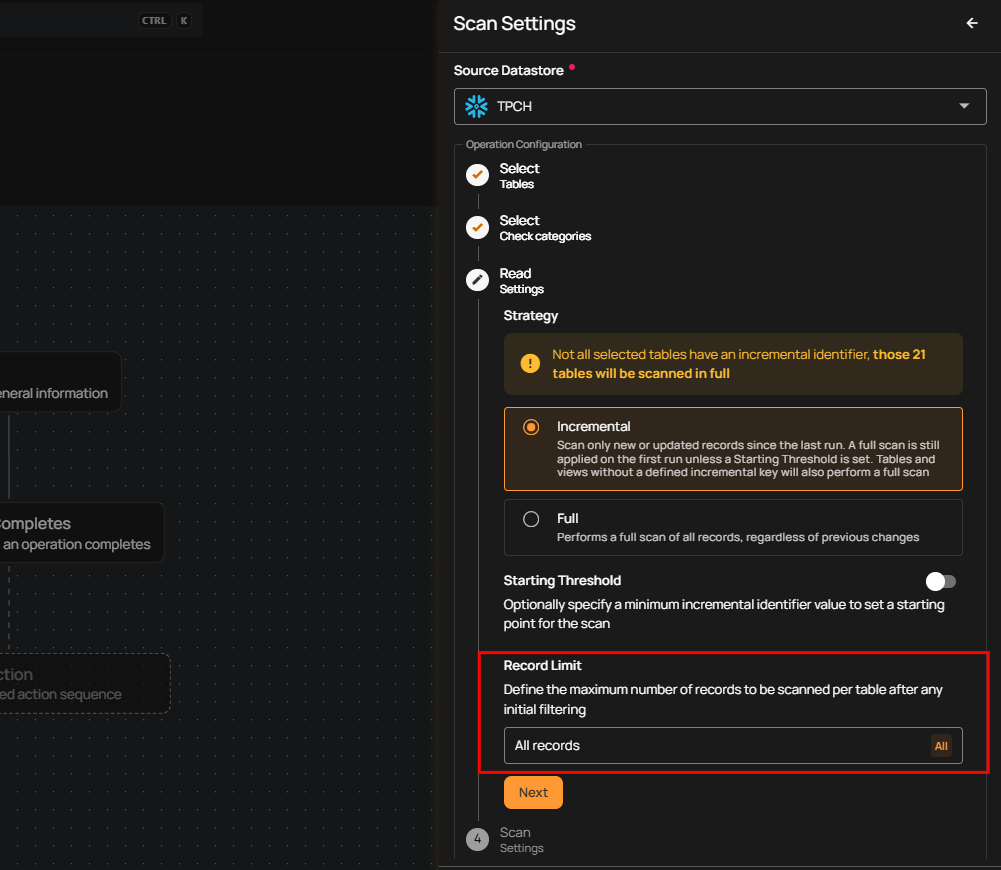
Record Limit: Specify the maximum number of records to scan per table.
Scan Settings: Choose how to manage duplicate or recurring anomalies by archiving overlaps or reactivating previously archived anomalies with fingerprint tracking.
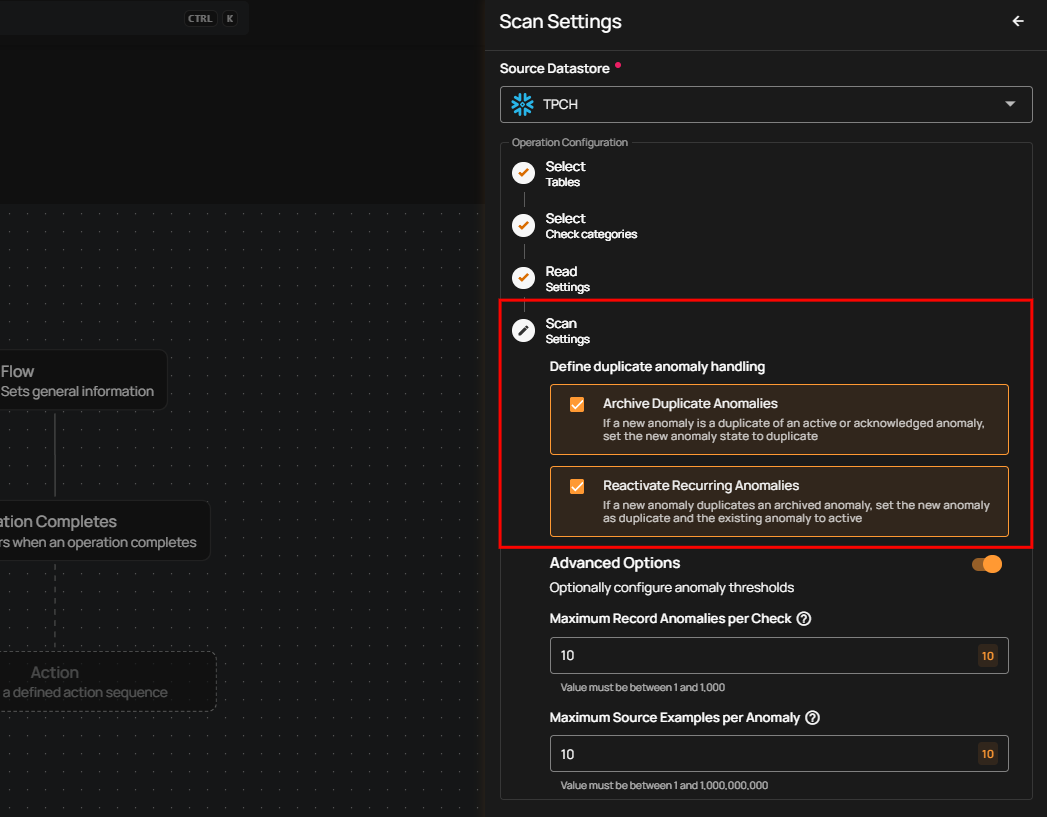
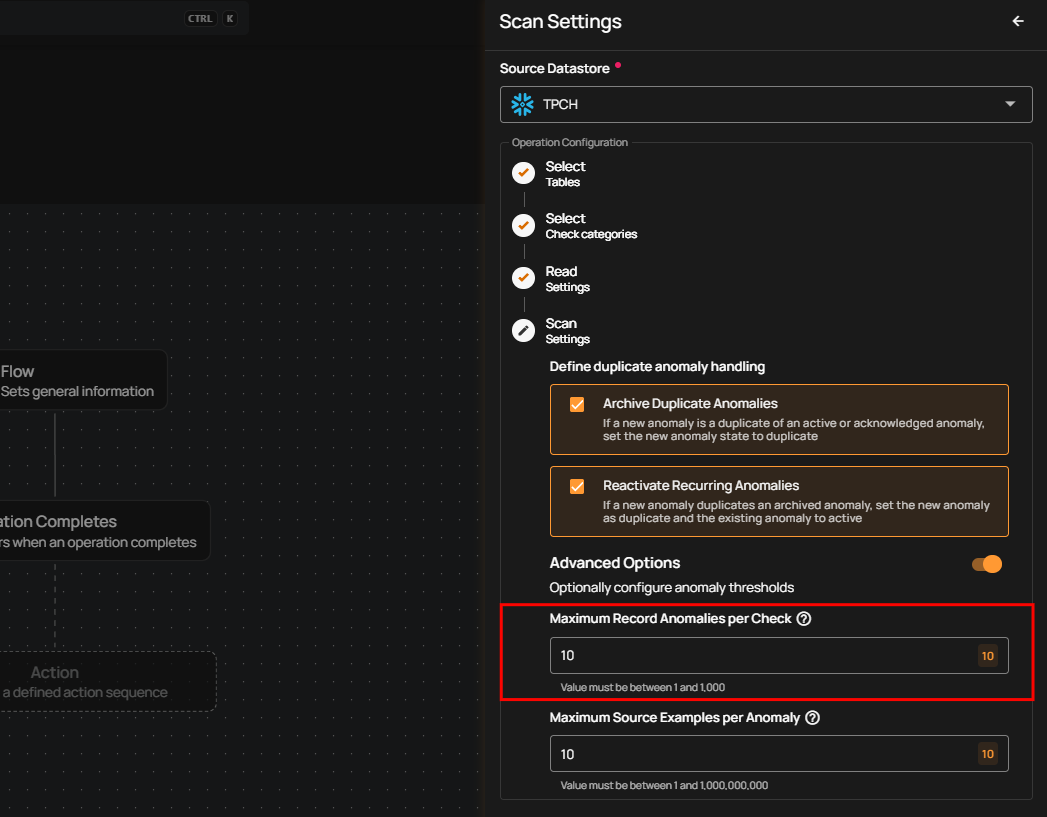
Maximum Record Anomalies per Check: Set the Rollup Threshold to limit how many anomalies are created per check. When the limit is reached, anomalies will be merged into one for easier management.
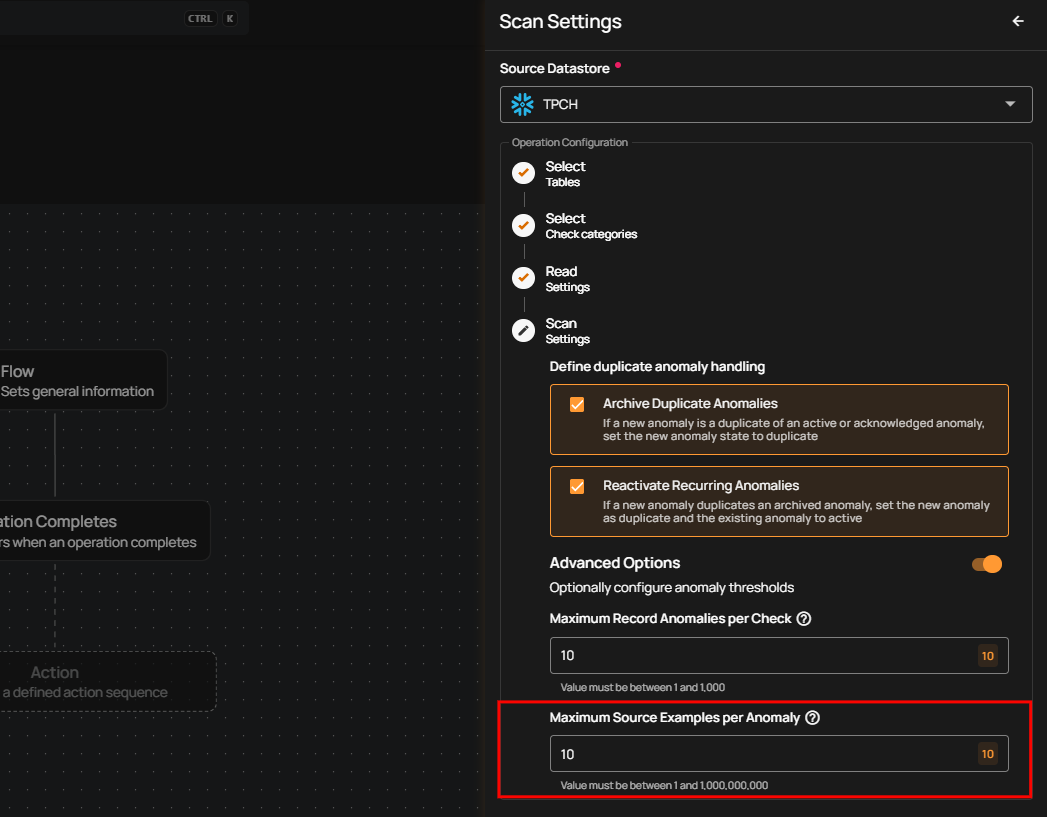
Maximum Source Examples per Anomaly: Sets how many source records are kept per anomaly during a scan. For example, if this is set to 10, only 10 records per anomaly will be saved or downloaded. Increase this value before running the scan to access more records.
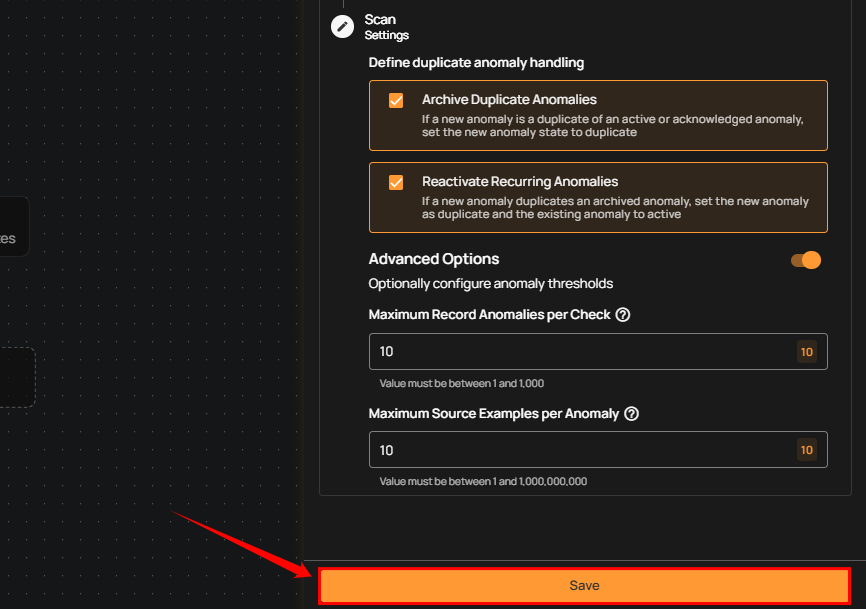
Step 2: Click Save to finalize the scan configuration.
Export
Step 1: Click on Export.
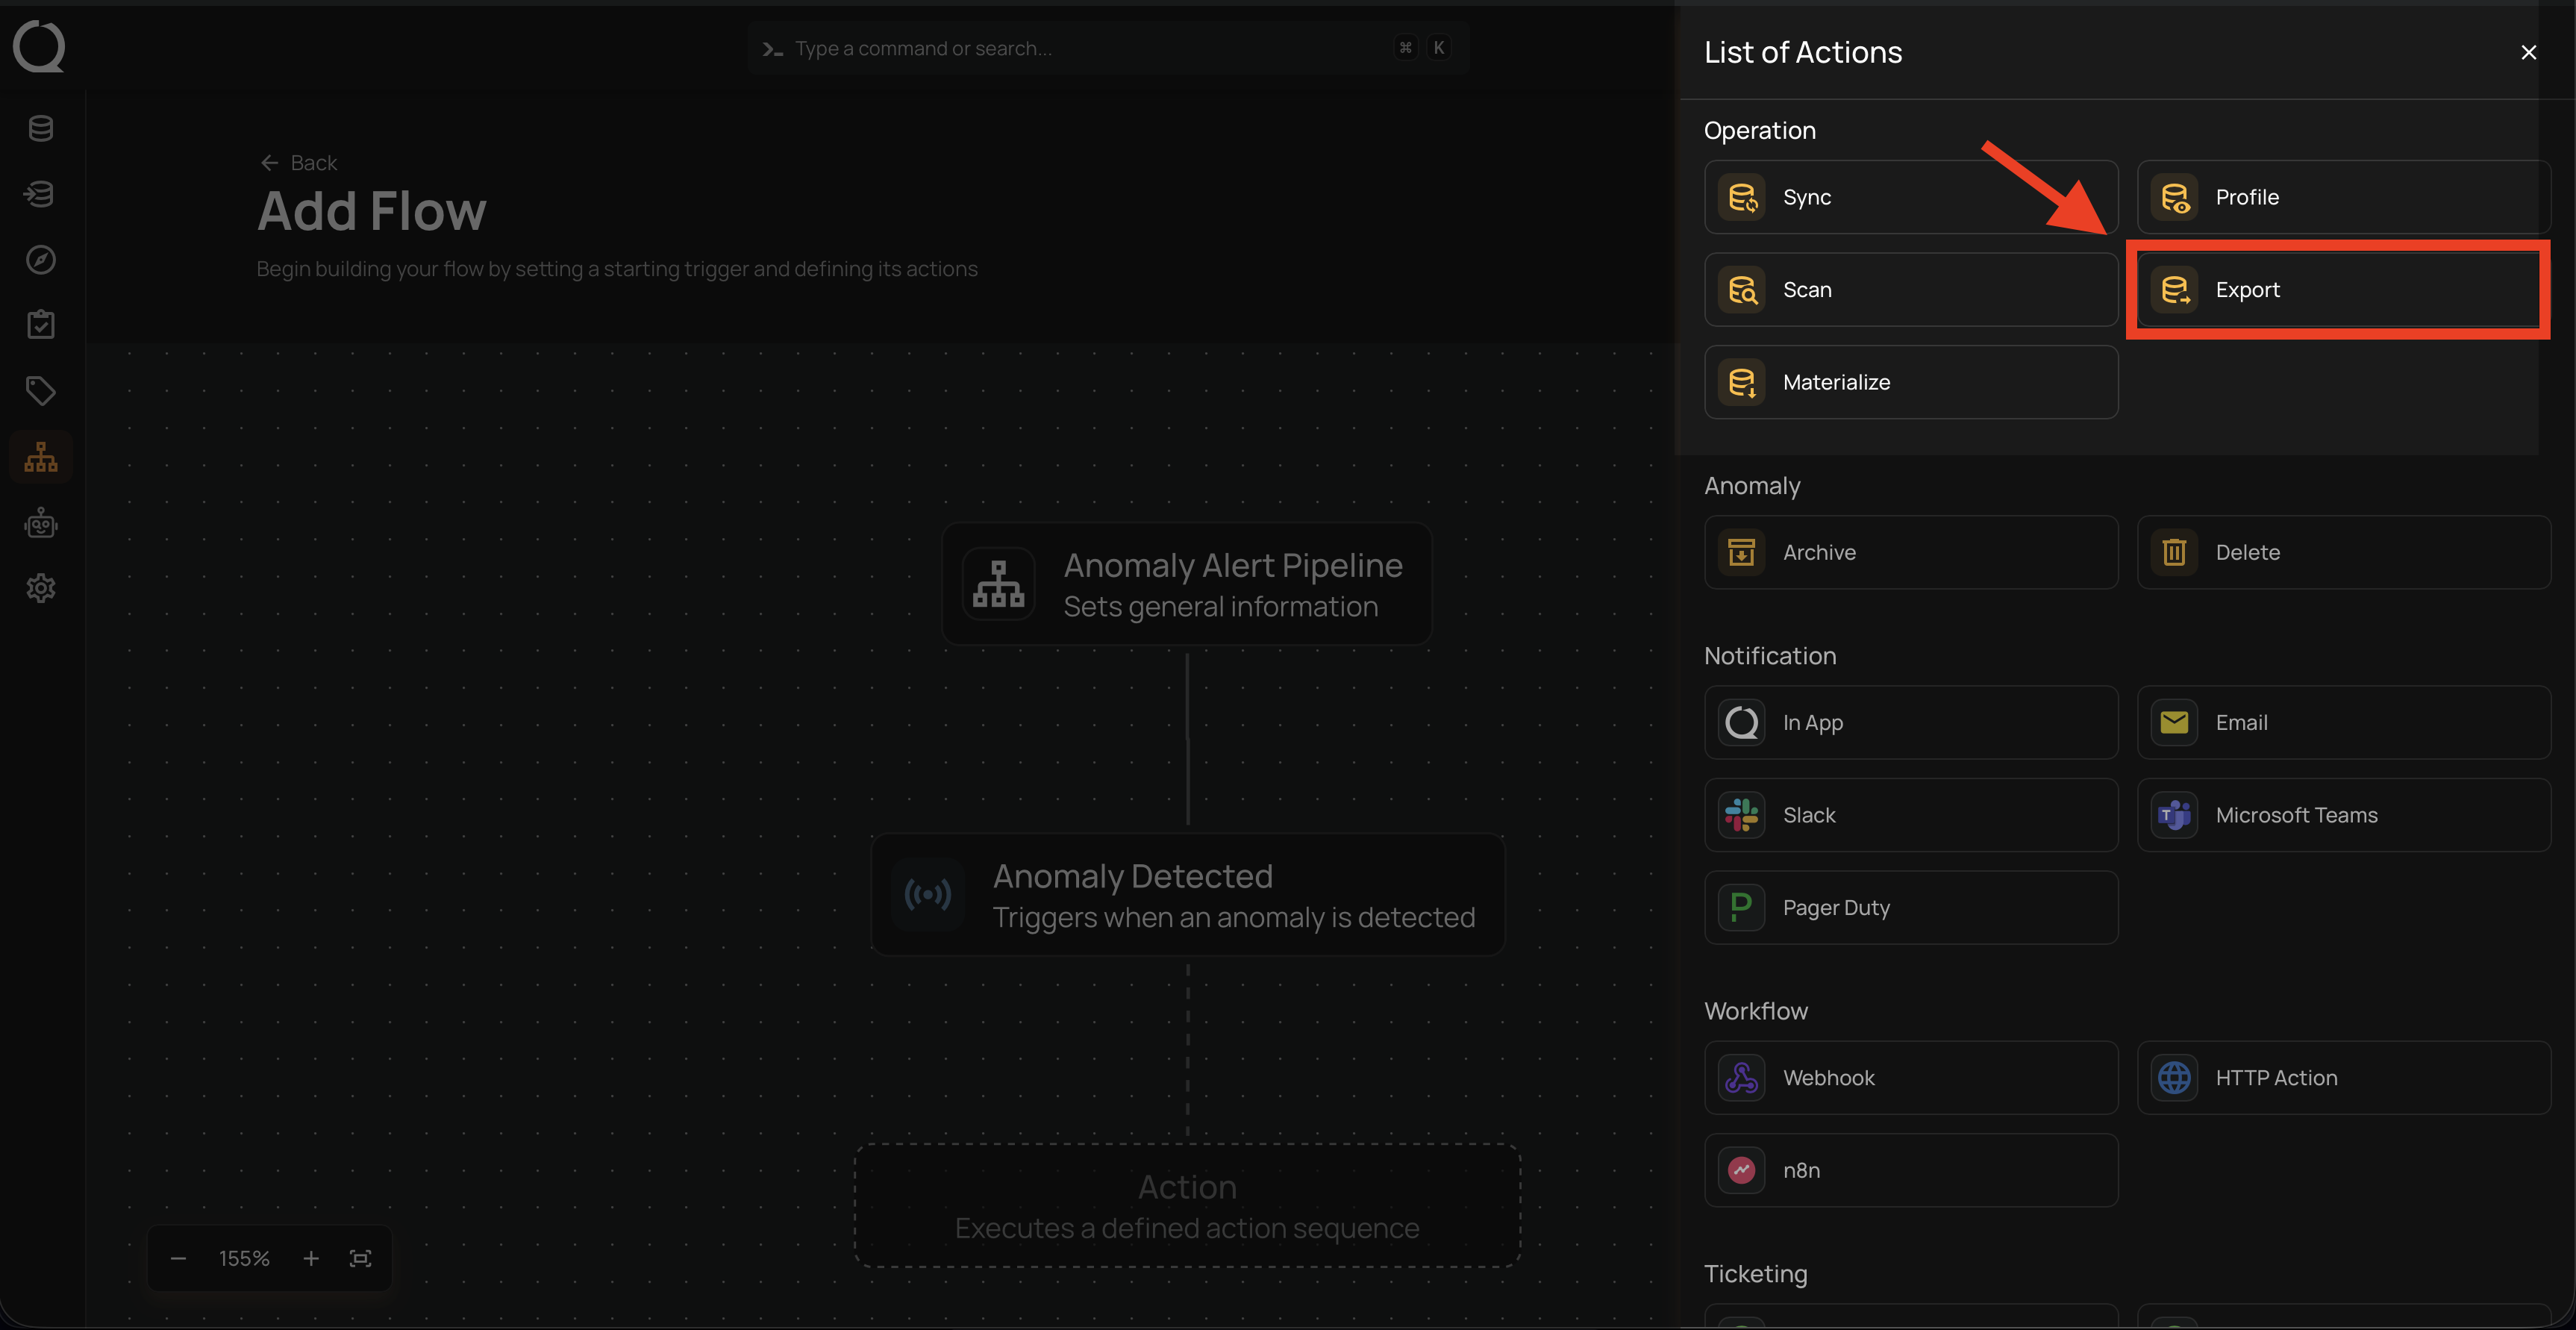
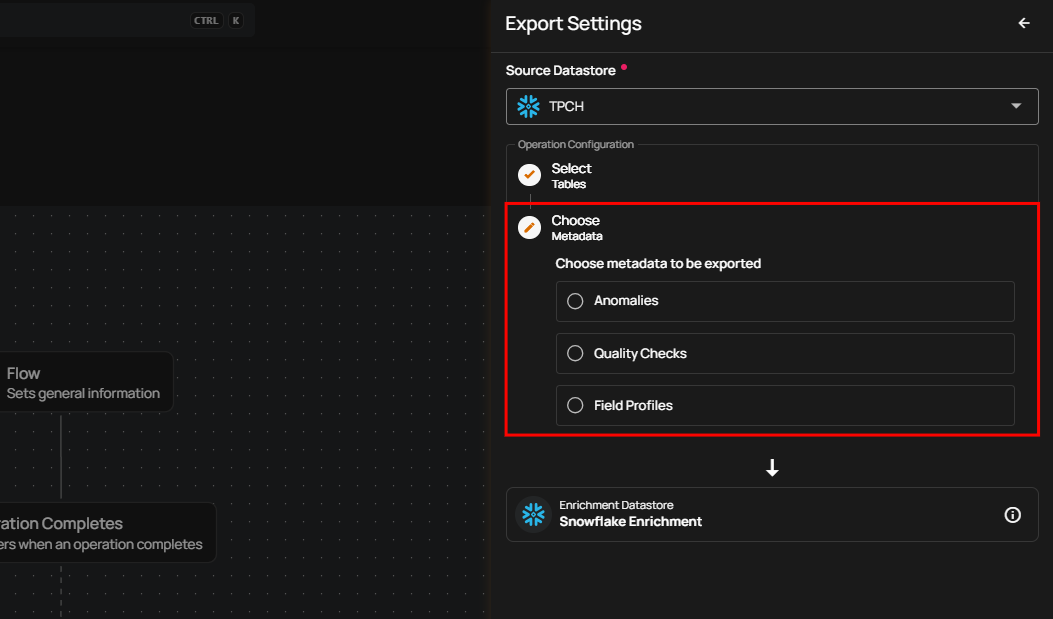
A panel Export Settings will appear on the right-hand side. This window allows you to configure the Export settings.
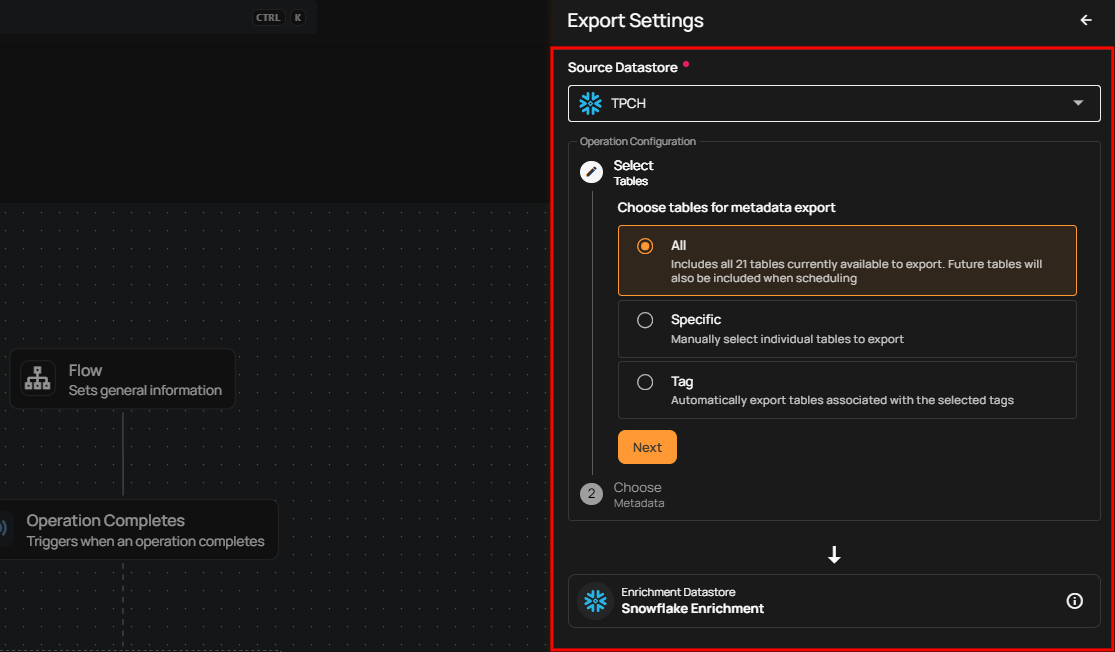
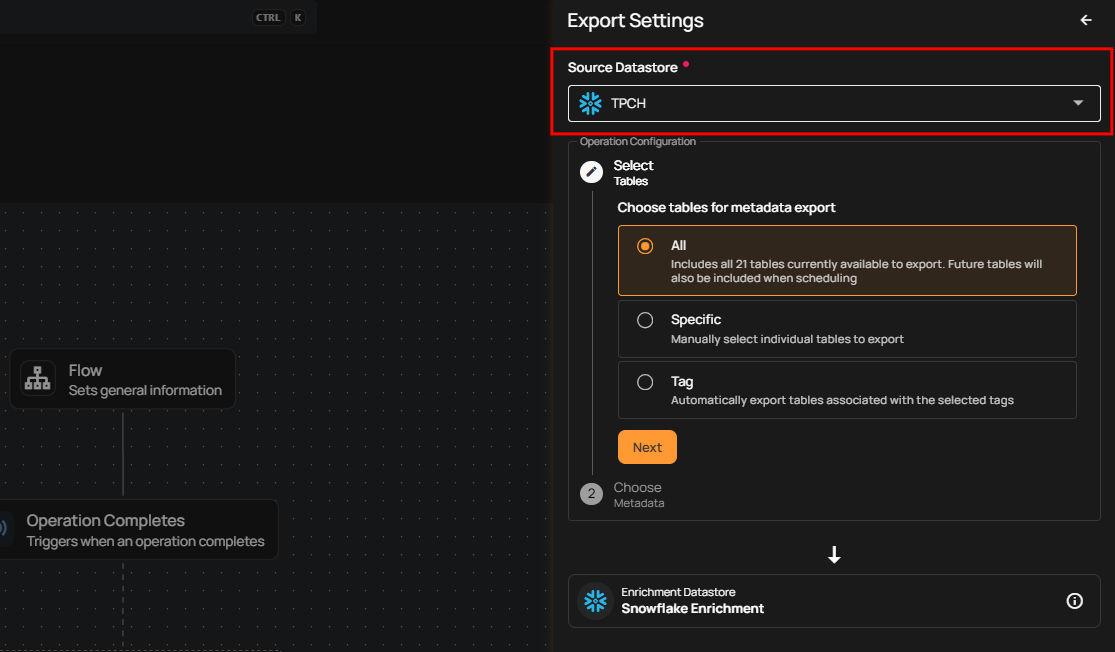
Source Datastore: Select the datastore to export data from.
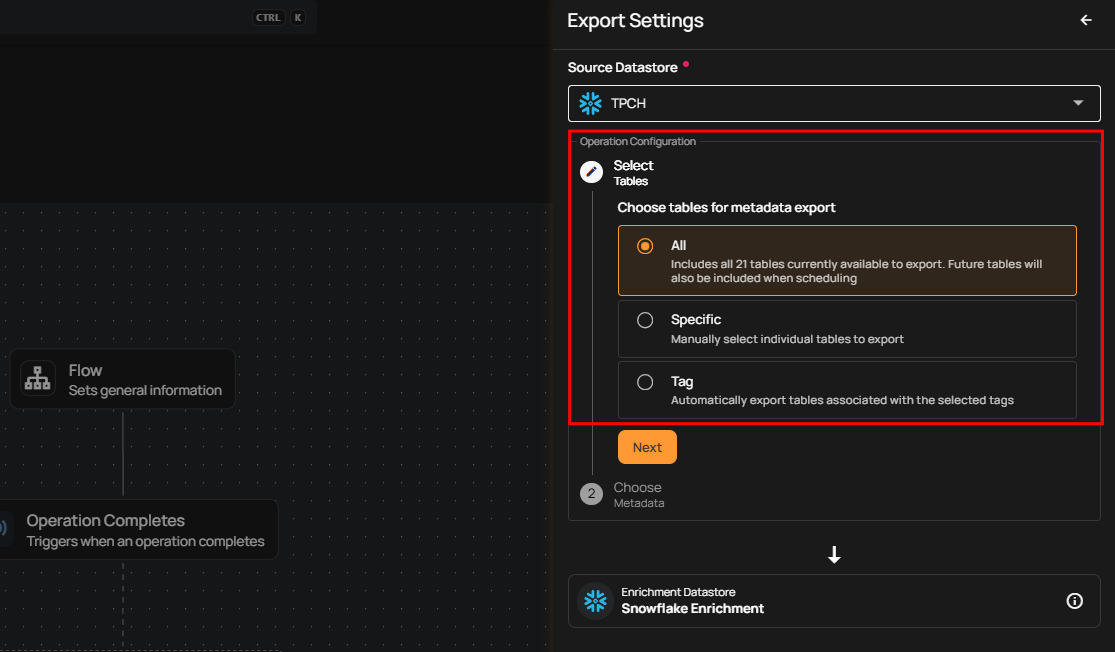
Select file patterns to export: All (all file patterns, including future ones), Specific (manually chosen file patterns), or Tag (file patterns based on selected tags).
Select Metadata: Choose metadata to export anomalies, quality checks, or field profiles. Anomalies detect data issues, quality checks validate data, and field profiles store field metadata.
Step 2: Click Save to finalize the export configuration.
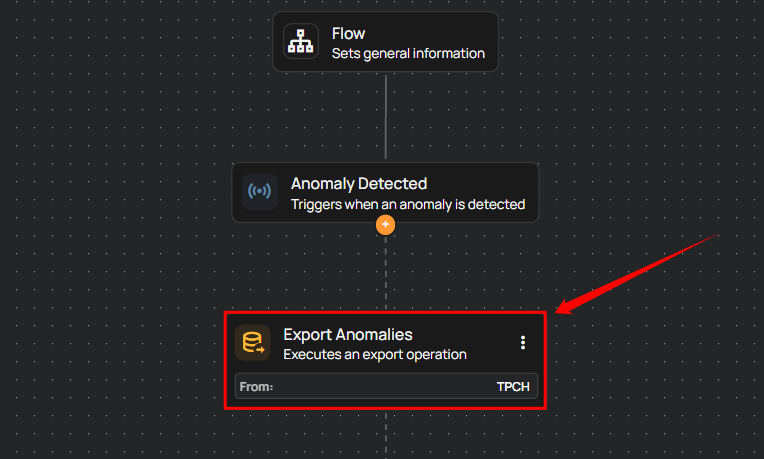
Export nodes display the asset type in their titles (e.g., “Export Anomalies”) to help you identify the exported content easily.
Materialize
Step 1: Click on Materialize.
A panel Materialize Settings will appear on the right-hand side. This window allows you to configure the Materialize settings.
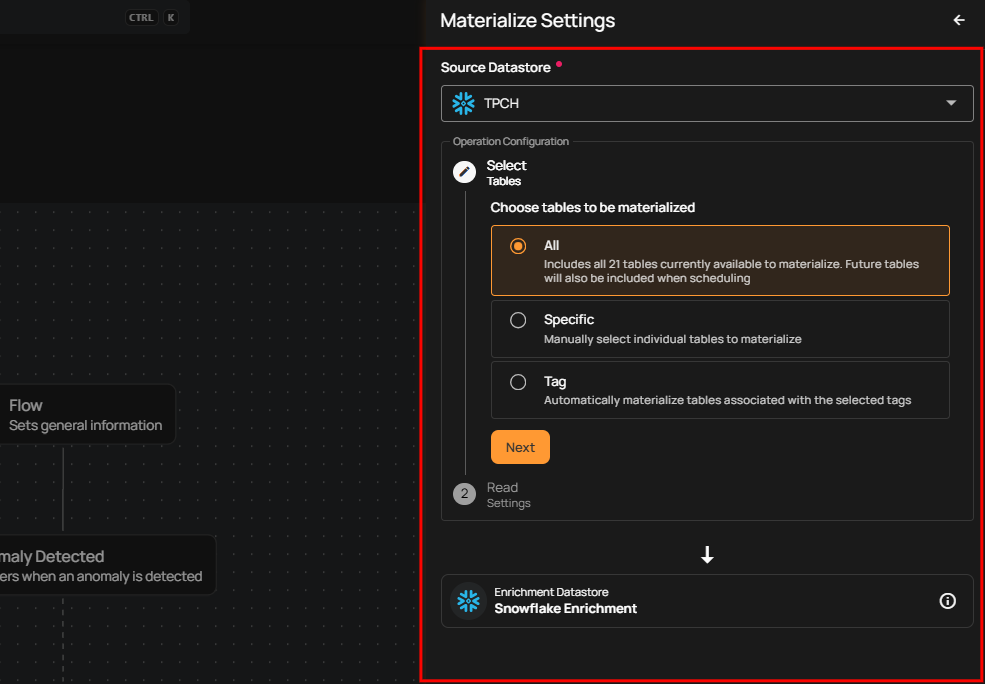
Source Datastore: Select the datastore to materialize data from.
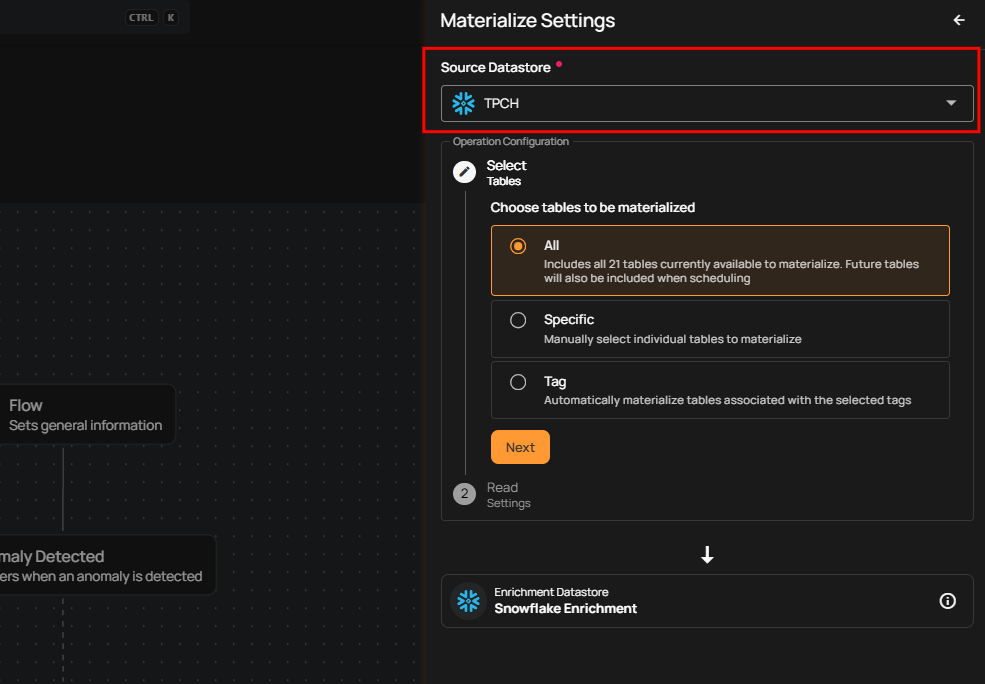
Select Tables: Choose which tables (all, specific, or tagged) to extract from your source datastore and export to the enrichment datastore.

Read Settings: Select the record limit to control how much data is materialized per table.

Step 2: Click Save to finalize the materialize configuration.