Authored Check
Authored checks are manually created by users within the Qualytics platform or API. You can author many types of checks, ranging from simple templates for common checks to complex rules using Spark SQL and User-Defined Functions (UDF) in Scala.
Let's get started 🚀
Navigation
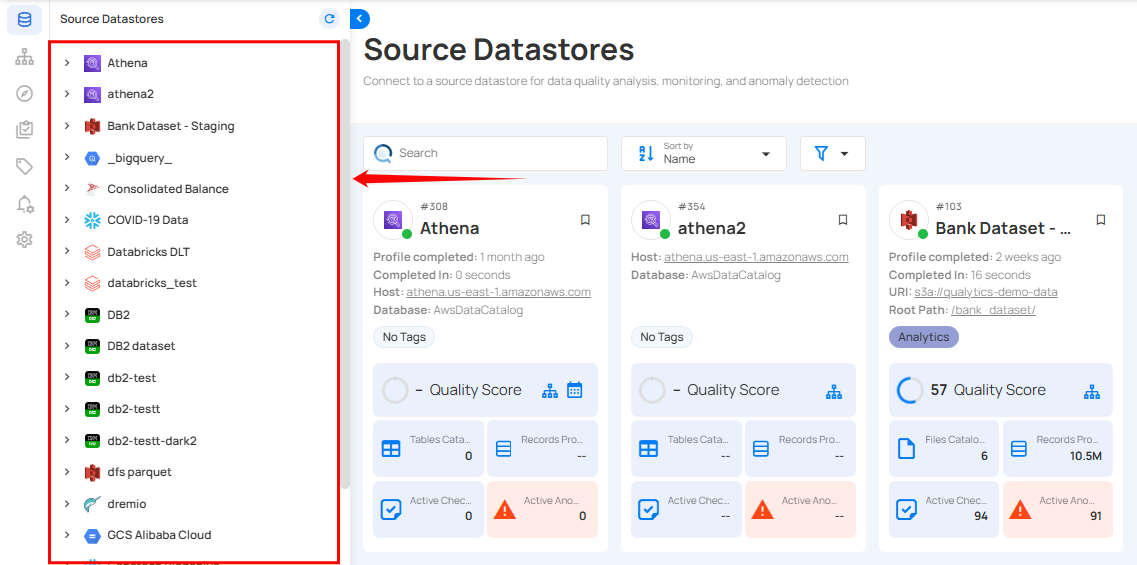
Step 1: Log in to your Qualytics account and select the datastore from the left menu.
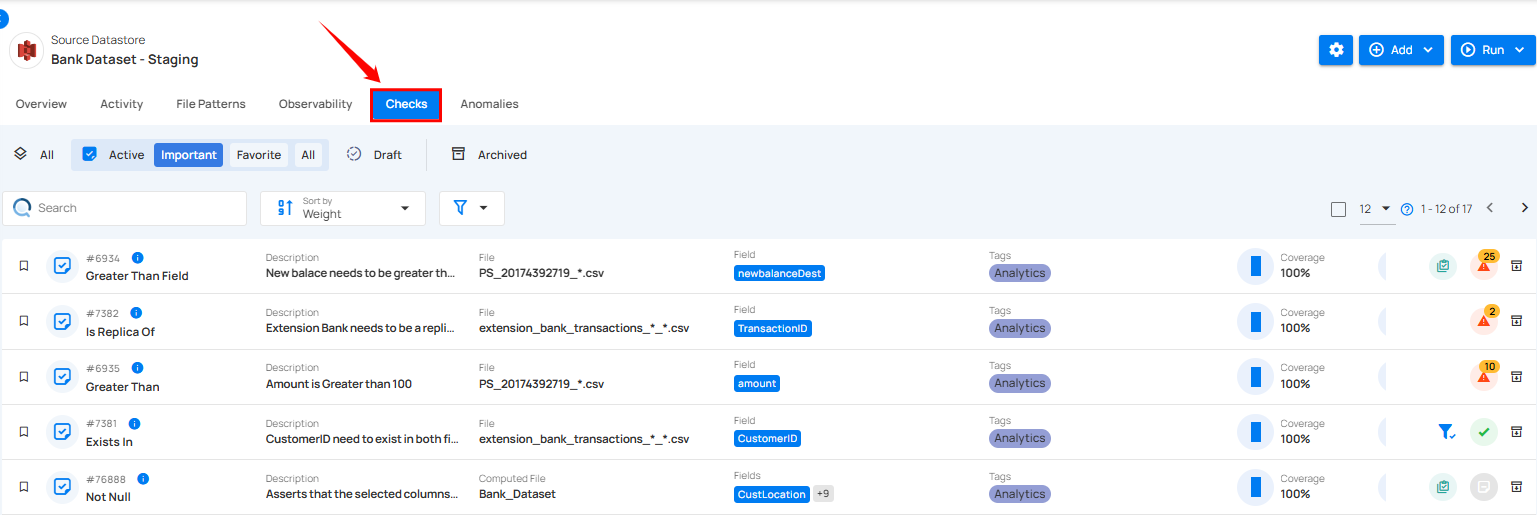
Step 2: Click on the "Checks" from the Navigation Tab.
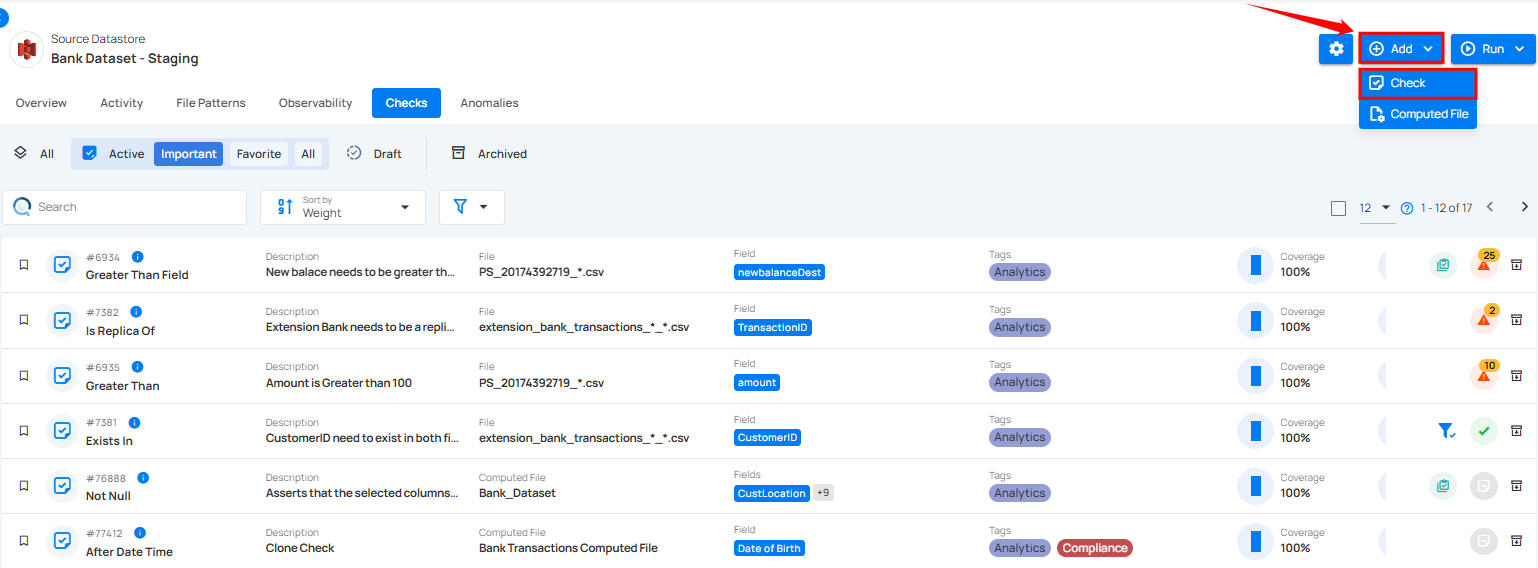
Step 3: In the top-right corner, click on the "Add" button, then select "Check" from the dropdown menu.
A modal window titled “Authored Check Details” will appear, providing you the options to add the authored check details.
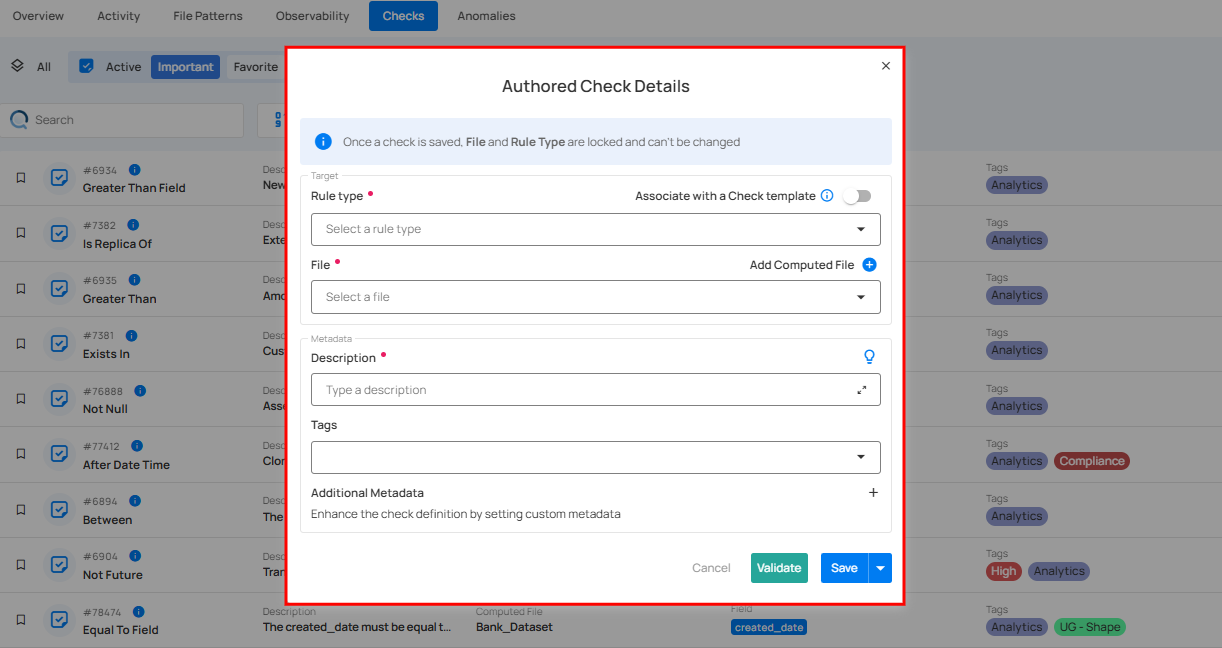
Step 4: Enter the following details to add the authored check:
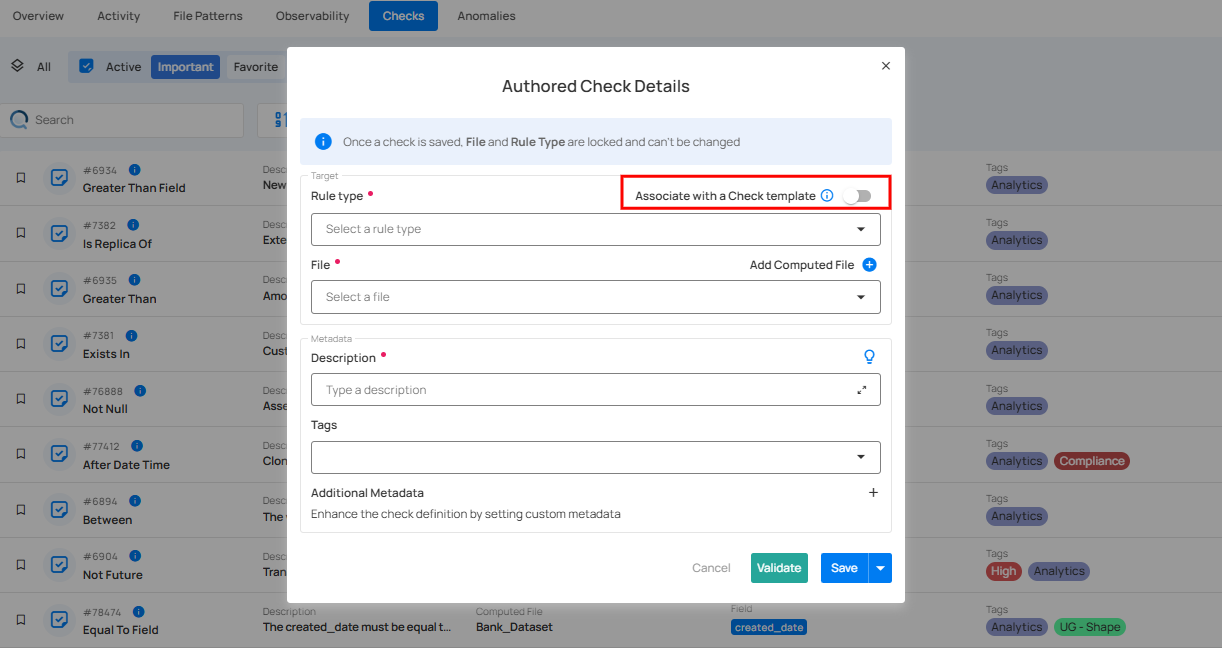
1. Associate with a Check Template:
-
If you toggle ON the "Associate with a Check Template" option, the check will be linked to a specific template.
-
If you toggle OFF the "Associate with a Check Template" option, the check will not be linked to any template, which allows you full control to modify the properties independently.
2. Rule Type (Required): Select a Rule from the dropdown menu, such as checking for non-null values, matching patterns, comparing numerical values, or verifying date-time constraints. Each rule type defines the specific validation logic to be applied.
For demonstration purposes we have selected the After Date Time rule type.
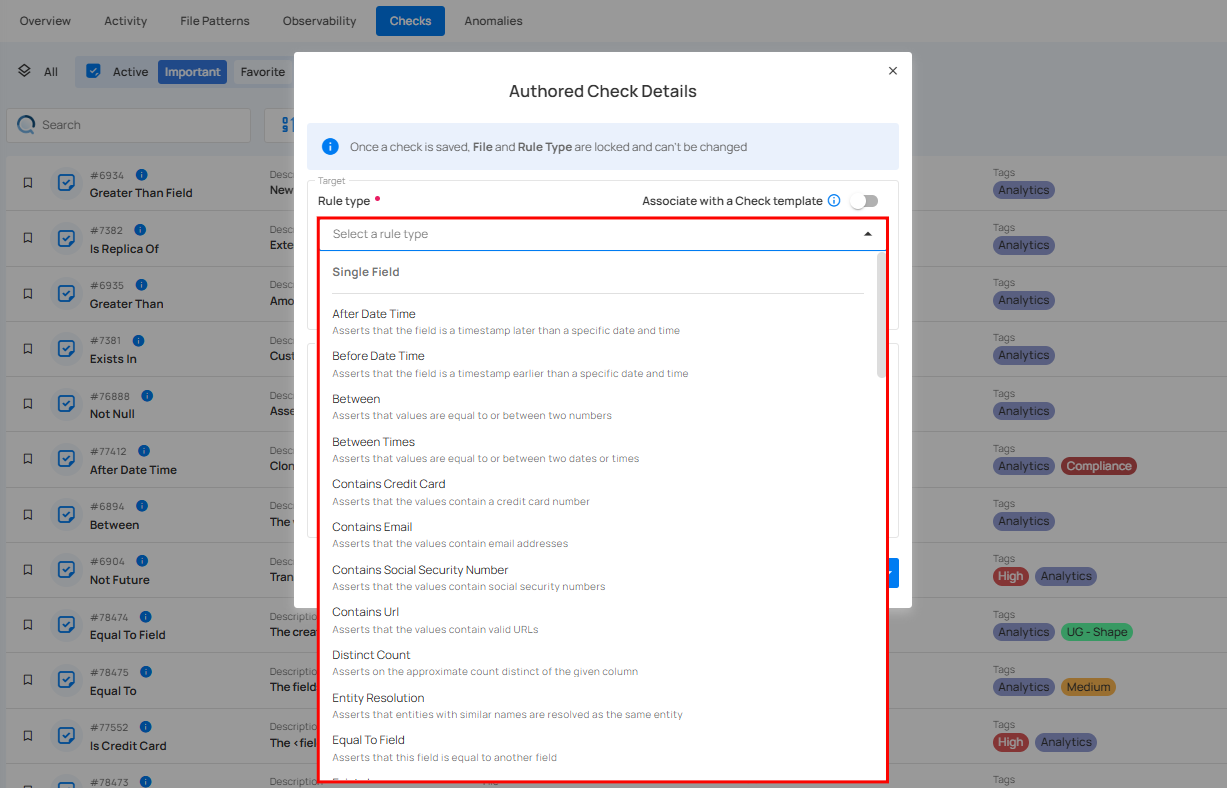
For more details about the available rule types, refer to the Rule Types Overview documentation.
Note
Different rule types have different sets of fields and options appearing when selected.
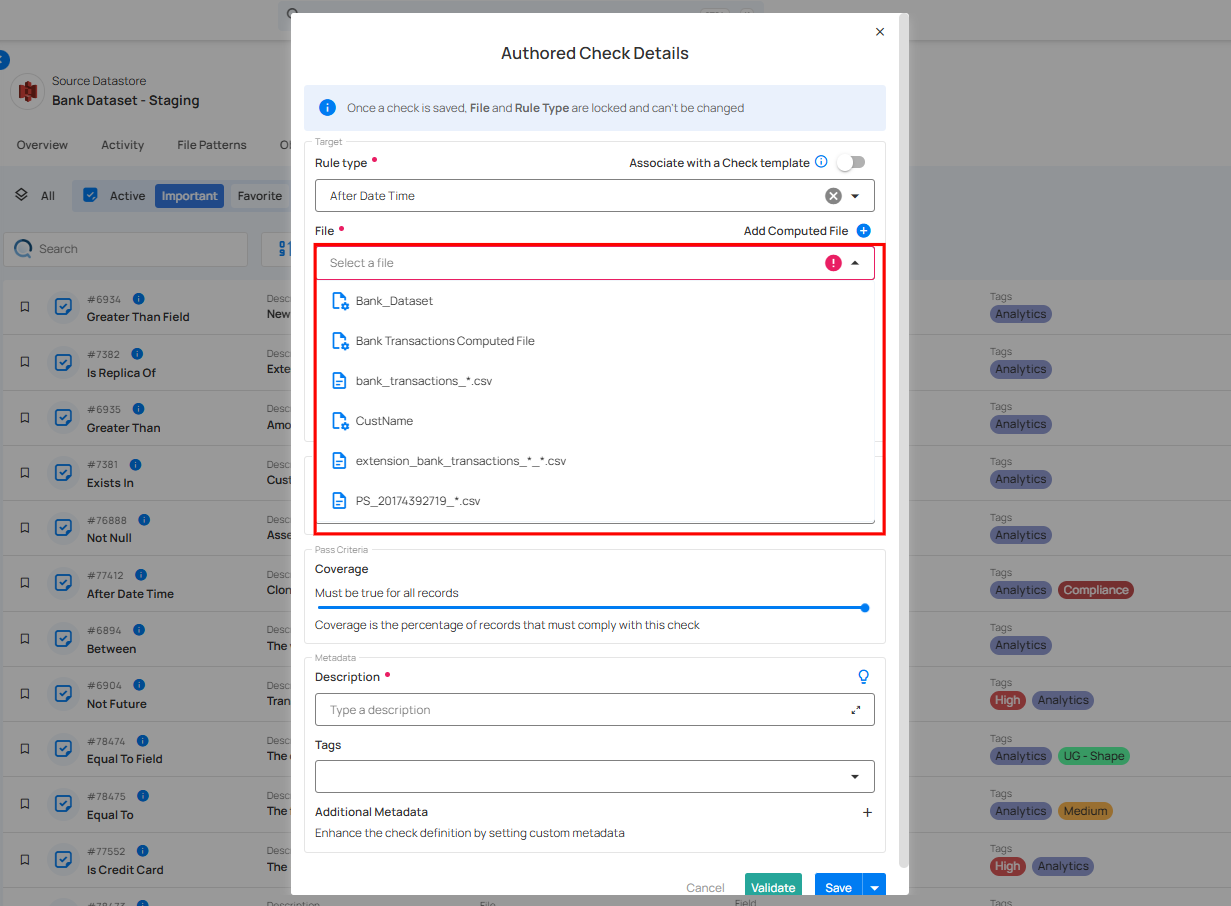
3. File (Required): Select a file from the dropdown menu on which the check will be performed.
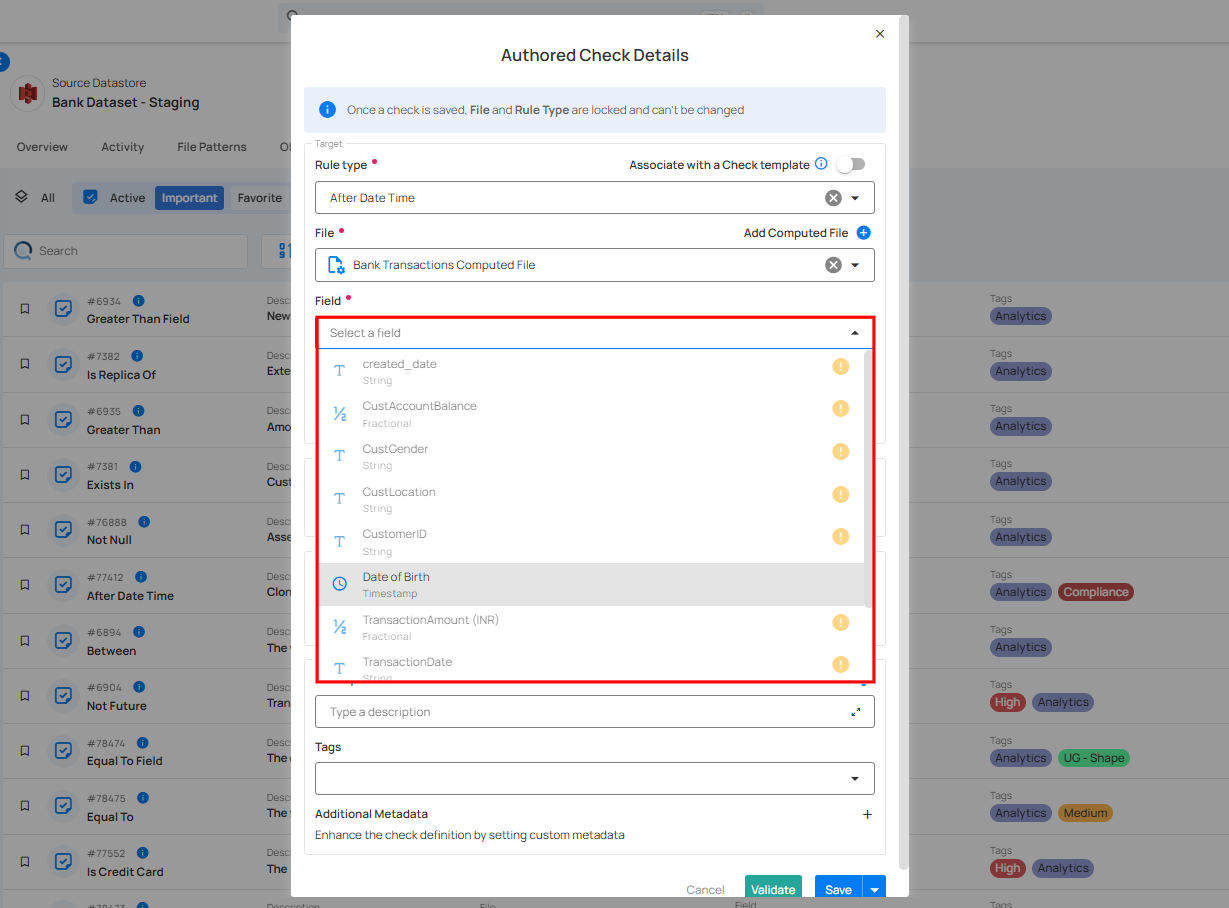
4. Field (Required): Select a field from the dropdown menu on which the check will be performed.
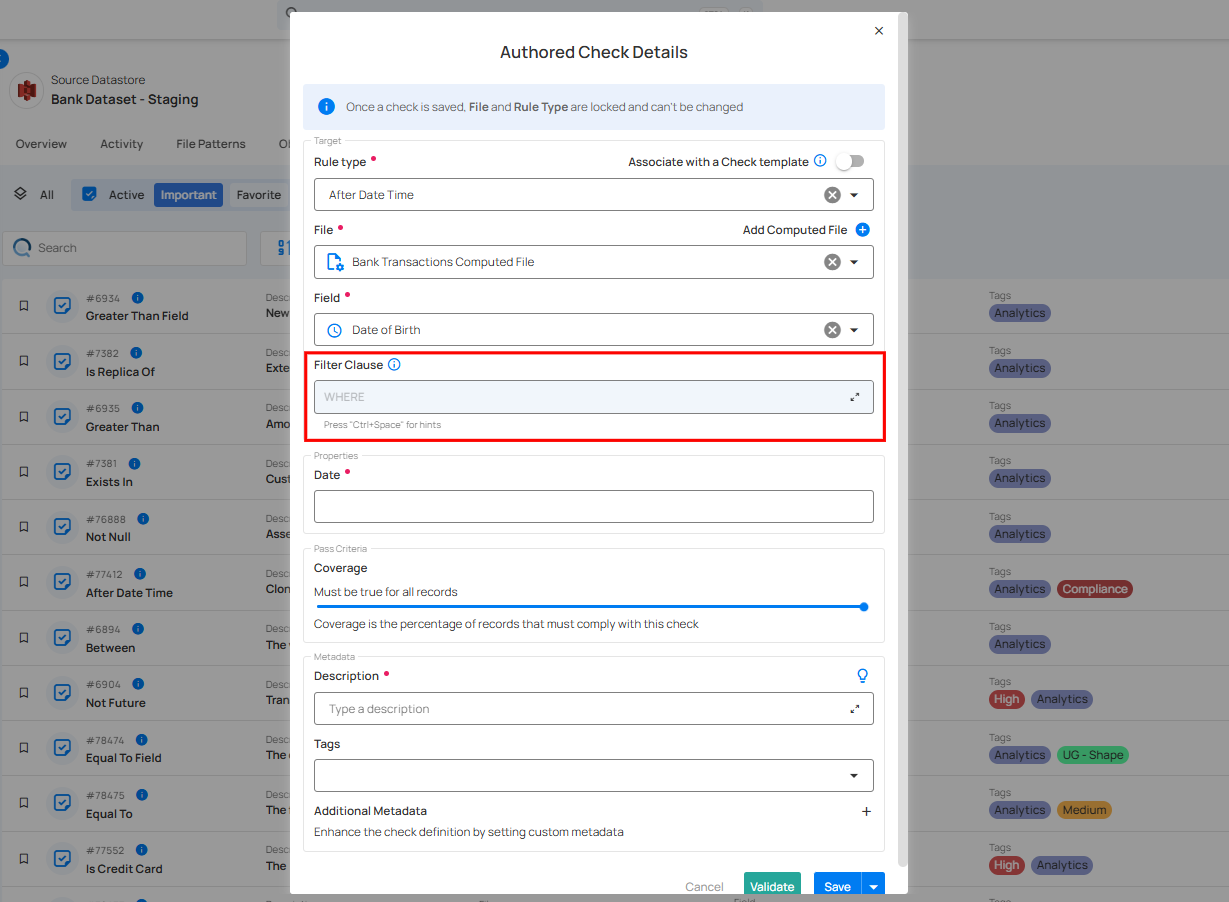
5. Filter Clause: Specify a valid Spark SQL WHERE expression to filter the data on which the check will be applied.
The filter clause defines the conditions under which the check will be applied. It typically includes a WHERE statement that specifies which rows or data points should be included in the check.
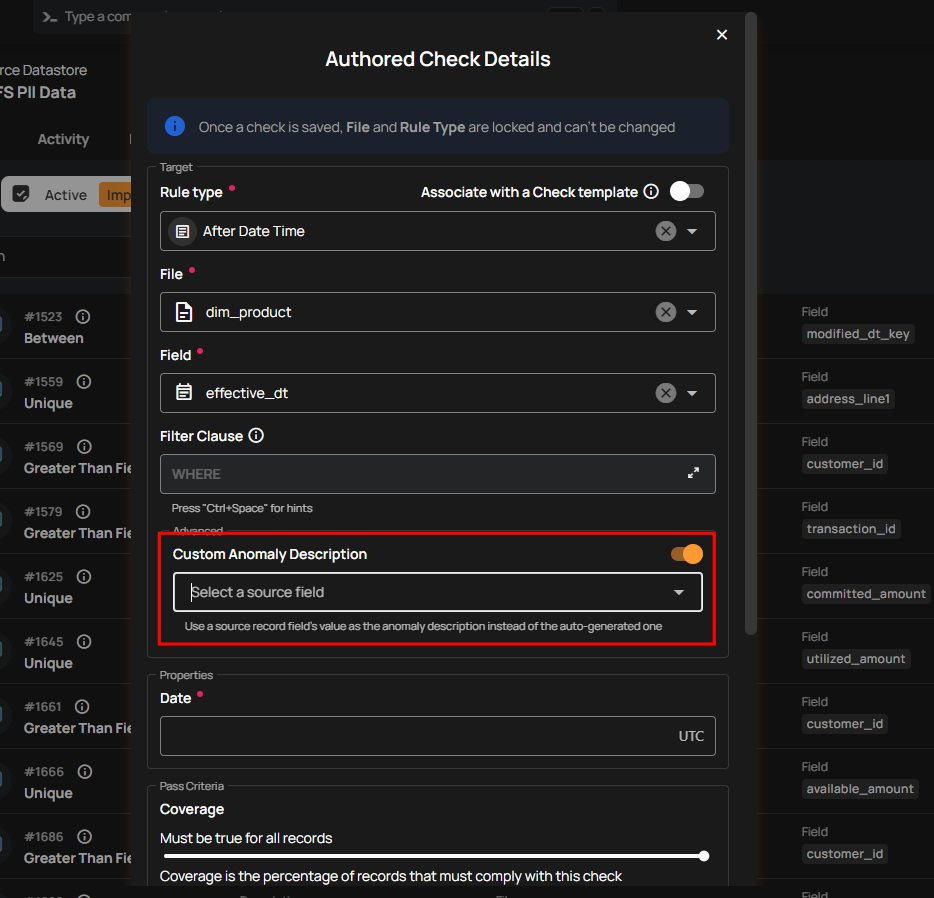
6. Custom Anomaly Messages: Enable this option to use a source record field as the anomaly message instead of the default system-generated message.
Select a source field from the dropdown. The value in that field will be displayed as the anomaly description for failed records.
Note
If the selected field is empty for a failed record, the default system-generated message will be used.
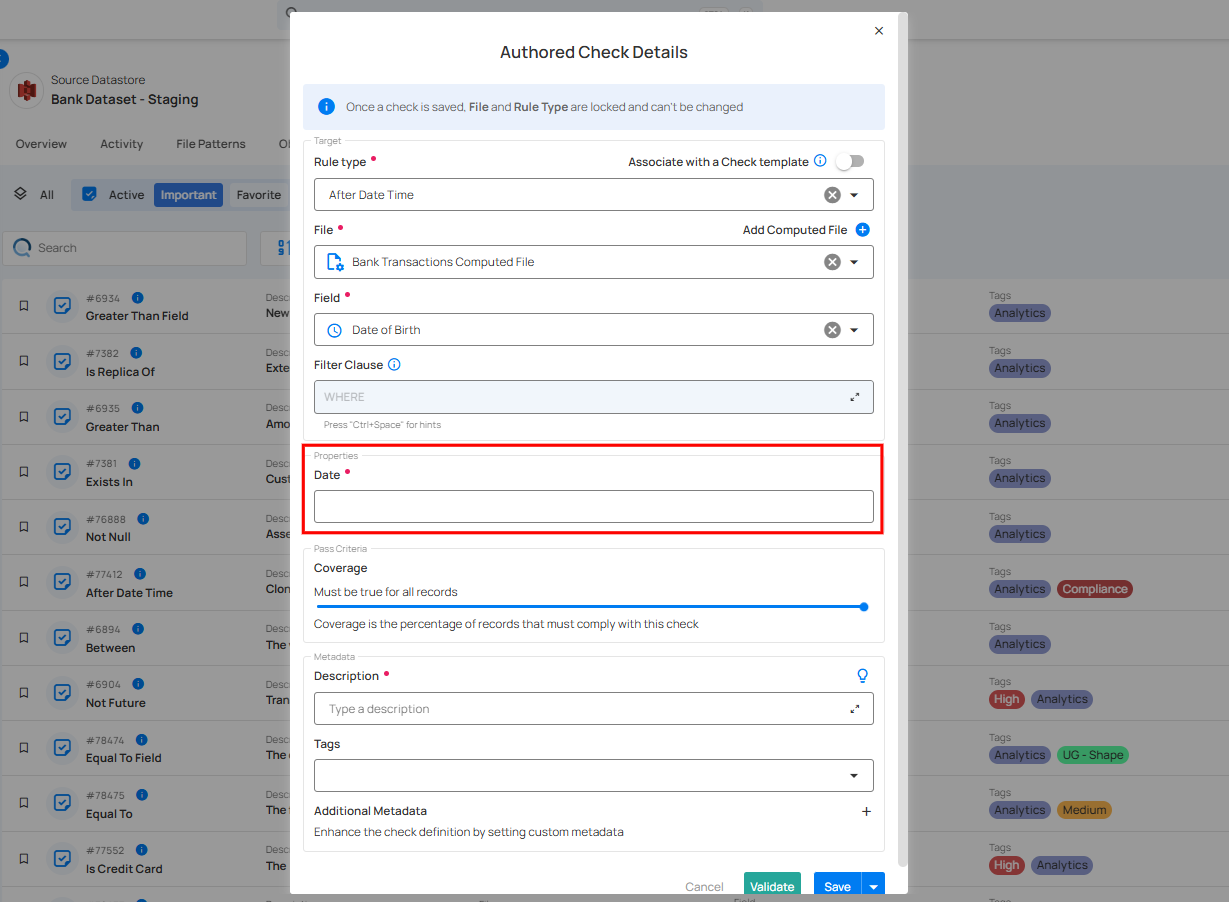
7. Date (Required): Enter the reference date for the rule. For the After Date Time rule, records in the selected field must have a timestamp later than this specified date.
Note
Spark SQL expressions used in calculated fields are editable, enabling greater flexibility in configuration.
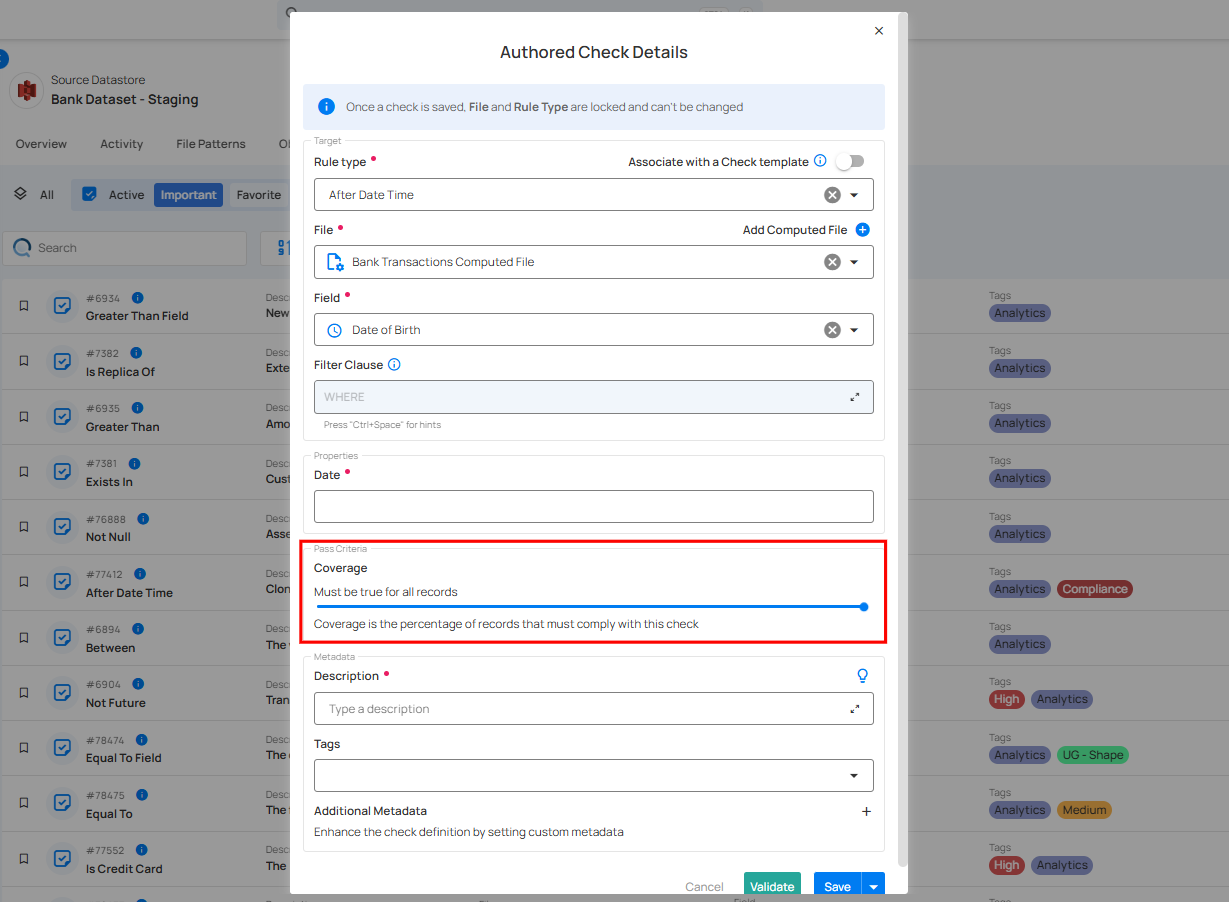
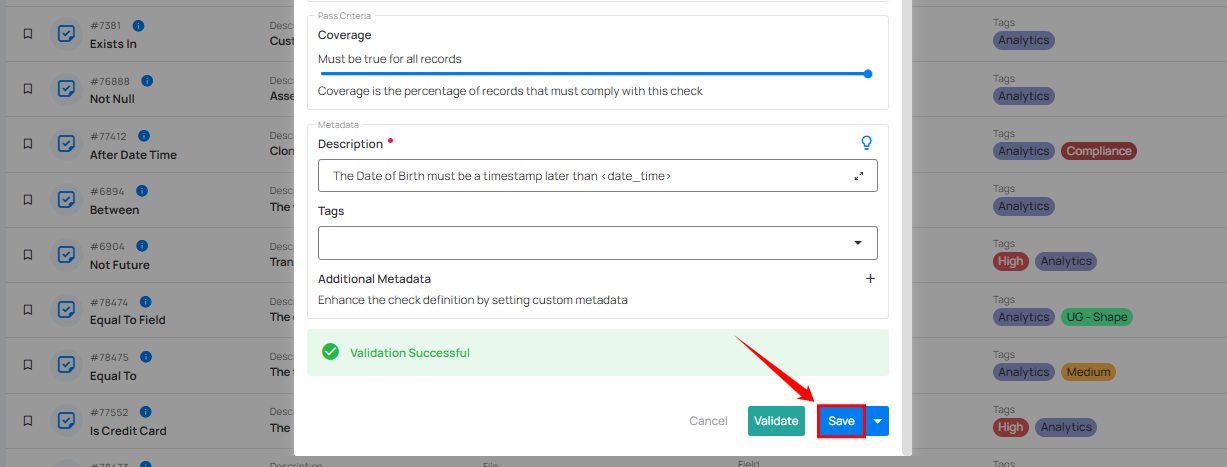
8. Coverage: Adjust the Coverage setting to specify the percentage of records that must comply with the check.
Note
The Coverage setting applies to most rule types and allows you to specify the percentage of records that must meet the validation criteria.
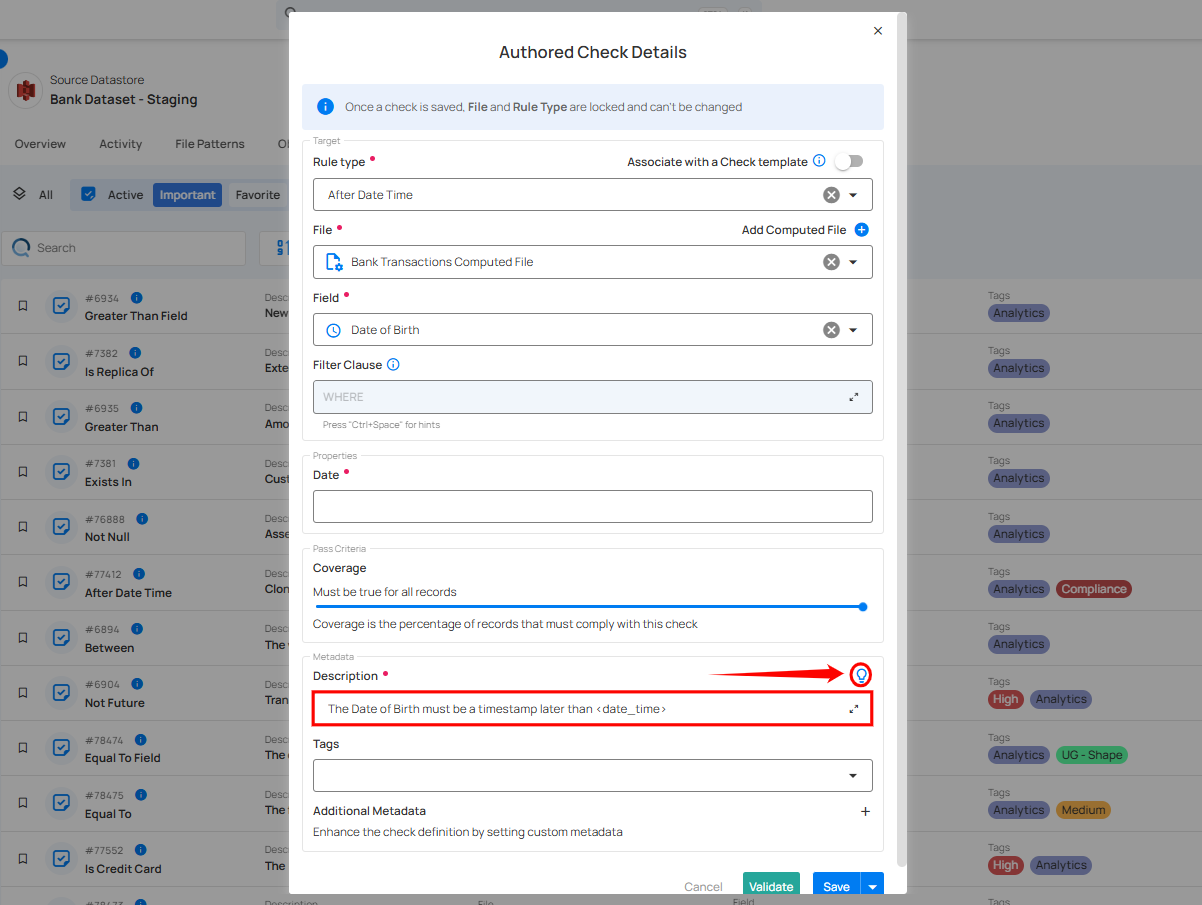
9. Description (Required): Enter a detailed description of the check template, including its purpose, applicable data, and relevant information to ensure clarity for users. If you're unsure of what to include, click on the "💡" lightbulb icon to apply a suggested description based on the rule type.
Example: The Date of Birth must be a timestamp later than < date_time >.
This description specifies that the Date of Birth field must have a timestamp later than the specified < date_time >.
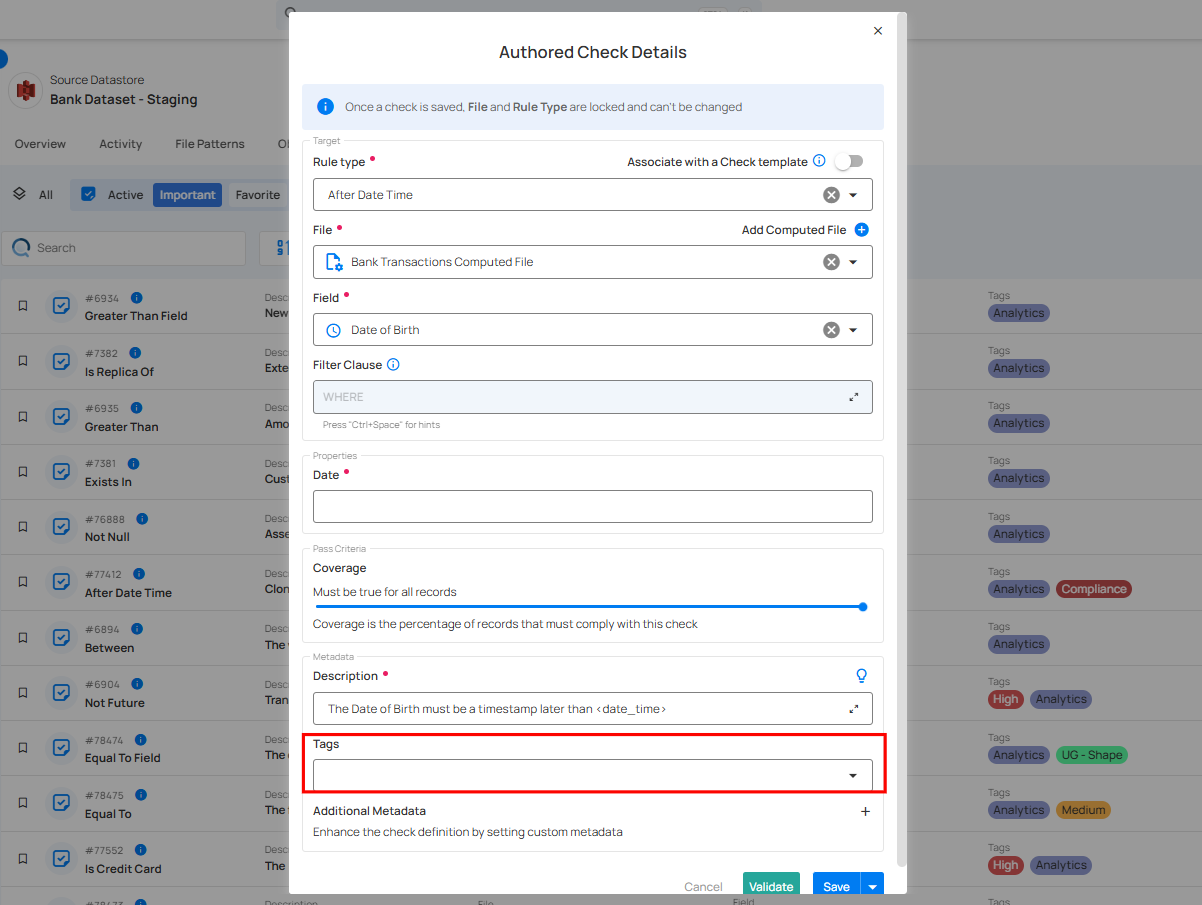
10. Tag: Assign relevant tags to your check to facilitate easier searching and filtering based on categories like "data quality," "financial reports," or "critical checks."
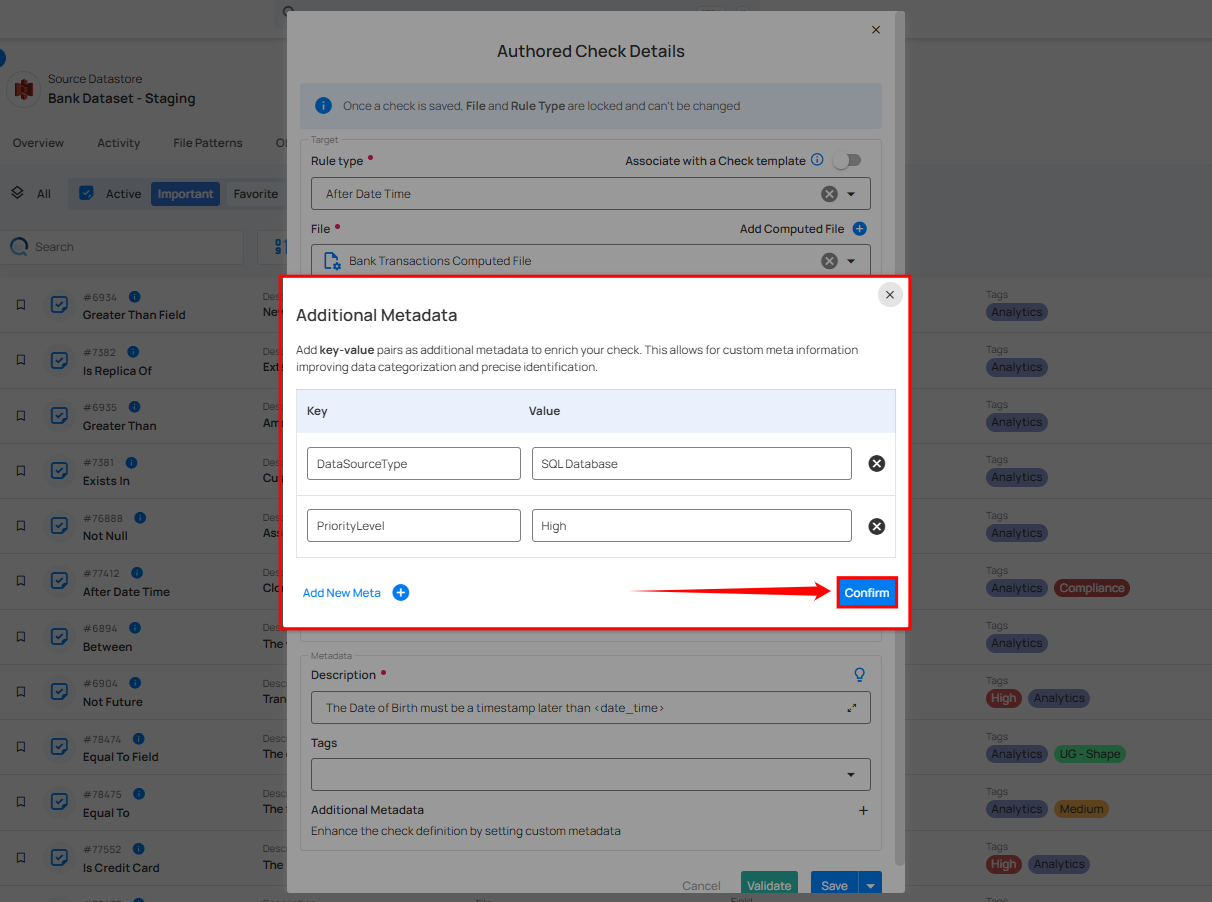
11. Additional Metadata: Add key-value pairs as additional metadata to enrich your check. Click the plus icon (+) next to this section to open the metadata input form, where you can add key-value pairs.
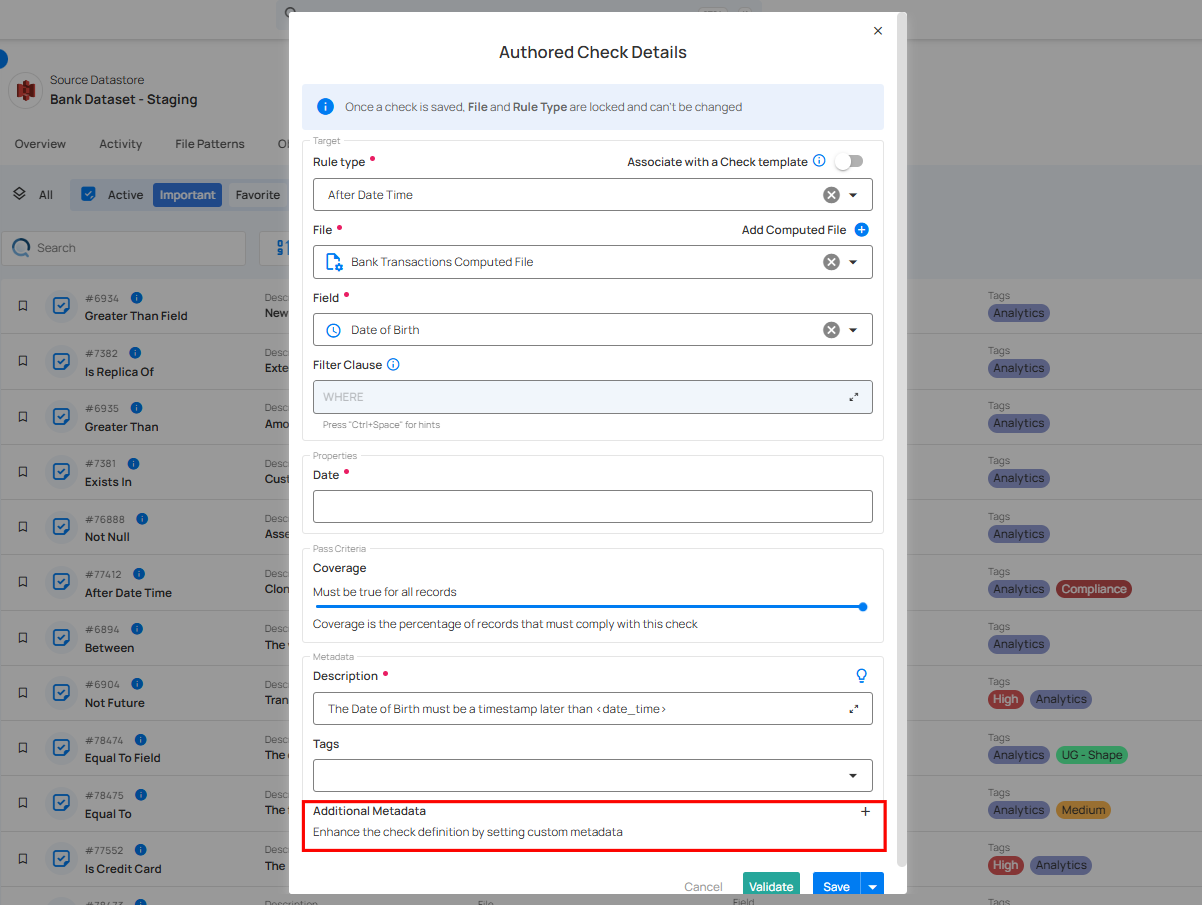
Enter the desired key-value pairs (e.g., DataSourceType: SQL Database and PriorityLevel: High). After entering the necessary metadata, click "Confirm" to save the custom metadata.
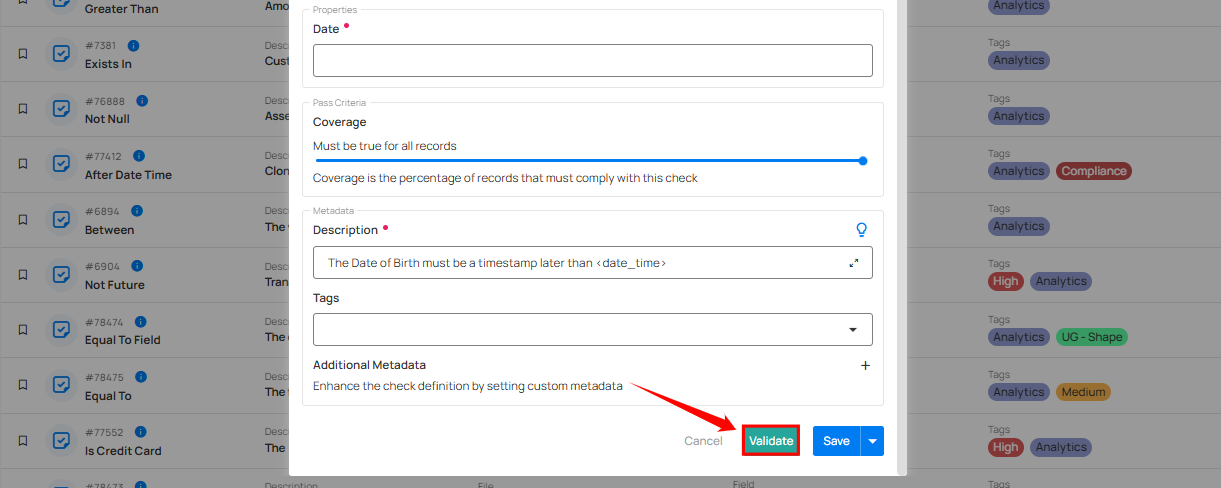
Step 4: After completing all the check details, click on the "Validate" button. This will perform a validation operation on the check without saving it. The validation allows you to verify that the logic and parameters defined for the check are correct. It ensures that the check will work as expected by running it against the data without committing any changes.
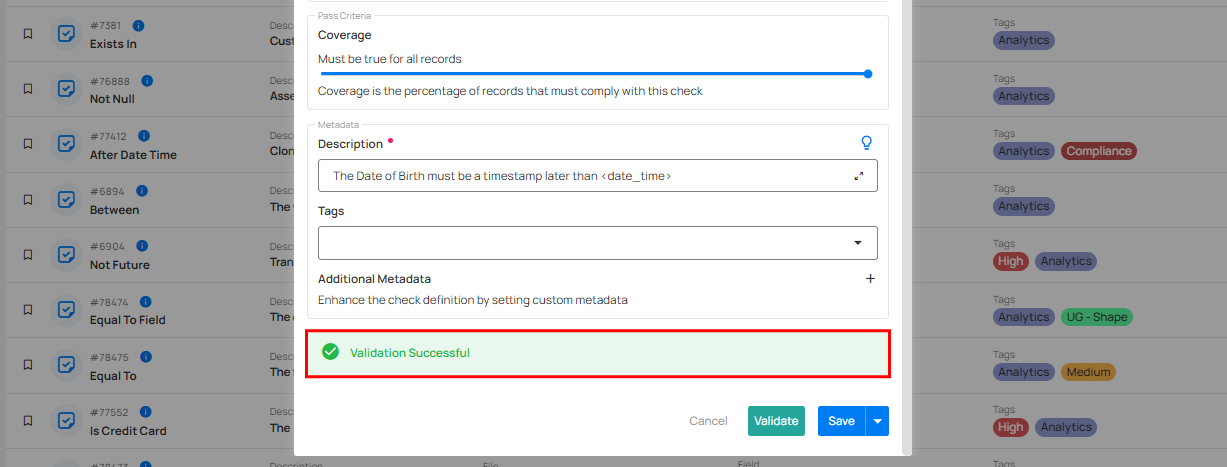
If the validation is successful, a green message will appear saying "Validation Successful".
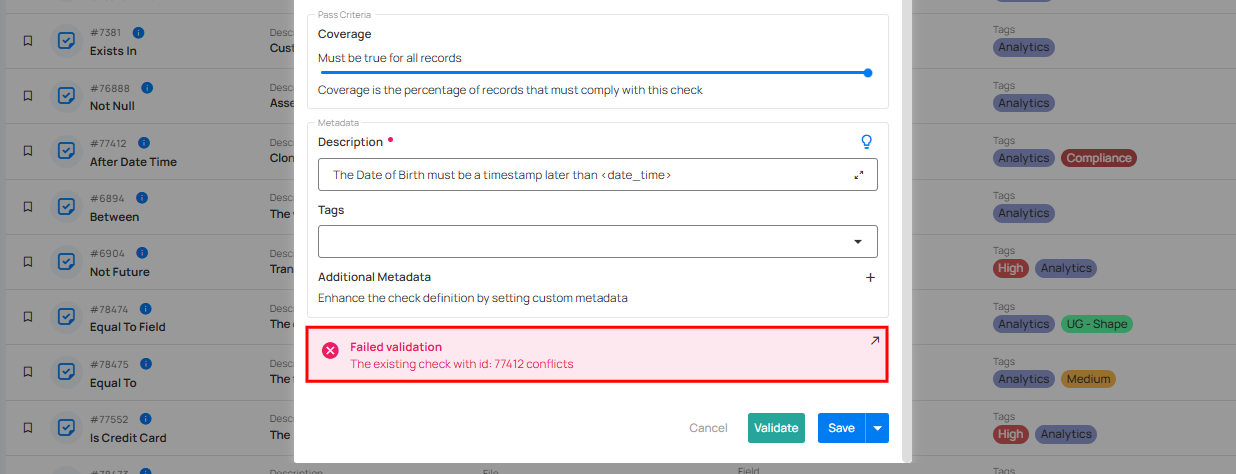
If the validation fails, a red message will appear saying "Failed Validation". This typically occurs when the check logic or parameters do not match the data properly.
Step 5: Once you have a successful validation, click the "Save" button.
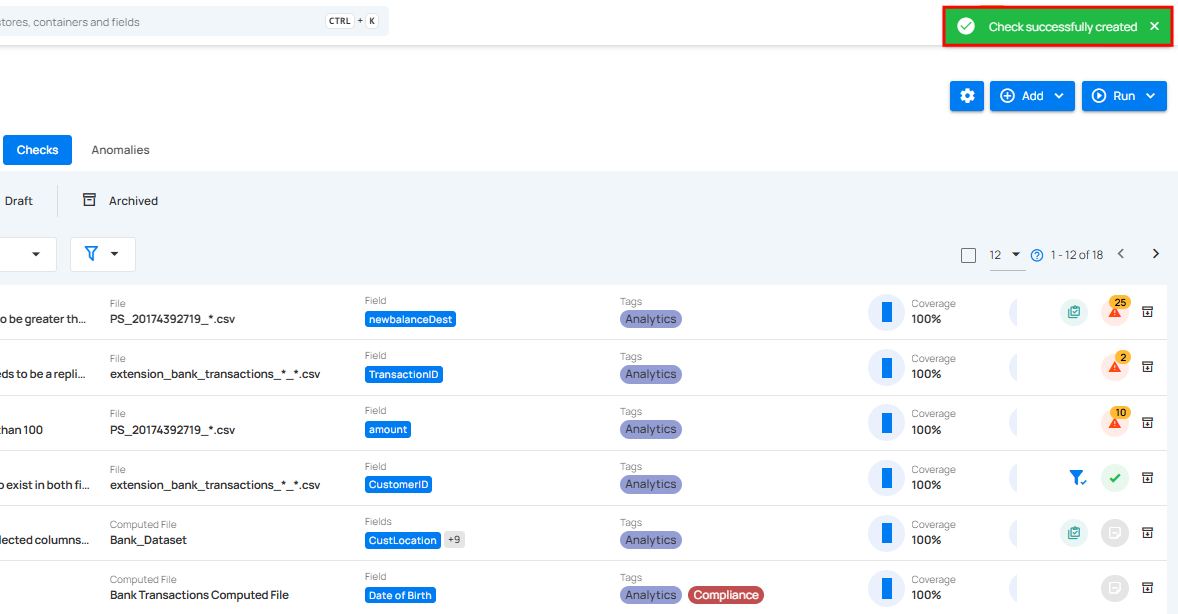
After clicking on the “Save” button your check is successfully created and a success flash message will appear saying “Check successfully created”.
Author a Check via API
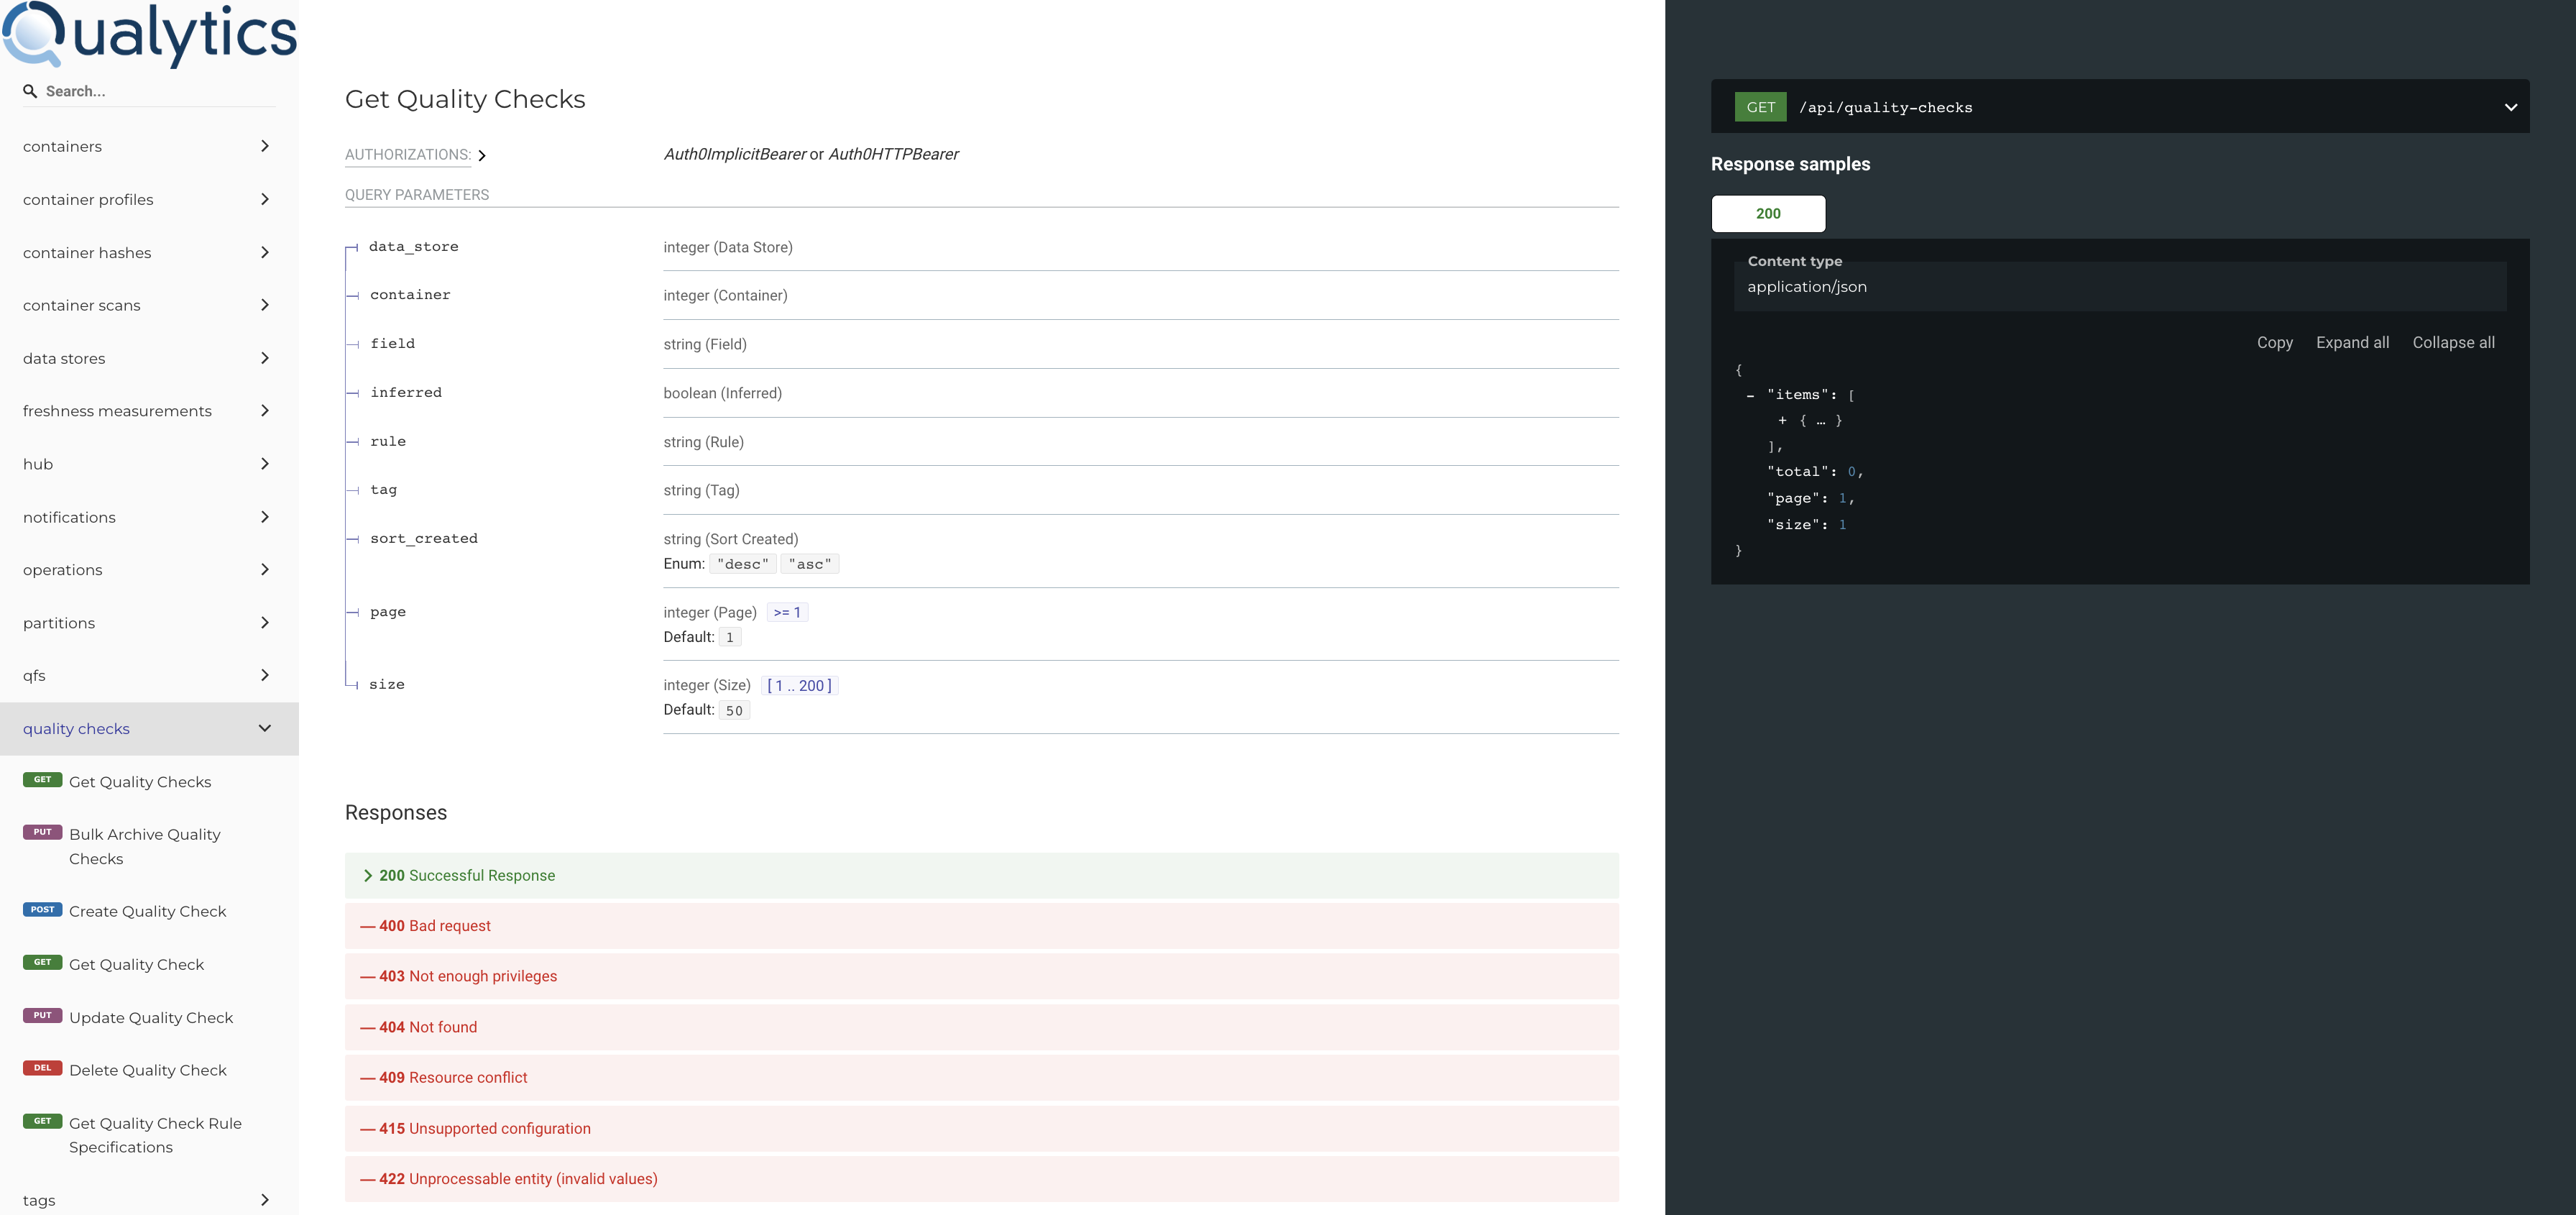
Users are able to author and interact with Checks through the API by passing JSON Payloads. Please refer to the API documentation on details: qualytics.io/api/docs
